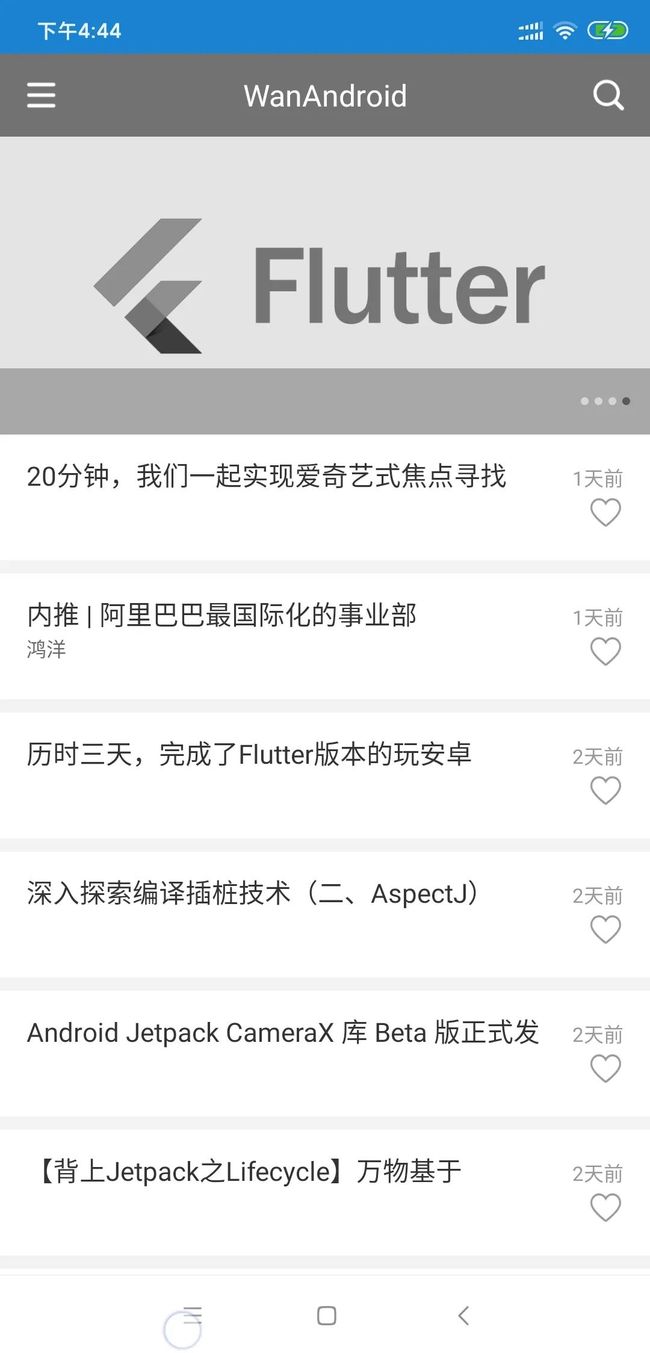
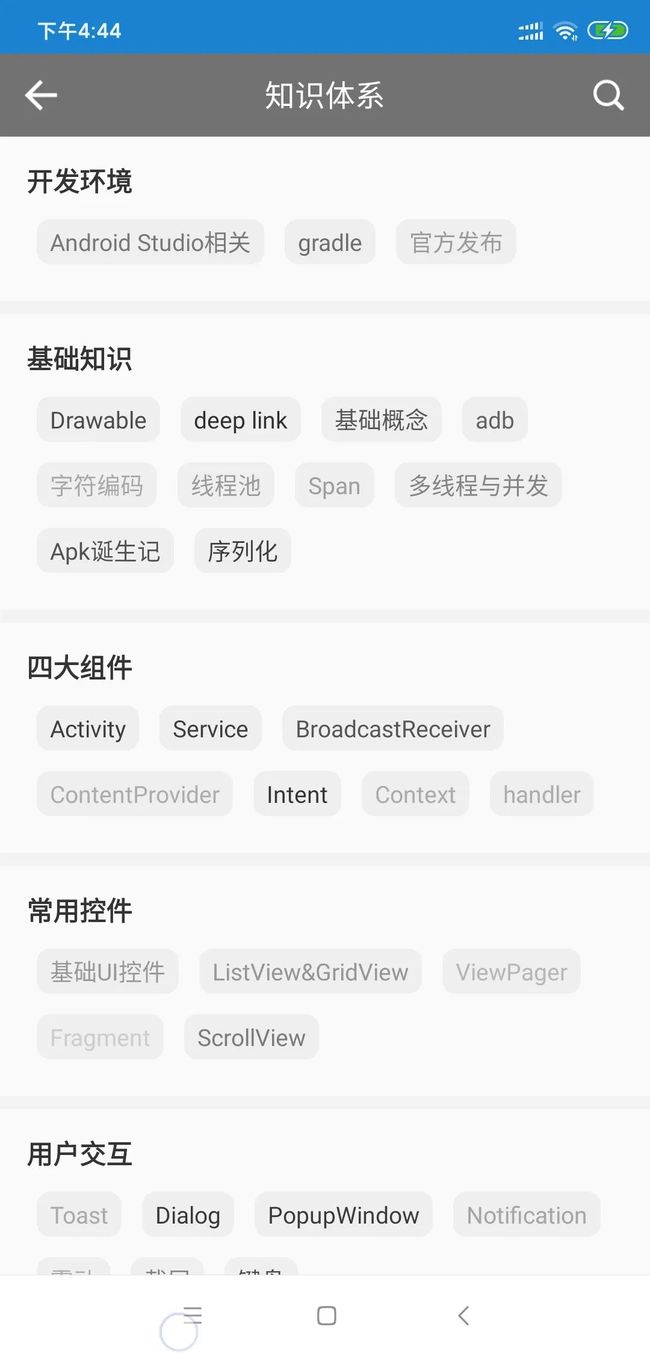
Android App 的“黑白化”,这些年我所经历的所有面试
android:layout_height=“match_parent”
android:orientation=“vertical”
tools:context=".TestActivity">
android:layout_width=“100dp” android:layout_height=“wrap_content” android:src="@mipmap/logo"> android:layout_width=“100dp” android:layout_height=“wrap_content” android:src="@mipmap/logo" /> android:layout_width=“wrap_content” android:layout_height=“wrap_content” android:text=“鸿洋真帅” android:textColor="@android:color/holo_red_light" android:textSize=“30dp” /> android:layout_width=“wrap_content” android:layout_height=“wrap_content” android:text=“鸿洋真帅” android:textColor="@android:color/holo_red_light" android:textSize=“30dp” /> android:layout_width=“wrap_content” android:layout_height=“wrap_content” android:text=“鸿洋真帅” android:textColor="@android:color/holo_red_light" android:textSize=“30dp” /> android:layout_width=“wrap_content” android:layout_height=“wrap_content” android:text=“鸿洋真帅” android:textColor="@android:color/holo_red_light" android:textSize=“30dp” /> 对应的效果图: 可以看到 TextView,Button 也成功的把红色的字体换成了灰色。 这个时候你是不是忽然感觉自己会了? 其实我们只要把各种相关的 View 换成这种自定义 View,利用 appcompat换肤那一套,不需要 Server 参与了,客户端搞搞就行了。 是吗?我们需要把所有的 View 都换成自定义的 View吗? 这听起来成本也挺高呀。 再想想还有更简单的吗? 往上看一眼 虽然刚才的布局文件很简单,但是邀请你再去看一眼刚才的布局文件,我要问你问题了: 看好了吧。 请问上面的 xml 中,ImageView的父 View 是谁? TextView 的父 View 是谁? Button 的父 View 是谁? 有没有一点茅塞顿开! 我们需要一个个自定义吗? 父 View 都是 LinearLayout,我们搞个 GrayLinearLayout 不就行了,其内部的 View 都会变成灰色,毕竟 Canvas 对象是往下传递的。 我们来试试: GrayLinearLayout: public class GrayLinearLayout extends LinearLayout { private Paint mPaint = new Paint(); public GrayLinearLayout(Context context, AttributeSet attrs) { super(context, attrs); ColorMatrix cm = new ColorMatrix(); cm.setSaturation(0); mPaint.setColorFilter(new ColorMatrixColorFilter(cm)); } @Override public void draw(Canvas canvas) { canvas.saveLayer(null, mPaint, Canvas.ALL_SAVE_FLAG); super.draw(canvas); canvas.restore(); } @Override protected void dispatchDraw(Canvas canvas) { canvas.saveLayer(null, mPaint, Canvas.ALL_SAVE_FLAG); super.dispatchDraw(canvas); canvas.restore(); } } 代码很简单,但是注意有个细节,注意我们也复写了 dispatchDraw,为什么呢?自己思考。 我们更换下 xml: xmlns:app=“http://schemas.android.com/apk/res-auto” xmlns:tools=“http://schemas.android.com/tools” android:layout_width=“match_parent” android:layout_height=“match_parent” android:orientation=“vertical” tools:context=".TestActivity"> android:layout_width=“100dp” android:layout_height=“wrap_content” android:src="@mipmap/logo" /> android:layout_width=“wrap_content” android:layout_height=“wrap_content” android:text=“鸿洋真帅” android:textColor="@android:color/holo_red_light" android:textSize=“30dp” /> android:layout_width=“wrap_content” android:layout_height=“wrap_content” android:text=“鸿洋真帅” android:textColor="@android:color/holo_red_light" android:textSize=“30dp” /> 我们放了蓝色 Logo 的 ImageView,红色字体的 TextView 和 Button,看一眼效果: 完美! 是不是又有点茅塞顿开! 只要我们换了 我们设置的Activity 的根布局就可以了! Activity 的根布局可能是 LinearLayout,FrameLayout,RelativeLayout,ConstraintLayout… 换个鸡儿…这得换到啥时候,跟刚才有啥区别。 还有思路吗,没什么确定的 View 吗? 再想想。 我们的设置的 Activity 的根布局会放在哪? android.id.content 是不是这个 Content View 上? 这个 content view 目前一直是 FrameLayout ! 那么我们只要在生成这个android.id.content 对应的 FrameLayout,换成 GrayFrameLayout 就可以了。 怎么换呢? appcompat 那一套?去搞 LayoutFactory? 确实可以哈,但是那样要设置 LayoutFactory,还需要考虑 appcompat 相关逻辑。 有没有那种不需要去修改什么流程的方案? LayoutInflater 中的细节 还真是有的。 我们的 AppCompatActivity,可以复写 onCreateView 的方法,这个方法其实也是LayoutFactory在构建 View 的时候回调出来的,一般对应其内部的mPrivateFactory。 他的优先级低于 Factory、Factory2,相关代码: if (mFactory2 != null) { view = mFactory2.onCreateView(parent, name, context, attrs); } else if (mFactory != null) { view = mFactory.onCreateView(name, context, attrs); } else { view = null; } if (view == null && mPrivateFactory != null) { view = mPrivateFactory.onCreateView(parent, name, context, attrs); } if (view == null) { final Object lastContext = mConstructorArgs[0]; mConstructorArgs[0] = context; try { if (-1 == name.indexOf(’.’)) { view = onCreateView(parent, name, attrs); } else { view = createView(name, null, attrs); } } finally { mConstructorArgs[0] = lastContext; } } 但是目前对于 FrameLayout,appcompat 并没有特殊处理,也就是说你可以在 onCreateView 回调中去构造 FrameLayout 对象。 很简单,就复写 Activity 的 onCreateView 方法即可: public class TestActivity extends AppCompatActivity { @Override protected void onCreate(Bundle savedInstanceState) { super.onCreate(savedInstanceState); setContentView(R.layout.activity_test); } @Override public View onCreateView(String name, Context context, AttributeSet attrs) { return super.onCreateView(name, context, attrs); } } 我们在这个方法中把content view 对应的 FrameLayout 换成 GrayFrameLayout. @Override public View onCreateView(String name, Context context, AttributeSet attrs) { if(“FrameLayout”.equals(name)){ int count = attrs.getAttributeCount(); for (int i = 0; i < count; i++) { String attributeName = attrs.getAttributeName(i); String attributeValue = attrs.getAttributeValue(i); if (attributeName.equals(“id”)) { int id = Integer.parseInt(attributeValu 《Android学习笔记总结+最新移动架构视频+大厂安卓面试真题+项目实战源码讲义》 【docs.qq.com/doc/DSkNLaERkbnFoS0ZF】 完整内容开源分享 e.substring(1)); String idVal = getResources().getResourceName(id); if (“android:id/content”.equals(idVal)) { GrayFrameLayout grayFrameLayout = new GrayFrameLayout(context, attrs); return grayFrameLayout; } } } } return super.onCreateView(name, context, attrs); } 代码应该都能看明白吧,我们找到 id 是 android:id/content 的,换成了我们的 GrayFrameLayout。 最后看一眼GrayFrameLayout: public class GrayFrameLayout extends FrameLayout { private Paint mPaint = new Paint(); public GrayFrameLayout(Context context, AttributeSet attrs) { super(context, attrs); ColorMatrix cm = new ColorMatrix(); cm.setSaturation(0); mPaint.setColorFilter(new ColorMatrixColorFilter(cm)); } @Override protected void dispatchDraw(Canvas canvas) { canvas.saveLayer(null, mPaint, Canvas.ALL_SAVE_FLAG); super.dispatchDraw(canvas); canvas.restore(); } @Override public void draw(Canvas canvas) { canvas.saveLayer(null, mPaint, Canvas.ALL_SAVE_FLAG); super.draw(canvas); canvas.restore(); } } 好了,运行一下,看下效果: 效果 ok。 然后把onCreateView 这坨代码,放到你的 BaseActivity里面就行了。 什么,没有 BaseActivity? …自己玩去吧。 找个 App验证下 说到现在,都没有脱离出一个 Activity。 我们找个复杂点的项目验证下好吧。 我去 github 找个 wanandroid 的 Java 开源项目: 选中了:https://github.com/jenly1314/WanAndroid 导入后,只要在 BaseActivity 里面添加我们刚才的代码就可以了。 运行效果图: 恩,没错,webview 里面的文字,图片都黑白化了。 这样一个 app 就完全黑白化了。 等等,我发现状态栏没变,状态栏是不是有 API,自己在 BaseActivity 里面调用一行代码处理哈。 点击此处回复:「文章写的真好」,可以获取黑白化后的 apk,自己体验。 真的没问题了吗? 其实没运行出来问题有些遗憾。 那我自爆几个问题吧。 1. 如果 Activity的 Window 设置了 background,咋办呢? 因为我们处理的是 content view,肯定在 window 之下,肯定覆盖不到 window 的 backgroud。 咋办咋办? 不要慌。 我们生成的GrayFrameLayout也是可以设置 background 的? if (“android:id/content”.equals(idVal)) { GrayFrameLayout grayFrameLayout = new GrayFrameLayout(context, attrs); grayFrameLayout.setBackgroundDrawable(getWindow().getDecorView().getBackground()); return grayFrameLayout; }


