ubuntu18.04 + caffe配置 + darknet转caffe模型(2)
一.前言
接着上篇文章,下面讲解一下darknet转caffe模型,参考如下链接,也是这个链接将我带入了docker的漩涡了,让我配置了很久一系列的docker,docker -nvidia,最后还是没有成功。但是这里的配置方法是对的,在darknet2caffe中作者也做了说明。
https://redstonewill.blog.csdn.net/article/details/114909443
二. 修改caffe源码
因为官方 caffe1.x 框架不支持 yolo3/yolov4 的 upsample 层,所以需要手动增加 upsample 层,对 caffe 源码进行修改。
(1)下载darknet2caffe
git clone https://github.com/ChenYingpeng/darknet2caffe.git
会在目录下载darknet2caffe文件:
(2)修改源码,添加头文件和源文件。这些方法在README.md上可以看到。
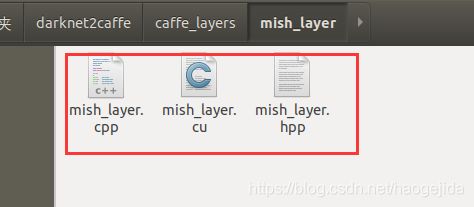
将 darknet2caffe/caffe_layers/mish_layer 下的 mish_layer.hpp
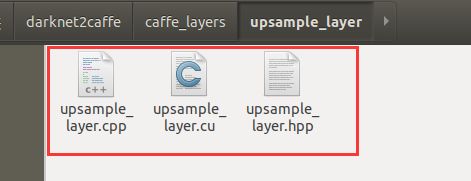
darknet2caffe/tree/master/caffe_layers/upsample_layer 下的 upsample_layer.hpp
拷贝到容器的路径:/opt/caffe/include/caffe/layers 下。
然后将 darknet2caffe/caffe_layers/mish_layer下的
mish_layer.cpp、mish_layer.cu
darknet2caffe/tree/master/caffe_layers/upsample_layer 下的
upsample_layer.cpp、upsample_layer.cu
拷贝到容器的路径:/opt/caffe/src/caffe/layers/ 下。
(3)修改src/caffe/proto/caffe.proto文件:
注意++表示添加的,自己修改的时候要去掉++
如下所示:
 optional WindowDataParameter window_data_param = 129;
  optional UpsampleParameter upsample_param = 149; //added by chen for Yolov3, make sure this id 149 not the same as before.
  optional MishParameter mish_param = 150; //added by chen for yolov4,make sure this id 150 not the same as before.
}

// added by chen for YoloV3
message UpsampleParameter{
  optional int32 scale = 1 [default = 1];
}

// Message that stores parameters used by MishLayer
message MishParameter {
  enum Engine {
    DEFAULT = 0;
    CAFFE = 1;
    CUDNN = 2;
  }
  optional Engine engine = 2 [default = DEFAULT];
}
然后对caffe进行重新编译
make clean
make all -j8
make pycaffe -j8
出现问题和之前的解决方法一致。
三. 转换
在这之前需要安装pytorch,这里我使用torch==1.7.1,没有安装conda,之前安装过anaconda,主要是配置需要修改的太多了。使用pip3安装,因为之前我尝试使用python2.7配置,安装pytorch时总是失败,建议使用python3。
地址:https://pytorch.org/get-started/previous-versions/
pip3 install torch==1.7.1+cu92 torchvision==0.8.2+cu92 torchaudio==0.7.2 -f https://download.pytorch.org/whl/torch_stable.html安装完成后,一切正常,测试import torch
在darknet2caffe目录:
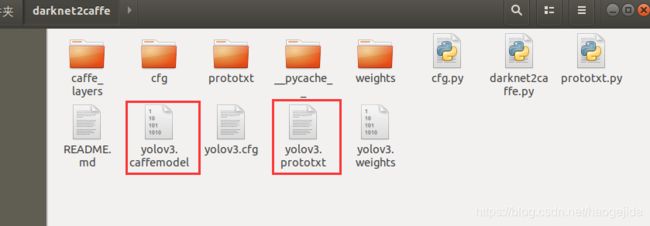
python3 darknet2caffe.py ./yolov3.cfg ./yolov3.weights ./yolov3.prototxt ./yolov3.caffemodel
最后会生成caffemodel和prototxt
用于大神当时用的python2写的,如遇到错误,基本上都是语法错误,
例如:
File "darknet2caffe.py", line 176, in cfg2prototxt
if block.has_key('name'):
AttributeError: 'collections.OrderedDict' object has no attribute 'has_key'
1.has_key()函数已抛弃,应该换为 x in y 例如:if block.has_key(‘name’) 换为 if 'name' in block
参考如下:
https://blog.csdn.net/weixin_42048023/article/details/106021536
https://blog.csdn.net/ll15982534415/article/details/106677227


