python opencv环境配置 保姆级教程
1.下载安装Conda软件
链接:https://pan.baidu.com/s/1SwE0nmHI5D7uFc–Z0Bndw
提取码:1234
双击运行

我们这里选择只为当前用户安装,如果为所有用户安装,不能直接双击打开,需要右键以管理员身份运行

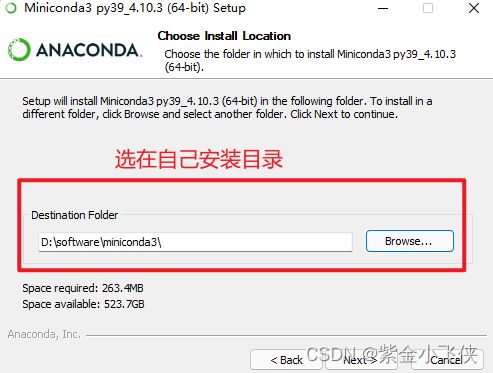
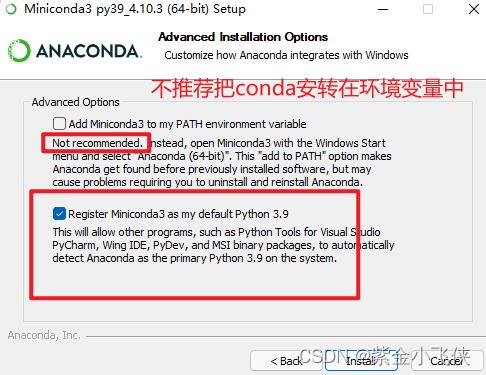
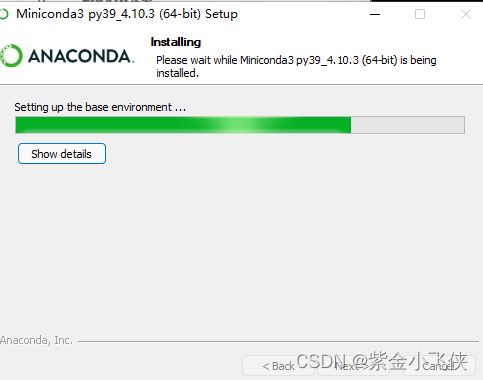
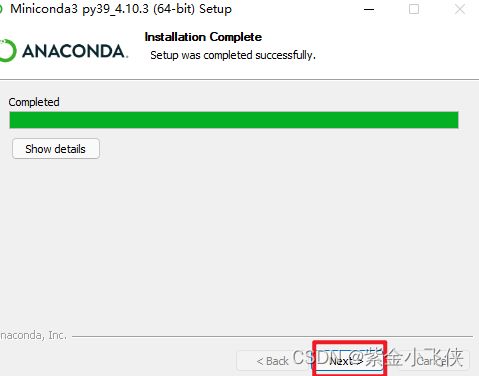
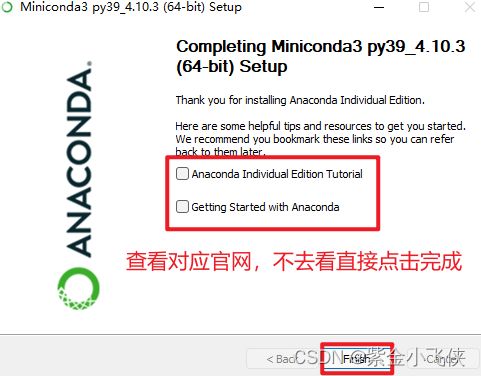
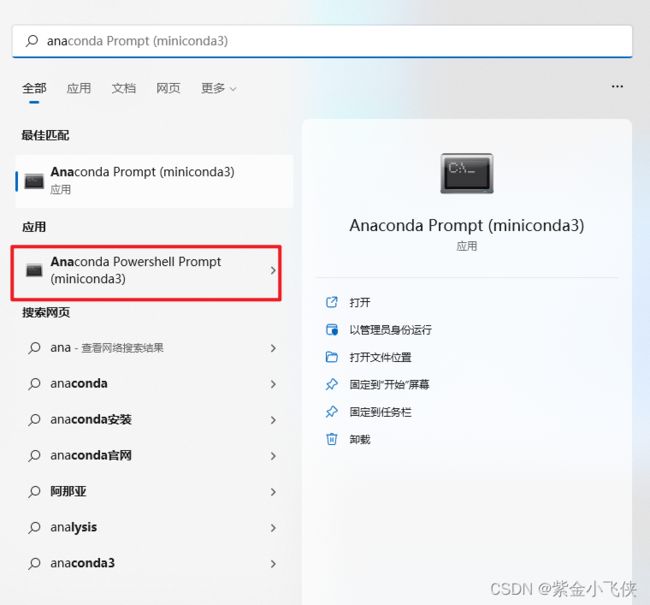
检conda 是否安装成功

2.创建Python虚拟环境
常用虚拟环境管理命令
查看所有环境
conda env list
创建环境
conda create --name 环境名称 (必须英文)
进入环境
conda activate 环境名称
退出环境
conda deactivate
删除环境
conda remove --name 环境名称 --all
创建指定Python 版本环境
conda create --name 环境名称 python=3.8
出现下面界面表示安装成功
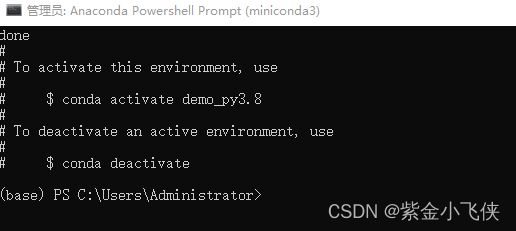
查看环境列表

进入demo_py3.8环境,查看python版本号
3.Conda/pip安装第三方包
国内加速镜像
conda换源
参考:https://mirrors.tuna.tsinghua.edu.cn/help/anaconda/
1.生成.condarc文件
Windows 用户无法直接创建名为 .condarc 的文件,可先执行 conda config --set show_channel_urls yes 生成该文件之后再修改。

目前用户目录下没有.condarc文件

执行命令生成.condarc文件
conda config --set show_channel_urls yes


2.换源
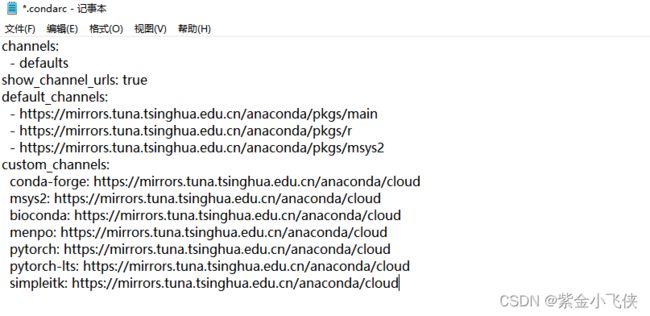
使用记事本打来.condarc文件
删除掉文件自带的一行内容,将一下内容拷贝进去保存,即可添加 Anaconda Python 免费仓库。
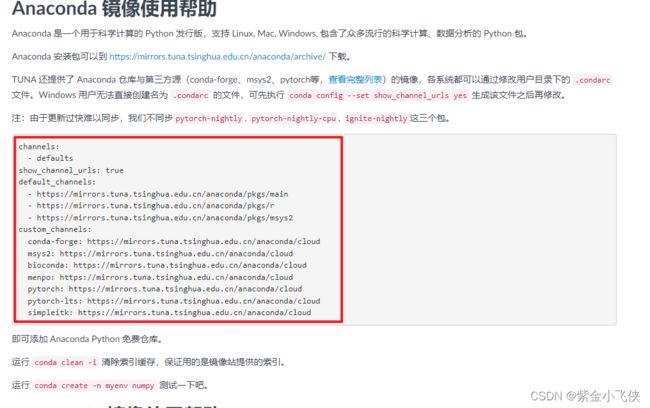
channels:
  - defaults
show_channel_urls: true
default_channels:
  - https://mirrors.tuna.tsinghua.edu.cn/anaconda/pkgs/main
  - https://mirrors.tuna.tsinghua.edu.cn/anaconda/pkgs/r
  - https://mirrors.tuna.tsinghua.edu.cn/anaconda/pkgs/msys2
custom_channels:
  conda-forge: https://mirrors.tuna.tsinghua.edu.cn/anaconda/cloud
  msys2: https://mirrors.tuna.tsinghua.edu.cn/anaconda/cloud
  bioconda: https://mirrors.tuna.tsinghua.edu.cn/anaconda/cloud
  menpo: https://mirrors.tuna.tsinghua.edu.cn/anaconda/cloud
  pytorch: https://mirrors.tuna.tsinghua.edu.cn/anaconda/cloud
  pytorch-lts: https://mirrors.tuna.tsinghua.edu.cn/anaconda/cloud
  simpleitk: https://mirrors.tuna.tsinghua.edu.cn/anaconda/cloud
运行 conda clean -i 清除索引缓存,保证用的是镜像站提供的索引。
conda clean -i
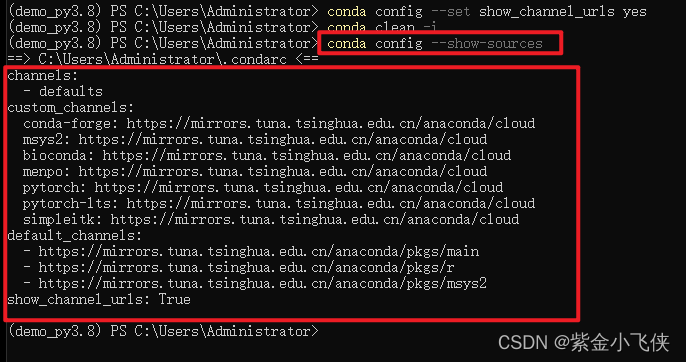
验证是否换源成功
conda config --show-sources
pip换源
临时使用:pip install -i https://pypi.tuna.tsinghua.edu.cn/simple {包名}
永久使用:
第一步: 在C:\Users\Administrator 目录下 创建pip文件夹
第二步:在第一步创建的文件夹下(C:\Users\Administrator\pip)创建pip.ini文件

第三步:记事本打开pip.ini拷贝保存一下容为:
[global]
index-url = https://pypi.tuna.tsinghua.edu.cn/simple/
[install]
trusted-host = pypi.tuna.tsinghua.edu.cn
conda安装opencv
换源后所使用conda 的命令安装
不指定opencv的版本号 默认安装最新的opencv
我这里在刚才创建的python3.8的虚拟环境demo_py3.8 安装
conda install opencv
其他安转opencv方法
没有换源后所使用conda 的命令安装
conda install -c conda-forge opencv
pip命令安装opencv
pip install opencv-python
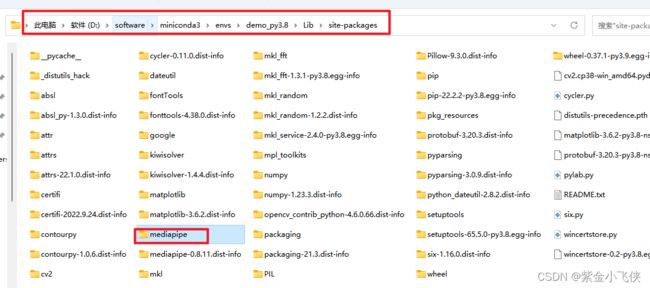
pip安转mediapipe
安装mediapipe
pip install mediapipe
4.运行demo程序
demo.py
"""
演示Demo
"""

# 导入opencv
import cv2
import numpy as np
import math

# 导入mediapipe:https://google.github.io/mediapipe/solutions/hands
import mediapipe as mp


mp_drawing = mp.solutions.drawing_utils
mp_drawing_styles = mp.solutions.drawing_styles
mp_hands = mp.solutions.hands

hands = mp_hands.Hands(
    model_complexity=0,
    min_detection_confidence=0.5,
    min_tracking_confidence=0.5)

# 读取视频流
cap = cv2.VideoCapture(0)

# 获取画面宽度、高度
width = int(cap.get(cv2.CAP_PROP_FRAME_WIDTH))
height = int(cap.get(cv2.CAP_PROP_FRAME_HEIGHT))


while True:
    ret,frame = cap.read()


    # 镜像
    frame = cv2.flip(frame,1)

    frame.flags.writeable = False
    frame = cv2.cvtColor(frame, cv2.COLOR_BGR2RGB)
    # 识别
    results = hands.process(frame)

    frame.flags.writeable = True
    frame = cv2.cvtColor(frame, cv2.COLOR_RGB2BGR)


    # 如果有结果
    if results.multi_hand_landmarks:

        # 遍历双手
        for hand_landmarks in results.multi_hand_landmarks:
            mp_drawing.draw_landmarks(
                frame,
                hand_landmarks,
                mp_hands.HAND_CONNECTIONS,
                mp_drawing_styles.get_default_hand_landmarks_style(),
                mp_drawing_styles.get_default_hand_connections_style())


    # 显示画面
    cv2.imshow('demo',frame)

    if cv2.waitKey(10) & 0xFF == ord('q'):
        break

cap.release()
cv2.destroyAllWindows()
