SpringBoot应用接入Prometheus+Grafana
SpringBoot应用接入Prometheus+Grafana
一.Prometheus简介
Prometheus受启发于Google的Brogmon监控系统(相似的Kubernetes是从Google的Brog系统演变而来),从2012年开始由前Google工程师在Soundcloud以开源软件的形式进行研发,并且于2015年早期对外发布早期版本。2016年5月继Kubernetes之后成为第二个正式加入CNCF基金会的项目,同年6月正式发布1.0版本。2017年底发布了基于全新存储层的2.0版本,能更好地与容器平台、云平台配合。
二.Prometheus接入
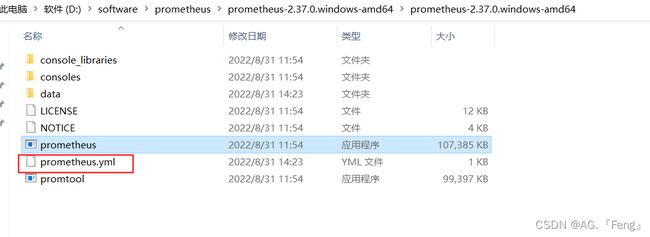
1.下载安装包
官网指定下载包: https://prometheus.io/download/

2. SpringBoot应用接入
2.1 引入依赖
SpringBoot版本为 2.2.0.RELEASE
<dependency>
   <groupId>org.springframework.boot</groupId>
   <artifactId>spring-boot-starter-web</artifactId>
</dependency>
<dependency>
   <groupId>org.springframework.boot</groupId>
   <artifactId>spring-boot-starter-actuator</artifactId>
</dependency>
<dependency>
   <groupId>io.micrometer</groupId>
   <artifactId>micrometer-registry-prometheus</artifactId>
   <scope>runtime</scope>
</dependency>
2.2 yaml配置
需要指定Prometheus相关的参数
server:
  port: 8080

spring:
  application:
    name: actuator-prometheus
management:
  endpoints:
# 这里指定所有的web接口都会上报
    web:
#      base-path: /actuator
      exposure:
        include: "*"
  server:
    port: 9091
  metrics:
    export:
      prometheus:
       enabled: true
# 这个应用所有上报的metrics 都会带上 application 这个标签
    tags:
      application: ${spring.application.name}
上面配置完毕之后,会提供一个 /actuator/prometheus 的端点,供prometheus来拉取Metrics信息。
3. 访问Metrics信息
http://localhost:9091/actuator/prometheus 次数的端口9091为yaml中配置的端口号

4. prometheus 配置
进入到步骤1的包中的Prometheus.yml中
修改配置
global:
  scrape_interval: 15s # Set the scrape interval to every 15 seconds. Default is every 1 minute.
  evaluation_interval: 15s # Evaluate rules every 15 seconds. The default is every 1 minute.
  # scrape_timeout is set to the global default (10s).

# Alertmanager configuration
alerting:
  alertmanagers:
    - static_configs:
        - targets:
          # - alertmanager:9093

# Load rules once and periodically evaluate them according to the global 'evaluation_interval'.
rule_files:
  # - "first_rules.yml"
  # - "second_rules.yml"

# A scrape configuration containing exactly one endpoint to scrape:
# Here it's Prometheus itself.
scrape_configs:
  # The job name is added as a label `job=` to any timeseries scraped from this config.
  - job_name: "prometheus"

    # metrics_path defaults to '/metrics'
    metrics_path: '/actuator/prometheus'
    # scheme defaults to 'http'.

    static_configs:
      - targets: ['localhost:9091']
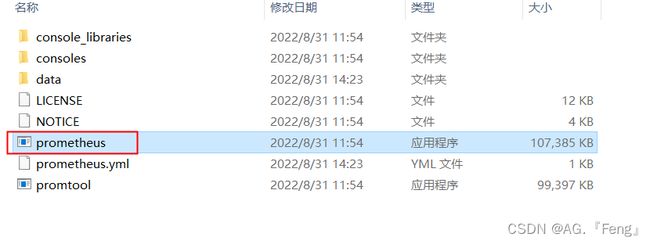
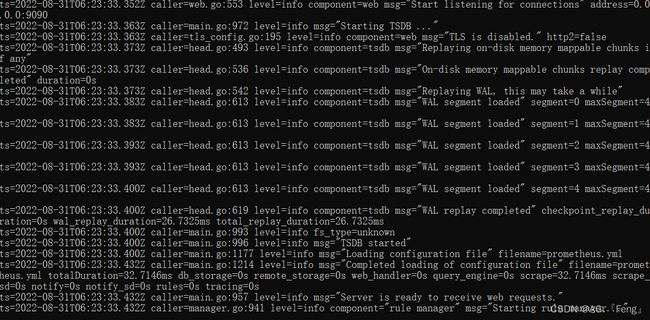
5. 启动prometheus服务
以管理员身份运行 prometheus
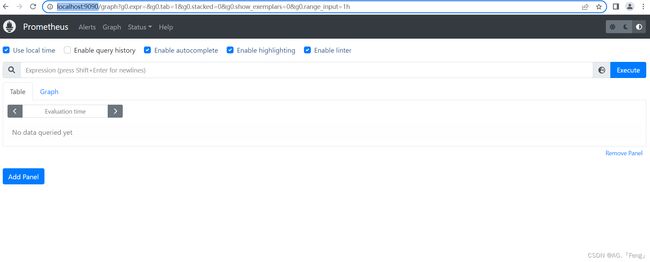
6. 访问prometheus监控
浏览器输入http://localhost:9090/回车
接下来访问Graph,选择metric: process_start_time_seconds 可以看到一条抓起metric的记录

当服务启动之后,我们也可以在控制台上我们的应用信息


7. prometheus测试
在启动类中加上注册核心代码块
public class Application {

    public static void main(String[] args) {
        SpringApplication.run(Application.class, args);
    }

    // 注意,这个是注册的核心代码块
    @Bean
    MeterRegistryCustomizer<MeterRegistry> configurer(@Value("${spring.application.name}") String applicationName) {
        return (registry) -> registry.config().commonTags("application", applicationName);
    }

}
编写测试controller
@Slf4j
@RestController
public class PrometheusController {

    private Random random = new Random();

    @Value("${spring.application.name}")
    private String name;

    // 一个用于演示的http接口
    @GetMapping(path = "hello")
    public String hello() {
        log.info("name=[{}]",name);
        int sleep = random.nextInt(200);
        try {
            Thread.sleep(sleep);
        } catch (InterruptedException e) {
            e.printStackTrace();
        }
        return "hello sleep: " + sleep + " for " + name;
    }
}
浏览器访问接口:http://localhost:8080/hello

进入实例中抓取请求记录
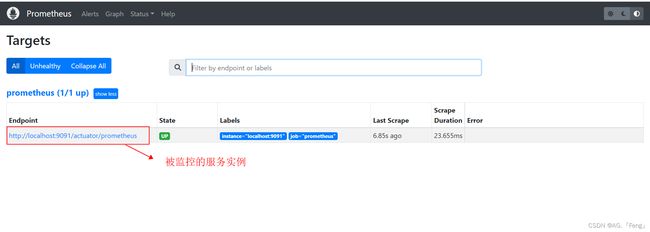

接下来访问Graph,选择metric: http_server_requests_seconds_count
可以看到一条抓起metric的记录
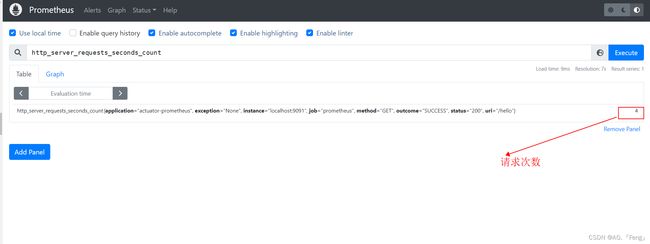
这些数据由框架层直接集成,实现REST接口的相关信息上报,借助这个metric,我们可以实现qps的统计.
二.Grafana接入
1.下载安装包
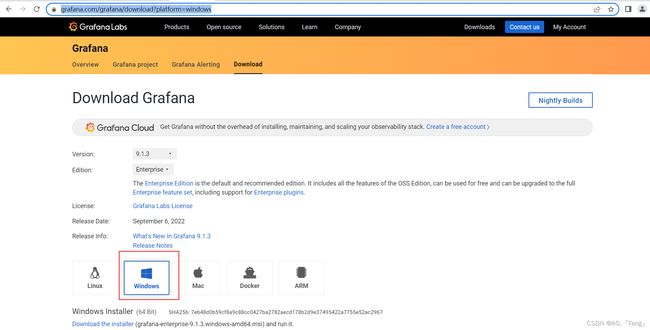
下载地址:https://grafana.com/grafana/download?platform=windows
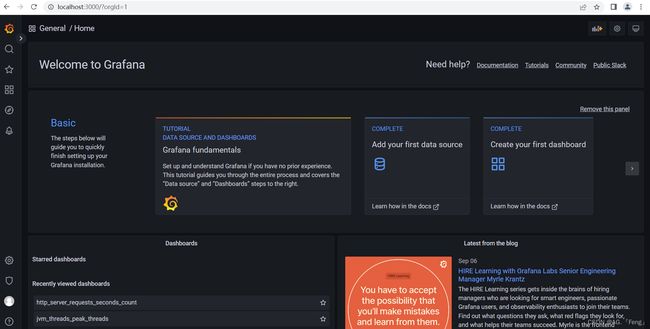
解压后运行bin目录下的grafana-server.exe启动,游览器访问http://localhost:3000即可看到登录页面,默认账号密码是admin/admin。

浏览器访问http://localhost:3000
2. 设置数据源
在设置中找到 Data source
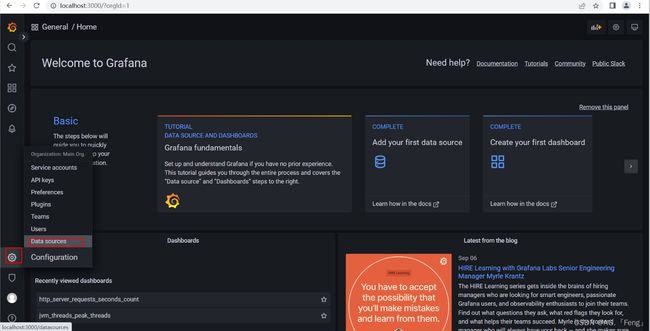
添加data source ,然后选择普罗米修斯


设置name和url,这里的url就是我们的prometheus地址
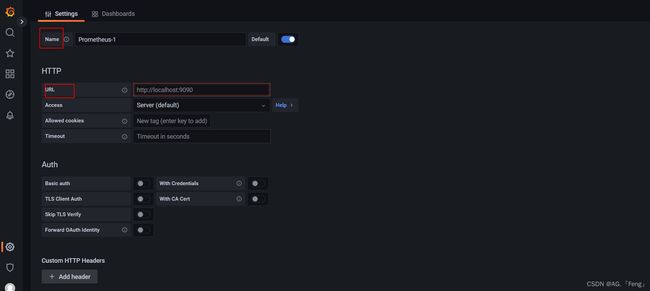
点击下面的save and test链接成功以后我们开始创建监控。
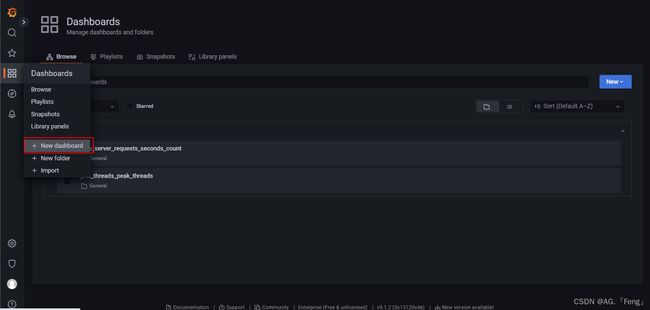
3. 创建监控面板
点击 new dashboard,然后点击 and a new penal
在这个面板我们就可以去编辑我们要监控的数据信息

4. 测试监控
4.1 创建测试接口
这里我们简单写一个接口来测试一下我们的请求次数信息;
public class PrometheusController {

    private Random random = new Random();

    @Value("${spring.application.name}")
    private String name;
    // 一个用于演示的http接口
    @GetMapping(path = "hello")
    public String hello() {
        log.info("name=[{}]",name);
        int sleep = random.nextInt(200);
        try {
            Thread.sleep(sleep);
        } catch (InterruptedException e) {
            e.printStackTrace();
        }
        return "hello sleep: " + sleep + " for " + name;
    }
}
4.2 启动服务
这里要同时启动springboot工程,prometueus和grafana
启动springboot工程
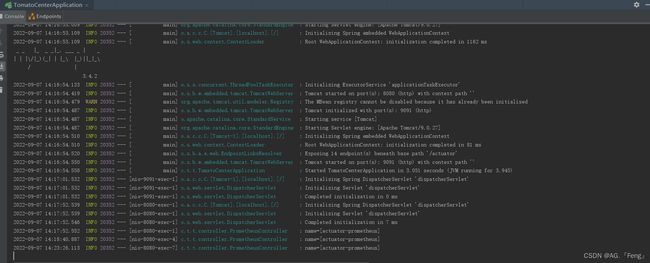
启动prometueus

启动grafana

4.3 创建监控面板

4.4 监控面板Demo
当我们统计的数据多的时候,我们就来可以规划我们的监控面板,下面是我简单统计的几个数据组成的页面,我们可以根据设计然后自定义对我们的监控面板进行排版。

右侧可以设置面板的刷新时间,这样就可以做到实时监控我们的应用数据信息了。