CompressAI:基于pytorch的图像压缩框架使用
前言
CompressAI: a PyTorch library and evaluation platform forend-to-end compression research,我的理解是一个基于图像(视频)压缩的API库。他是建立在 PyTorch 之上的,用于基于深度学习的数据压缩的自定义操作、层和模型,其中包括了基于tensorflow.compression压缩包的部分移植,还包括包括一些用于压缩任务的预训练模型。其中可以直接用到的模型来自以下几篇文献:

- bmshj2018-factorized
Ballé J, Laparra V, Simoncelli E P. End-to-end optimized image compression[C]//ICLR 2017 - bmshj2018-hyperprior
Ballé J, Minnen D, Singh S, et al. Variational image compression with a scale hyperprior[C]//ICLR2018 - mbt2018-mean
Ballé J, Toderici G. Joint autoregressive and hierarchical priors for learned image compression[C]//NIPS 2018. - mbt2018
Minnen D, Ballé J, Toderici G. Joint autoregressive and hierarchical priors for learned image compression[C]//NIPS 2018. - cheng2020-anchor
Cheng Z, Sun H, Takeuchi M, et al. Learned Image Compression With Discretized Gaussian Mixture Likelihoods and Attention Modules[C]//CVPR 2020 - cheng2020-attn
Cheng Z, Sun H, Takeuchi M, et al. Learned Image Compression With Discretized Gaussian Mixture Likelihoods and Attention Modules[C]//CVPR 2020
注意: bmshj2018-factorized代码里使用的熵编码方法是Variational image compression with a scale hyperprior提出的全分解方法。官方的tensorflow库里也改了的。
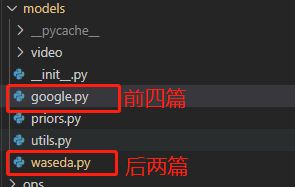
以上六篇论文在代码中对应关系如下

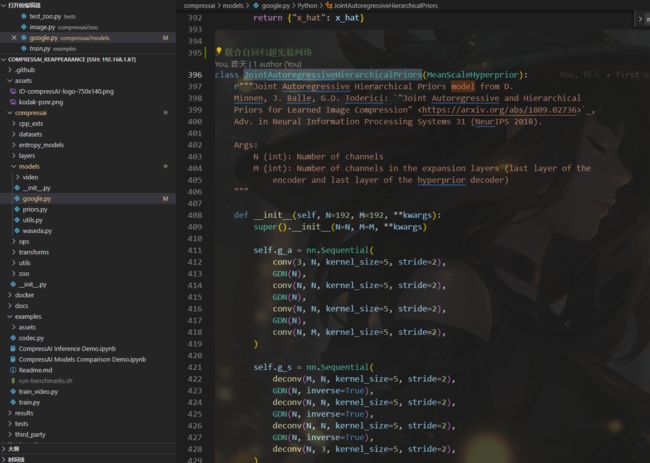
前四个位于google.py中,后两个位于waseda.py中
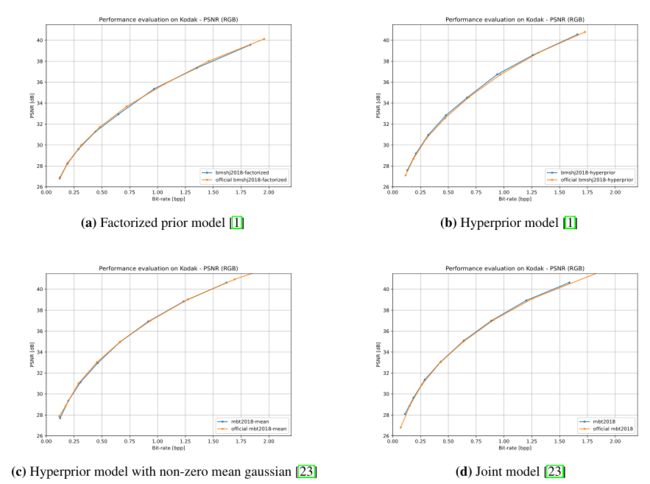
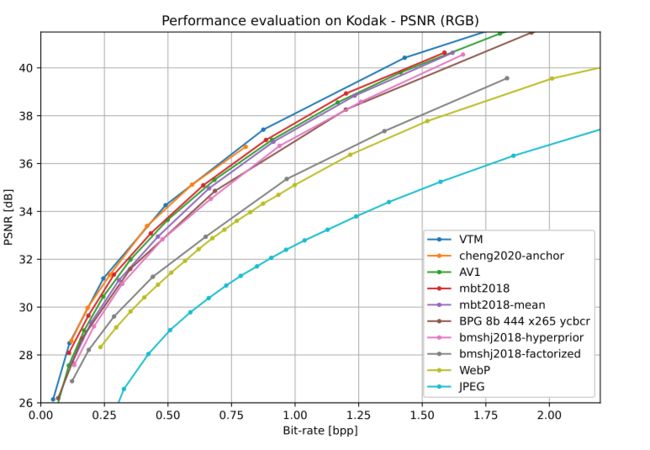
同时提供了与原作者实验对比的测试数据的性能值
并且可以与传统的算法比较效果

相关地址
github:github地址
compressAi简介:简介说明以及使用说明
环境安装
1、pytorch环境
整个项目基于pytorch环境,安装过程可以参考pytorch-gpu版本安装
2、compressai安装
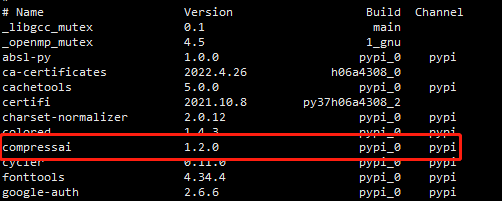
(1)普通版本
pip install compressai
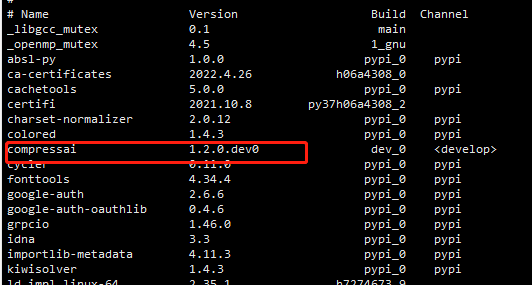
(2)开发版本
git clone https://github.com/InterDigitalInc/CompressAI compressai
cd compressai
pip install -U pip && pip install -e .
python
import compressai
这样一来可以直接在对应环境中引入compressai进行调用
import compressai.models as models
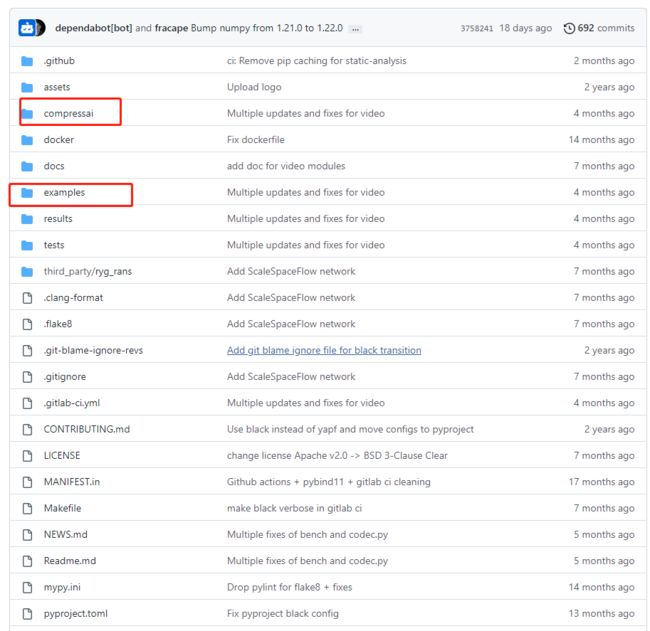
1、总览文件结构
1、compressai
2、example
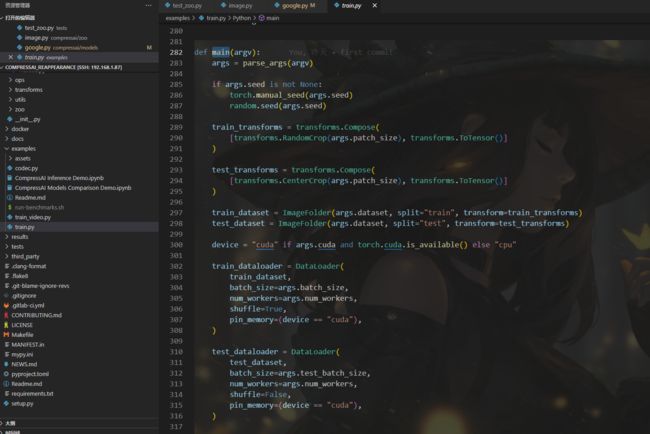
example下包含了一些代码使用的案例,还有train.py
我这里着重看了train.py,包含了我们设置的一些参数以及训练模型的主要流程,调用这个py文件通过命令的方式进行,在命令中设置数据集地址、训练参数等信息,调用此文件进行训练
2、使用方法
1、准备数据集
首先我们要在特定文件夹下放好数据集,根据官方给的地址是/path/to/my/image/dataset/,我们这里采用我们存放数据集的地址,该数据集文件夹下分为了两个部分,一个train,一个test,这部分可以和train.py的代码中看到,根据字符串截取获取了对应数据集的文件

2、通过命令行进行调用train.py
官方给的命令是
python3 examples/train.py -d /path/to/my/image/dataset/ --epochs 300 -lr 1e-4 --batch-size 16 --cuda --save
相关命令说明在代码里有
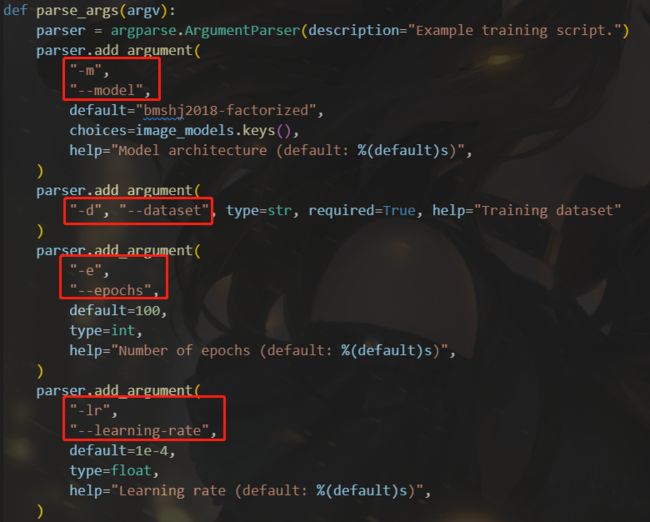
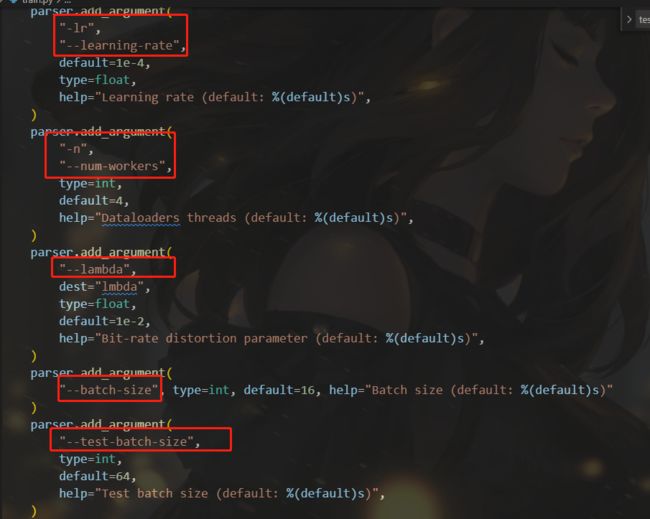
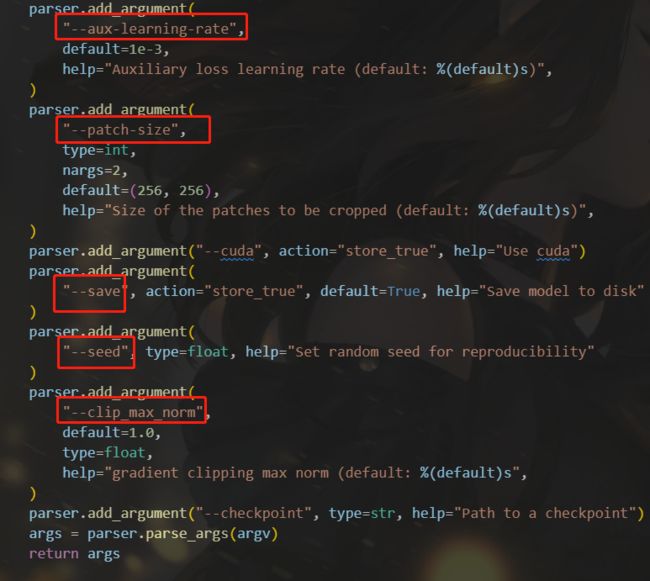
我们将根据我们需要的命令、数据集地址、调用的模型等参数进行修改
整理训练过程
- 加载训练命令,如上述图片的数据集、 e p o c h epoch epoch、学习率、 p a t c h s i z e patchsize patchsize、随机种子等
- 对数据集图片进行剪裁
分别读取train训练数据集与test测试数据集的图片,剪裁大小 p a t c h s i z e patchsize patchsize初始值是256,train训练集随机剪裁成 p a t c h s i z e ∗ p a t h s i z e patchsize*pathsize patchsize∗pathsize,test测试数据集中心剪裁成 p a t c h s i z e ∗ p a t h s i z e patchsize*pathsize patchsize∗pathsize - 加载剪裁好的两个数据集,以及训练相关数据如 b a t c h s i z e batchsize batchsize等
- 读取需要训练的模型网络、进行优化器的初始设置
- 训练前先判断是否在之前有保存的节点,有则继续训练,无则重新开始
- 对train训练集以及test测试集分别带入优化器进行梯度下降,开始模型训练
- 损失收敛后训练完成,保存模型以及相应的节点
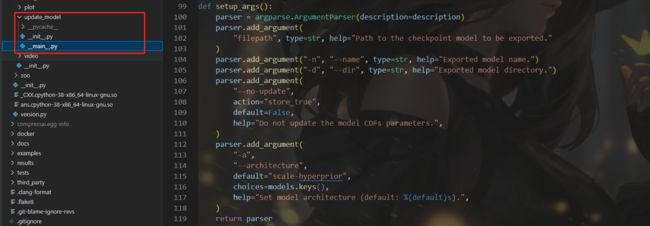
3、更新CDF保证熵编码的正常运行(模型地址与1保持一致)
python -m compressai.utils.update_model --architecture ARCH checkpoint_best_loss.pth.tar
ARCH可换成对应训练的模型如mbt2018

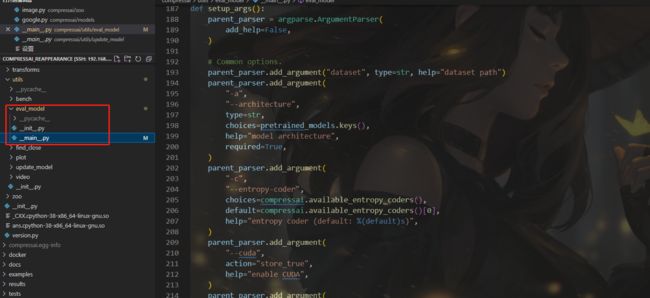
相关代码可以见
4、评价模型,获取性能值
评估训练模型
python3 -m compressai.utils.eval_model checkpoint /path/to/images/folder/ -a $ARCH -p $MODEL_CHECKPOINT...
python -m compressai.utils.eval_model checkpoint /path/to/image/dataset -a ARCH -p path/to/checkpoint-xxxxxxxx.pth.tar
评估预训练模型
python3 -m compressai.utils.eval_model pretrained /path/to/images/folder/ -a $ARCH -q $QUALITY_LEVELS...
# 评估模型
def eval_model(model, filepaths, entropy_estimation=False, half=False):
    device = next(model.parameters()).device
    metrics = defaultdict(float)
    for f in filepaths:
        x = read_image(f).to(device)
        if not entropy_estimation:
            if half:
                model = model.half()
                x = x.half()
            rv = inference(model, x)
        else:
            rv = inference_entropy_estimation(model, x)
        for k, v in rv.items():
            metrics[k] += v
    for k, v in metrics.items():
        metrics[k] = v / len(filepaths)
    return metrics
其中inference_entropy_estimation、inference主要是通过模型的前向传播,通过输入图像x,获取重建图像x_hat,有了这两个对比值即可计算相应的性能值
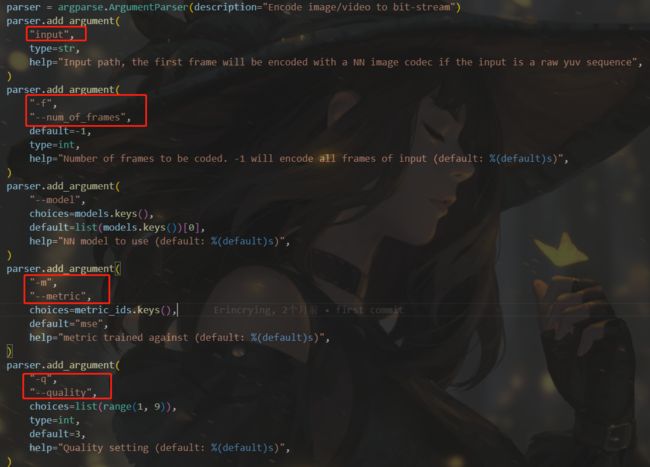
5、调用compressai的codec.py进行编码
python codec.py --cuda --checkpoint /xxx/checkpoint.pth.tar --image xxx/image.bin --mode encode
def encode_image(input, codec: CodecInfo, output):
    if Path(input).suffix == ".yuv":
        # encode first frame of YUV sequence only
        org_seq = RawVideoSequence.from_file(input)
        bitdepth = org_seq.bitdepth
        max_val = 2**bitdepth - 1
        if org_seq.format != VideoFormat.YUV420:
            raise NotImplementedError(f"Unsupported video format: {org_seq.format}")
        x = convert_yuv420_rgb(org_seq[0], codec.device, max_val)
    else:
        img = load_image(input)
        x = img2torch(img)
        bitdepth = 8

    h, w = x.size(2), x.size(3)
    p = 64  # maximum 6 strides of 2
    x = pad(x, p)

    with torch.no_grad():
        out = codec.net.compress(x)

    shape = out["shape"]

    with Path(output).open("wb") as f:
        write_uchars(f, codec.codec_header)
        # write original image size
        write_uints(f, (h, w))
        # write original bitdepth
        write_uchars(f, (bitdepth,))
        # write shape and number of encoded latents
        write_body(f, shape, out["strings"])

    size = filesize(output)
    bpp = float(size) * 8 / (h * w)

    return {"bpp": bpp}
整理编码部分流程如下
- 将输入转换为对应名称的二进制bin文件
- 按给定途径读取图片,补零转换为我们所需格式的tensor
- 调用模型网络中的compress方法,获取对应压缩后的输出out以及记录下对应的shape信息
- 记录bin文件(原始图片)的对应图片的尺寸、位深,结合原始bin文件尺寸信息以及经过压缩后的输出out与输出out的shape共同一起输出对应的文件流
- 计算文件流的大小以及相应的图片尺寸,通过 b i t / ( h ∗ w ) bit/(h*w) bit/(h∗w),计算bpp
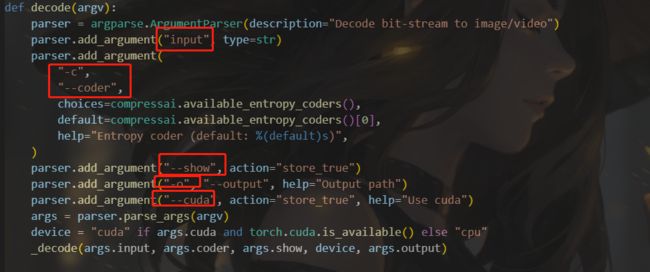
6、调用compressai的codec.py进行解码
python codec.py --cuda --checkpoint /xxx/checkpoint.pth.tar --image /xxx.png --input /xxx.bin --output /xxxrec.png --mode decode --show False
主要代码部分如下
def decode_image(f, codec: CodecInfo, output):
    strings, shape = read_body(f)
    with torch.no_grad():
        out = codec.net.decompress(strings, shape)

    x_hat = crop(out["x_hat"], codec.original_size)

    img = torch2img(x_hat)

    if output is not None:
        if Path(output).suffix == ".yuv":
            rec = convert_rgb_yuv420(x_hat)
            with Path(output).open("wb") as fout:
                write_frame(fout, rec, codec.original_bitdepth)
        else:
            img.save(output)

    return {"img": img}
整理解码程序如下
- 读取之前编码压缩的.bin文件
- 将其转为为压缩码流,送入网络的decompress方法,获取重建后图片tensor:x_hat
- 将重建后的图片转换为对应的图片输出保存
具体实例的使用我将再写一篇博客进行记录Joint Autoregressive and Hierarchical Priors for Learned Image Compression文献复现
