TinaFace完整复现及其搭建自己的网络模型
1. conda环境准备
首先,按照mmdetection操作步骤创建好虚拟环境,并安装好mmcv、mmdet等安装包
然后,下载TinaFace项目代码:
git clone https://github.com/Media-Smart/vedadet.git
cd vedadet
vedadet_root=${PWD}
最后,编译vedadet项目,执行:
pip install -r requirements/build.txt
pip install -v -e .
特别注意:如果在安装过程中出现问题,可以参考我之前讲的文章:
RuntimeError: Error compiling objects for extension 和nvcc fatal : Unsupported gpu architecture ‘c
RuntimeError: CUDA unknown error - this may be due to an incorrectly set up environment, e.g. changi
2. 数据集准备
2.1 WIDER FACE数据集下载可以去官方网站下载,但是下载速度很慢,可以从我分享的百度网盘中下载:WIDER FACE数据集百度云盘下载
2.2 下载好的数据集格式及其位置放置,可以参考我的文章:
mmdetection在wider face数据集上训练人脸检测网络
注意:mmdetection和vedadet中的格式变量的问题,按照vedadet中的要求的更改一下就好了
3. 模型的训练
vedadet项目中提供了两种模型,分别是:
tinaface_r50_fpn_bn.py
tinaface_r50_fpn_gn_dcn.py
单GPU训练:
CUDA_VISIBLE_DEVICES="0" python tools/trainval.py configs/trainval/tinaface/tinaface_r50_fpn_bn.py --workdir {your save weights.pth directory}
多GPU分布式训练:
tools/dist_trainval.sh configs/trainval/tinaface/tinaface_r50_fpn_bn.py "0,1,2,3" --workdir {your save weights.pth directory}
上面中的–workdir当不指定值时,默认权重文件保存在./workdir/tinaface_r50_fpn_bn/文件下
4. 模型性能测试与评估
4.1 首先进入项目Python_RetinaFace中将widerface_evaluate目录下载到./tools/文件下,如下:

进入widerface_evaluate目录中,执行命令:
python3 setup.py build_ext --inplace
编辑项目后如下:
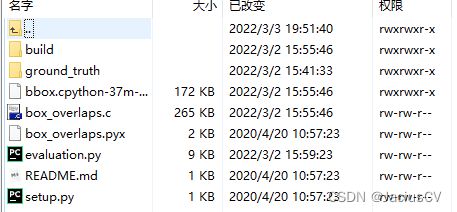
4.2 执行命令测试性能结果:
python configs/trainval/tinaface/test_widerface.py configs/trainval/tinaface/tinaface_r50_fpn_bn.py weight_path
将会在./eval_dirs/tmp/tinaface_r50_fpn_bn目录下生成预测结果文件
4.3 评估性能结果:
进入./tools/widerface_evaluate目录下,执行命令:
python evaluation.py
==================== Results ====================
Easy Val AP: 0.9557170745272141
Medium Val AP: 0.9511199313795495
Hard Val AP: 0.9168022451452875
TinaFace官网性能测试结果如下:

在medium任务和hard任务中,性能稍低于官方。
4.3 推理测试效果:
执行命令:
CUDA_VISIBLE_DEVICES="0" python tools/infer.py configs/infer/tinaface/tinaface_r50_fpn_bn.py image_path
注意:该推理过程中的执行的config文件与训练中的config文件有差异
5. 自己设计相关模型,训练测试结果
也可以借助该框架的优势,自己设计相关模型,并测试效果。
==================== Results ====================
Easy Val AP: 0.9661099059710743
Medium Val AP: 0.9600357116597251
Hard Val AP: 0.9329109491075581