【mediapipe】在Anaconda下配置体态识别环境
在Anaconda下配置体态识别环境
- 前言
- 一、anaconda是什么
-
- 下载anaconda
- 安装anaconda
- 二、配置虚拟环境
-
- 在 anaconda prompt中配置虚拟环境
- 进入虚拟环境
-
- 虚拟环境检验
- mediapipe
-
- 什么是mediapipe
- 安装mediapipe
- OpenCV
-
- 什么是OpenCV
- 安装OpenCV
- OpenCV检验
- 在虚拟环境安装jupyter notebook
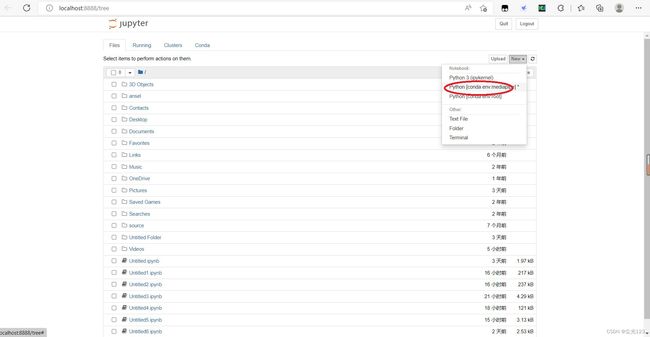
- 打开jupyter notebook
- 安装过程中可能出现的问题
-
- 1.版本问题
- 2. mediapipe安装失败或缺少module怎么解决
- 调用摄像头检测手部关键点(代码)
- 总结
前言
最近开始做体态识别的项目,环境配置对于萌新(纯小白)相当相当不友好,我经历数次配置失败,总结出一套正确的安装方法。在此记录一下在Anaconda下安装mediapipe环境走的流程以及在每一步中自己以及同学遇见的问题,希望对大家有帮助。
一、anaconda是什么
Anaconda是一个安装、管理python相关包的软件,还自带python、Jupyter Notebook、Spyder,有管理包的conda工具,非常有用。Anaconda指的是一个开源的Python发行版本,其包含了conda、Python等180多个科学包及其依赖项。
下载anaconda
这是anaconda官网链接,在官网上下载:https://www.anaconda.com

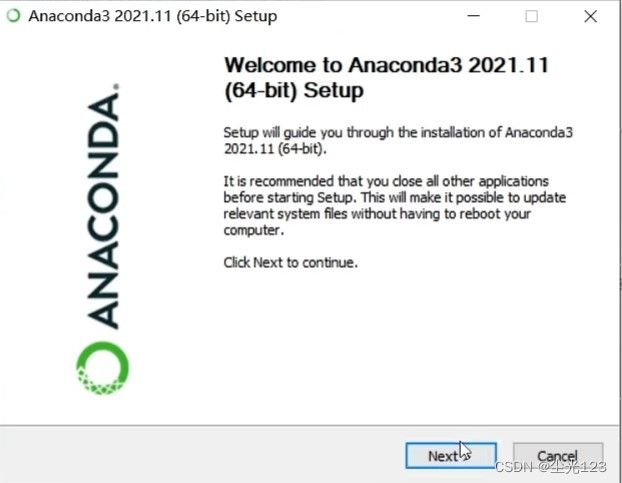
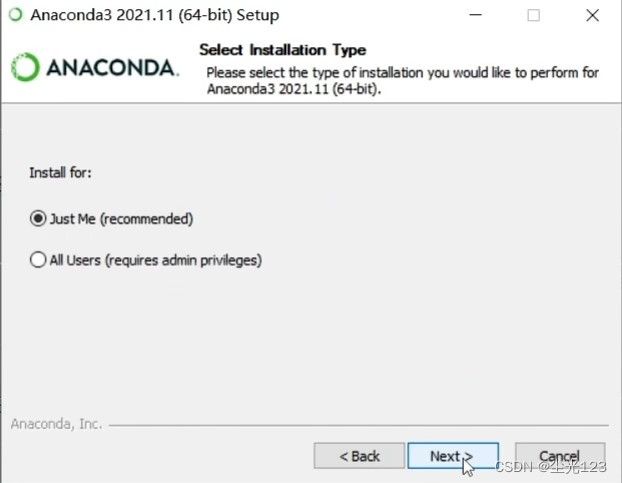
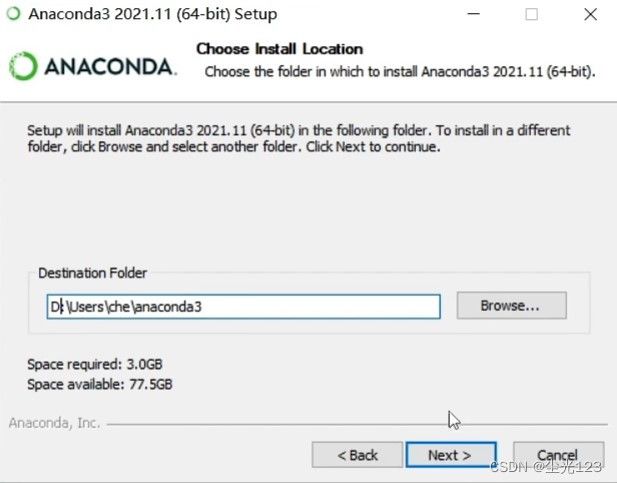
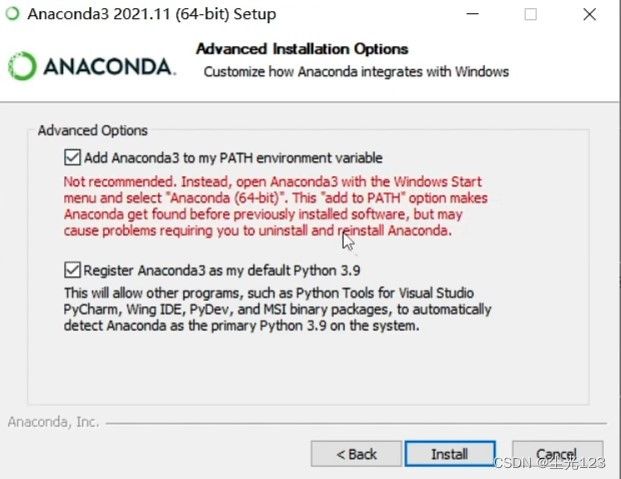
安装anaconda
二、配置虚拟环境
在 anaconda prompt中配置虚拟环境
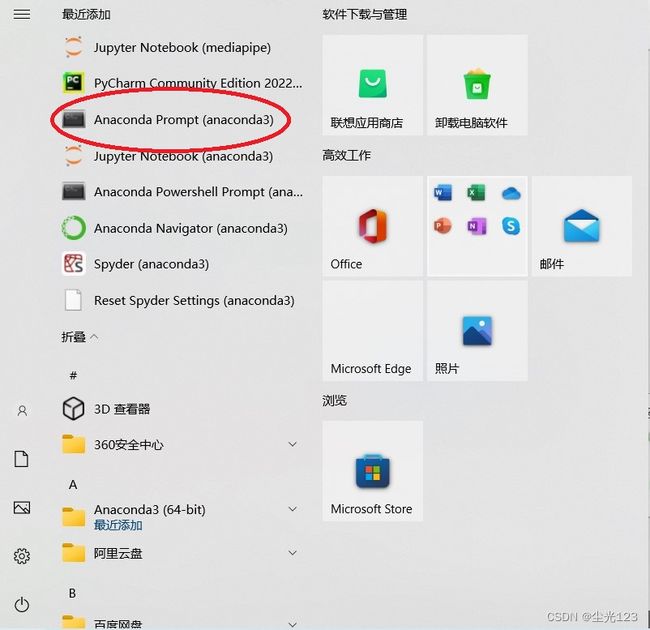
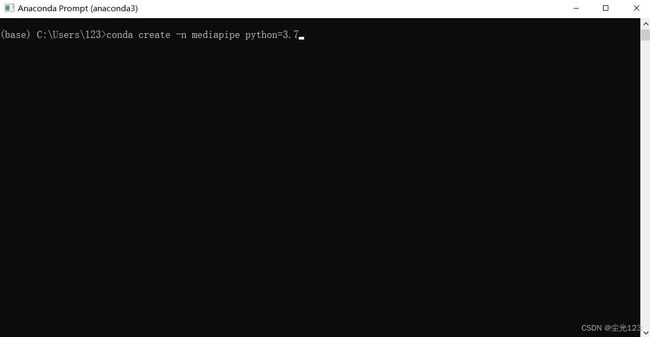
打开anaconda prompt后,输入如下代码搭建环境,环境名字叫mediapipe(可自定义),基于python3.7
conda create -n mediapipe python=3.7
中间会出现([y]/[n]?)键入y等待安装完毕即可。
进入虚拟环境
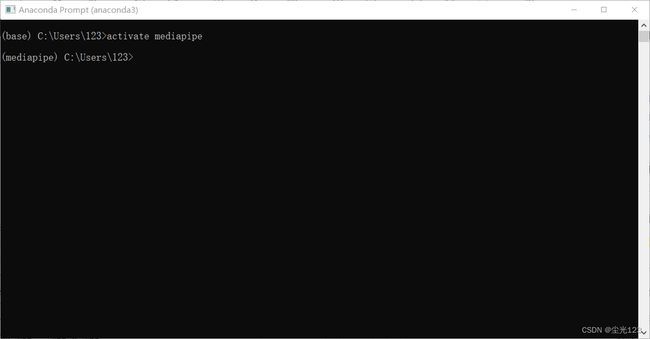
配置完虚拟环境后,输入以下代码进入虚拟环境
activate mediapipe
虚拟环境检验
mediapipe
什么是mediapipe
Mediapipe是google的一个开源项目,支持跨平台的常用ML方案。很多常用的AI功能它都支持,举几个常用的例子:
人脸检测
FaceMesh: 从图像/视频中重建出人脸的3D Mesh,可以用于AR渲染
人像分割: 从图像/视频中把人分割出来,可用于视频会议,像Zoom/钉钉都有这样的功能
手势跟踪:可以标出21个关键点的3D坐标
人体姿态估计: 可以给出33个关键点的3D坐标
头发上色:可以把头发检测出来,并图上颜色
安装mediapipe
关闭anaconda prompt重新进入mediapipe环境,输入以下代码回车安装
pip install mediapipe
或
pip install mediapipe -i https://pypi.douban.com/simple
pip install mediapipe为国外源,下载速度较慢
pip install mediapipe -i https://pypi.douban.com/simple为国内源,下载速度快
国内源与外国源版本并不一致
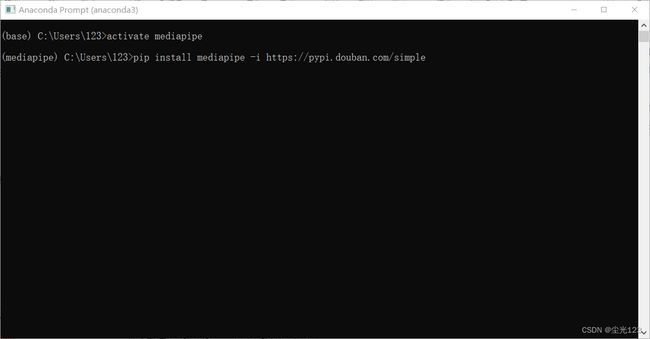
中间会出现([y]/[n]?)键入y等待安装完毕即可
如果安装失败或出现问题请看文章末尾解决方法
OpenCV
什么是OpenCV
OpenCV是一款由Intel公司俄罗斯团队发起并参与和维护的一个计算机视觉处理开源软件库,支持与计算机视觉和机器学习相关的众多算法,并且正在日益扩展。OpenCV基于C++实现,同时提供python, Ruby, Matlab等语言的接口。OpenCV-Python是OpenCV的Python API,结合了OpenCV C++ API和Python语言的最佳特性。
安装OpenCV
在虚拟环境输入以下代码,安装OpenCV
pip install opencv-python
中间如果出现([y]/[n]?)键入y等待安装完毕即可
安装OpenCV拓展(一些特征提取算法在OpenCV中没有,需要安装拓展)
在虚拟环境输入以下代码安装拓展
pip install opencv-contrib-python
OpenCV检验
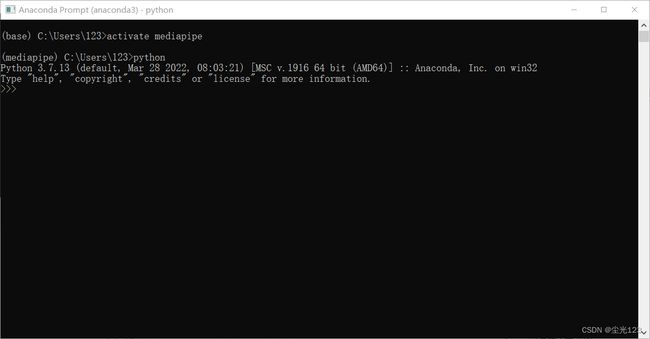
在虚拟环境中输入python后回车
然后按下图所示
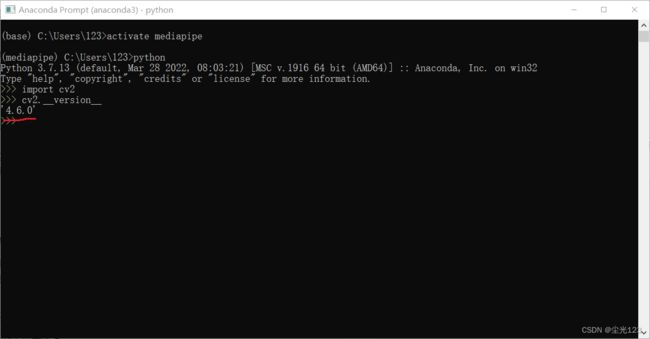
出现图中所示即为安装成功
在虚拟环境安装jupyter notebook
在虚拟环境输入以下代码
pip install requests -i https://pypi.douban.com/simple
完成后再输入以下代码
conda install nb_conda
中间会出现([y]/[n]?)键入y等待安装完毕即可
打开jupyter notebook
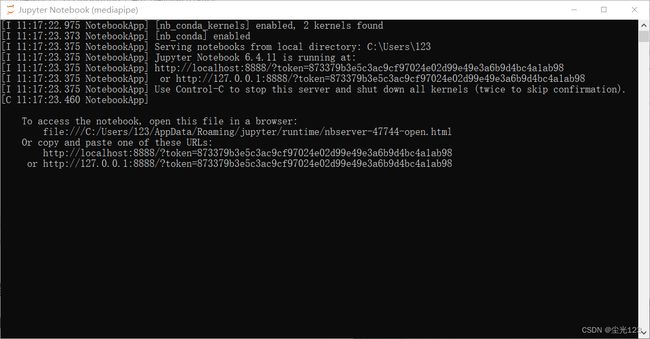
在虚拟环境输入以下代码
jupyter notebook
在此界面按Ctrl+c可退出jupyter notebook
安装过程中可能出现的问题
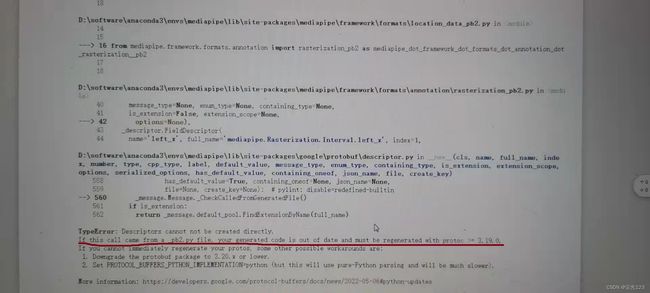
1.版本问题
解决方法:
在虚拟环境中输入以下代码
pip uninstall protobuf
中间会出现([y]/[n]?)键入y等待安装完毕即可
2. mediapipe安装失败或缺少module怎么解决
安装失败或者在使用过程中缺少model,可卸载mediapipe重装
在虚拟环境中输入以下代码卸载mediapipe
pip uninstall mediapipe
中间会出现([y]/[n]?)键入y等待完毕即可
然后在虚拟环境输入以下代码重新安装
pip install mediapipe -i https://pypi.douban.com/simple
中间会出现([y]/[n]?)键入y等待安装完毕即可
国内源与国外源的版本并不一致
调用摄像头检测手部关键点(代码)
在jupyter notebook中输入以下代码实现
import sys
import cv2
import mediapipe as mp

mp_face_detection = mp.solutions.face_detection
mp_drawing = mp.solutions.drawing_utils
mp_drawing = mp.solutions.drawing_utils
mp_hands = mp.solutions.hands
# For webcam input:
cap = cv2.VideoCapture(0)
with mp_hands.Hands(
        min_detection_confidence=0.9,
        min_tracking_confidence=0.9) as hands:
    while cap.isOpened():
        success, image = cap.read()
        if not success:
            print("Ignoring empty camera frame.")
            # If loading a video, use 'break' instead of 'continue'.
            continue

        # Flip the image horizontally for a later selfie-view display, and convert
        # the BGR image to RGB.
        image = cv2.cvtColor(cv2.flip(image, 1), cv2.COLOR_BGR2RGB)
        # To improve performance, optionally mark the image as not writeable to
        # pass by reference.
        image.flags.writeable = False
        results = hands.process(image)

        # Draw the hand annotations on the image.
        image.flags.writeable = True
        image = cv2.cvtColor(image, cv2.COLOR_RGB2BGR)
        if results.multi_hand_landmarks:
            for hand_landmarks in results.multi_hand_landmarks:
                mp_drawing.draw_landmarks(
                    image, hand_landmarks, mp_hands.HAND_CONNECTIONS)
        cv2.imshow('MediaPipe Hands', image)
        if cv2.waitKey(5) & 0xFF == 27:
            break
cap.release()
总结
配置环境过程中遇到的问题,解决的方法都在文中写了,最初配置时也是经历了多次失败才成功,也是收获良多。
