Apple Sign in with Apple(苹果授权登录PHP)
Apple Sign in with Apple(苹果授权登录PHP)
文章目录
- Apple Sign in with Apple(苹果授权登录PHP)
- 一、登录Apple Developer
- 二、创建应用ID
- 三、创建服务ID
- 四、为客户端身份验证创建私钥
- 五、前端代码
- 六、PHP代码
提示:首先apple授权登录需要apple开发者账号,申请apple开发者账号的教程网上有很多,这里就不详细讲了。
一、登录Apple Developer
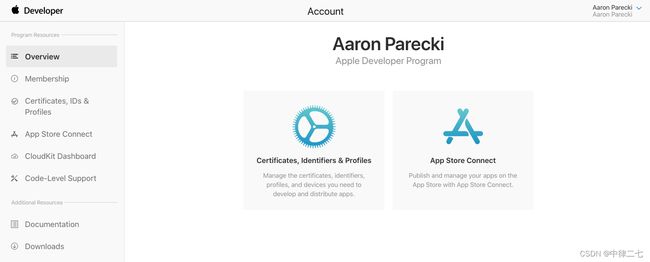
登录Apple Developer Portal 并点击Certificates, Identifiers and Profiles
二、创建应用ID
从边栏中,选择Identifiers,然后单击蓝色加号图标。
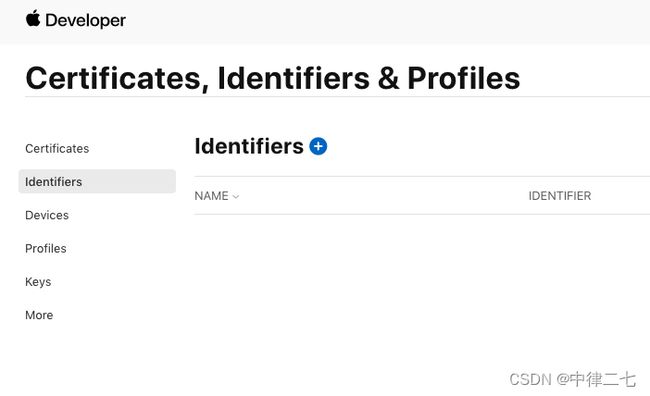
在第一步中选择App ids

在下一页中选择描述和 Bundle ID,描述不是很重要随便写写就好了
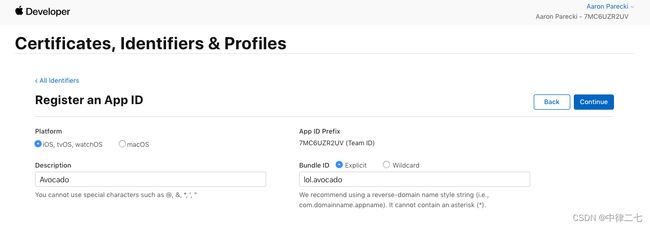
在此示例中,我使用的是lol.avocado因为此应用程序将在其上运行的域是avocado.lol
还需要向下滚动列表并选中Sign In with Apple
![]()
三、创建服务ID
服务 ID 将标识你的应用程序的特定实例,并用作 OAuth client_id。
继续创建一个新标识符并选择Services IDs。

点击下一步,定义用户在登录流程中将看到的应用程序的名称,以及定义成为 OAuth 的标识符client_id。然后继续选中Sign In with Apple复选框。
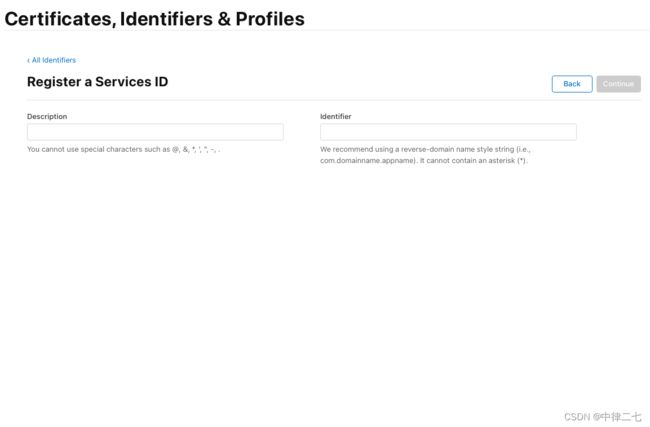
在此步骤中,还需要单击“Sign In with Apple”旁边的“Edit”按钮。您将在此处定义运行应用程序的域,以及定义 OAuth 流程期间使用的重定向 URL。
Returns URLs重定向URL
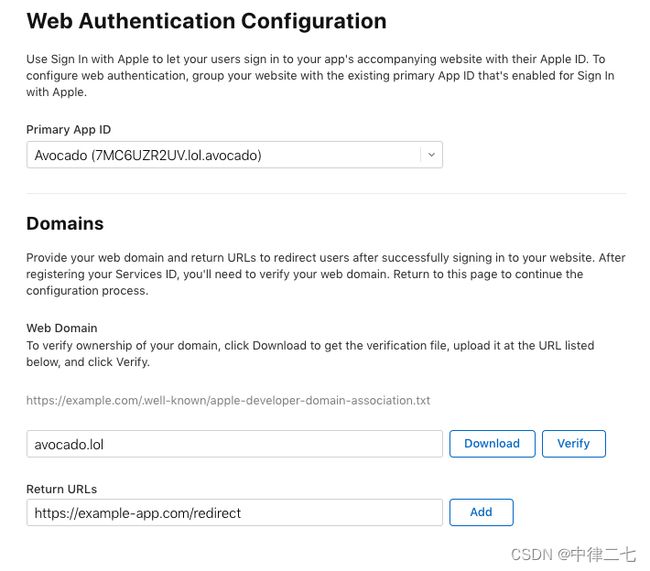
Primary App ID选择刚刚创建的 App ID,继续并单击保存,然后单击继续并注册,直到此步骤全部确认。
到此,你已经创建了一个用于授权登录的应用。Identifier 是您的 OAuth client_id。
四、为客户端身份验证创建私钥
Apple 创建私钥并不是使用简单的使用字符串作为 OAuth客户端secret,其中客户端secret实际上是签名的 JWT。
返回主页面、从侧面导航中选择keys。
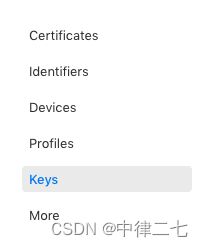
单击蓝色加号图标以注册新密钥。为您的密钥命名,然后选中Sign In with Apple复选框。
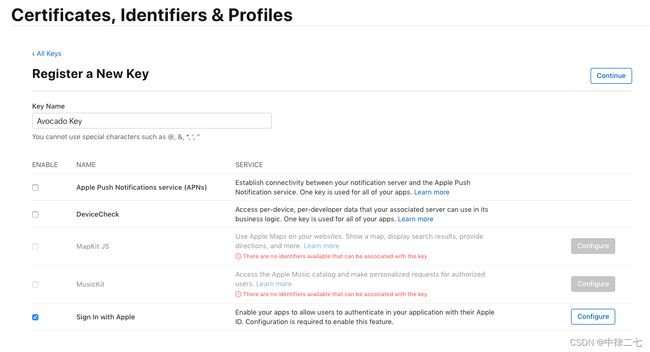
单击配置按钮并选择之前创建的主 App ID。
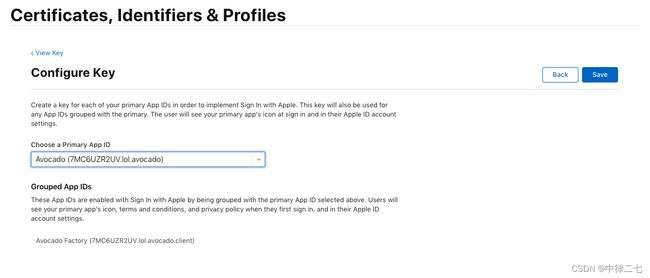
Apple会为你生成一个新的私钥,并且只允许你下载一次。确保保存此文件,因为您以后将无法再取回它!下载的文件将以.p8结尾 。

最后,返回并查看密钥信息,找到在授权登录需要的key ID。
到这一步需要的信息基本上都已经创建完成并拿到了,我们现在开始走后续的授权登录,上代码!!!
五、前端代码
<button id="sign-in-with-apple-button"> Sign In with Apple button>
<script type="text/javascript" src="https://appleid.cdn-apple.com/appleauth/static/jsapi/appleid/1/en_US/appleid.auth.js">script>
<script type="text/javascript">
    AppleID.auth.init({
        clientId : 'xxxx',//这里传刚才创建的client_id
        scope : 'name email',//这里是你需要用户授权的数据
        redirectURI: '',//重定向url
        state : 'DE',

    });

    const buttonElement = document.getElementById('sign-in-with-apple-button');
    buttonElement.addEventListener('click', () => {
        AppleID.auth.signIn();
    });
script>
授权成功后会自动已post的方式跳转到redirect_url,并携带以下参数:
    {
    	"state":"",
    	"code":"c503f502678114d2280b2b4368da5b8bf.0.rrtuz.ATttQHZoLisrekaOatIpaw",//授权码
    	"id_token":"xxxxxxxxxxxxxxxxxxx",//id_token,这个使用不到,因为还需要用code去请求token
    	"user": "{"name":{"firstName":"xxxx","lastName":"xxxxx"},"email":"xxxx"}"//授权的用户信息
    }
六、PHP代码
下载apple授权登录客户端
git地址:https://github.com/liushaobo-maker/sign-in-with-apple-php-client
使用方法:
	$client = new AppleClient([
		'client_id' => $config['client_id'], // 这里就是应用的APPID
		'redirect_uri' => $this->_redirectUri,
	]);
	$token = $client->fetchAccessToken($input['code']);//这里是刚才请求过来的code
	$accountInfo = $client->getUser()->getUserInfo();
?>