flutter调用api
在本文中,我们将看一下如何快速进行API调用并使用简单的REST API。
在这里查看我在Flutter上的其他一些帖子:
- Flutter vs React Native
- 了解Flutter中的BLoC架构 (强烈建议)
- 在Flutter中构建ListView(RecyclerView) (推荐)
我们将创建一个简单的应用程序,在其中我将对以下网址进行API调用: https : //jsonplaceholder.typicode.com/posts并在列表中打印出标题。
这将演示如何在flutter中进行API调用以及如何使用convert包解码json 。 所以,让我们开始吧。
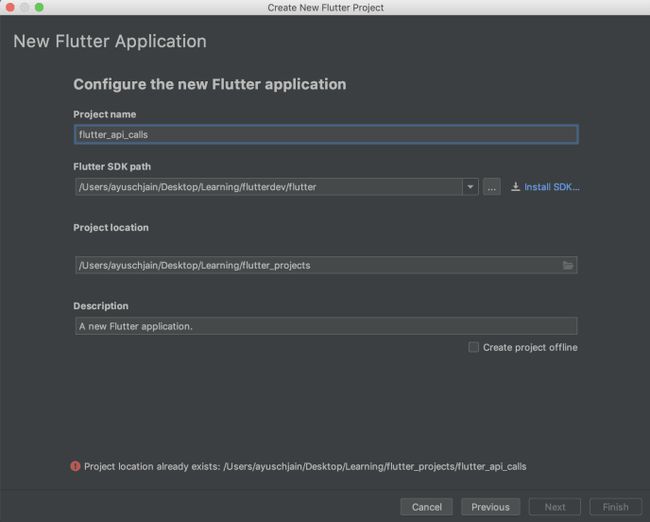
首先,在Android Studio中创建一个新的flutter项目,并根据需要命名。
我将其命名为: flutter_api_calls 。
接下来,清除您获得的所有样板代码。 我们将从头开始编写所有内容。
接下来,我将设置项目的框架。 这意味着添加一个AppBar,一个脚手架并编写主要功能。
看起来像这样
 import 'package:flutter/material.dart' ;  void main() => runApp(MyApp());  MyApp class extends StatelessWidget {
   // This widget is the root of your application.
   @override
   Widget build(BuildContext context) {
     return MaterialApp(
       title: 'Flutter Demo' ,
       theme: ThemeData(
         primarySwatch: Colors.blue,
       ),
       home: MyHomePage(title: 'Flutter Api Call' ),
     );
   }  }  class MyHomePage extends StatefulWidget {
   MyHomePage({Key key, this .title}) : super (key: key);
   final String title;
   @override
   _MyHomePageState createState() => _MyHomePageState();  }  class _MyHomePageState extends State {
   @override
   Widget build(BuildContext context) {
     return null ;
} } 首先,我们需要在pubspec.yaml文件中包含http包。 在依赖项下添加此行,该行将显示fld sdk。 这是您的pubspec.yaml的样子:
 name: flutter_api_calls  description: Flutter application to demonstrate api calls.  # The following defines the version and build number for your application.  # A version number is three numbers separated by dots, like 1.2 . 43  # followed by an optional build number separated by a +.  # Both the version and the builder number may be overridden in flutter  # build by specifying --build-name and --build-number, respectively.  # In Android, build-name is used as versionName while build-number used as versionCode.  # Read more about Android versioning at https: //developer.android.com/studio/publish/versioning  # In iOS, build-name is used as CFBundleShortVersionString build-number used as CFBundleVersion. # In iOS, build-name is used as CFBundleShortVersionString while build-number used as CFBundleVersion.  # Read more about iOS versioning at  # https: //developer.apple.com/library/archive/documentation/General/Reference/InfoPlistKeyReference/Articles/CoreFoundationKeys.html  version: 1.0 . 0 + 1  environment:
   sdk: ">=2.1.0 <3.0.0"  dependencies:
   flutter:
     sdk: flutter
   http: ^ 0.12 . 0
   # The following adds the Cupertino Icons font to your application.
   # Use with the CupertinoIcons class for iOS style icons.
   cupertino_icons: ^ 0.1 . 2  dev_dependencies:
   flutter_test:
sdk: flutter 现在,将http包导入到您的main.dart文件中:
import 'package:http/http.dart' as http; 让我们创建一个函数getData(),该函数将从API中获取数据。
Future getData() { } 我们将进行API调用,这可能需要一些时间才能返回响应。 这种情况需要异步编程。
基本上,我们需要等到api调用完成并返回结果。 一旦完成,我们将显示列表。
所以,这就是我们要做的。 我们将使用http对象进行api调用,并等待其完成。
 Future getData() async {
   var response = await http.get(
       Uri.encodeFull( " https://jsonplaceholder.typicode.com/posts " ),
       headers: { "Accept" : "application/json" });
   setState(() {
     data = json.decode(response.body);
   });
   return "Success" ;  }
要在函数中使用await关键字,我们需要将函数标记为异步。 并且任何异步函数都具有Future
为了解码数据,我们使用:
import 'dart:convert' ; 它为我们提供了json.decode()方法,该方法可用于反序列化JSON 。 解码数据后,我们将通知视图层次结构该数据可用,并且可以将其填充到listview中。
这是代码的真正内容。 现在,我们需要向flutter应用程序添加一个列表视图 。
接下来,我们将在flutter应用程序中添加一个listview。 如果您不知道如何在flutter中创建列表视图,请快速阅读我的另一篇文章:
- 阅读: 在Flutter中构建ListView(RecyclerView)
让我们创建一个函数getList(), 如果获取数据 ,它将返回List; 如果响应尚未到达, 则返回“ please wait”消息。
 Widget getList() {
   if (data == null || data.length < 1 ) {
     return Container(
       child: Center(
         child: Text( "Please wait..." ),
       ),
     );
   }
   return ListView.separated(
     itemCount: data?.length,
     itemBuilder: (BuildContext context, int index) {
       return getListItem(index);
     },
     separatorBuilder: (context, index) {
       return Divider();
     },
); } 请注意,我们使用的是ListView.separated而不是普通的ListView.builder 。 原因是此列表视图已内置对分隔项的支持。 我们不需要显式检查索引。
为此构建列表项非常简单。 只需创建一个文本小部件并为其添加一些样式即可。
 Widget getListItem( int i) {
   if (data == null || data.length < 1 ) return null ;
   if (i == 0 ) {
     return Container(
       margin: EdgeInsets.all( 4 ),
       child: Center(
         child: Text(
           "Titles" ,
           style: TextStyle(
             fontSize: 22 ,
             fontWeight: FontWeight.bold,
           ),
         ),
       ),
     );
   }
   return Container(
     child: Container(
       margin: EdgeInsets.all( 4.0 ),
       child: Padding(
         padding: EdgeInsets.all( 4 ),
         child: Text(
           data[i][ 'title' ].toString(),
           style: TextStyle(fontSize: 18 ),
         ),
       ),
     ),
   );  }
您可以在github上找到完整的代码:https://github.com/Ayusch/flutter-api-calls
这是一个非常简单快捷的示例,说明如何开始在flutter中进行API调用。 尽管我建议为您的应用程序遵循适当的体系结构,但不要将所有代码都写在一个地方。
BLoC抖动架构非常强大。 在此处查看: Flutter中的BLoC体系结构 。 这将使您深入了解如何为Flutter应用程序编写健壮的BLoC架构 。
*重要* :加入面向移动开发人员的AndroidVille SLACK工作区,人们可以在这里分享对最新技术的了解,尤其是在Android开发,RxJava,Kotlin,Flutter和一般的移动开发方面 。
翻译自: https://www.javacodegeeks.com/2019/09/how-to-make-an-api-call-in-flutter-rest-api.html
flutter调用api
