NodeJS
1. http
1.1 http状态码
| 分类 | 描述 |
|---|---|
| 1** | 信息 |
| 2** | 成功 |
| 3** | 重定向 |
| 4** | 客户端错误 |
| 5** | 服务器错误 |
1.2 请求方式
-
GET 获取
- 数据放在 url 里面传输的,容量 ≤ 32k
-
POST 发送数据
- 容量大
2. 接收 GET 数据
DOCTYPE html>
<html>
	<head>
		<meta charset="utf-8">
		<title>title>
	head>
	<body>
		<form action="http://localhost:8080/aaa" method="GET">
			用户:<input type="text" name="username">
			密码:<input type="password" name="password">
			<input type="submit" id="" name="" value="提交"/>
		form>
	body>
html>
const http = require('http');
const url = require('url');

let server = http.createServer((req, res) => {
	// 解析 GET 过来的数据
	// 添加参数 true,能将query参数也一起解析了
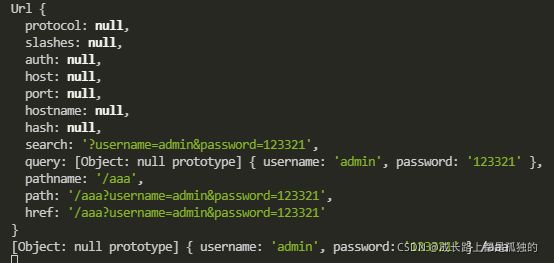
	let result = url.parse(req.url, true);
	let {query, pathname} = result;
	console.log(result);
	console.log(query,pathname);

});


server.listen(8080);
3. 原生处理 POST 数据
3.1 普通数据 —— querystring,url
const http = require('http');
const querystring = require('querystring');
let server = http.createServer((req, res) => {
console.log(req.method); // POST
let arr = [];
// 当有数据
req.on('data',(buffer) => {
// console.log(buffer); // 3.2 文件数据 buffer
-
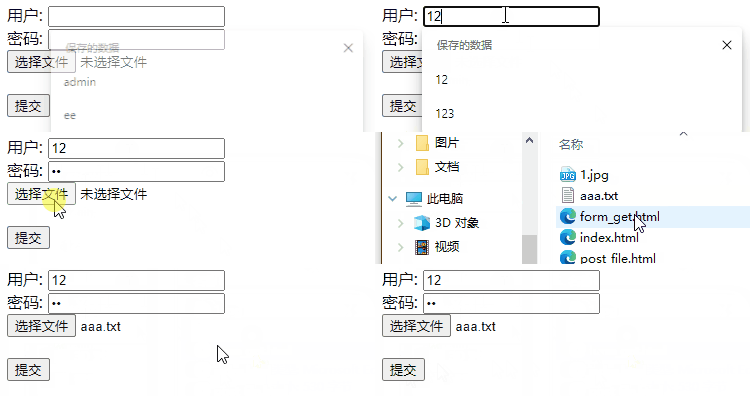
form上传文件,要添加
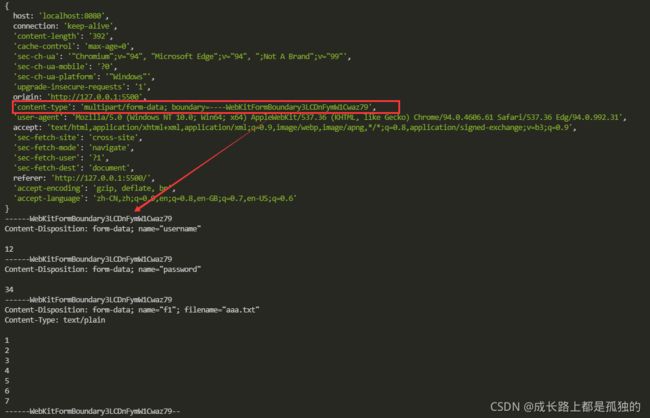
enctype='application/x-www-form-urlencoded',enctype 默认值为 application/x-www-form-urlencoded<form action="http://localhost:8080/upload" method="POST" enctype="multipart/form-data"> 用户: <input type="text" name="username"><br> 密码: <input type="password" name="password"><br> <input type="file" name="f1"><br><br> <input type="submit"> form>const http = require('http'); http.createServer((req, res) => { let arr = []; console.log(req.headers); req.on('data',(buffer) => { arr.push(buffer); }); req.on('end',() => { let buffer = Buffer.concat(arr); console.log(buffer.toString()); }); }).listen(8080); -
在 buffer 中查找
let buffer = new Buffer('abc\r\ndfadsa\r\ndfawfdsafdsa'); console.log(buffer.indexOf('\r\n')); // 3 -
切分方法封装
let buffer = new Buffer('abc\r\ndfadsa\r\ndfawfdsafdsa'); console.log(buffer.indexOf('\r\n')); // 3 function bufferSplit(buffer, delimiter) { let arr = []; let n = 0; while ((n = buffer.indexOf(delimiter)) != -1) { arr.push(buffer.slice(0, n)); buffer = buffer.slice(n + delimiter.length); //跳过分隔符长度 } arr.push(buffer); // 将最后的一块添加进去 return arr; }; console.log(bufferSplit(buffer, '\r\n').map(a => a.toString())); -
源码
const http = require('http');
const fs = require('fs');


function bufferSplit(buffer, delimiter) {
    let arr = [];
    let n = 0;

    while ((n = buffer.indexOf(delimiter)) != -1) {
        arr.push(buffer.slice(0, n));

        buffer = buffer.slice(n + delimiter.length); //跳过分隔符长度
    }
    arr.push(buffer); // 将最后的一块添加进去

    return arr;
};

http.createServer((req, res) => {
    let arr = [];
    let boundary = '--' + req.headers['content-type'].split('; ')[1].split('=')[1]

    req.on('data', (buffer) => {
        arr.push(buffer);
    });
    req.on('end', () => {
        let buffer = Buffer.concat(arr);

        // 按照分隔符切分
        let result = bufferSplit(buffer, boundary);

        // 去掉头 null 和 尾 \r\n--
        result.pop();
        result.shift();

        // 针对其中的每一个处理
        result.forEach(buffer => {
            // 去掉 头尾的 \r\n
            buffer = buffer.slice(2, buffer.length - 2);

            // 使用 \r\n 切
            let n = buffer.indexOf('\r\n\r\n');

            let info = buffer.slice(0, n).toString();
            let data = buffer.slice(n + 4);

            // console.log(info.toString());

            if (info.indexOf('\r\n') != -1) {
                // 文件
                let result2 = info.split('\r\n')[0].split('; ');
                let name = result2[1].split('=')[1];
                let filename = result2[2].split('=')[1];

                // 去除引号
                name = name.substring(1, name.length - 1);
                filename = filename.substring(1, filename.length - 1);


                // 将内容写入
                fs.writeFile(`upload/${filename}`, data, err => {
                    if(err){
                        console.log(err);
                    }else{
                        console.log('上传成功');
                    }
                });

            } else {
                // 普通信息
                // 截取 info 中的 name 值
                let name = info.split('; ')[1].split('=')[1];
                name = name.substring(1, name.length - 1);

                // console.log(name, data.toString());
            }
        })
    });
}).listen(8080);
4. fs
const fs = require('fs');

fs.writeFile('./a.txt', 'abc', err => {
	if (err) {
		console.log("失败",err)
	} else {
		console.log("成功")
	}
});

fs.readFile('./a.txt', (err, data) => {
	if (err) {
		console.log("错误", err);
	} else {
		console.log("成功", data.toString());
	}
})
5. 模块系统
-
require
- 如果带有路径 —— 去路径下找
- 如果没有:
- 去node_modules文件夹找
- 如果没有,再去系统 node_modules去找
-
exports
exports.a = 12; exports.b = 5; -
module 批量导出
module.exports = { a: 12, b: 6 }module.exports = function () { return 1; }module.exports = class { c(name) { this.name = name; } show() { return this.name; } }
6. package.json
- 使用
npm init初始化项目, 会生成一个 package.json 的文件

- 有了package.json文件,直接使用
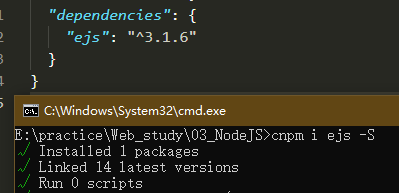
npm install命令,就会在当前目录中安装所需要的模块 npm install xxx --save/npm i xxx -S表示将该模块写入dependencies属性
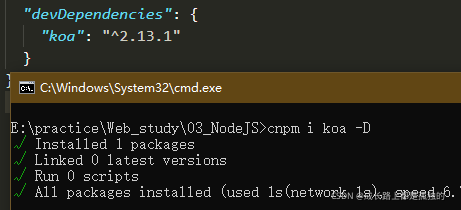
npm install xxx --save-dev/npm i xxx -D表示将该模块写入devDependencies属性
- 同时省略则表示不写入package.json文件中。
7. 系统包
7.1 assert 断言
const assert = require('assert');

// assert(条件,消息);

assert(5 > 3, 'aaa');

// 深度比较
// assert.deepEqual(变量, 预期值, 消息);
// assert.deepStrictEqual(变量, 预期值, 消息); // ===
7.2 path 路径
const path = require('path');

let str = '/root/f/1.jpg';
console.log(path.dirname(str)); // /root/f
console.log(path.extname(str)); //.jpg
console.log(path.basename(str)); // 1.jpg
console.log(path.resolve(str)); // E:\root\f\1.jpg
console.log(path.resolve(str, '../a')); // E:\root\f\a
console.log(path.resolve(str, '../a', './b')) // E:\root\f\a\b
console.log(__dirname); //指向被执行 js 文件的绝对路径
7.3 url
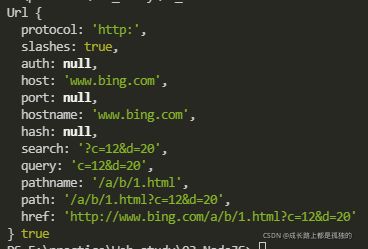
const url = require('url');

let str1 = 'http://www.bing.com/a/b/1.html?c=12&d=20';
console.log(url.parse(str1),true);
7.4 querystring 请求数据
const querystring = require('querystring');

console.log(querystring.parse('a=12&b=22&c=34')); // { a: '12', b: '22', c: '34' }
console.log(querystring.stringify({
    a: '12',
    b: '22',
    c: '34'
})); //a=12&b=22&c=34
7.5 net 网络通信
- Node.js Net 模块提供了一些用于底层的网络通信的小工具,包含了创建服务器/客户端的方法。
7.6 multiparty
const http = require('http');
const multiparty = require('multiparty');

http.createServer((req, res) => {
    let form = new multiparty.Form({
        uploadDir: './upload'
    });

    form.parse(req);

    form.on('field', (name, value) => {
        console.log('字段', name, value);
    });

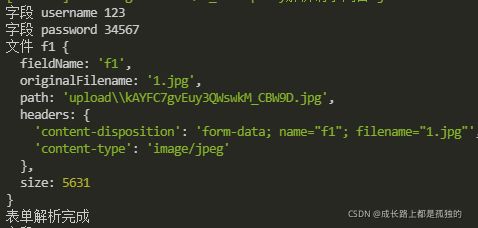
    form.on('file', (name, file) => {
        console.log('文件', name, file);
    });

    form.on('close', () => {
        console.log('表单解析完成');
    });
}).listen(8080);
8. 数据交互
8.1 原生ajax、跨域
- 服务器
const http = require('http'); // 允许访问的域名 let allowOrigin = { 'http://localhsot': true, 'http://127.0.0.1:5500': true } http.createServer((req, res) => { console.log(req.headers); let { origin } = req.headers; if (allowOrigin[origin]) { // 允许跨域 res.setHeader('Access-Control-Allow-Origin', '*') } res.write('{"a":123}'); res.end(); }).listen(8080); - 原生 ajax
DOCTYPE html>
<html lang="en">

<head>
    <meta charset="UTF-8">
    <title>ajax请求title>
head>

<body>
    <input type="button" value="请求" id="btn1">
body>
<script>
    window.onload = function () {
        let oBtn = document.getElementById('btn1');

        oBtn.onclick = function () {
            let ajax = new XMLHttpRequest();

            ajax.open('GET', 'http://localhost:8080', true);

            ajax.send();

            ajax.onreadystatechange = function () {
                if (ajax.readyState == 4) {
                    if (ajax.status >= 200 && ajax.status < 300 || ajax.status == 304) {
                        console.log('成功');
                        let rel = JSON.parse(ajax.responseText)
                        console.log(rel);
                    } else {
                        alert('失败');
                    }
                }
            };
        };
    }
script>

html>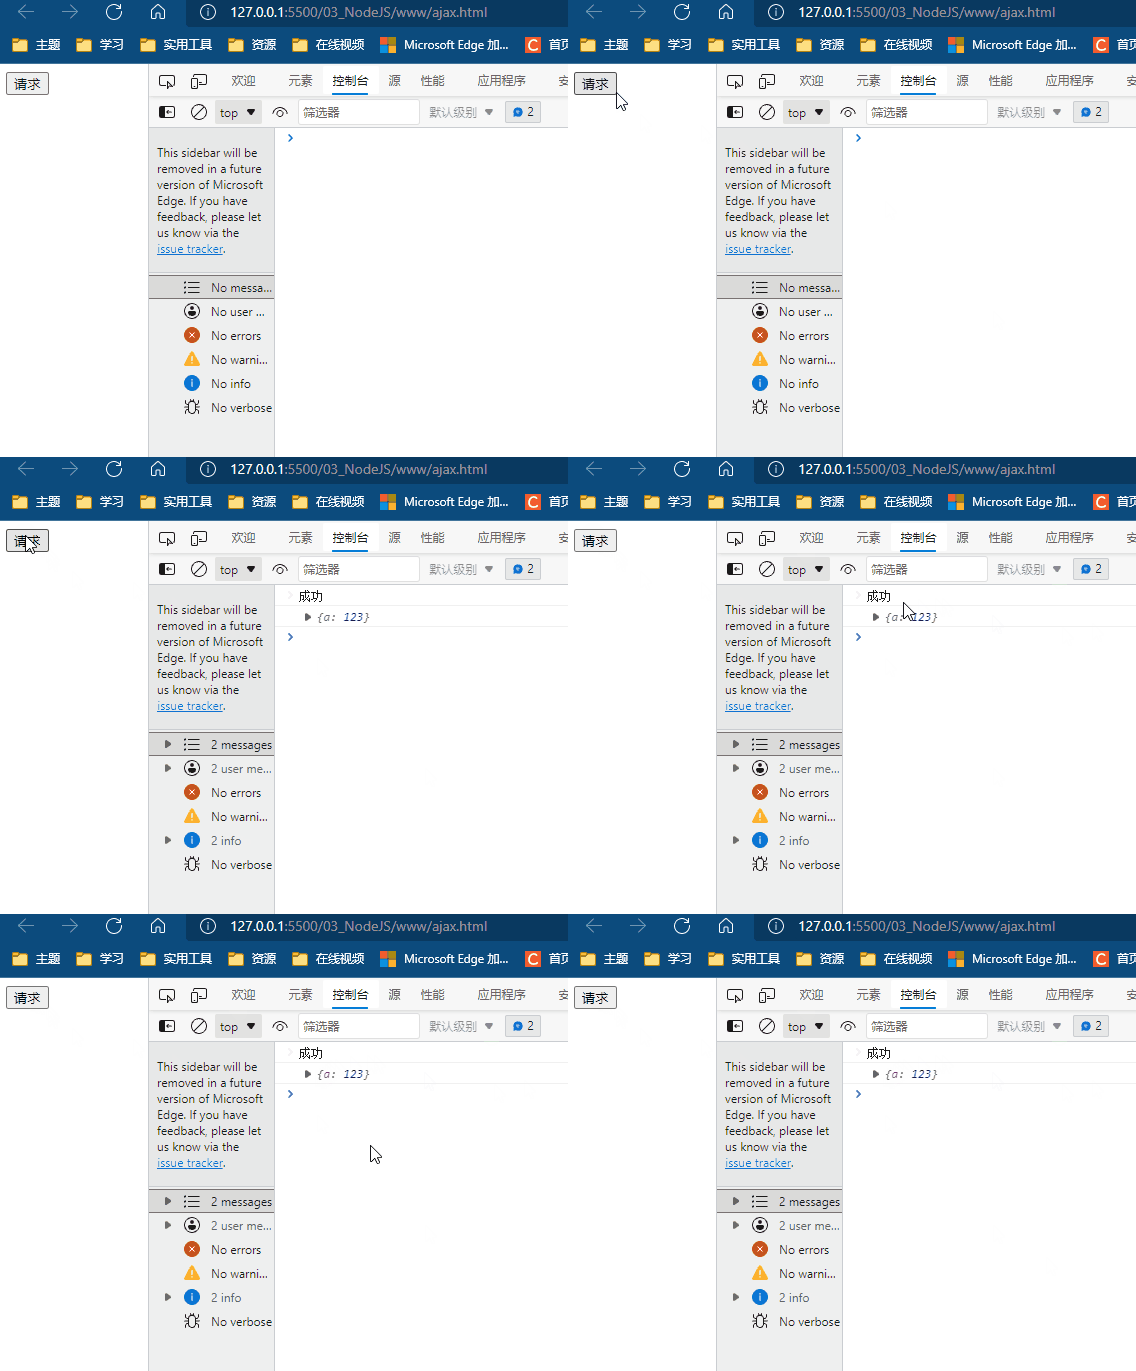
8.2 fetch – 原生
-
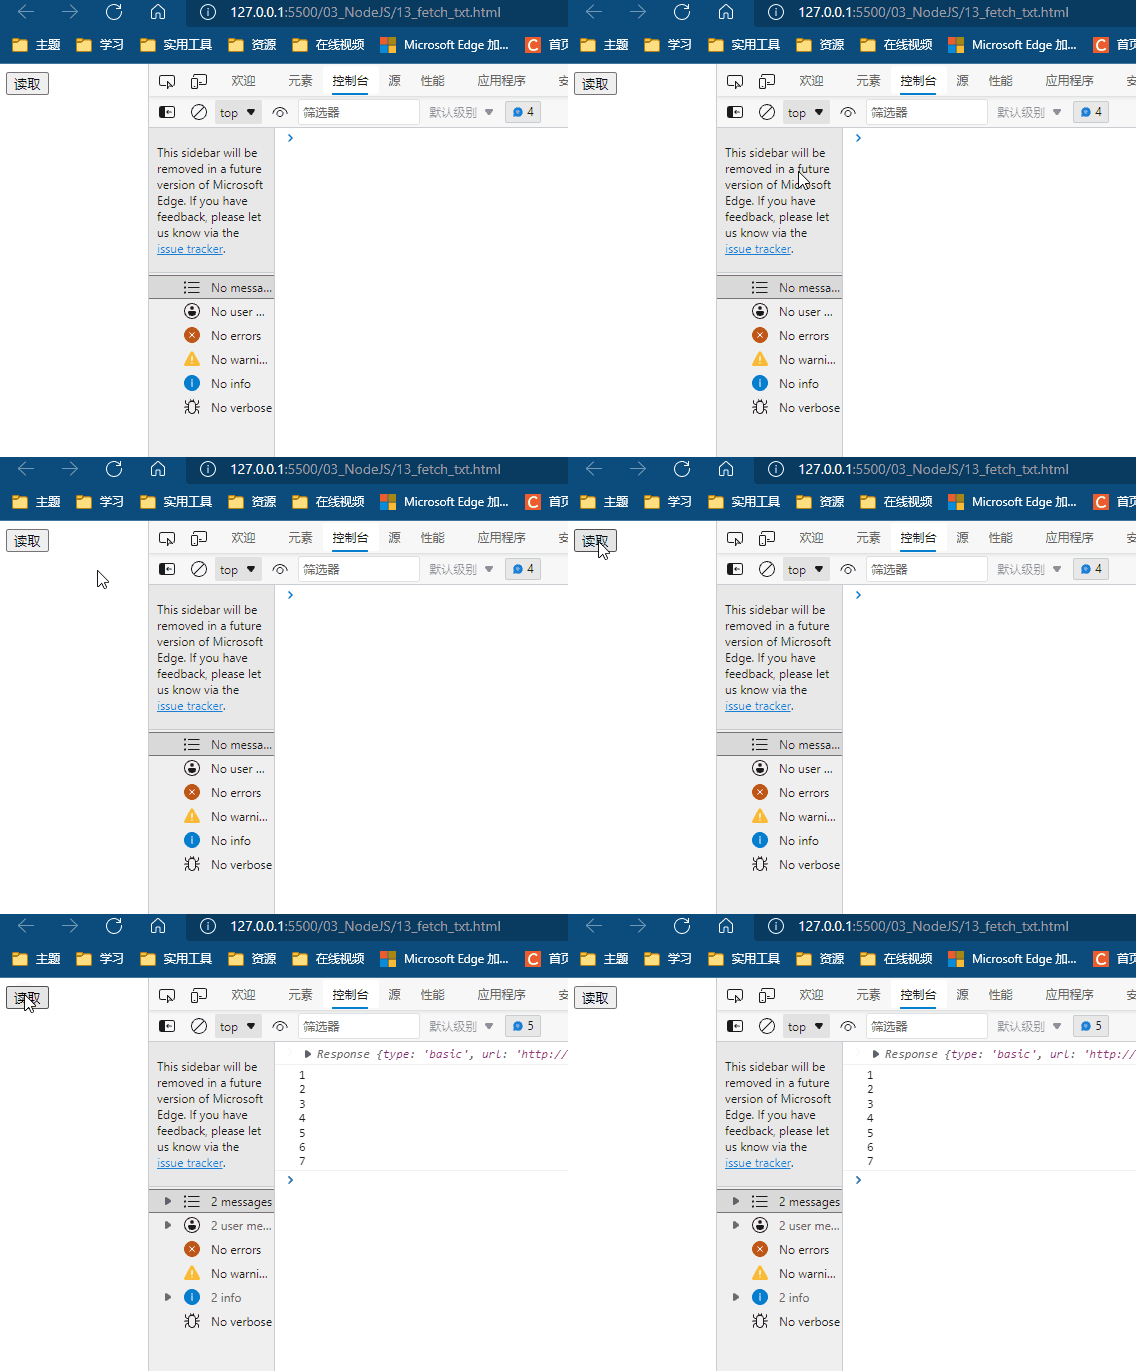
txt
DOCTYPE html> <html lang="en"> <head> <meta charset="UTF-8"> <script> window.onload = function () { let oBtn = document.getElementById('btn1'); oBtn.onclick =async function () { // 请求数据 let res =await fetch('www/aaa.txt'); // 解析文本数据 console.log(res); let str =await res.text(); console.log(str); }; }; script> head> <body> <input type="button" value="读取" id="btn1"> body> html> -
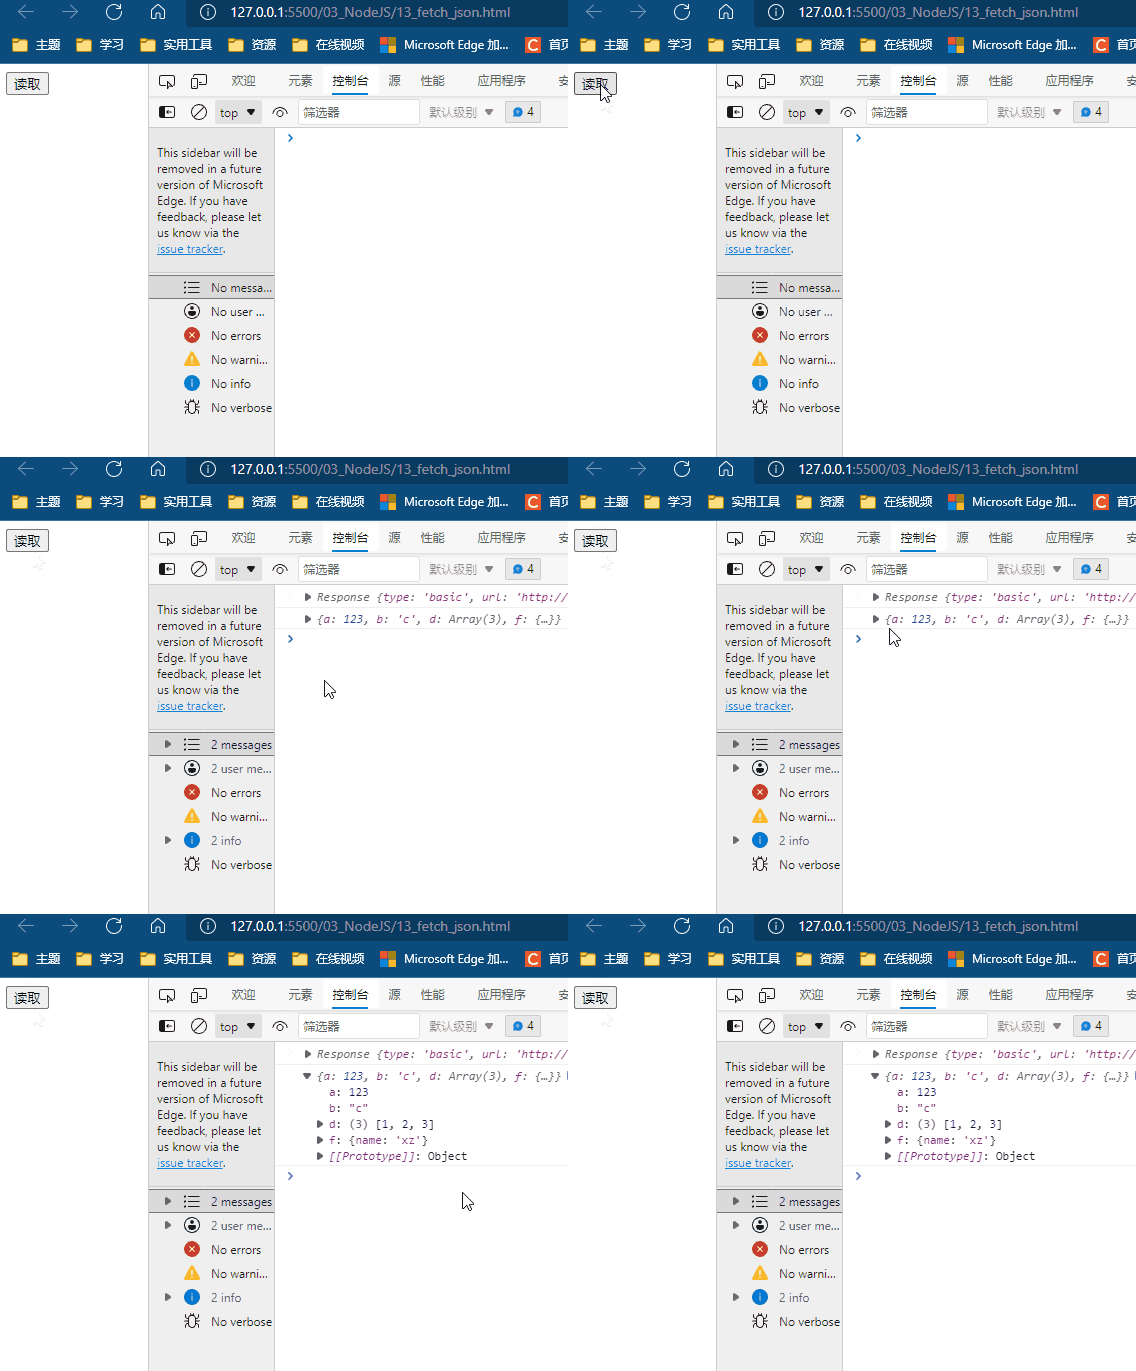
json
DOCTYPE html> <html lang="en"> <head> <meta charset="UTF-8"> <script> window.onload = function () { let oBtn = document.getElementById('btn1'); oBtn.onclick =async function () { // 请求数据 let res =await fetch('www/13.json'); // 解析json数据 console.log(res); let json =await res.json(); console.log(json); }; }; script> head> <body> <input type="button" value="读取" id="btn1"> body> html> -
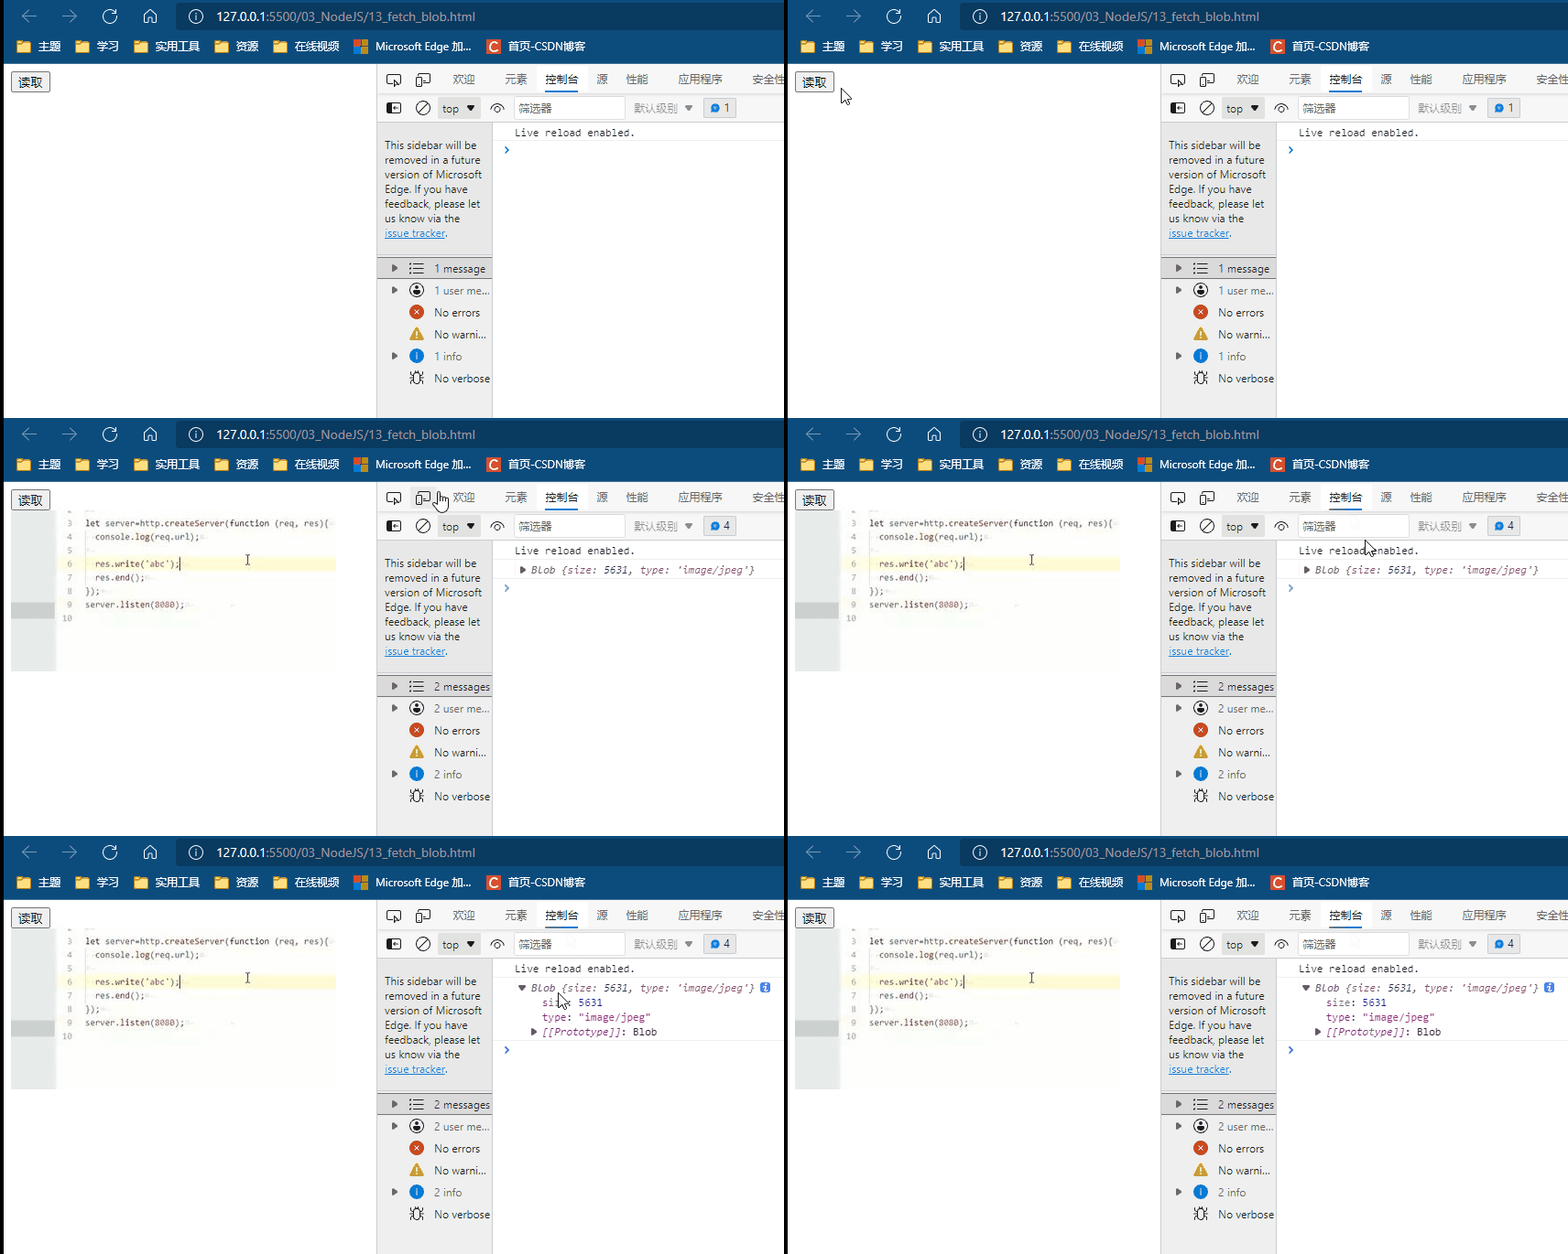
blob
DOCTYPE html>
<html lang="en">

<head>
    <meta charset="UTF-8">
    <title>fetch解析二进制数据title>
    <script>
        window.onload = function () {
            let oBtn = document.getElementById('btn1');
            let oImg = document.getElementById('img1');

            oBtn.onclick = async function () {
                // 请求数据
                let res = await fetch('www/1.jpg');

                // 解析
                let data = await res.blob();
                console.log(data);

                let url = URL.createObjectURL(data);
                oImg.src = url;
            };
        };
    script>
head>

<body>
    <input type="button" value="读取" id="btn1">
    <img src="" id="img1" alt="">
body>

html>
8.3 jsonp
-
Jsonp(JSON with Padding) 是 json 的一种"使用模式",可以让网页从别的域名(网站)那获取资料,即跨域读取数据。
-
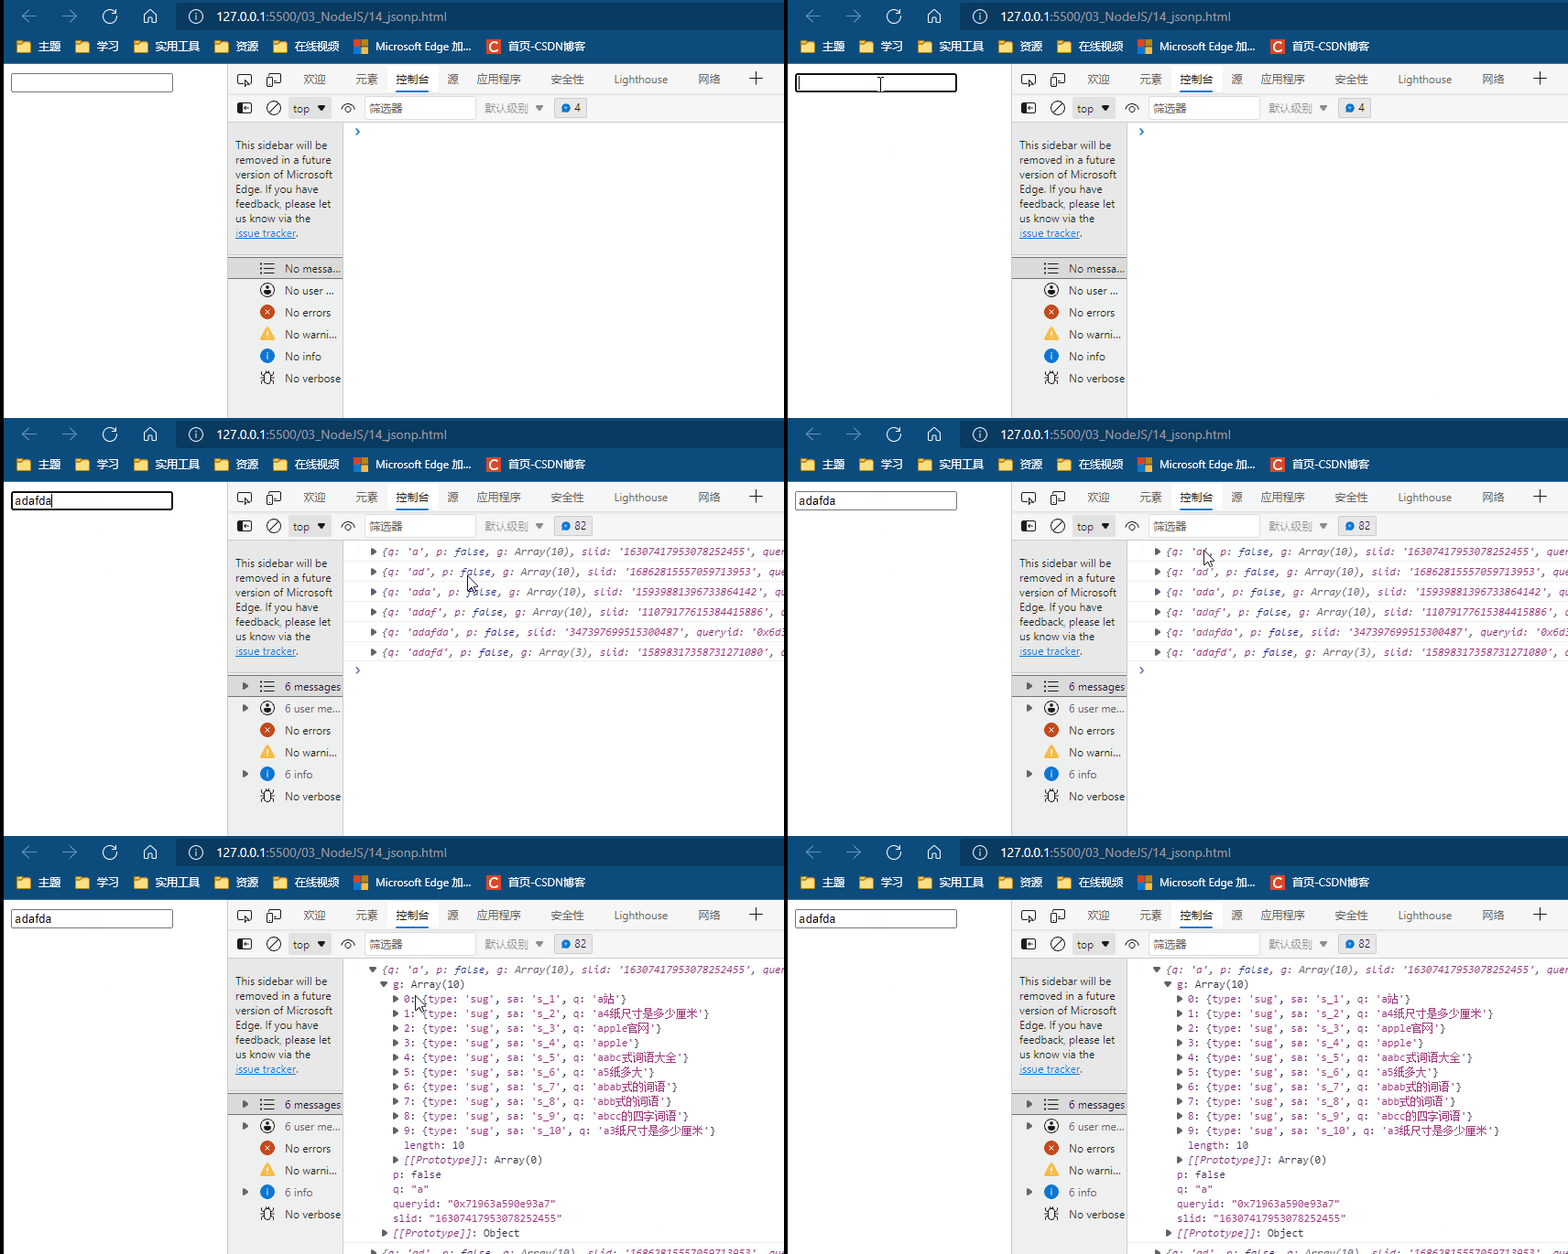
原生
DOCTYPE html> <html lang="en"> <head> <meta charset="UTF-8"> <title>jsonptitle> <script> function show(s) { console.log(s); }; window.onload = function () { let oTxt = document.getElementById('txt1'); oTxt.oninput = function () { let url = `https://www.baidu.com/sugrec?prod=pc&wd=${this.value}&req=2&csor=2&cb=show`; let oS = document.createElement('script'); oS.src = url; document.head.appendChild(oS); } }; script> head> <body> <input type="text" id="txt1"> body> html> -
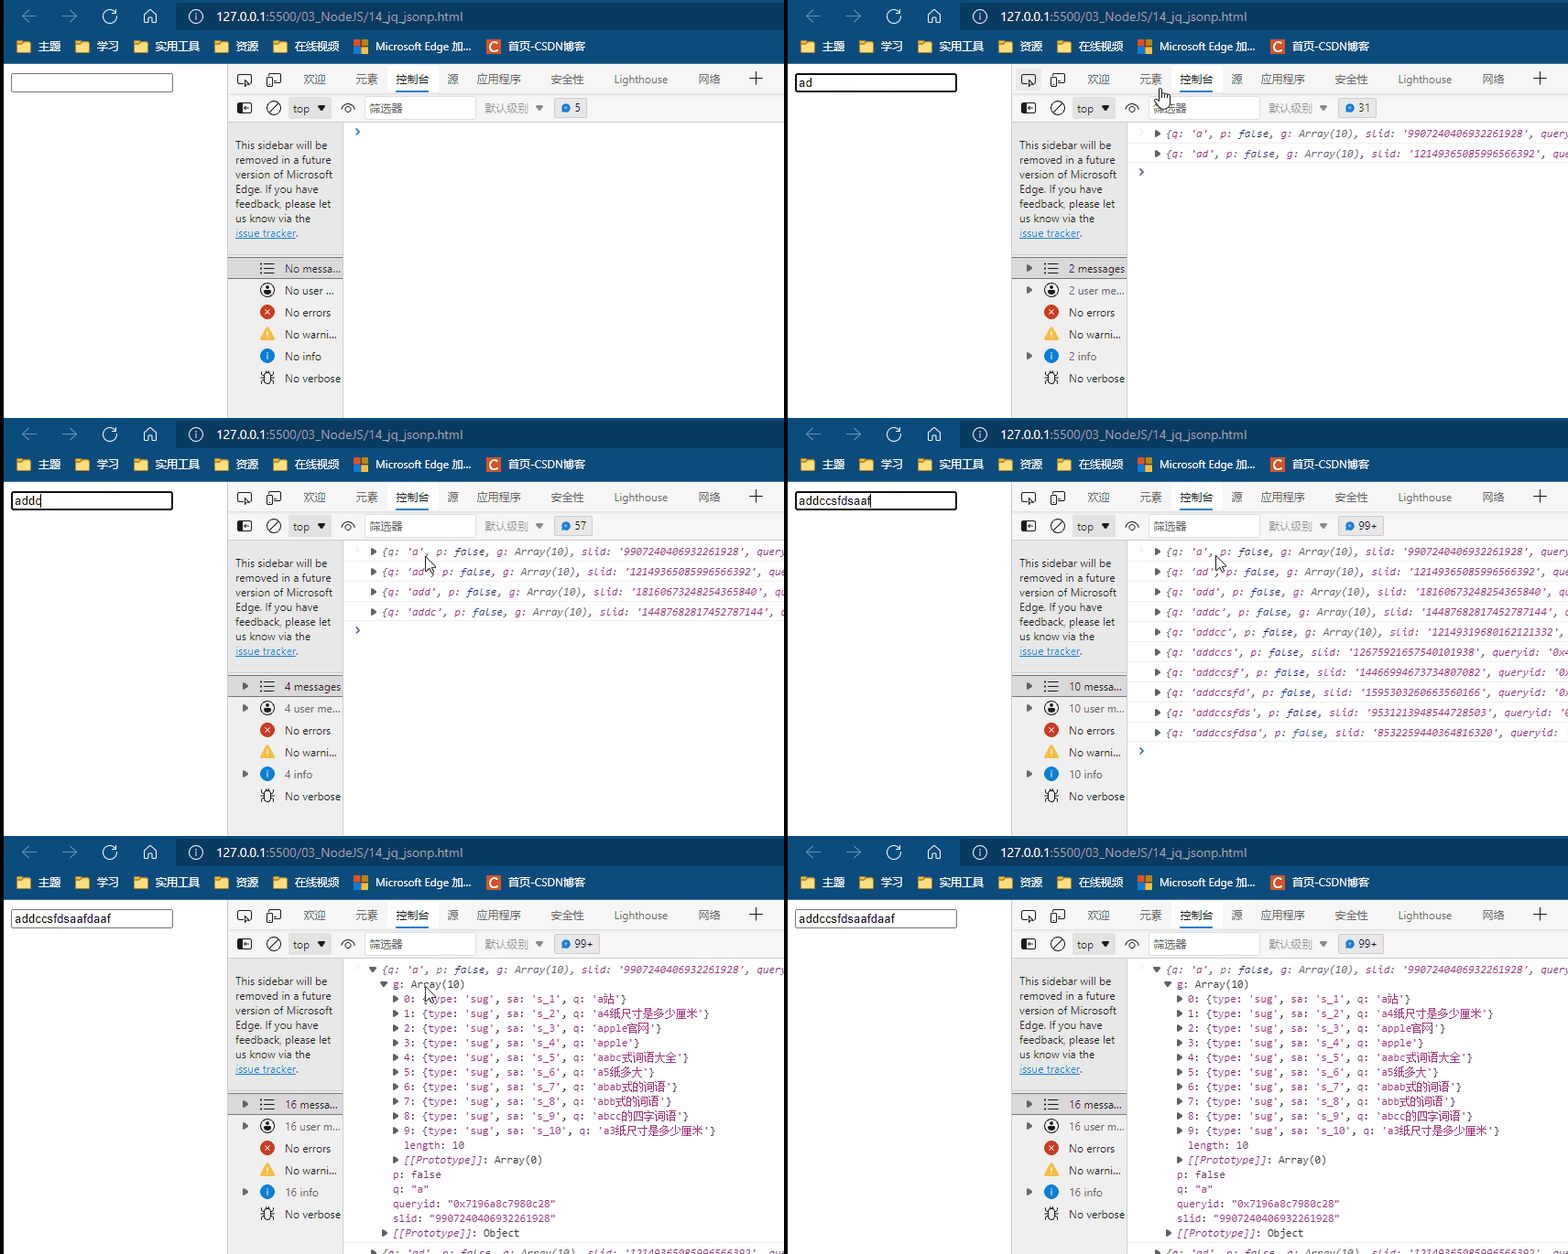
jQuery - jsonp
DOCTYPE html>
<html lang="en">

<head>
    <meta charset="UTF-8">
    <script src="../public_js/jquery.min.js">script>
    <script>
        $(function () {
            $('#txt1').on('input', function () {
                $.ajax({
                    url: `https://www.baidu.com/sugrec?prod=pc`,
                    data: {
                        wd: $(this).val()
                    },
                    dataType: "jsonp",
                    jsonp: "cb",
                }).then(function (s) {
                    console.log(s);
                }, err => {
                    console.log("失败");
                });
            })
        })
    script>
head>

<body>
    <input type="text" id="txt1">
body>

html>
8.4 FormData – ajax2.0
-
服务器
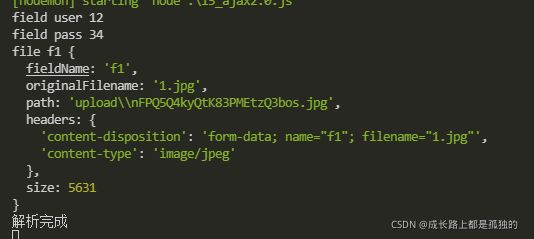
const http = require('http'); const multiparty = require('multiparty'); http.createServer((req, res) => { let form = new multiparty.Form({ uploadDir: './upload/' }); form.parse(req); form.on('field', (name, value) => { console.log('field', name, value); }); form.on('file', (name, file) => { console.log('file', name, file); }); form.on('close', () => { console.log("解析完成"); }); }).listen(8080); -
原生提交 FormData
DOCTYPE html> <html lang="en"> <head> <meta charset="UTF-8"> head> <body> <form action="http://localhost:8080" id="form1" method="POST"> 用户:<input type="text" name="user"> <br> 密码:<input type="password" name="pass"> <br> <input type="file" name="f1"> <input type="submit" value="提交"> <span>span> form> body> <script> let oForm = document.getElementById('form1'); console.log(oForm); // oForm.onsubmit = function () { let formdata = new FormData(oForm); let xhr = new XMLHttpRequest(); xhr.open(oForm.method, oForm.action, true); xhr.send(formdata); xhr.onreadystatechange = function () { if (xhr.readyState == 4) { if (xhr.status == 200) { alert('成功'); } else { alert('失败'); } } }; return false; } script> html> -
jquery 提交 FormData
DOCTYPE html>
<html lang="en">

<head>
    <meta charset="UTF-8">
    <script src="../public_js/jquery.min.js">script>
head>

<body>
    <form action="http://localhost:8080" id="form1" method="POST">
        用户:<input type="text" name="user"> <br>
        密码:<input type="password" name="pass"> <br>
        <input type="file" name="f1">
        <input type="submit" value="提交">
        <span>span>
    form>
body>
<script>
    $(function () {
        $('#form1').on('submit', function () {
            let formdata = new FormData(this);

            $.ajax({
                type: this.method,
                url: this.action,
                data: formdata,
                processData: false,
                contentType: false

            }).then(res => {
                console.log(res);
            }, err => {
                console.log(err);
            });

            return false;
        })
    });
script>

html>
注意配置 processData和contentType
-
构建form
DOCTYPE html>
<html lang="en">

<head>
    <meta charset="UTF-8">
    <script src="../public_js/jquery.min.js">script>
head>

<body>
    <div id="d1">
        用户:<input type="text" id="user"> <br>
        密码:<input type="password" id="pass"> <br>
        <input type="file" id="f1">
        <input type="button" id="btn1" value="提交">
        <span>span>
    div>
body>
<script>
    window.onload = function () {
        let oBtn = document.getElementById('btn1');
        oBtn.onclick = function () {
            let formdata = new FormData();

            formdata.append('username', document.getElementById('user').value);
            formdata.append('password', document.getElementById('pass').value);
            formdata.append('f1', document.getElementById('f1').files[0]);
            console.log(formdata);

            let xhr = new XMLHttpRequest();

            xhr.open('post', 'http://localhost:8080', true);
            xhr.send(formdata);
            xhr.onreadystatechange = function () {
                if (xhr.readyState == 4) {
                    if (xhr.status == 200) {
                        alert('成功');
                    } else {
                        alert('失败');
                    }
                }
            };
        };

    };
script>

html>
使用 append 方法追加数据
8.5 WebSocket
-
性能好
-
双向
-
握手加密秘钥
258EAFA5-E914-47DA-95CA-C5AB0DC85B11 -
原生连接 websocket
const net = require('net'); const crypto = require('crypto'); function parseHeader(str) { // 切分 并且过滤空行 let arr = str.split('\r\n').filter(line => line); // 忽略第一行 arr.shift(); let headers = {} arr.forEach(function (line) { let [name, value] = line.split(':'); // 取出行首 行尾的空格 并且全小写 name = name.replace(/^\s+|\s+$/g, '').toLowerCase(); value = value.replace(/^\s+|\s+$/g, ''); headers[name] = value; }); return headers; } let server = net.createServer(sock => { console.log('有人连接'); sock.once('data', buffer => { let str = buffer.toString(); let headers = parseHeader(str); // console.log(headers); // 判断是不是要协议升级 if (headers['upgrade'] != 'websocket') { console.log('no upgrade'); // 关闭 socket sock.end(); } // 判断版本 else if (headers['sec-websocket-version'] != '13') { console.log('no 13'); sock.end(); } else { // 验证 key -> 请求头有 // 握手秘钥 258EAFA5-E914-47DA-95CA-C5AB0DC85B11 let key = headers['sec-websocket-key']; let uuid = '258EAFA5-E914-47DA-95CA-C5AB0DC85B11'; let hash = crypto.createHash('sha1'); hash.update(key + uuid); let key2 = hash.digest('base64'); sock.write(`HTTP/1.1 101 Switching Protocols\r\nUpgrade:websocket\r\n Connection:upgrade\r\nSec-Websocket-Accept:${key2}\r\n\r\n`); } }) sock.on('end', function () { console.log('已断开'); }) }); server.listen(8080); -
客户端
DOCTYPE html>
<html lang="en">

<head>
    <meta charset="UTF-8">
    <script>
        let ws = new WebSocket('ws://localhost:8080/');

        // 打开连接
        ws.onopen = function () {
            alert('连接已建立');
        };
        // 接收到消息
        ws.onmessage = function () {};
        // 正常关闭连接
        ws.onclose = function () {};
        // 错误
        ws.onerror = function () {};
    script>
head>

<body>

body>

html>
socket.io
- 简单、方便
- 兼容性好 —— IE5
- 自动数据解析
- 安装 socket.io

- 服务器
// 建立普通 http const server = require('http').createServer(); // 建立 ws const io = require('socket.io')(server, { cors: true }); // 建立连接 io.on('connection', sock => { // 接收客户端发送的数据 sock.on('aaa', function (a, b) { console.log(a, b, a + b); }) // 发送数据到 客户端 let i = 0; setInterval(function () { i++; sock.emit('aaa', i) }, 1000); }); server.listen(8080); - 客户端
需要先引入 socket.jsDOCTYPE html> <html lang="en" dir="ltr"> <head> <meta charset="UTF-8"> <title>title> <script src="http://127.0.0.1:8080/socket.io/socket.io.js" charset="utf-8">script> <script> let socket = io.connect('ws://127.0.0.1:8080/'); // 发送数据到客户端 socket.emit('aaa', 12, 5); // 接收服务器发送过来的数据 socket.on('aaa', function (a) { console.log(a); }) script> head> <body> body> html> - 结果


9. NodeJS操作数据库
const http = require('http');
const mysql = require('mysql');

// 1.   连接服务器
let db = mysql.createConnection({
    host: 'localhost',
    user: 'root',
    password: 'root',
    database: 'test'
});

// 执行 sql 语句
db.query('select * from clazz', function (err, data) {
    if (err) {
        console.log(err);
    } else {
        console.log(data);
    }
});
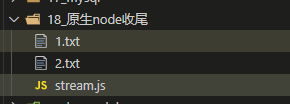
10. 流操作
const fs = require('fs');

// 读取流
let rs = fs.createReadStream('1.txt');

// 写入流
let ws = fs.WriteStream('2.txt');

// 管道
rs.pipe(ws);

rs.on('error', err => {
    console.log(err);
});

ws.on('finish', () => {
    console.log('写入成功');
})
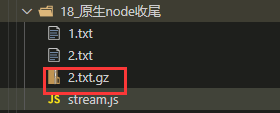
- 压缩
const fs = require('fs');
const zlib = require('zlib');

let rs = fs.createReadStream('1.txt');
let gz = zlib.createGzip();

let ws = fs.WriteStream('2.txt.gz');

// 读写流
rs.pipe(gz).pipe(ws);

rs.on('error', err => {
    console.log(err);
});

ws.on('finish', () => {
    console.log('写入成功');
})
- 压缩 gzip 配合 http 使用 – 要设置请求头
content-encoding:gzipconst http = require('http'); const fs = require('fs'); const url = require('url'); const zlib = require('zlib'); http.createServer(function (req, res) { let { pathname } = url.parse(req.url, true); let filename = './' + pathname; // 检查文件是否存在 fs.stat(filename, function (err, stat) { console.log(err); if (err) { // 设置状态码 res.writeHeader(404); res.write('not found'); res.end(); } else { // 创建读取流 let rs = fs.createReadStream(filename); // 避免出错 服务器崩了 rs.on('err', err => {}); // 设置请求头 res.setHeader('content-encoding', 'gzip'); let gz = zlib.createGzip(); // 压缩过后的数据 发送到客户端 rs.pipe(gz).pipe(res); } }) }).listen(8080);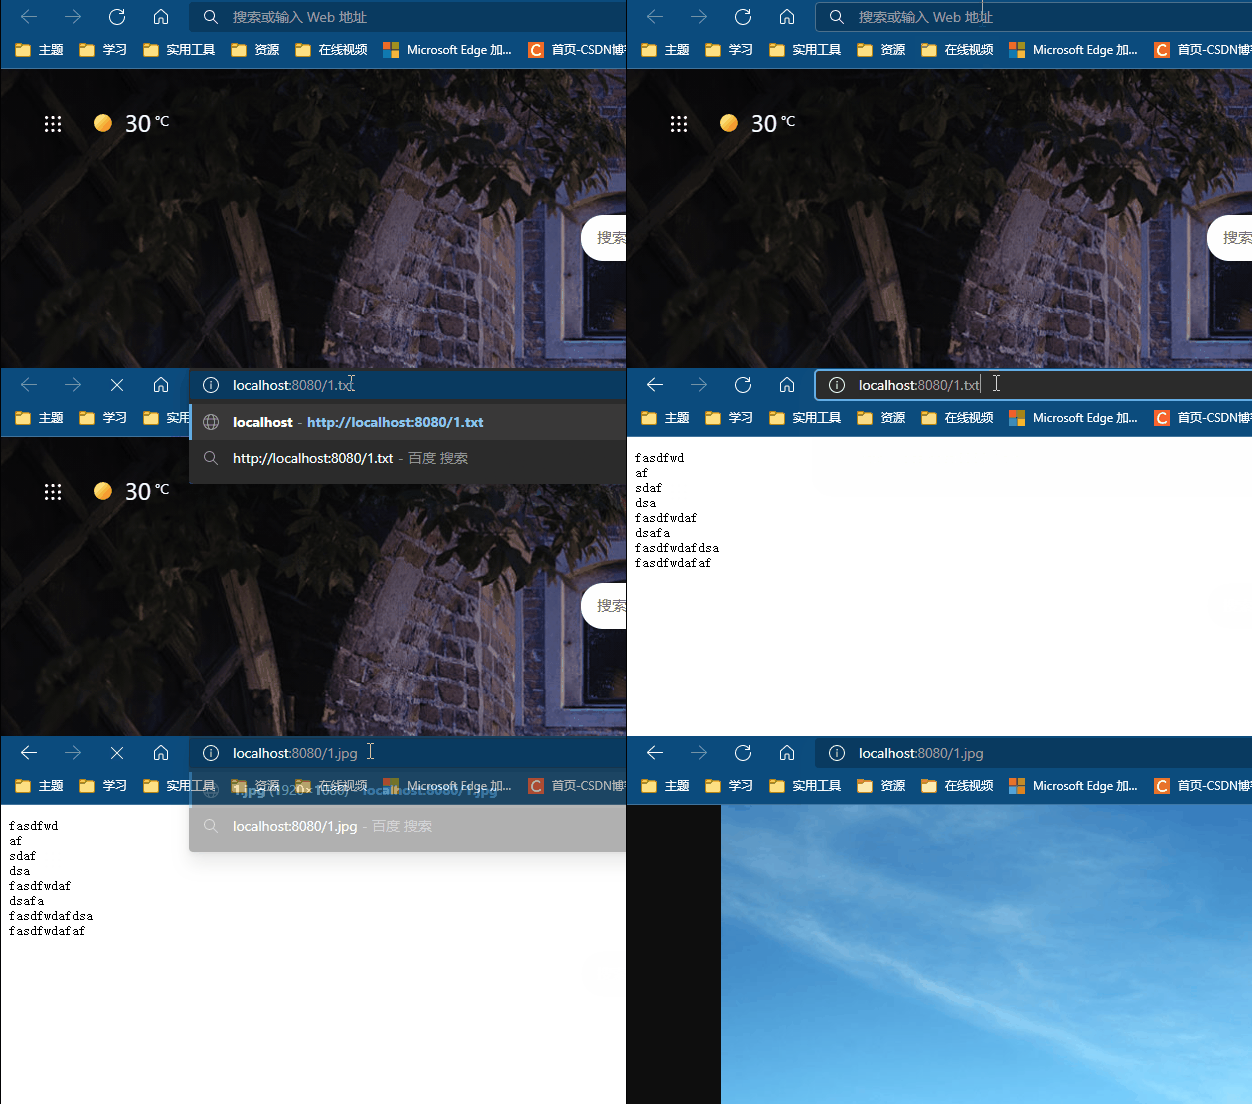
11. 启动器
- 安装
cnpm i forever -g - 列表
forever list - 启动
forever xx.js可用参数-l c:/a.log -e c:/err.log -a - 重启
forever restart xx.js - 停止
forever stop xx.js - 停止所有
forever stopall
