Filebeat +Kafka + Logstash + ElasticSearch +Kibana +解析日志文件实例(一)
一、准备工作
1、准备需要解析的日志文件;
2、安装好ElasticSearch、Kibana、Filebeat 、 Logstash、Kafka集群;
安装请参照我的上一篇文章:https://mp.csdn.net/console/editor/html/103989813
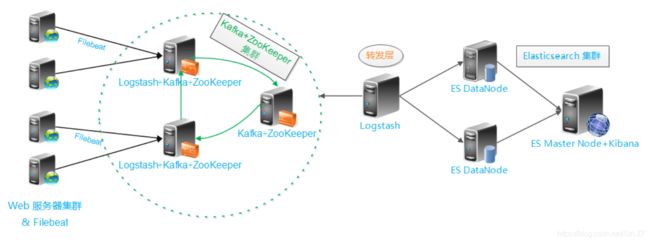
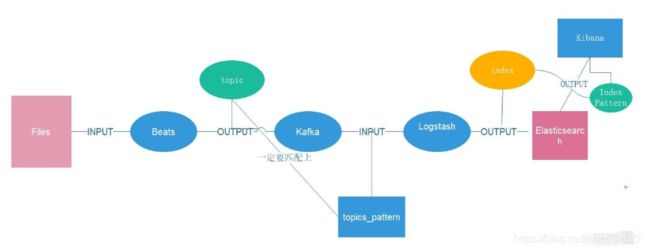
二、整体架构设计:
三、使用Filebeat采集日志文件
1、配置文件中主要涉及日志文件目录、kafka集群配置
#=========================== Filebeat inputs =============================

filebeat.inputs:

# Each - is an input. Most options can be set at the input level, so
# you can use different inputs for various configurations.
# Below are the input specific configurations.

- type: log

  # Change to true to enable this input configuration.
  enabled: true

  # Paths that should be crawled and fetched. Glob based paths.
  paths:
    #- /var/log/*.log
    - D:\localinstall\ELK\data-log\*.log

#-------------------------- Kafka output ------------------------------
output.kafka:
  # Array of hosts to connect to.
  hosts: ["127.0.0.1:9092","127.0.0.1:9093","127.0.0.1:9094"]
  topic: filebeat_log
  enabled: true
2、启动kafka、filebeat,检验filebeat是否采集指定日志文件并发送到kafka指定的topic中
2.1打开kafka,查看topic是否创建成功
bin/kafka-topics.sh --zookeeper localhost:2181,localhost:2182,localhost:2183 -list
2.2 创建kafka consumer,接收filebeat推送的消息
./kafka-console-consumer.sh --bootstrap-server localhost:9092,localhost:9093,localhost:9094 --topic filebeat_log --from-beginning
2.3 修改日志文件,添加几行日志;
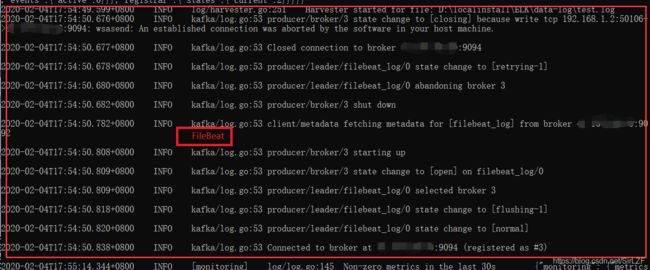
2.4 filebeat控制台采集到新日志信息
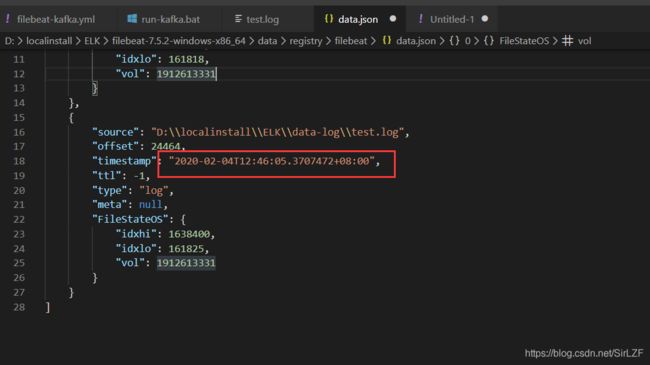
2.5 filebeat-7.5.2-windows-x86_64\data\registry\filebeat目录下的data.json更新采集时间
以上可以看出,filebeat已经可以将日志的更新正确的推送至kafka.
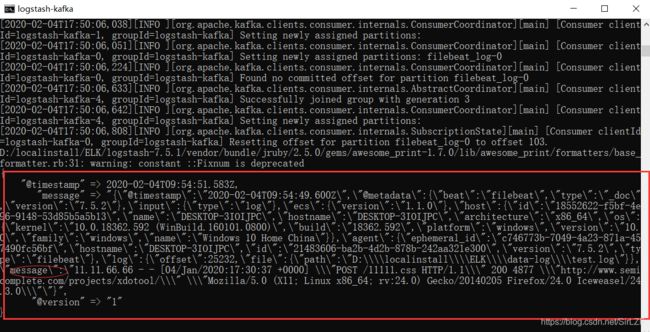
3、启动logstash,检查是否能消费到kafka的消息
3.1 启动elasticsearch、kibana、logstash;
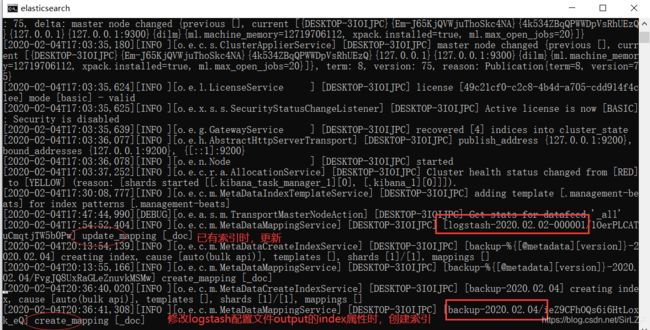
3.2 修改test.log日志文件,触发更新,查看filebeat、logstash、elasticsearch控制台输出:
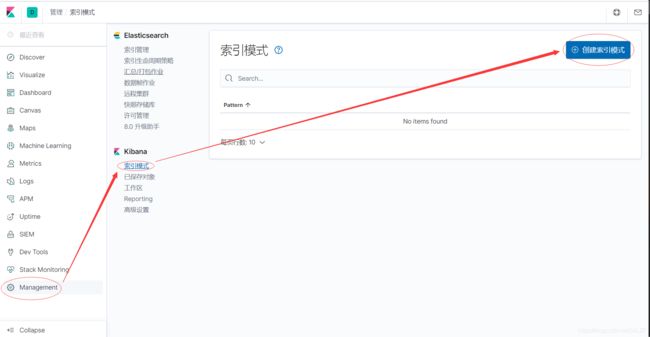
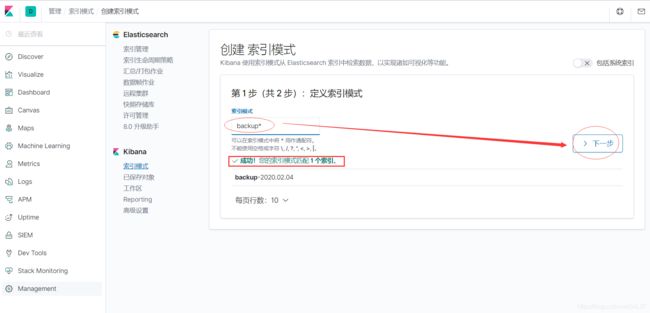
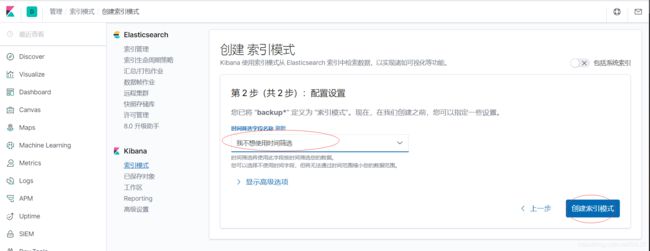
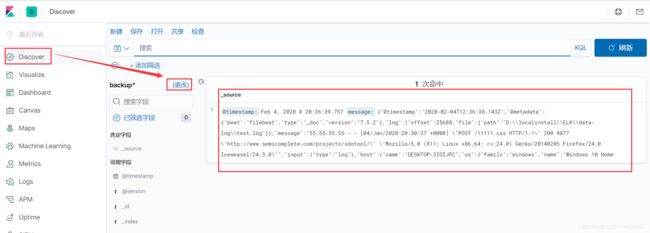
4.1 在kibana里面创建索引模式(根据上面的索引名称)
本节我们跑通了整个架构的数据链路,后面将持续更新,逐步细化其中的几个问题
1、Filebeat +Kafka + Logstash + ElasticSearch +Kibana +解析日志文件实例(二)
2、Filebeat +Kafka + Logstash + ElasticSearch +Kibana +解析日志文件实例(三)
3、Filebeat +Kafka + Logstash + ElasticSearch +Kibana +解析日志文件实例(四)
