


目录
1 PC端轮播图
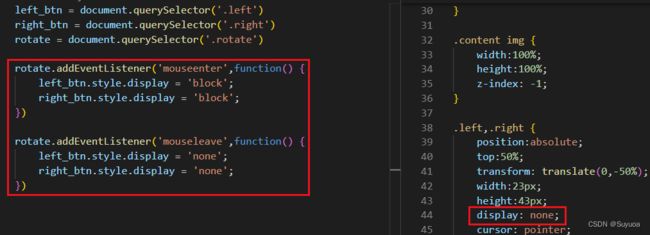
1.1 左右按钮显示与隐藏
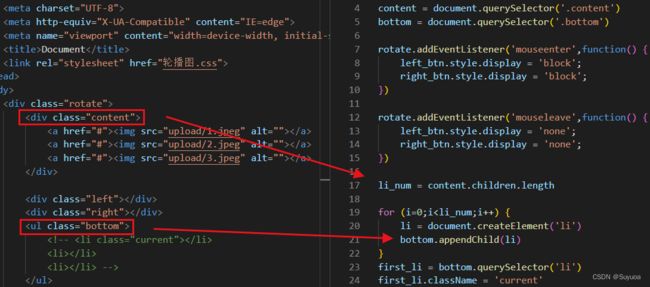
1.2 动态生成索引li
1.3 左右按键无缝滚动原理
1.4 克隆最后一张图像
1.5 li的检测
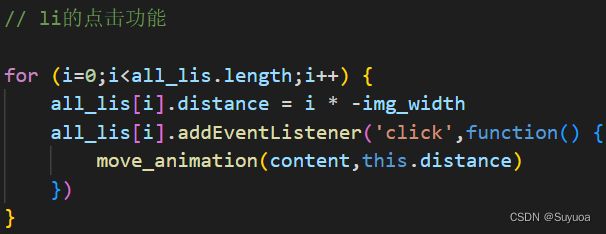
1.6 li的点击功能
1.7 右键点击功能
1.8 左键点击功能
1.9 自动播放功能
1.10 节流阀
1.11 源码
2 移动端轮播图
2.1 源码
2.2 需要注意的点
2.2.1 复制图像
2.2.2 滑动的flag
2.3 添加轮播图
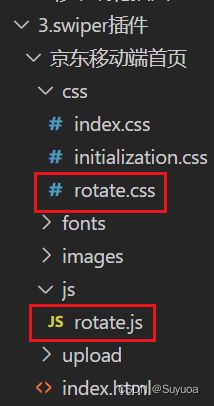
3 swiper插件
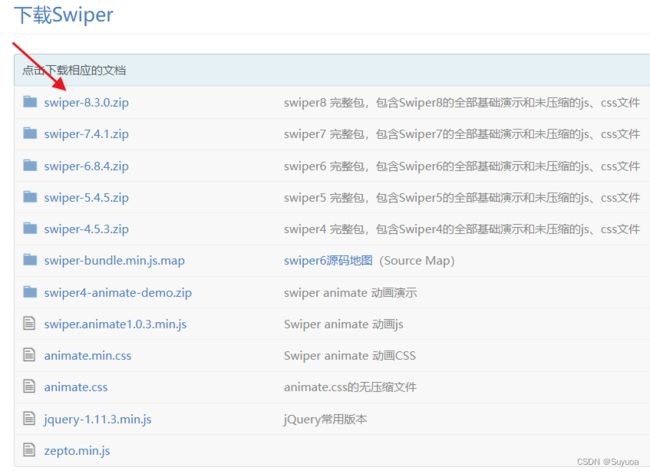
3.1 下载swiper
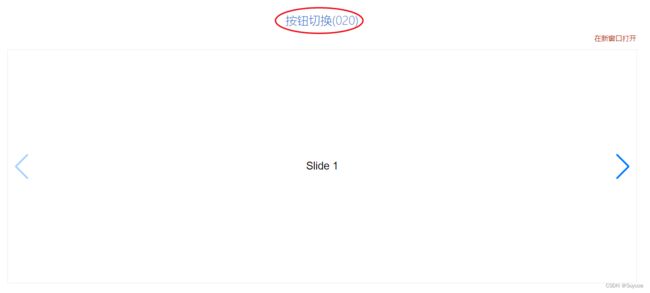
3.2 找到自己想要的效果
3.3 案例
3.3.1 将swiper修改至匹配的样式
3.3.2 引入swiper
3.3.3 处理demo内的CSS与JS
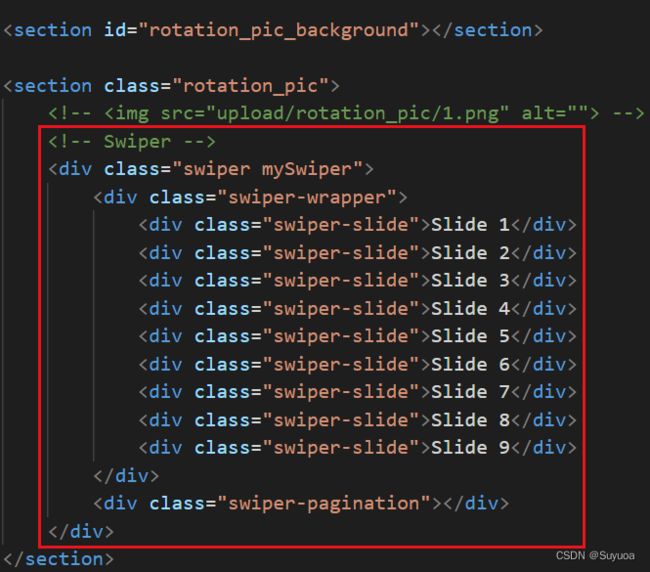
3.3.4 加入demo中的html
3.3.5 最后的修改
4 bootstrap轮播图
先把结构搞好

一共三张轮换图像,调整的差不多后将后两张图像隐藏起来

html
Document
css
* {
    margin: 0px;
    padding: 0px;
    box-sizing: content-box;
}

li {
    list-style: none;
}

.rotate {
    position: relative;
    left:50%;
    transform: translate(-50%,0);
    width:500px;
    height:300px;
    overflow: hidden;
}

.content {
    width:300%;
    height:100%;
    display: flex;

}

.content a {
    width:100%;
    height:100%;
}

.content img {
    width:100%;
    height:100%;
    z-index: -1;
}

.left,.right {
    position:absolute;
    top:50%;
    transform: translate(0,-50%);
    width:23px;
    height:43px;
    /* background-color: red; */
}

.left {
    left:0px;
    background-image:url(images/border_left.png);
}

.right {
    right:0px;
    background-image:url(images/border_right.png);
}

.bottom {
    position: absolute;
    bottom:0px;
    left:50%;
    transform: translate(-50%,0);
    display: flex;
    align-items: center;
    justify-content: space-around;
    width:100px;
    height:20px;
}

.bottom li {
    width:10px;
    height:10px;
    background-color:white;
    border-radius: 5px;
}

.bottom .current {
    background-color: skyblue;
}
轮播图主要有下面几个功能
还有其他一些需要改进的地方,我随着就写了
讲解轮播图的视频为P317-P328 06-网页轮播图-结构搭建_哔哩哔哩_bilibili
我与视频中的方法略有不同
先数出来有几张轮播图,只会再添加几个li,最后把第一个li设置为current
效果与之前相同

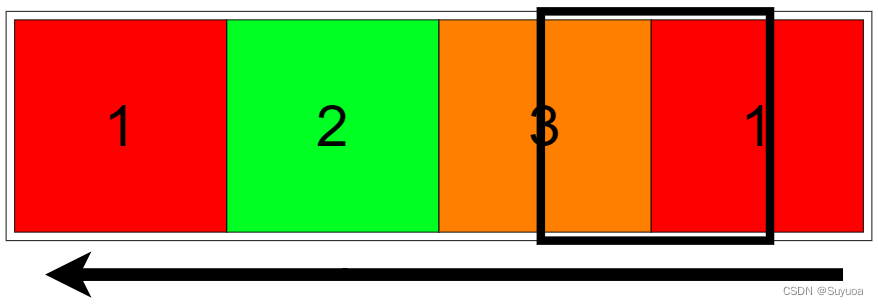
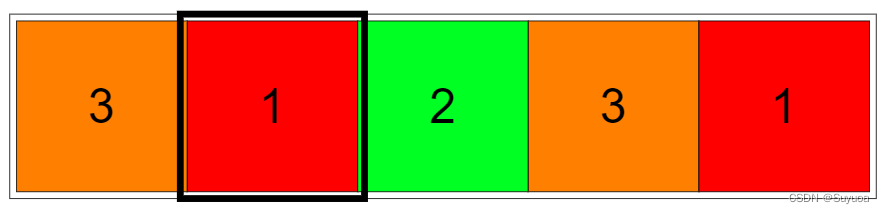
我们像让轮播图切换到最后一张图像的时候,之后无缝切换到第一张,这个时候我们需要在content的最后克隆第一张轮播图,这样我们就可以做出由3号滚动到1号的效果
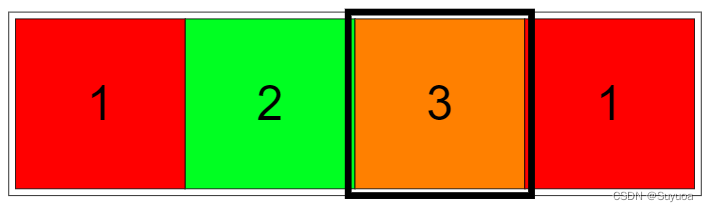
在我们滚动到新克隆的1的时候,不使用动画直接把content的位置搞到第一张
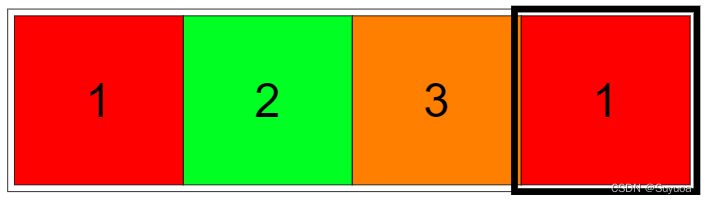
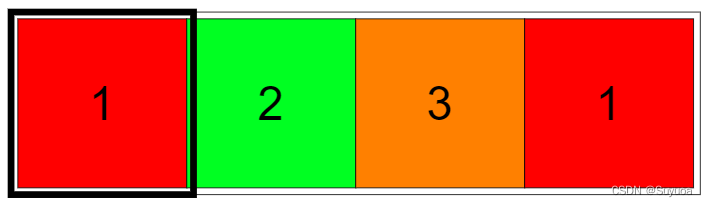
由于两张图像完全一样,所以人眼不会分辨出来
上面是向右边滚的情况,从右往左滚也是一样
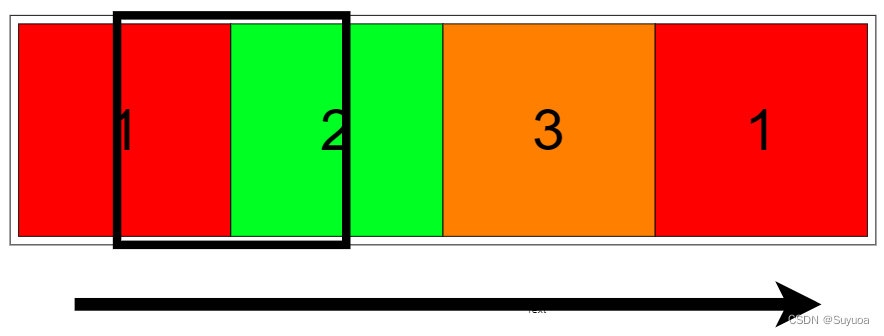
我们现在在2这里
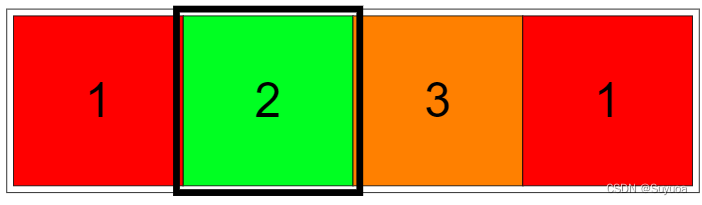
由于是向左滚,我们正常滚到1
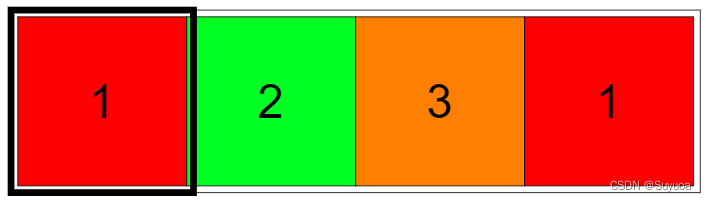
滚到1之后直接瞬移到克隆出来的1

这样就可以正常滚到3了
下面的代码我就与课程上写的不一样的,感兴趣的话可以看一下课程
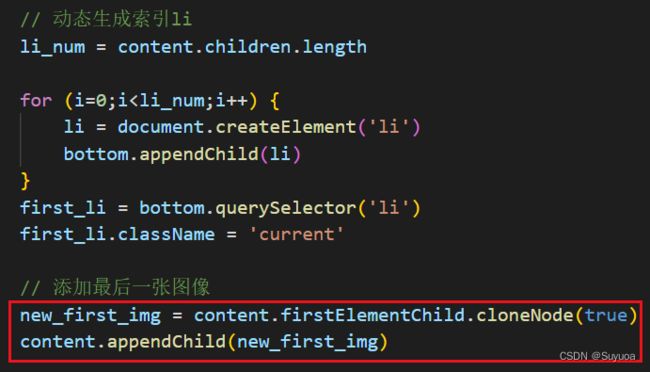
克隆这张图像没什么好说的,这里注意我li_num是在克隆之前获取的,并且没有再次赋值li_num,所以我li_num就是图像的数量
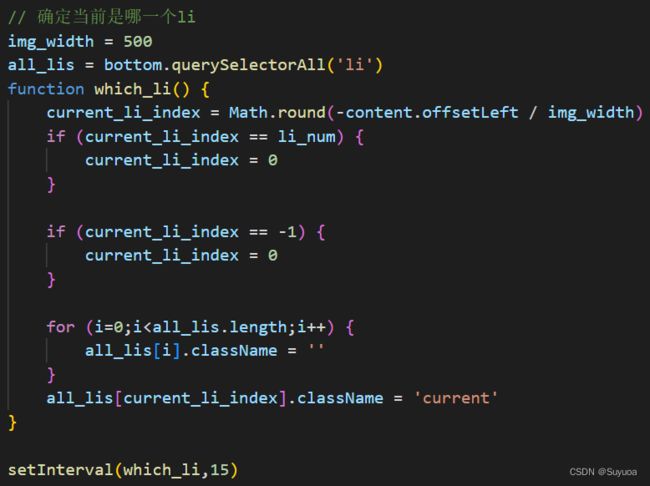
我通过 移动的位置与图像的宽度判断li的位置,比如0就是第0个li,-500就是第一个li。我现在有3张图像,就有3个li,它们的编号依次是0,1,2
由于要做到无缝滚动,所以我们要考虑两个例外
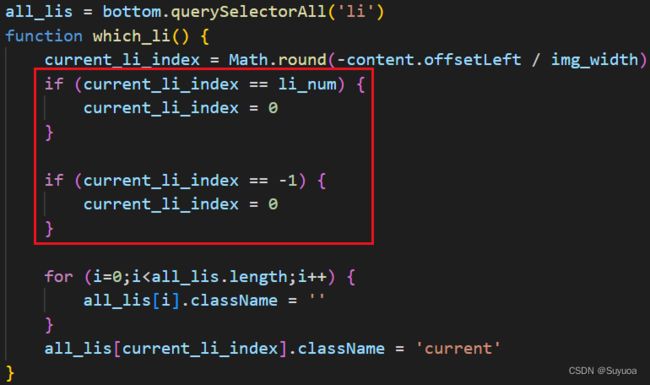
第一个例外是我 从左到右 滚动到 我新克隆出来的图像1,也就是current_li_index为3的时候,当从左到右滚动到克隆1时,我的li的编号要为0
第二个例外是我 从右到左 滚动到 我新克隆出来的图像1,也就是current_li_index为-1的时候,当从右到左滚动到克隆1时,我的li的编号要为0
之后做了一个排他
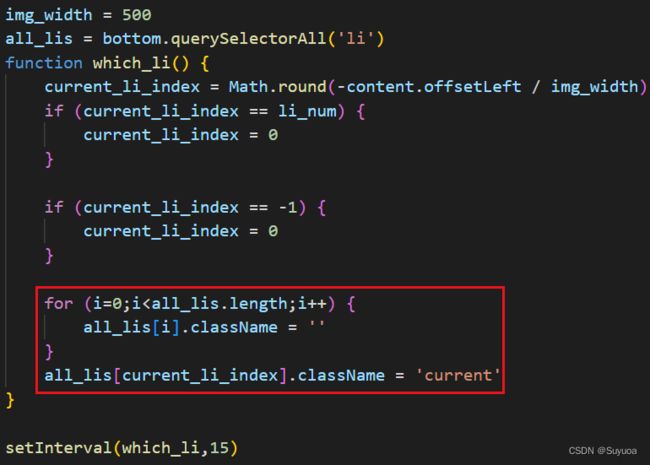
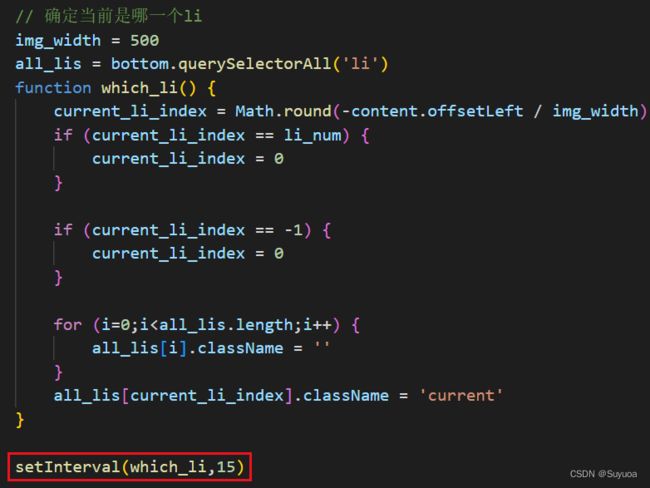
最后 每15ms检测一次li的位置,并随位置的变化而变化
我们点击li要能切换到指定的图像,方法是给每一个li一个位置属性,然后点哪个li,就移动到对应的位置
首先右键点击功能与自动播放功能是一样的,点击需要点一下,自动播放不需要点,所以我搞了一个函数方便后面复用
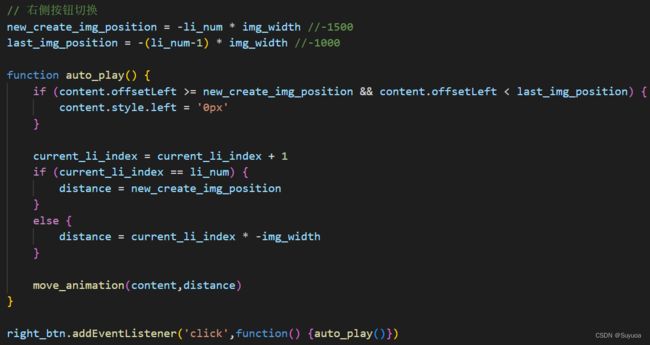
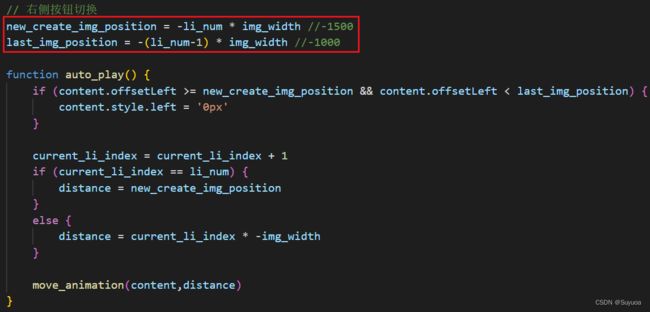
这里首先拿到两个位置,第一个位置是克隆1的位置,第二个位置是第三张图像的位置,因为向右点击要做无缝切换,这两个位置就是例外
下面我们进行一个判断,判断条件是(1000,1500]
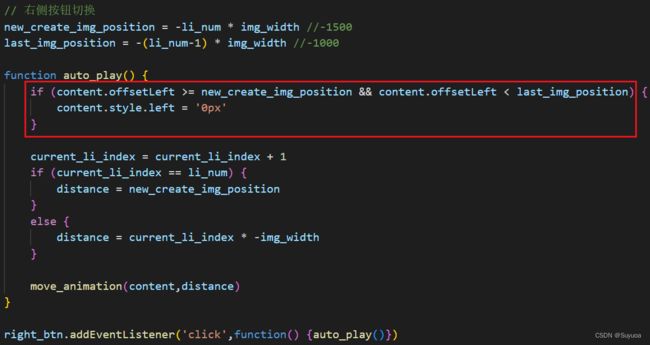
注意我这里是先判断,在执行动作,在3->克隆1执行后,位置正好是1000,不满足判断条件
也就是说我这个判断条件只会 出现 在 克隆1->3的情况
如果我不加这个判断,它就会从 克隆1回滚到2,加了之后,在克隆1的时候,然后点击右键,依然会滚动到-500,但在克隆1时满足判断条件,所以会先瞬移会图像1,然后滚动倒-500
之后当前li的索引自加,然后进行判断(这里可以不用判断,为了与左键点击代码对称所以加了一下),这里的判断意思是,如果当前li的索引右溢出,将distance置于克隆1位置,其余情况照常

最后播放动画,函数外添加点击事件
与右键点击功能逻辑相同,第一个判断是[0,-500),也就是由图像1移动到图像2的时候,瞬移到克隆1,然后从 克隆1到图像3
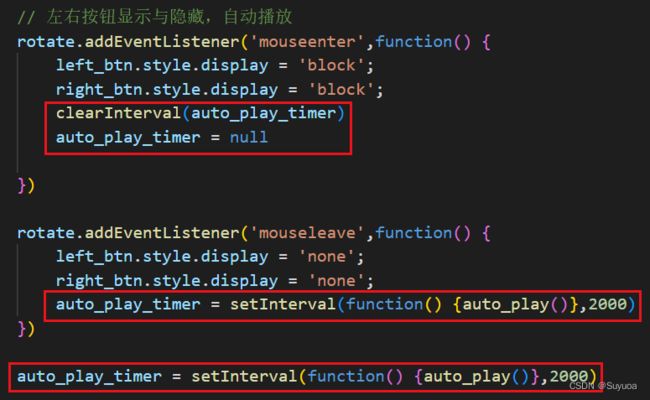
我们让打开页面后自动播放,鼠标离开轮播图的时候自动播放,进入轮播图的时候停止播放
你也可以不把自动播放函数提出来,而是使用element.click()进行模拟点击
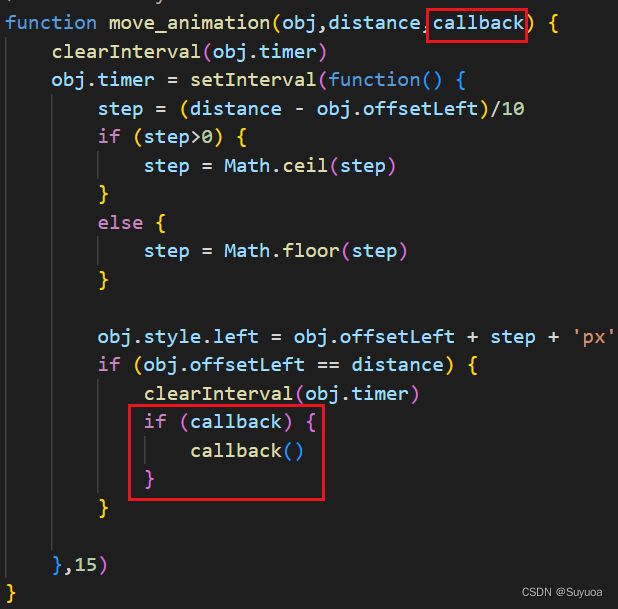
节流阀的作用是放置轮播图连续点击导致播放过快,方法是当上一个函数动画内容执行完毕,再去执行下一个函数动画,让事件无法连续触发
我们如果想要动画结束后再执行某个函数,我们就要加入立即执行函数
在这里可以这样写
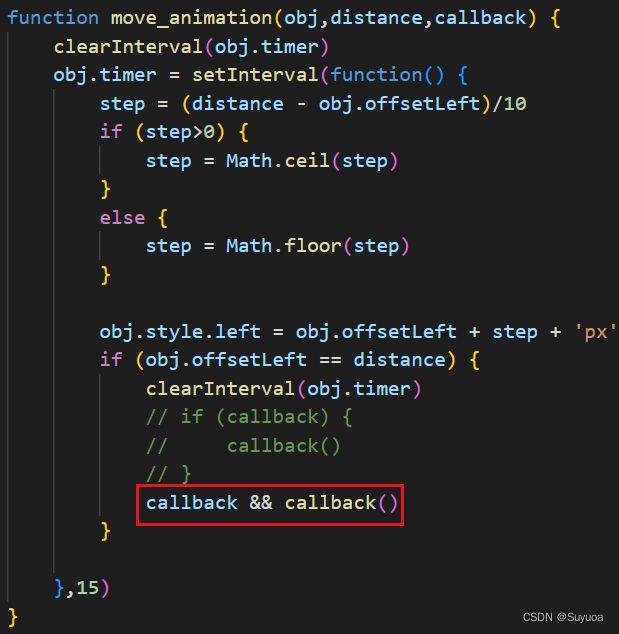
经测试效果一样
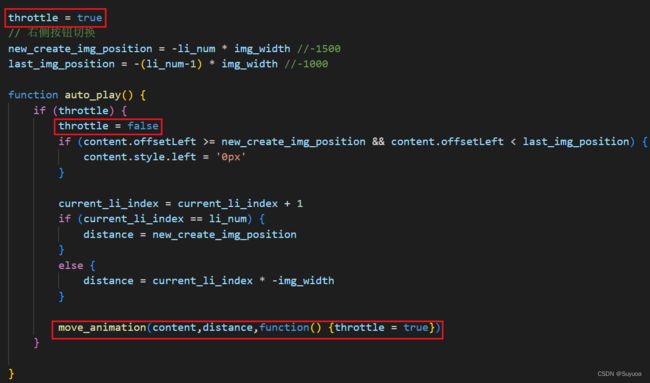
之后对右侧按钮加入节流阀
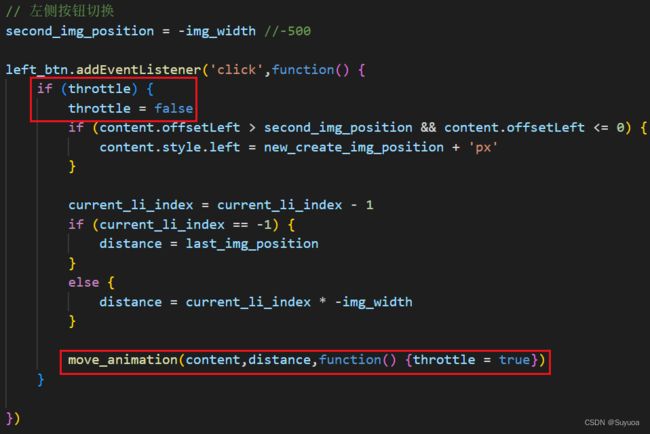
之后对左侧按钮加入节流阀
这样在动画进行的过程中,再按按钮就没有用了
html
在html中可以加入新的轮播图
Document

css
在css中可以改
* {
    margin: 0px;
    padding: 0px;
    box-sizing: content-box;
}

li {
    list-style: none;
}

.rotate {
    position: relative;
    left:50%;
    transform: translate(-50%,0);
    width:500px;
    height:300px;
    overflow: hidden;
}

.content {
    position: absolute;
    width:500%;  /*轮播图图片数量+1,比如你有四张图就用500%,3张图就用400%*/
    height:100%;
    display: flex;
}

.content a {
    cursor: default;
    width:100%;
    height:100%;
}

.content img {
    width:100%;
    height:100%;
    z-index: -1;
}

.left,.right {
    position:absolute;
    top:50%;
    transform: translate(0,-50%);
    width:23px;
    height:43px;
    display: none;
    cursor: pointer;
}

.left {
    left:0px;
    background-image:url(images/border_left.png);
}

.right {
    right:0px;
    background-image:url(images/border_right.png);
}

.bottom {
    position: absolute;
    bottom:0px;
    left:50%;
    transform: translate(-50%,0);
    display: flex;
    align-items: center;
    justify-content: space-around;
    width:100px;
    height:20px;
}

.bottom li {
    width:10px;
    height:10px;
    background-color:white;
    border-radius: 5px;
    cursor: pointer;
}

.bottom .current {
    background-color: skyblue;
}
JS
在JS中可以改
left_btn = document.querySelector('.left')
right_btn = document.querySelector('.right')
rotate = document.querySelector('.rotate')
content = document.querySelector('.content')
bottom = document.querySelector('.bottom')
// 左右按钮显示与隐藏,自动播放
rotate.addEventListener('mouseenter',function() {
left_btn.style.display = 'block';
right_btn.style.display = 'block';
clearInterval(auto_play_timer)
auto_play_timer = null
})
rotate.addEventListener('mouseleave',function() {
left_btn.style.display = 'none';
right_btn.style.display = 'none';
auto_play_timer = setInterval(function() {auto_play()},2000)
})
auto_play_timer = setInterval(function() {auto_play()},2000)
// 动态生成索引li
li_num = content.children.length
for (i=0;i= new_create_img_position && content.offsetLeft < last_img_position) {
content.style.left = '0px'
}
current_li_index = current_li_index + 1
if (current_li_index == li_num) {
distance = new_create_img_position
}
else {
distance = current_li_index * -img_width
}
move_animation(content,distance,function() {throttle = true})
}
}
right_btn.addEventListener('click',function() {auto_play()})
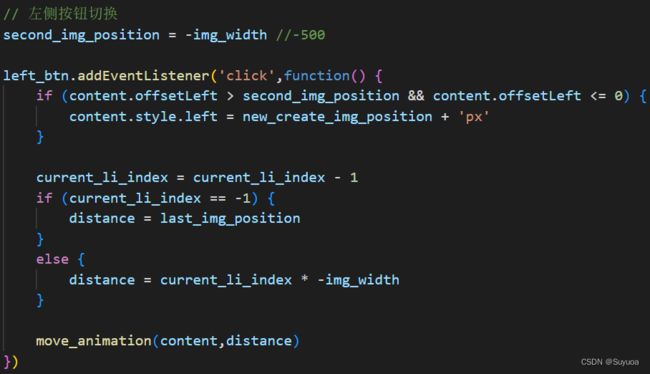
// 左侧按钮切换
second_img_position = -img_width //-500
left_btn.addEventListener('click',function() {
if (throttle) {
throttle = false
if (content.offsetLeft > second_img_position && content.offsetLeft <= 0) {
content.style.left = new_create_img_position + 'px'
}
current_li_index = current_li_index - 1
if (current_li_index == -1) {
distance = last_img_position
}
else {
distance = current_li_index * -img_width
}
move_animation(content,distance,function() {throttle = true})
}
})
按照我们上面的指示进行修改,测试了四张图进行轮播可以正常使用
移动端的轮播图与PC端的轮播图有下面这些功能上的区别
移动端没有兼容性的问题,所以我们可以使用一些PC端中兼容性不好的方法
html
Document
css
使用的是less进行rem转换,less的基本使用方法可以看一下这个 附录9-less基础_Suyuoa的博客-CSDN博客
@rate:37.5;
* {
margin: 0px;
padding: 0px;
box-sizing: content-box;
}
li {
list-style: none;
}
.rotate {
position: relative;
left:50%;
transform: translate(-50%,0);
width:(300rem/@rate);
height:(200rem/@rate);
overflow: hidden;
}
.content {
position: absolute;
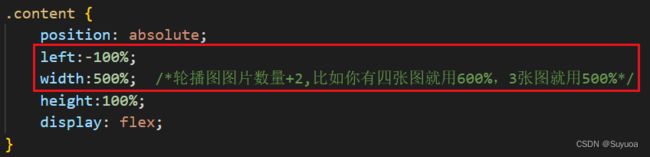
left:-100%;
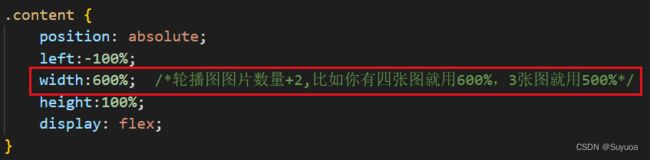
width:500%; /*轮播图图片数量+2,比如你有四张图就用600%,3张图就用500%*/
height:100%;
display: flex;
}
.content a {
cursor: default;
width:100%;
height:100%;
}
.content img {
width:100%;
height:100%;
z-index: -1;
}
.left,.right {
position:absolute;
top:50%;
transform: translate(0,-50%);
width:(23rem/@rate);
height:(43rem/@rate);
display: none;
cursor: pointer;
}
.left {
left:0px;
background-image:url(images/border_left.png);
background-repeat: no-repeat;
background-size: cover;
}
.right {
right:0px;
background-image:url(images/border_right.png);
background-repeat: no-repeat;
background-size: cover;
}
.bottom {
position: absolute;
bottom:0px;
left:50%;
transform: translate(-50%,0);
display: flex;
align-items: center;
justify-content: space-around;
width:(100rem/@rate);
height:(20rem/@rate);
}
.bottom li {
width:(10rem/@rate);
height:(10rem/@rate);
background-color:white;
border-radius: 5px;
cursor: pointer;
}
.bottom .current {
background-color: skyblue;
}js
window.addEventListener('load', function () {
content = document.querySelector('.content')
bottom = document.querySelector('.bottom')
rotate = document.querySelector('.rotate')
li_num = content.children.length
for (i = 0; i < li_num; i++) {
li = document.createElement('li')
bottom.appendChild(li)
}
first_li = bottom.querySelector('li')
first_li.className = 'current'
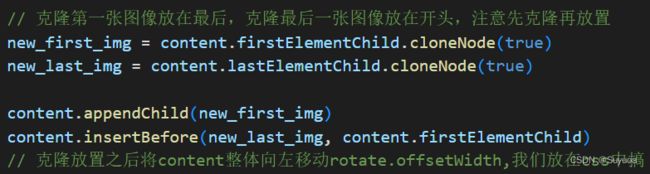
// 克隆第一张图像放在最后,克隆最后一张图像放在开头,注意先克隆再放置
new_first_img = content.firstElementChild.cloneNode(true)
new_last_img = content.lastElementChild.cloneNode(true)
content.appendChild(new_first_img)
content.insertBefore(new_last_img, content.firstElementChild)
// 克隆放置之后将content整体向左移动rotate.offsetWidth,我们放在css中搞
// 下面两个函数一个是带过渡移动,一个是不带过渡移动
function animation_move(index) {
content.style.transition = 'all 1s'
content.style.transform = 'translateX(' + distance + 'px)'
}
function not_animation_move(index) {
content.style.transition = 'all 0s'
content.style.transform = 'translateX(' + distance + 'px)'
}
// 自动播放
index = 0
function auto_play() {
index = index + 1
distance = -index * rotate.offsetWidth
animation_move(distance)
}
auto_play_timer = setInterval(function () { auto_play() }, 2000)
// 重置index
function reset_index() {
bottom.querySelector('.current').classList.toggle('current')
if (index >= li_num) {
index = 0
distance = -index * rotate.offsetWidth
not_animation_move(distance)
}
if (index < 0) {
index = li_num - 1
distance = -index * rotate.offsetWidth
not_animation_move(distance)
}
bottom.children[index].classList.toggle('current')
}
content.addEventListener('transitionend', function () { reset_index() })
// 滑动效果
content.addEventListener('touchstart', function (e) {
startX = e.targetTouches[0].pageX
clearInterval(auto_play_timer)
auto_play_timer = null
})
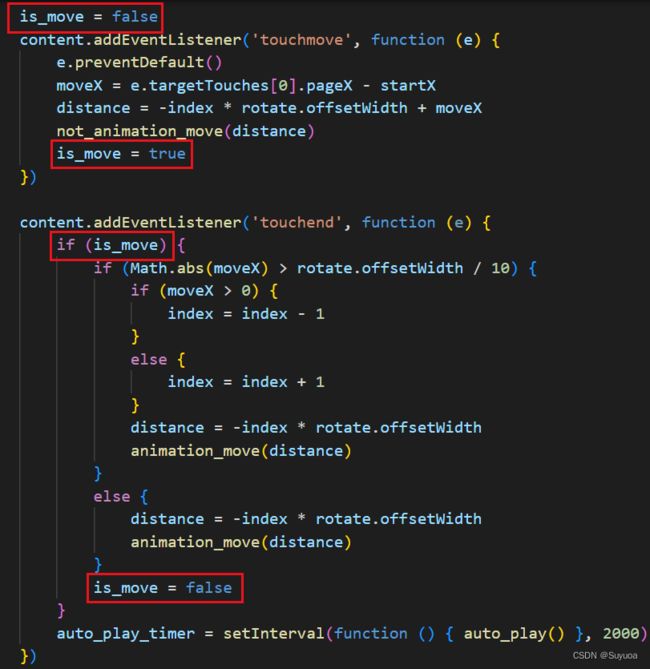
is_move = false
content.addEventListener('touchmove', function (e) {
e.preventDefault()
moveX = e.targetTouches[0].pageX - startX
distance = -index * rotate.offsetWidth + moveX
not_animation_move(distance)
is_move = true
})
content.addEventListener('touchend', function (e) {
if (is_move) {
if (Math.abs(moveX) > rotate.offsetWidth / 10) {
if (moveX > 0) {
index = index - 1
}
else {
index = index + 1
}
distance = -index * rotate.offsetWidth
animation_move(distance)
}
else {
distance = -index * rotate.offsetWidth
animation_move(distance)
}
is_move = false
}
auto_play_timer = setInterval(function () { auto_play() }, 2000)
})
// li的点击
all_lis = bottom.querySelectorAll('li')
for (i=0;i移动端轮播图只复制一张是不行的,如果只复制一张,在用户刚点进页面拖动的时候,会出现拉到空白的情况
所以移动端轮播图的图像情况是这样的
JS中这样写
CSS也要做出相应的改变
滑动的时候用户可能会按住然后不进行拖动,如果那样的话我们是没有moveX这个变量的,所以搞一个flag,如果没拖动就不要让touchedend中再进行针对MoveX的判断了
添加的时候在html中添加
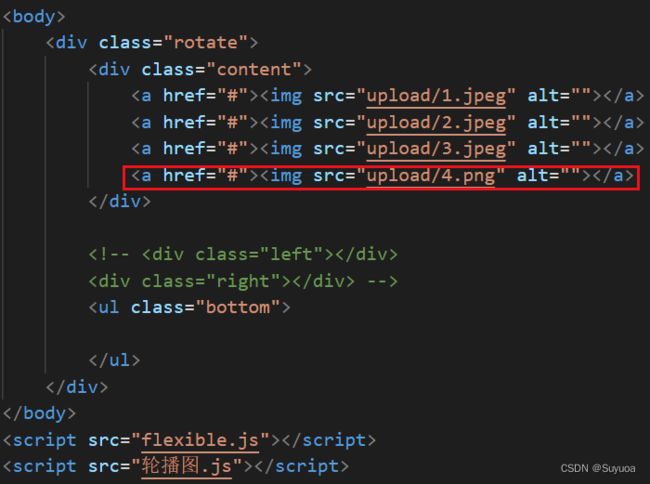
然后再css改一下宽度
其余不用动了,经测试可以正常使用

我们可以使用swiper插件来快速生成轮播图,swiper官网地址 Swiper中文网-轮播图幻灯片js插件,H5页面前端开发
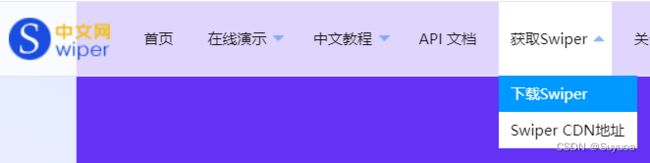
我下载的是当前最新的8.3.0
将下载好的压缩包解压后会得到一个名为swiper的文件

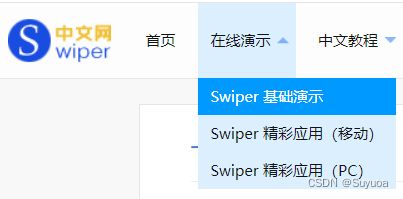
里面有很多特效
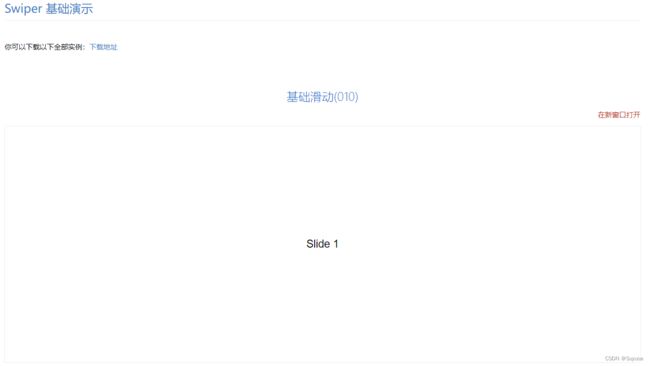
找到想要的效果后记住这里的编号
之后进入解压好的swiper中的demo

在demo中你可以找到想要效果编号的html文件
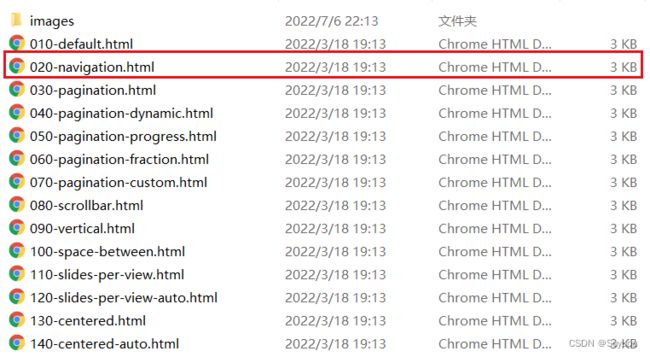
找到后加入的项目就可以了
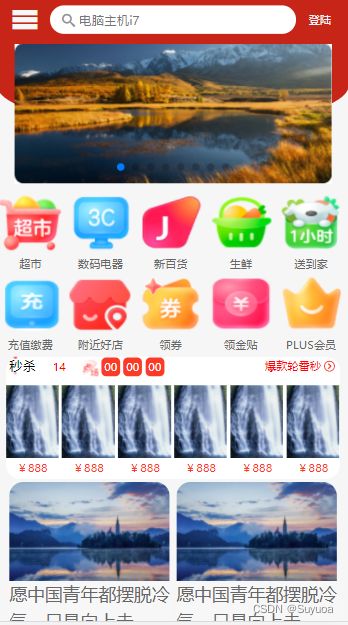
之前我们做流式布局的时候做了一下京东的首页,现在在我们之前的项目中加入轮播图
流式布局地址 36. 流式布局_Suyuoa的博客-CSDN博客_流式布局
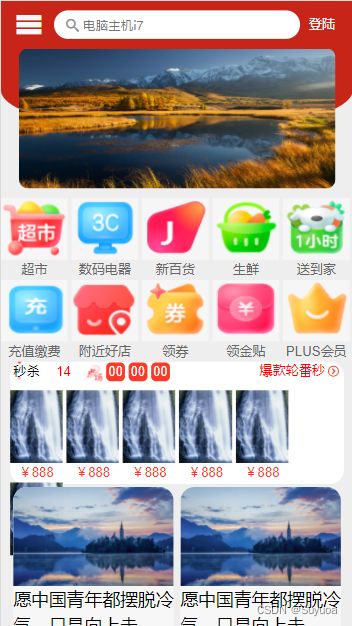
首先我们看一下样式

之后我们找到一个差不多的样式

找到demo中找到030然后打开
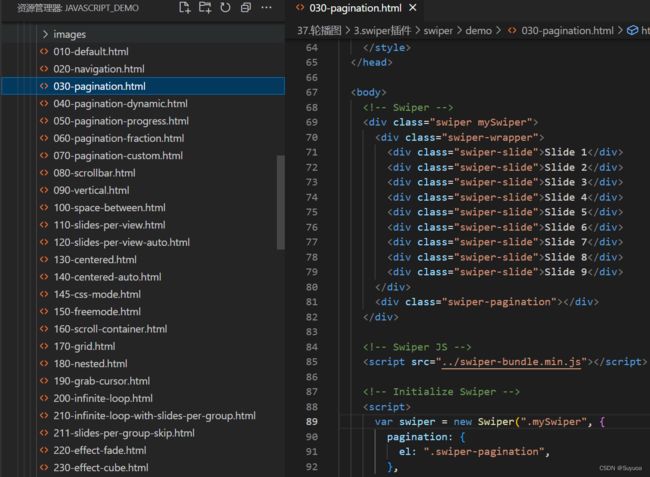
打开后测一下发现会有一个问题
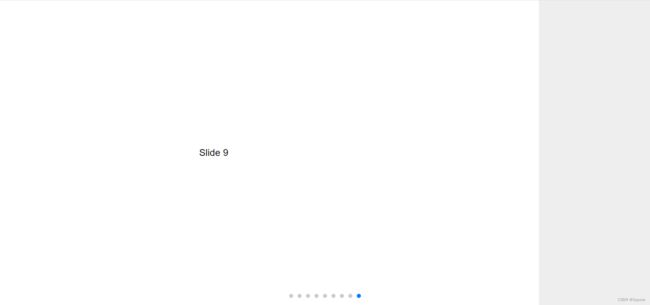
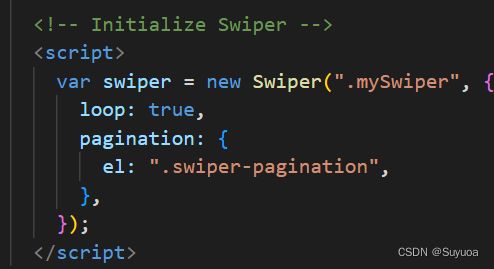
到最后一张的时候拖不到第一张,也就是说没有循环,这个时候去swiper看一下API文档
其中发现有循环的解释
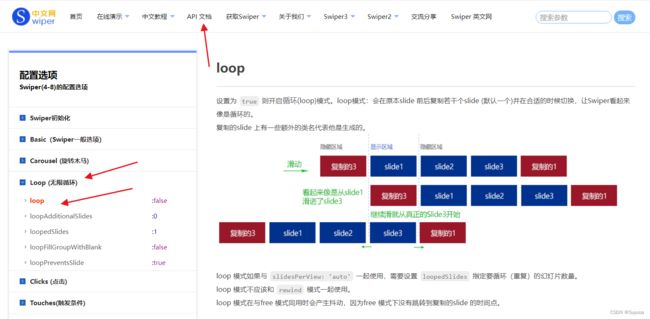
下面有用法
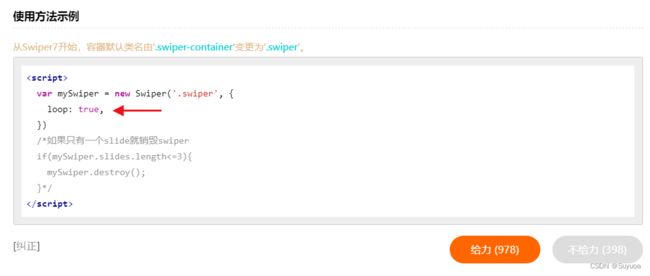
在mySwiper这个对象中加入loop:true这个属性
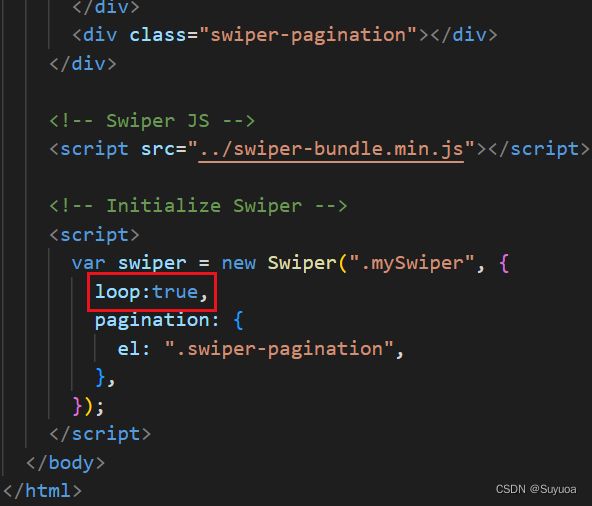
经测试我们发现可以由最后一个拉到第一个了
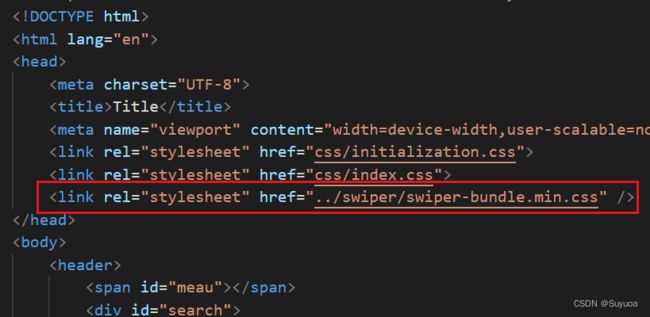
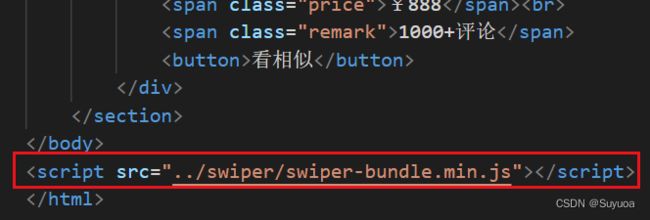
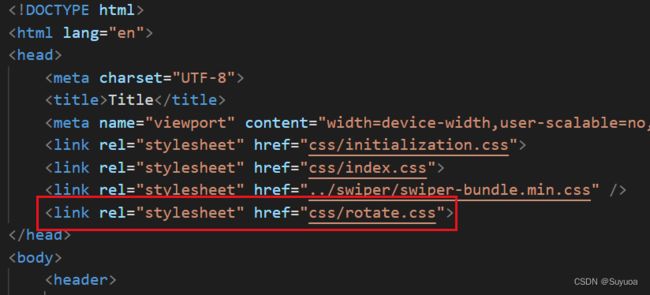
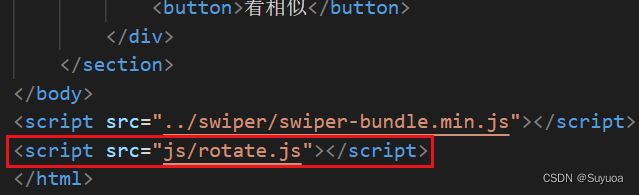
我们看刚刚调整好的demo,demo怎么引入的我们就怎么引入
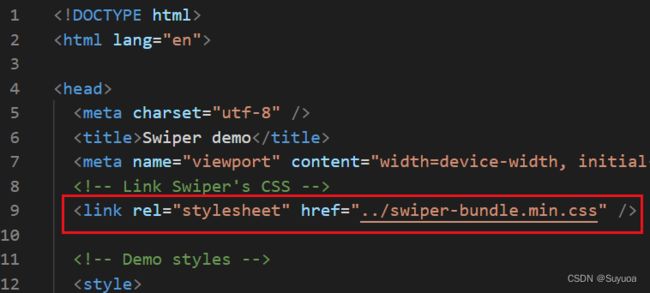
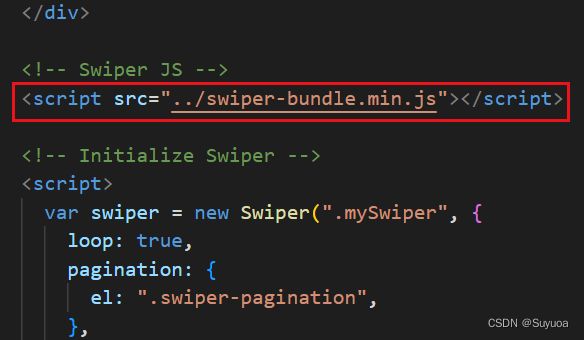
注意文件路径不要错
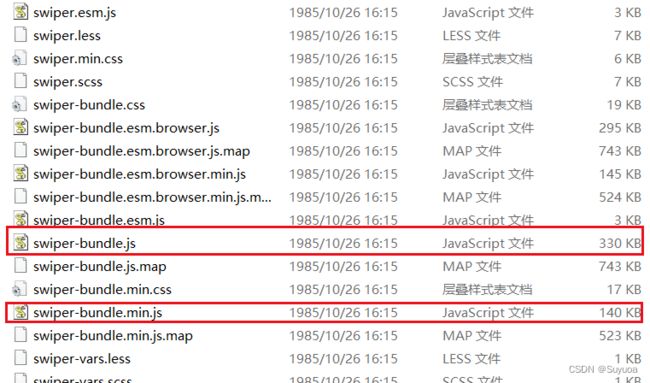
在某些版本中加min的与不加min的效果相同,区别为加min的文件大小更小一些
在demo内还有一堆CSS
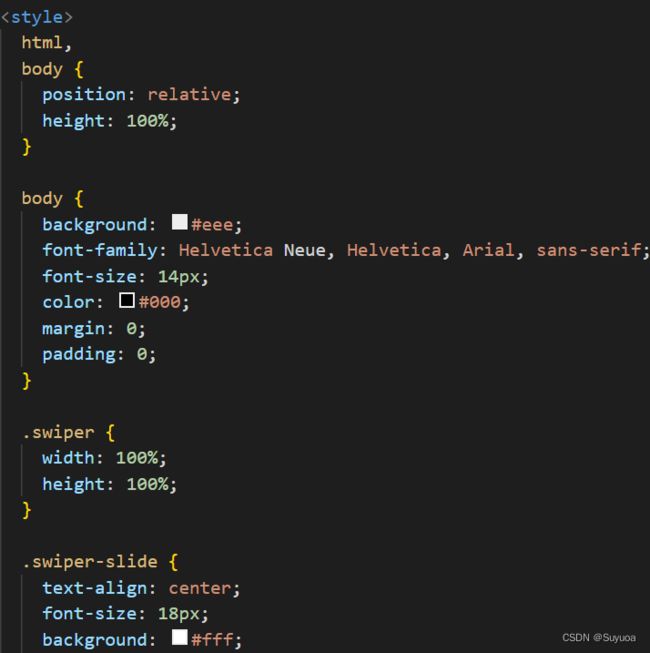
和JS
我们将其放入不同的文件中,再进行引入
引入之后看一下对原本的结构有没有什么影响
发现有影响就给它砍掉一些,我之前没写过JS,所以JS没有影响,这里我们砍掉部分CSS,主要就是html,body这些会有冲突,下面都是类选择器,我们之前没有用过这些类
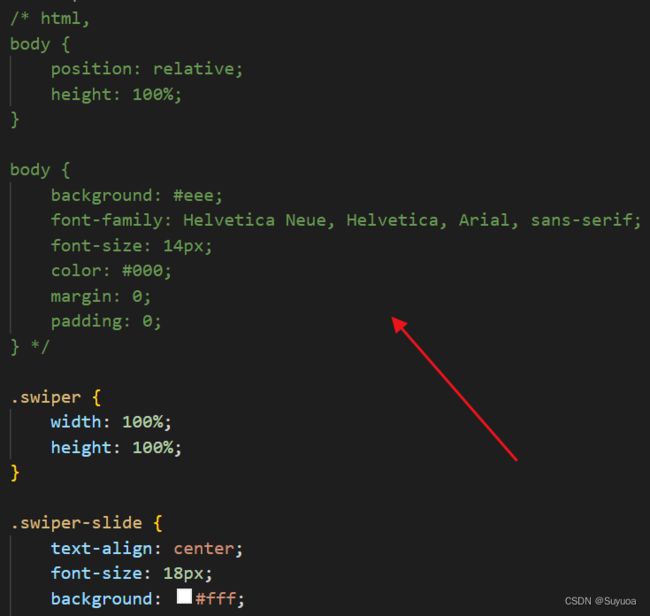
改完之后恢复了原样
原版京东有8个图进行轮播,我们也搞8个,先将这一段内容全都复制进去
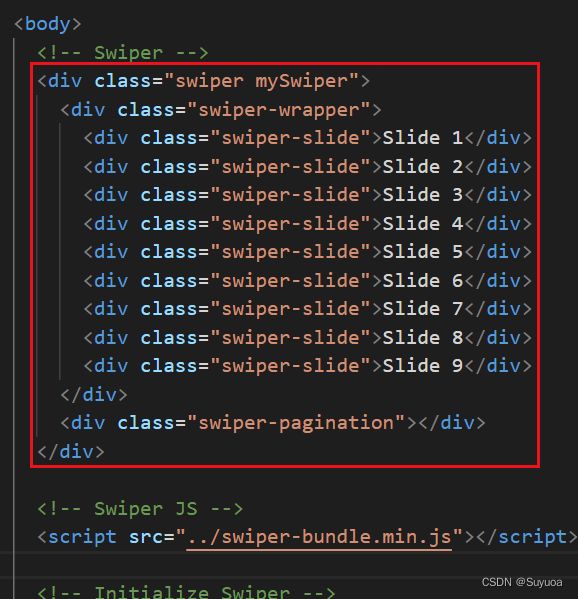
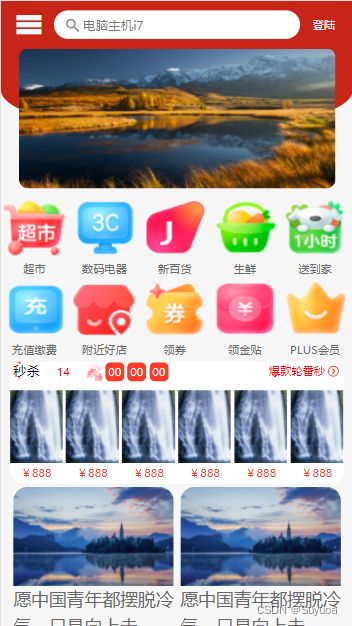
粘进去之后发现是好使的
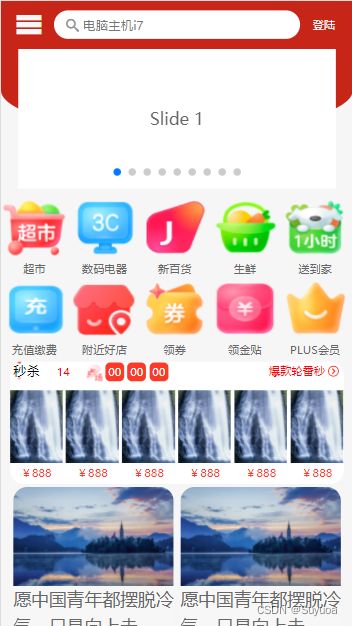
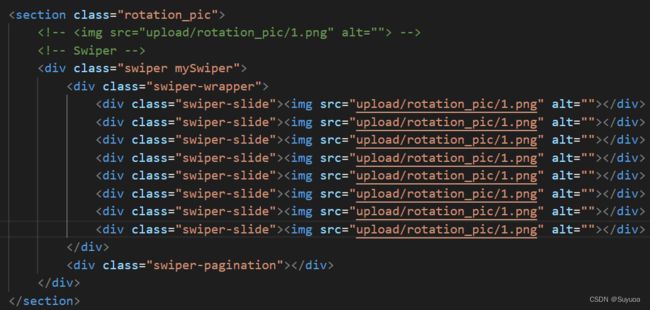
我们首先加入图像
发现圆角和下面的点的颜色不对
屏蔽掉之前的轮播图img
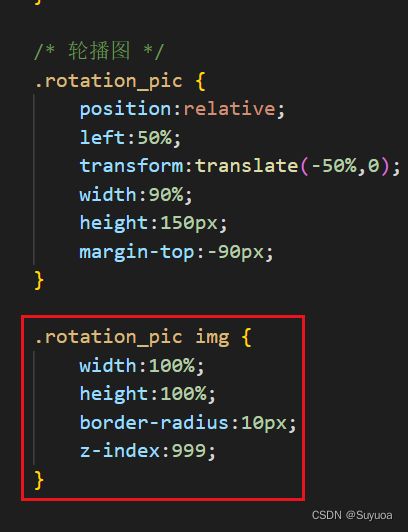
改
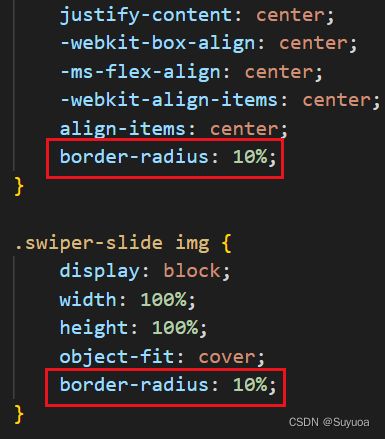
找到点对应的类
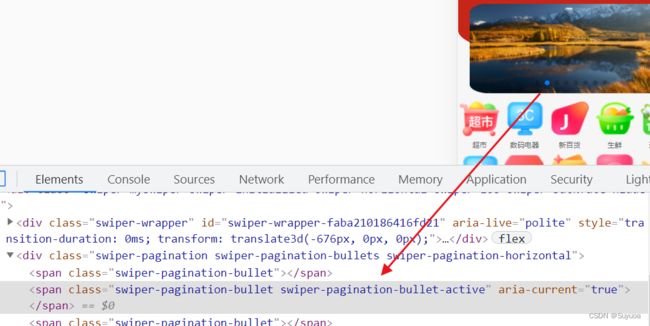
改样式

也不是所有的都能改,这个得看情况

最后我们加入自动切换,依然是从API文档中查看
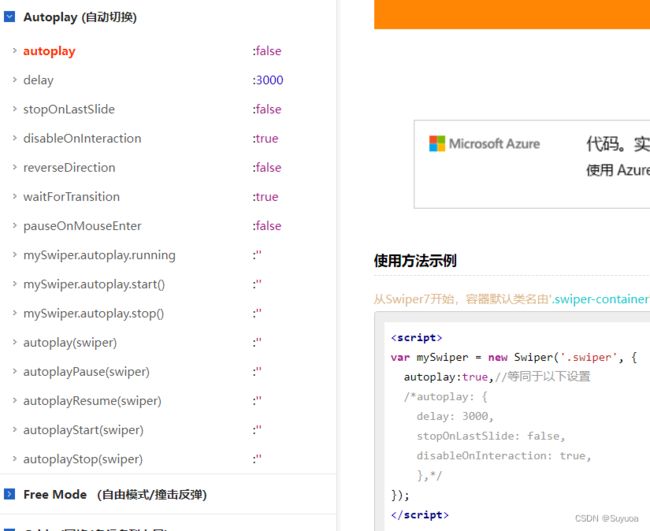
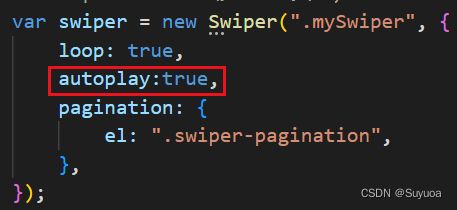
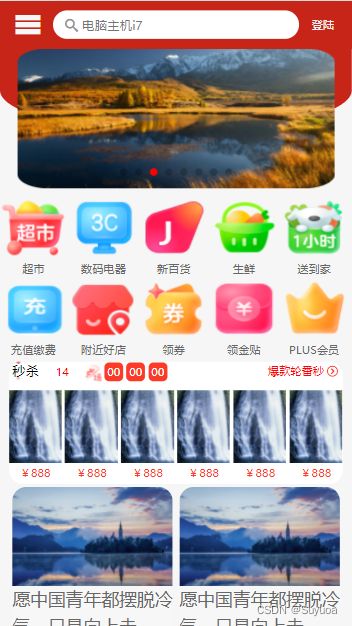
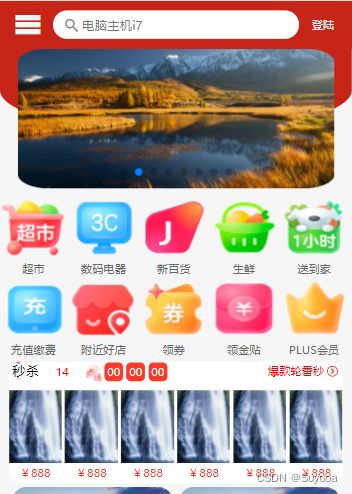
至此就全部移植成功了
像这种比较普通的轮播图还是用自己写的进行移植比较好,毕竟是自己写的,改起来比较有数
我在另一个项目中同样使用了swiper做轮播图,感兴趣可以看一下
附录10-项目黑马面面_Suyuoa的博客-CSDN博客
我们之前在响应式布局中使用过bootstrap 39.响应式布局_Suyuoa的博客-CSDN博客
现在我们使用bootstrap制作轮播图,我们依然使用bootstrap 5.1.3
bootstrap5不依赖jQuery了,但是你也可以用

我们在文档中搜索swiper,发现这个单词在carousel中存在
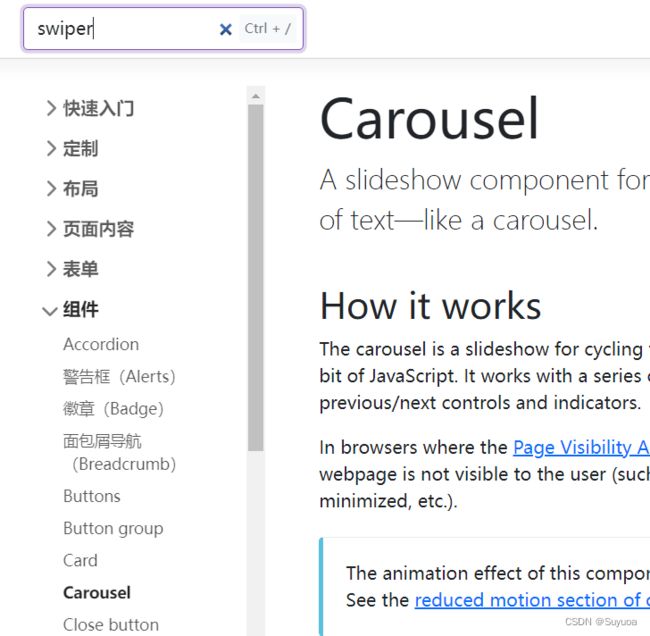
往下翻可以看到各种效果
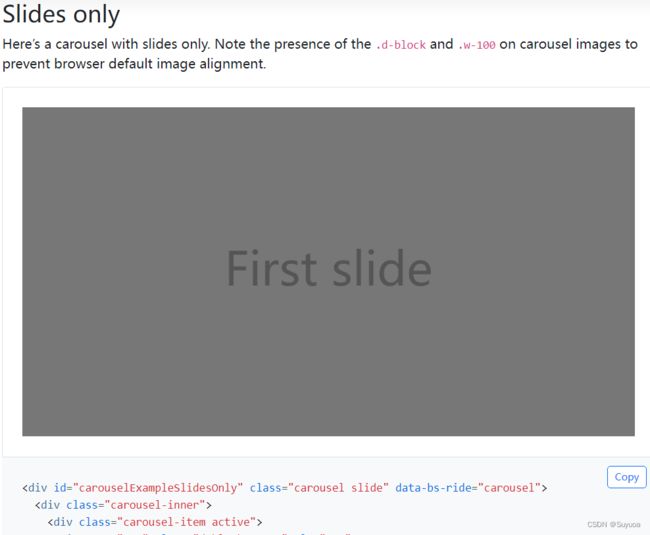
我们使用下面有两个按钮的为例
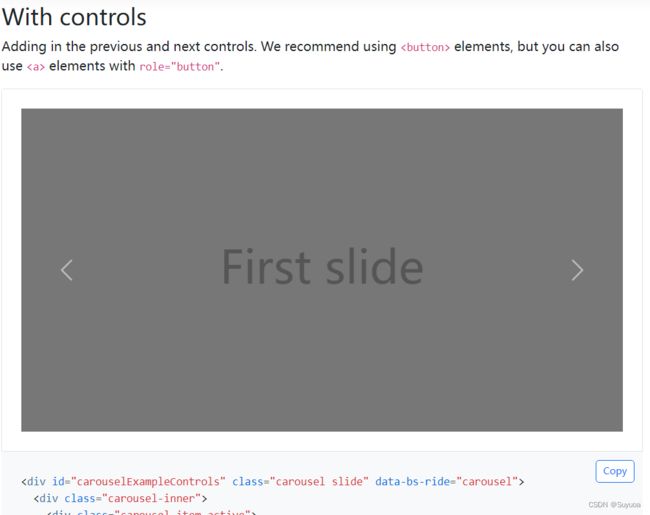
我们先搞一个框架把bootstrap的css与js文件引用进去,然后把图片替换了,最后改一下样式,代码是这样的
Document
这样轮播图就做好了
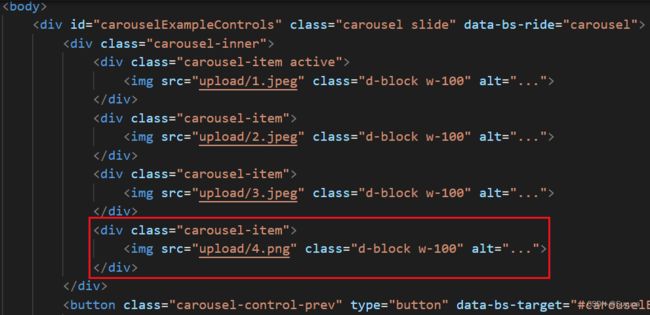
想再来一张轮播图就再加一个div就行了

再将页面往下滚可以看到一些参数
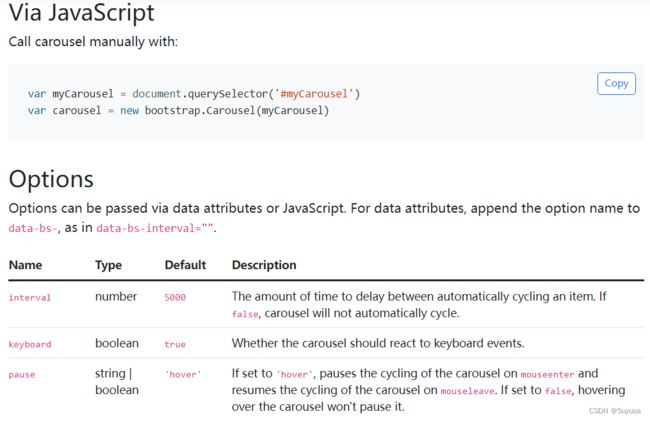
比如说你想把轮播图自动播放速度搞得更快一点,那么就可以这样搞
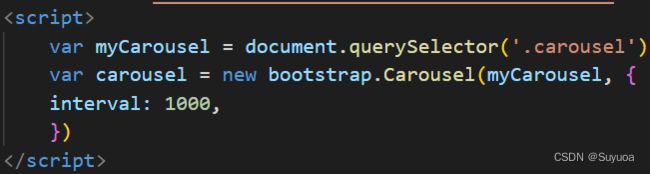
加上上面的script就变成1s一张了