如何用python做交互式界面?五分钟教会你。
之前写了一个用Python制作的登陆界面的文章,这次教大家实现一个简单的注册界面,跟登陆相比,注册界面新增了一个上传头像的功能,以及将注册信息保存到本地txt文件中的功能,最终实现的效果是这样的
2. 导入必要的库
from tkinter import *
# filedialog函数用于上传文件
from tkinter import filedialog
# 因为头像是图片需要用到pillow库
from PIL import Image
3. 创建窗口
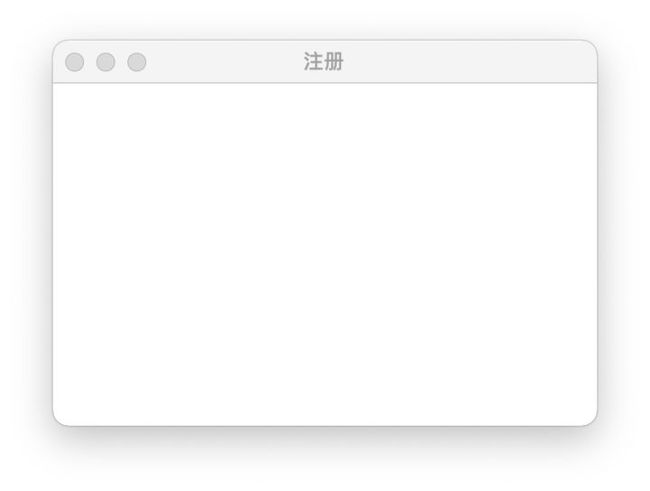
在导入必要的库之后,我们先创建一个宽度为350,高度为220的窗口,窗口的标题就叫“注册”
- 创建窗口-代码
# 创建窗口
win = Tk()
# 设置窗口标题
win.title('注册')
# 设置窗口宽度和高度
win.geometry('350x220')

# 主循环
win.mainloop()- 实现效果
完成以上代码之后,运行程序实现的效果是这样的
4. 创建账号文本框
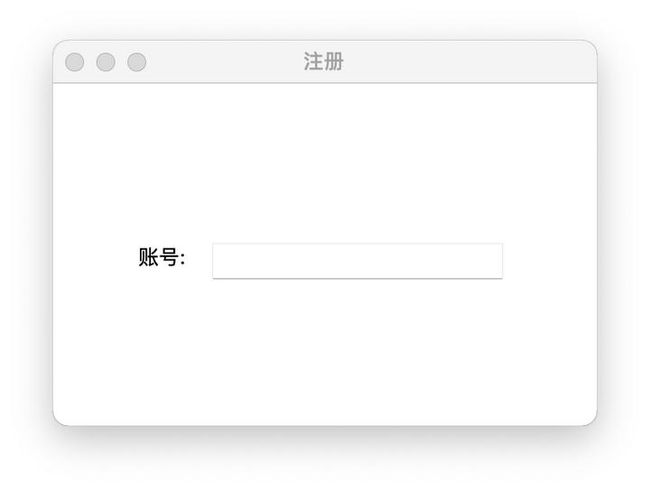
窗口创建好之后,接下来在窗口上将“账号”这两个字显示在窗口上,然后在“账号”后边创建一个用于输入账号的文本框
- 创建账号文本框-代码
# 将“账号:”显示在x坐标为50, y坐标为100的位置
Label(text='账号:').place(x=50, y=100)
# 用变量uname表示输入账号的文本框,方便获取里面的内容
uname = Entry(win)
# 将用于输入账号的文本框放置在x坐标为100,y坐标为100的位置
uname.place(x=100, y=100)- 实现效果
5. 创建密码文本框
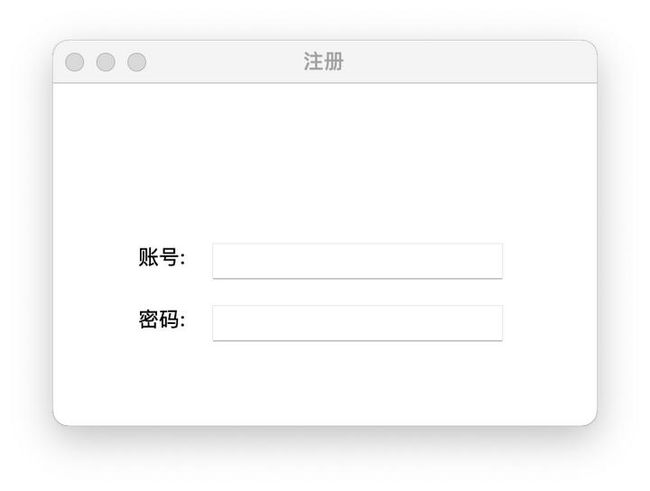
接下来使用同样的方法,将“密码:”两个字,以及用于输入密码的文本框设置在窗口上
- 创建密码文本框-代码
Label(text='密码:').place(x=50, y=140)
# 使用show="*",在文本框输入的内容就全部显示为*
pwd = Entry(win, show='*')
pwd.place(x=100, y=140)- 实现效果
6. 点击上传头像
接下来在界面中增加一个点击上传头像的功能
- 上传头像-代码
作者:python爱好者
链接:https://www.zhihu.com/question/60013978/answer/2222608439
来源:知乎
著作权归作者所有。商业转载请联系作者获得授权,非商业转载请注明出处。

# 创建一个自定义函数,用于点击上传按钮的时候调用
def upload_pic():
    # 这行代码会打开C:盘根目录,当你选中文件的时候,将文件的路径保存到pic_path变量
    pic_path = filedialog.askopenfilename(initialdir='C:/')
    # 根据获取到的图片路径打开图片
    img = Image.open(pic_path)
    # 将图片固定设置为宽度为80,高度为80方便在界面中展示
    img = img.resize((80, 80))
    # 想修改完宽和高的图片保存
    img.save('head.png')
    # 加载保存的图片
    head = PhotoImage(file='head.png')
    # 将上传按钮中的图片设置为刚才加载的图片
    head_button.config(image=head)
    head_button.image=head

# 加载一个默认图片,用于在上传按钮中显示
default_pic = PhotoImage(file='default_pic.png')
# 创建一个按钮,设置按钮中要显示的图片,以及点击按钮是调用的函数
head_button = Button(image=default_pic, command=upload_pic)
# 将按钮放置在x坐标为150,y坐标为10的位置,并且设置宽度和高度都是80
head_button.place(x=150, y=10, width=80, height=80)
作者:python爱好者
链接:https://www.zhihu.com/question/60013978/answer/2222608439
来源:知乎
著作权归作者所有。商业转载请联系作者获得授权,非商业转载请注明出处。
- 实现效果
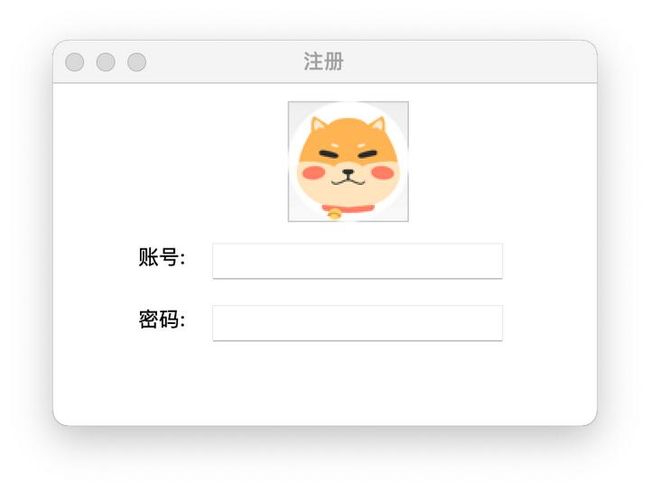
界面中新增了上传头像的按钮
选择一张图片上传之后的效果
7.保存注册信息到本地txt文件
接下来就将输入的账号、密码、以及头像信息保存到本地的txt文件当中
- 保存信息-代码
# 创建register函数,用于在点击注册按钮的时候调用
def register():
    # 从输入账号的文本框中获取账号
    user_name = uname.get()
    # 从输入密码的文本框中获取密码
    password = pwd.get()
    # 保存上传的图片路径
    head_path = 'head.png'
    # 将以上三条信息写入到本地的txt文件
    with open('data.txt', 'a', encoding='utf-8') as f:
        f.write('{},{},{}\n'.format(user_name,password,head_path))

# 创建注册按钮,点击按钮时调用register函数
Button(text='注册', command=register).place(x=100, y=180, width=190)- 实现效果
界面中新增了注册界面
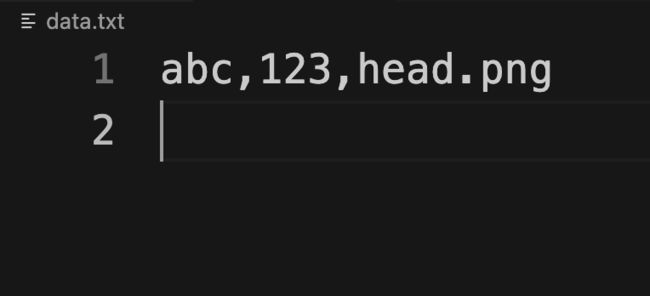
头像、账号、密码都准备好之后点击注册按钮,这些信息就会保存到‘“data.txt”文件当中
8完整代码
作者:python爱好者
链接:https://www.zhihu.com/question/60013978/answer/2222608439
来源:知乎
著作权归作者所有。商业转载请联系作者获得授权,非商业转载请注明出处。

from tkinter import *
from tkinter import filedialog
from PIL import Image

# 注册窗口
win = Tk()
win.title('注册')
win.geometry('350x220')
win.resizable(0, 0)
# 账号文本框
Label(text='账号:').place(x=50, y=100)
uname = Entry(win)
uname.place(x=100, y=100)
# 密码文本框
Label(text='密码:').place(x=50, y=140)
pwd = Entry(win, show='*')
pwd.place(x=100, y=140)
# 上传头像
def upload_pic():
    pic_path = filedialog.askopenfilename(initialdir='C:/')
    img = Image.open(pic_path)
    img = img.resize((80, 80))
    img.save('head.png')
    head = PhotoImage(file='head.png')
    head_button.config(image=head)
    head_button.image=head
default_pic = PhotoImage(file='default_pic.png')
head_button = Button(image=default_pic, command=upload_pic)
head_button.place(x=150, y=10, width=80, height=80)
# 注册
def register():
    user_name = uname.get()
    password = pwd.get()
    head_path = 'head.png'
    with open('data.txt', 'a', encoding='utf-8') as f:
        f.write('{},{},{}\n'.format(user_name,password,head_path))

Button(text='注册', command=register).place(x=100, y=180, width=190)

win.mainloop()
答疑源码分享可关注公众号:Python源码获取

