【MyBatis学习】MyBatis操纵数据库进行查询操作 ?MyBatis与JDBC想比怎么样,赶快与我一起探索吧 ! ! !
前言:
大家好,我是良辰丫,从今天开始我们就要进入MyBatis的学习了,请君与我一起操纵数据库,MyBatis到底是什么呢?我们慢慢往下瞧! ! !
个人主页:良辰针不戳
所属专栏:javaEE进阶篇之框架学习
励志语句:生活也许会让我们遍体鳞伤,但最终这些伤口会成为我们一辈子的财富。
期待大家三连,关注,点赞,收藏。
作者能力有限,可能也会出错,欢迎大家指正。
愿与君为伴,共探Java汪洋大海。
目录
- 1. 初识MyBatis
-
- 1.1 走进MyBatis
- 1.2 认识SSM
- 2. MyBatis的查询具体步骤
-
- 2.1 创建一个表
- 2.2 创建 SSM项目
- 2.3 数据库进行配置
- 2.4 配置 MyBatis 中的 XML 路径
- 2.5 实现业务代码
-
- 2.5.1 实现实体类
- 2.5.2 构造mapper层次的代码
- 2.5.3 创建xml
- 2.5.4 实现服务层
- 2.5.5 实现控制器
- 2.5.6 验证程序
- 3. 简单描述上述交互过程
1. 初识MyBatis
1.1 走进MyBatis
在学习MyBatis的用法之前我们首先要对MyBatis的基本概念有一定的了解,要不然学习起来会变得一团糟.
- MyBatis 是⼀款优秀的持久层框架,它⽀持⾃定义 SQL、存储过程以及⾼级映射。MyBatis 去除了⼏乎所有的 JDBC 代码以及设置参数和获取结果集的⼯作。MyBatis 可以通过简单的 XML 或注解来配置和映射原始类型、接⼝和 Java POJO(Plain Old Java Objects,普通⽼式 Java 对象)为数据库中的记录。
- 简单来说 MyBatis 是更简单完成程序和数据库交互的⼯具,也就是更简单的操作和读取数据库的工具,其实MyBatis本质上还是调用JDBC,只不过是框架帮我们做了一定的优化.
MyBatis的好处?
我们已经有了JDBC,为什么还要学习MyBatis呢?
- JDBC比较繁琐,步骤很多,没进行一次不同的数据库操作,都需要把繁琐的步骤写一次.
- MyBatis本质上还是调用 JDBC,但是它简化了很多工作,MyBatis在创建的时候大家会感到很繁琐,但是创建好了,大家用的时候会发现是真的香.
1.2 认识SSM
- 在之前没有Spring Boot的时候,所谓的SSM是Spring + Spring MVC + MyBatis.
此时我们是使用maven进行项目创建的. - 后来Spring Boot诞生,我们发现这个东西是真的香,渐渐地,程序员就几乎不再使用Spring 了,Spring Boot仿佛代替了Spring ,此时所谓的SSM是Spring Boot+ Spring MVC + MyBatis,其实Spring Boot内置了所有的东西.
- 但是在面试的时候,面试官问我们SSM是什么,我们答老版和新版的都可以,这些只是历史背景,大家简单的了解即可.
2. MyBatis的查询具体步骤
接下来我们就要开始实现我们的第一个MyBatis的查询功能,刚开始学起来可能有点困难,因为创建的时候比较繁琐,不要慌哈,多操作几次就可以了,熟能生巧.
2.1 创建一个表
我们首先需要建库建表,这是实现我们查询功能的前提.
-- 创建数据库
drop database if exists student;
create database student DEFAULT CHARACTER SET utf8mb4;

-- 使用数据库
use student;

-- 创建学生表
drop table if exists stu;
create table stu(
    id int primary key auto_increment,
    name varchar(20) not null,
    age int
)default charset 'utf8mb4';
我们先在里面添加一条数据
insert into stu values(null,'张三',18);
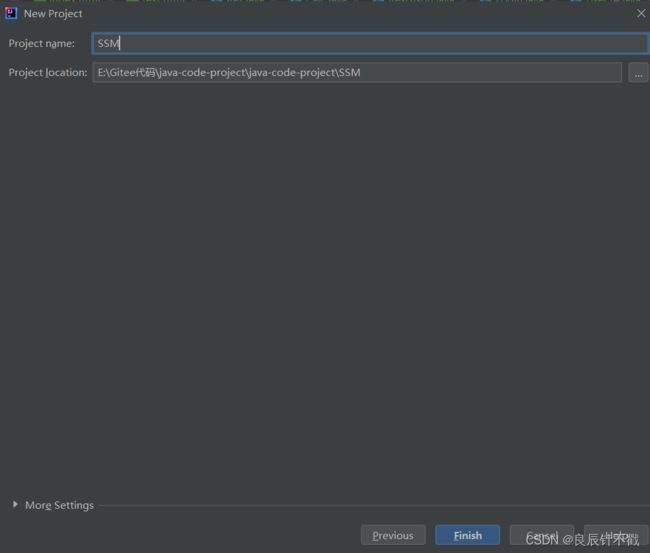
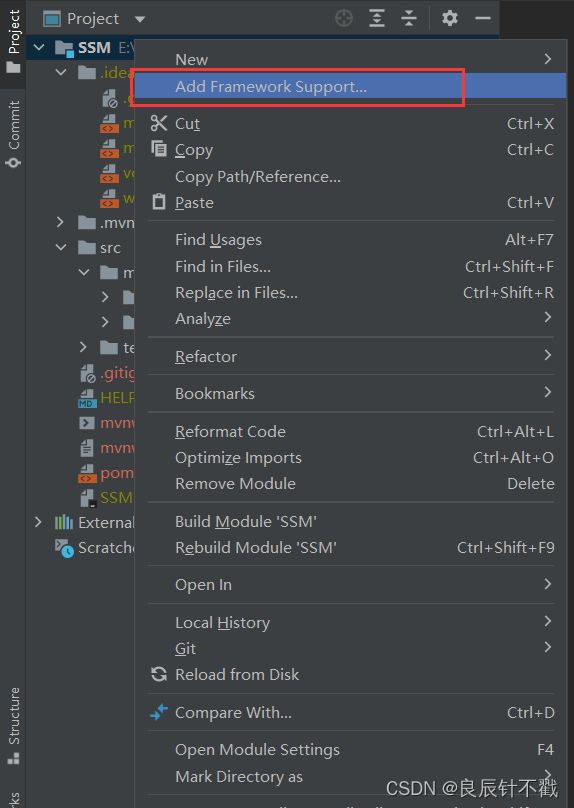
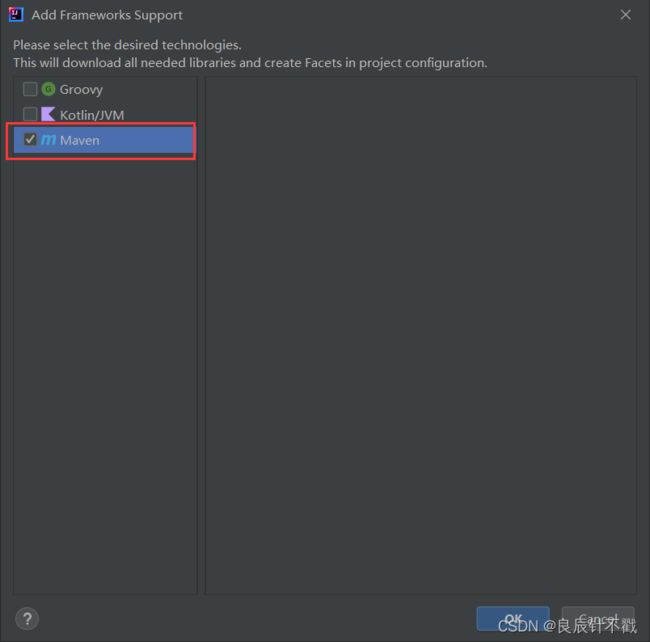
2.2 创建 SSM项目
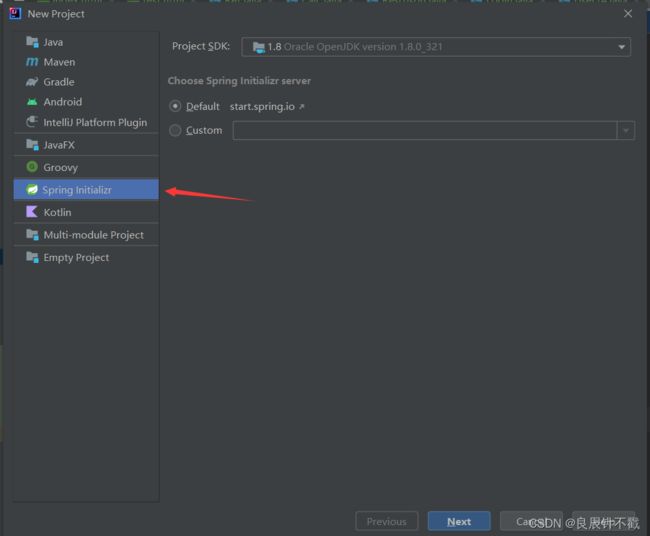
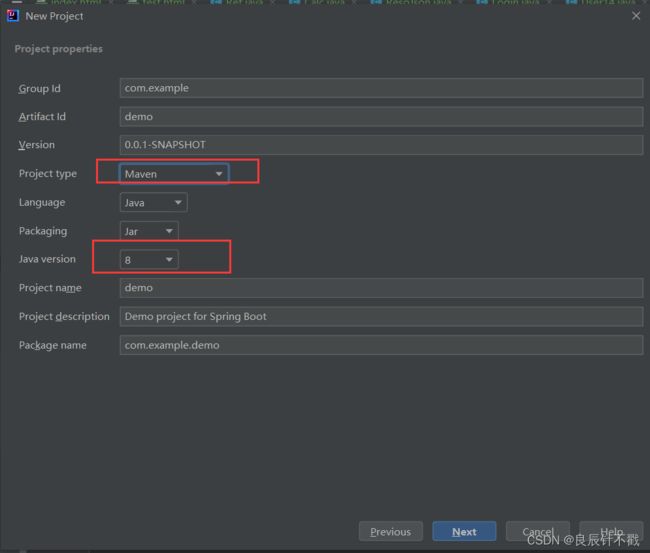
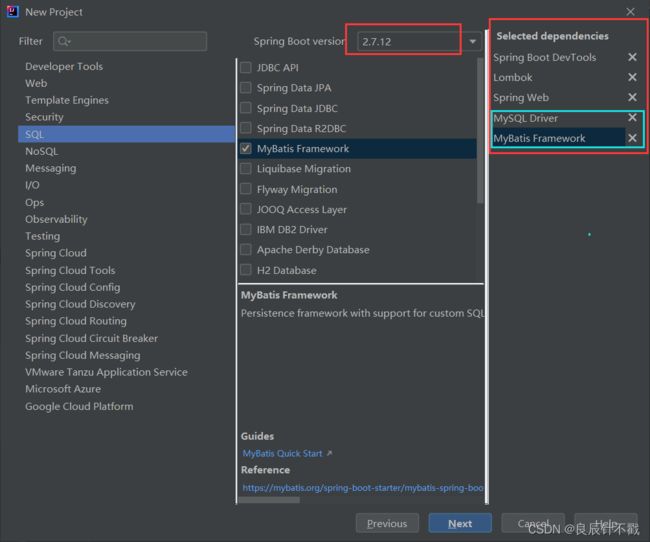
创建SSM项目就是在创建Spring Boot的基础上,Spring Boot相当于一个容器,它内置了很多框架,创建Spring Boot的过程我就不做详细描述,我们在Spring Boot的文章中已经做了详细的描述,大家可以去看一下.
我们需要去选择我们的MyBatis框架,注意,我们还需要选择我们的数据库,我们使用的是mysql,因此选择mysql.
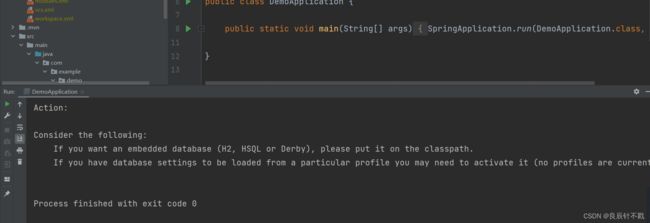
此时我们虽然创建好了SSM项目,但是我们直接运行回报错,异常退出,因为我们的SSM项目没有配置数据库相关的信息,因此我们找不到数据库,所以会报错.
2.3 数据库进行配置
我们在Spring Boot里面学习了两种格式的配置,因此两种配置都可以,使用其中一种即可,在本篇文章中,我们主要使用properties配置.
yml配置文件
spring:
  datasource:
    url: jdbc:mysql://localhost:3306/mycnblog?characterEncoding=utf8&useSSL=false
    username: root
    password: 123456
    driver-class-name: com.mysql.cj.jdbc.Driver
properties配置文件
spring.datasource.url=jdbc:mysql://localhost:3306/mycnblog?characterEncoding=utf8&useSSL=false
spring.datasource.username=root
spring.datasource.password=123456
spring.datasource.driver-class-name=com.mysql.cj.jdbc.Driver
2.4 配置 MyBatis 中的 XML 路径
直接加到配置文件中,在后续的内容中,我们以properties配置文件进行讲解.
spring.datasource.url=jdbc:mysql://localhost:3306/student?characterEncoding=utf8&useSSL=false
spring.datasource.username=root
# 注意!写你自己的密码
spring.datasource.password=123456
spring.datasource.driver-class-name=com.mysql.cj.jdbc.Driver
# mybatis xml 配置 MyBatis 中的 XML 路径
mybatis.mapper-locations=classpath:mybatis/*Mapper.xml
2.5 实现业务代码
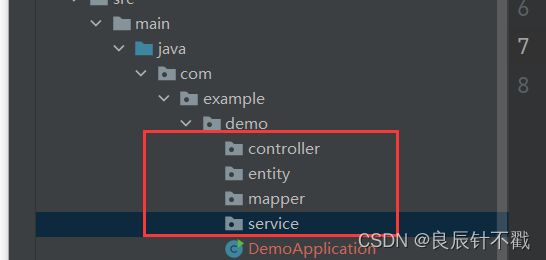
接下来我们创几个包,为什么要创包呢?我们从现在开始要严格按照项目的要求进行操作,写代码,各个层次里面放不同类型的代码.
2.5.1 实现实体类
entity里面放的是实体类,我们先放一个实体类
package com.example.demo.entity;

import lombok.Data;

@Data
public class Stu {
    private int id;
    private String name;
    private int age;
}
2.5.2 构造mapper层次的代码
我们先创建一个接口.
package com.example.demo.mapper;

import com.example.demo.entity.Stu;
import org.apache.ibatis.annotations.Mapper;
import org.apache.ibatis.annotations.Param;

@Mapper
public interface StuMapper {
    Stu getStuId(@Param("id") Integer id);
}
2.5.3 创建xml
<?xml version="1.0" encoding="UTF-8"?>
<!DOCTYPE mapper PUBLIC "-//mybatis.org//DTD Mapper 3.0//EN" "http://mybatis.org/dtd/mybatis-3-mapper.dtd">
<!--namespace是命名空间,表示实现哪个接口-->
<mapper namespace="com.example.demo.mapper.StuMapper">

    <select id="getStuId" resultType="com.example.demo.entity.Stu">
        select * from stu where id=${id}
    </select>

    </mapper>
2.5.4 实现服务层
- 有人可能会有疑惑,这里能直接注入接口嘛?框架的功能是非常强大的,它会帮我们做这些.
- 如果有多个相同名字的接口呢?我们可以采用命名的方式进行区分.
- ①@Resource
- ②@Autowired+@Qualifier
package com.example.demo.service;

import com.example.demo.entity.Stu;
import com.example.demo.mapper.StuMapper;
import org.springframework.beans.factory.annotation.Autowired;
import org.springframework.stereotype.Service;

@Service
public class StuService {
    @Autowired
    private StuMapper stuMapper;

    public Stu getUserById(Integer id) {
        return stuMapper.getStuId(id);
    }

}
2.5.5 实现控制器
package com.example.demo.controller;

import com.example.demo.entity.Stu;
import com.example.demo.service.StuService;
import org.springframework.beans.factory.annotation.Autowired;
import org.springframework.web.bind.annotation.RequestMapping;
import org.springframework.web.bind.annotation.RestController;

@RestController
@RequestMapping("/user")
public class Controller {

    @Autowired
    private StuService stuService;

    @RequestMapping("/id")
    public Stu getUserById(Integer id) {
        if (id == null) return null;
        return stuService.getUserById(id);
    }
}
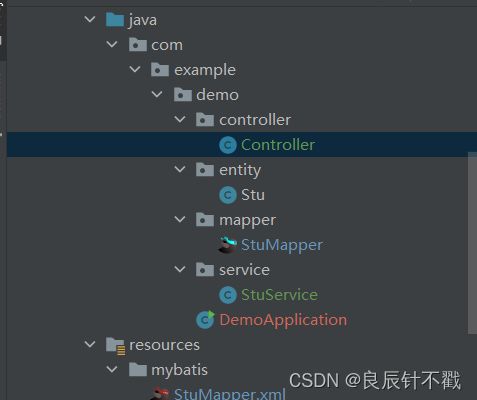
下面是我们完整的目录结构.
2.5.6 验证程序
我们通过浏览器进行访问id为1的数据,访问成功,说明我们的程序成功了.
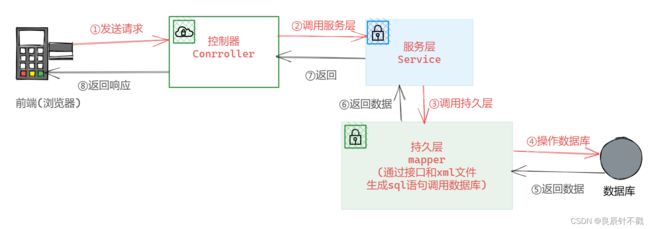
3. 简单描述上述交互过程
- 前端访问后端,也就是浏览器发送访问请求.
- 请求传给控制器,进行参数验证.
- 验证成功后控制器调用服务器.
- 服务器调用mapper层的接口和xml文件.
- mapper向数据库索要内容,返回给服务器.
- 服务器返回给控制器.
- 控制器把内容返回给浏览器.
