VUE3 + TS + MapboxGL + 拖拽定位
VUE3 + TS + MapboxGL + 拖拽定位
mapbox的拖拽定位,相对于其他api来说还是相对容易实现的。只需要在中心创建图层,之后在地图移动时候一直更改图层的中心即可。
首先,安装部分不过多描述:
官网安装地址
之后,要使用mapboxGL,首当其冲肯定是初始化mapbox
这里我把初始化全部放在一个ts文件并且组件调用该初始化函数进行初始化。
ts文件中函数,下面注释都挺清楚的,不再一行行解释
import { onMounted, Ref, ref } from "vue";
import MapboxLanguage from "@mapbox/mapbox-gl-language"; // 加中文
import mapboxgl, { Map, Marker } from "mapbox-gl";

export function initDragMap() {
    const mapboxgl = require("mapbox-gl"); // 引入mapbox-gl组件

    const mapDivElement: Ref<HTMLDivElement | null> = ref(null)
    const map: Ref<Map> = ref({}) as Ref<Map>
    const marker: Ref<Marker> = ref({}) as Ref<Marker>

    onMounted(initMap)

    return {
        map,
        mapDivElement,
        marker,
    }

    /**
     * 初始化mapbox
     */
    function initMap() {
        mapboxgl.accessToken = //这里请换成自己的token
        let arr = [lng, lat];//写入希望初始化的经纬度
        mapNew(map, mapDivElement, marker, arr);
        map.value.on("move", moveing);//地图移动则变化移动中
    }

    function moveing() {
        var lngLat = map.value.getCenter();
        marker.value.setLngLat(lngLat);
    }
}

/**
 * 新建地图
 * @param map
 * @param mapDivElement
 * @param marker
 * @param arr
 */
function mapNew(map: Ref<Map>, mapDivElement: Ref<HTMLDivElement | null>, marker: Ref<Marker>, arr: [number, number]) {
    if (mapDivElement.value !== null) {
        // console.log(mapDivElement.value)
        map.value = new mapboxgl.Map({
            container: mapDivElement.value, // container id 绑定的组件的id
            center: arr, // 初始坐标系
            minZoom: 1.7, // 设置最小拉伸比例
            zoom: 10, // starting zoom 地图初始的拉伸比例
            style: "mapbox://styles/mapbox/streets-v11", // 类型
            // pitch: 60, //地图的角度,不写默认是0,取值是0-60度,一般在3D中使用
            bearing: 0, //地图的初始方向,值是北的逆时针度数,默认是0,即是正北,-17.6
            antialias: false, //抗锯齿,通过false关闭提升性能
            // maxBounds: [[, ], // 西南方坐标
            // [, ]] //东北方坐标,用于控制缩放范围
        });

        mapThreeDim(map, 'street-map');
        skyLoad(map);

        // 中文
        map.value.addControl(
            new MapboxLanguage({
                defaultLanguage: "zh-Hans",
            })
        );

        const scale = new mapboxgl.ScaleControl({
            maxWidth: 100,
            unit: 'metric'
        });

        map.value.addControl(scale, "bottom-left");// 比例尺
        scale.setUnit('metric');

		// 这里就是图层部分,可以在官网找到自己希望图层样式
        marker.value = new mapboxgl.Marker()
            .setLngLat(arr)
            .addTo(map.value);

    } else {
        throw Error('map new init error')
    }
}
mapThreeDim(map, ‘street-map’);和skyLoad(map);函数是加入高度信息和转动后的天空层,如果不需要也可以屏蔽。
export function mapThreeDim(map: Ref<Map>, style: MapType) {
		map.value.on("load", () => {
           const layers = map.value.getStyle().layers;
           if (layers !== undefined) {
               const labelLayerId = layers.find(
                   (layer) => {
                       if ("layout" in layer && layer.layout !== undefined) {
                           return layer.type === "symbol" && layer.layout["text-field"]
                       } else {
                           return false
                       }
                   }
               )?.id;
               map.value.addLayer(
                   {
                       id: "3d",
                       source: "composite",
                       "source-layer": "building",
                       filter: ["==", "extrude", "true"],
                       type: "fill-extrusion",
                       minzoom: 15,
                       paint: {
                           "fill-extrusion-color": "#aaa",

                           // 当用户放大时,使用“插值”表达式为建筑物添加平滑过渡效果
                           "fill-extrusion-height": [
                               "interpolate",
                               ["linear"],
                               ["zoom"],
                               15,
                               0,
                               15.05,
                               ["get", "height"],
                           ],
                           "fill-extrusion-base": [
                               "interpolate",
                               ["linear"],
                               ["zoom"],
                               15,
                               0,
                               15.05,
                               ["get", "min_height"],
                           ],
                           "fill-extrusion-opacity": 0.6,
                       },
                   },
                   labelLayerId
               );
           }
       });
}
export function skyLoad(map: Ref<Map>) {
    map.value.on("load", () => {
        map.value.addLayer({
            id: "sky",
            type: "sky",
            paint: {
                "sky-type": "atmosphere",
                "sky-atmosphere-sun": [0.0, 0.0],
                "sky-atmosphere-sun-intensity": 15,
            },
        });
    });
}
最后,我们只需要在组件中导入即可
<div class="chart" id="mapContainer" ref="mapDivElement" />
const {
    map,
    mapDivElement,
    marker
} = initDragMap();
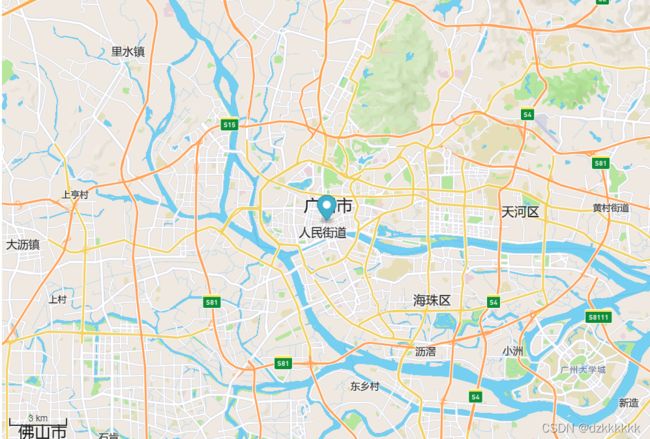
结果