从0到1精通自动化测试,pytest自动化测试框架,allure-pytest(最新最全)(十九)
目录:导读
-
- 一、前言
- 二、allure-pytest 环境准备
- 三、allure命令行工具
- 四、用例demo
- 五、运行用例
- 六、查看报告
一、前言
之前写了个pytest的allure相关的教程,只是停留在环境搭建完成,后续一直没用,小编一直不喜欢这种花里胡哨的报告
没办法,领导就喜欢这种,小伙伴们也喜欢,所以还是得把allure用起来,给领导一个漂亮的报告,也好加鸡腿
二、allure-pytest 环境准备
windows环境相关:
1.python 3.6版本
2.pytest 3.6.3版本
3.allure-pytest 2.8.6 最新版
使用pip安装pytest和allure-pytest,加上—index-url地址,下载会快一些
pip install pytest==3.6.3 —index-url https://pypi.douban.com/simple
pip install allure-pytest==2.8.6 —index-url https://pypi.douban.com/simple
安装完成之后,打开一个你之前写的pytest脚本,看能不正常使用,如果报错:AttributeError: module ‘allure’ has no attribute ‘severity_level’
这个是之前 pytest-allure-adaptor 这个插件与 allure-pytest 不能共存,卸载掉 pytest-allure-adaptor
pip uninstall pytest-allure-adaptor
三、allure命令行工具
allure是一个命令行工具,需要去github上下载最新版:https://github.com/allure-framework/allure2/releases
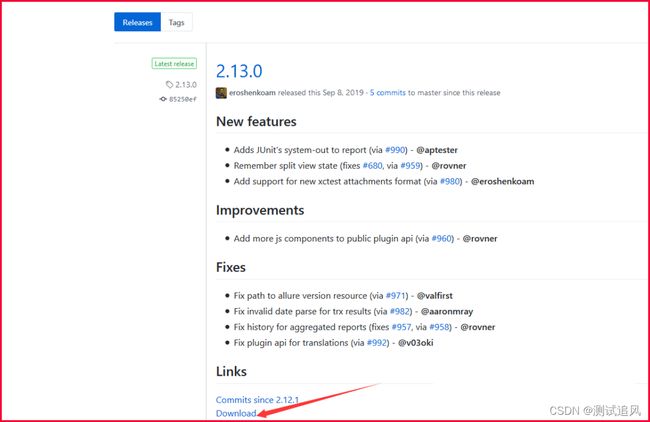
下载完成之后,解压到本地电脑

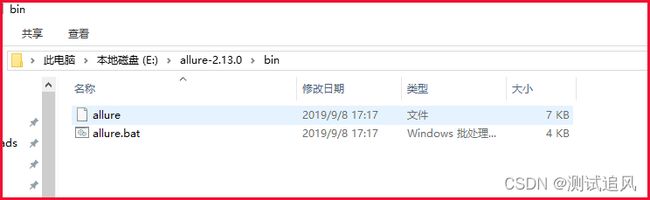
把bin目录添加到环境变量Path下

四、用例demo
conftest.py内容
import pytest

@pytest.fixture(scope="session")
def login():
    print("用例先登录")
test_allure_demo.py内容
import allure
import pytest

@allure.step("步骤1:点xxx")
def step_1():
    print("111")

@allure.step("步骤2:点xxx")
def step_2():
    print("222")

@allure.feature("编辑页面")
class TestEditPage():
    '''编辑页面'''

    @allure.story("这是一个xxx的用例")
    def test_1(self, login):
        '''用例描述:先登录,再去执行xxx'''
        step_1()
        step_2()
        print("xxx")

    @allure.story("打开a页面")
    def test_2(self, login):
        '''用例描述:先登录,再去执行yyy'''
        print("yyy")
五、运行用例
cd到test_allure_demo.py所在的目录文件,命令行执行
pytest —alluredir ./report/allure_raw
D:\soft\code\xuexipytest>pytest --alluredir ./report/allure_raw
============================= test session starts =============================
platform win32 -- Python 3.6.0, pytest-5.3.1, py-1.5.4, pluggy-0.13.1
rootdir: D:\soft\code\xuexipytest
plugins: allure-pytest-2.8.6, forked-0.2, html-1.19.0, metadata-1.7.0, repeat-0.7.0, xdist-1.23.2
collected 9 items

case\test_allure_demo.py ..                                              [ 22%]
case\test_x.py ......                                                    [ 88%]
case\test_y.py .                                                         [100%]

============================== 9 passed in 0.21s ==============================
执行完成后,在当前目录下,report目录会生成一个allure_raw的原始文件,这个只是测试报告的原始文件,不能打开成html的报告
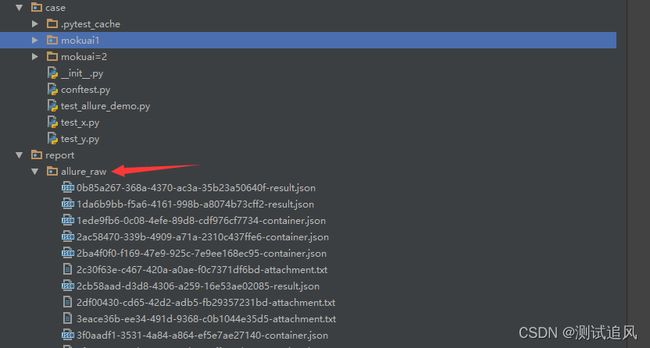
打开html的报告需要启动allure服务,启动命令如下
allure serve report/allure_raw
启动服务,它会自动给个端口,直接用默认浏览器打开了
D:\soft\code\xuexipytest>allure serve report/allure_raw
Generating report to temp directory...
Report successfully generated to C:\Users\dell\AppData\Local\Temp\6056757827461248074\allure-report
Starting web server...
2019-12-08 00:41:09.921:INFO::main: Logging initialized @2228ms to org.eclipse.jetty.util.log.StdErrLog
Server started at <http://192.168.1.125:35346/>. Press <Ctrl+C> to exit
六、查看报告
浏览器上打开的报告内容
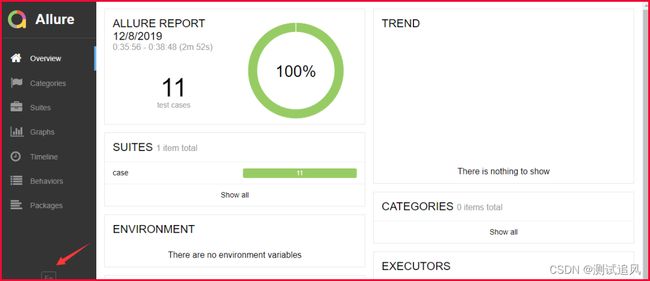
点 EN 按钮可以查看中文报告
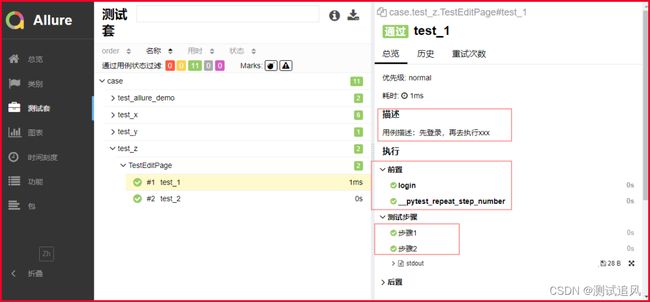
打开测试套件,可以查看报告的详情,显示的还是很详细的