用最新版的Android Studio和Gradle把自己开发的Android包发布到JitPack上
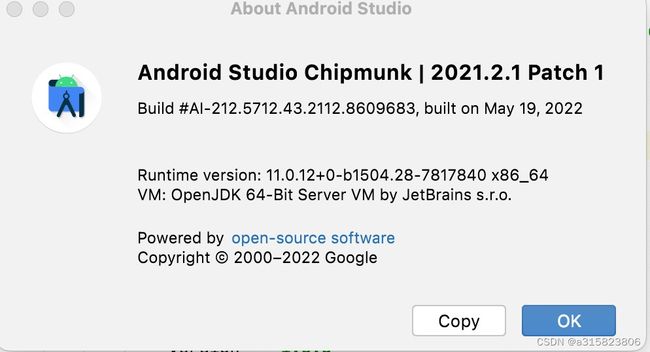
使用的Android Studio版本:
Android Studio Chipmunk | 2021.2.1 Patch 1
Build #AI-212.5712.43.2112.8609683, built on May 19, 2022
Runtime version: 11.0.12+0-b1504.28-7817840 x86_64
VM: OpenJDK 64-Bit Server VM by JetBrains s.r.o.
macOS 12.5
GC: G1 Young Generation, G1 Old Generation
Memory: 2048M
Cores: 8
Registry: external.system.auto.import.disabled=true
gradle版本:gradle-7.3.3-bin.zip
#Sun Sep 25 17:14:50 CST 2022
distributionBase=GRADLE_USER_HOME
distributionUrl=https\://services.gradle.org/distributions/gradle-7.3.3-bin.zip
distributionPath=wrapper/dists
zipStorePath=wrapper/dists
zipStoreBase=GRADLE_USER_HOME
首先需要创建一个Android 工程。Android工程里要含有一个 library的工程。 这个 library的工程就是你要发布的包。
新版本的
根部gradle文件:
// Top-level build file where you can add configuration options common to all sub-projects/modules.
plugins {
    id 'com.android.application' version '7.2.1' apply false
    id 'com.android.library' version '7.2.1' apply false
    id 'org.jetbrains.kotlin.android' version '1.6.10' apply false
}

task clean(type: Delete) {
    delete rootProject.buildDir
}
和旧版本区别很多。引用源的地方发生改变。
根部的 setting.gradle:
pluginManagement {
    repositories {
        gradlePluginPortal()
        google()
        mavenCentral()
        maven { url 'https://jitpack.io' }
    }
}
dependencyResolutionManagement {
    repositoriesMode.set(RepositoriesMode.FAIL_ON_PROJECT_REPOS)
    repositories {
        google()
        mavenCentral()
        maven { url 'https://jitpack.io' }
    }
}
rootProject.name = "SmsCodeInputApp"
include ':app'
include ':smscodeinput'
注意加了 maven { url 'https://jitpack.io' } 源依赖。
在library里的build.gradle里声明:
具体配置信息如下:
plugins {
    id 'com.android.library'
    id 'org.jetbrains.kotlin.android'
    id 'maven-publish'
}

//group = 'com.example.smscodeinput'
//version = '1.0.0'

android {
    compileSdk 32

    defaultConfig {
        minSdk 23
        targetSdk 32

        testInstrumentationRunner "androidx.test.runner.AndroidJUnitRunner"
        consumerProguardFiles "consumer-rules.pro"
    }

    buildTypes {
        release {
            minifyEnabled false
            proguardFiles getDefaultProguardFile('proguard-android-optimize.txt'), 'proguard-rules.pro'
        }
    }
    compileOptions {
        sourceCompatibility JavaVersion.VERSION_1_8
        targetCompatibility JavaVersion.VERSION_1_8
    }
    kotlinOptions {
        jvmTarget = '1.8'
    }
}

dependencies {

    implementation 'com.github.li-xiaojun:XPopup:2.9.1'
    implementation 'androidx.core:core-ktx:1.7.0'
    implementation 'androidx.appcompat:appcompat:1.5.0'
    implementation "androidx.lifecycle:lifecycle-viewmodel:2.5.1"
    implementation 'androidx.lifecycle:lifecycle-viewmodel-ktx:2.5.1'
    implementation 'com.google.android.material:material:1.6.1'
    testImplementation 'junit:junit:4.13.2'
    androidTestImplementation 'androidx.test.ext:junit:1.1.3'
    androidTestImplementation 'androidx.test.espresso:espresso-core:3.4.0'
}

afterEvaluate {
    publishing {
        publications {
            // Creates a Maven publication called "release".
            release(MavenPublication) {
                from components.release
                groupId = 'com.example.smscodeinput'
                artifactId = 'smscodeinput'
                version = '1.0.0'
            }
        }
    }
}
确保library类本地运行OK。 主应用可以正常使用我们依赖的类库。发布成功后还需要在主应用里验证,远程的library包是否成功。
发布本地代码到github上。
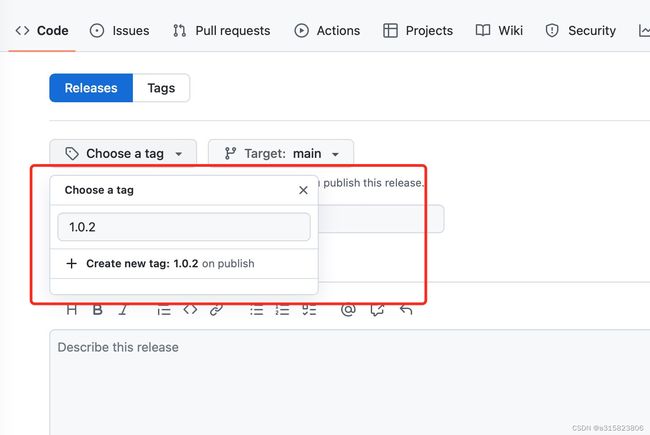
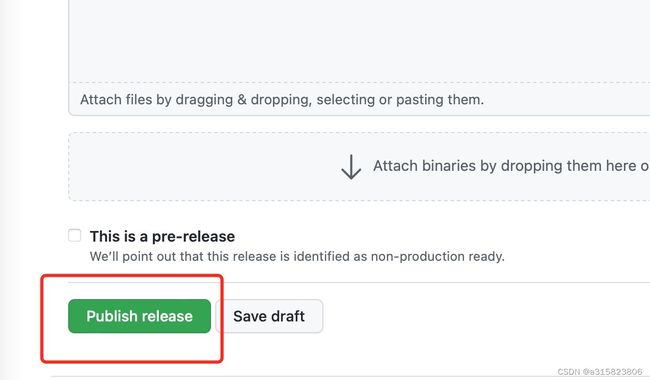
在github上发布release。
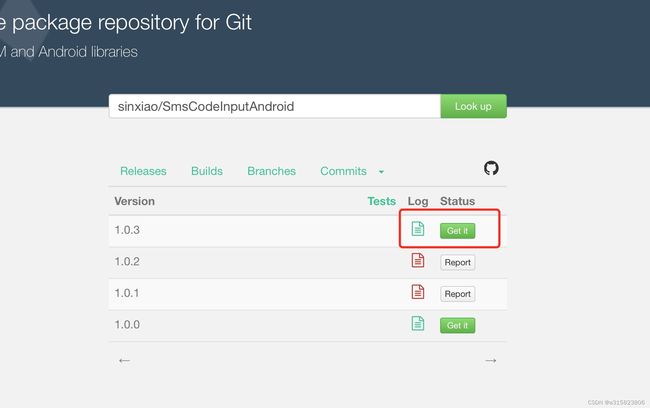
到JitPack | Publish JVM and Android libraries 上查找你的github,直接copy你github工程的url路径就可以了,如:GitHub - sinxiao/SmsCodeInputAndroid
单击 Look up 。
选择你要编译的版本号,执行 Get it 就可以了。
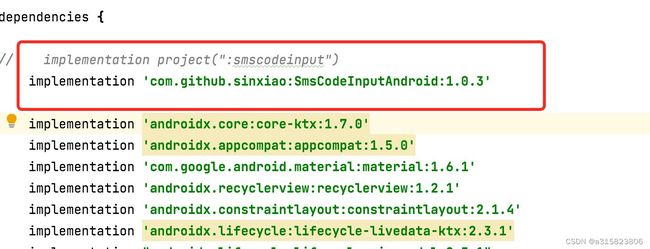
发布成功,引用路径就是:
dependencies {
	        implementation 'com.github.sinxiao:SmsCodeInputAndroid:1.0.3'
	}
这样看来,通过JitPack发布类库非常简单。用一个 id 'maven-publish' 的插件。通过此插件可以打包我们整个Android工程,然后,获取aar与相关文件,发布成以你的github为路径和工程名字的library包。
关于maven-publish的更多介绍: https://developer.android.com/studio/build/maven-publish-plugin#groovy
和原来相比不需要使用 classpath 'com.github.dcendents:android-maven-gradle-plugin:2.1'
至于如何发布私有的类库和自定义的引用包,还在探索。
感谢:Android 发布开源库到 JitPack (详细步骤)_初学者-Study的博客-CSDN博客_android jitpack
Android-发布自己写的库到 Jitpack - 知乎
