QML编程--学习Qt开发
QML编程--学习Qt开发
作者:老九—技术大黍
社交:知乎
公众号:老九学堂(新人有惊喜)
特别声明:原创不易,未经授权不得转载或抄袭,如需转载可联系笔者授权
前言
本讲义代码是使用Qt 6版本执行通过的,请大家放心使用。
什么是QML
我来参考翻译一下:
QML是一种Qt Meta-object Language的缩写。它是一种声明式编程语言,并且它是Qt框架的一个组成部分。QML的主要功能是让开发人员快速、便捷地开发出用户界面,这些界面包括了桌面应用、移动设备和嵌入式就用的界面。并且,QML还能够与JavaScript无缝整合一起开发使用,即在QML代码中可以直接使用JavaScript文件。
第一个Hello World
import QtQuick 2.9
import QtQuick.Window 2.2

Window{
    visible:true
    width:640
    height:480
    title:qsTr("Hell World");

    Rectangle {
        width: 360
        height: 360
        Rectangle{
            id: button1

            width: 100
            height: 30
            color: "red"
            radius: 5
            anchors.centerIn:parent

            Text{
                id: buttonText
                text:qsTr("Button")
                color:"white"
                anchors.centerIn:parent
            }

            MouseArea{
                anchors.fill:parent
                onClicked:{
                    buttonText.text = qsTr("Clicked");
                    buttonText.color = "black";
                }
            }
        }
    }

    Text{
        id:text1
        text: qsTr("Hello World")
        anchors.left:button1.right
    }

    Image{
        source:"nb.png"
        anchors.centerIn:parent
    }
}
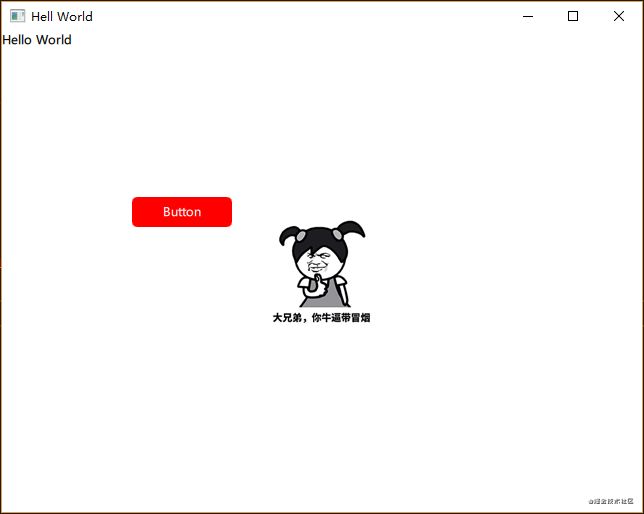
运行效果
鼠标事件响应
import QtQuick 2.9
import QtQuick.Window 2.2

Window{
    visible:true
    width:480
    height:240
    Rectangle{
        anchors.fill:parent
        color:"#4b7a4a"
        MouseArea{
            anchors.fill:parent
            acceptedButtons: Qt.AllButtons
            onClicked:{
                console.log("Mouse Clicked.")
                console.log("Mouse Location: <",mouseX,",",mouseY,">").
                if ( mouse.button === Qt.RightButton )
                parent.color = 'blue'
                if ( mouse.button === Qt.LeftButton )
                parent.color = 'red'
                if ( mouse.button === Qt.MiddleButton )
                parent.color = 'yellow'
            }
            onReleased: {
                // print to console
                console.log("Mouse Released.")
            }
            onDoubleClicked: {
                // print to console
                console.log("Mouse Double Clicked.")
            }
        }
    }
}
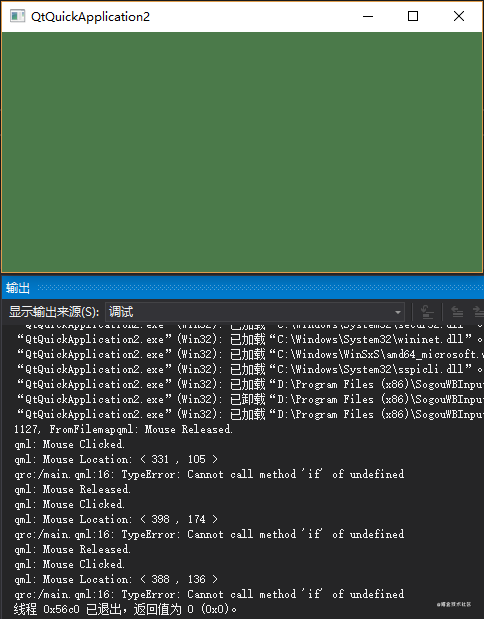
运行效果
动画
演示代码
import QtQuick 2.9
import QtQuick.Window 2.2

Window{
    visible: true
    width: 400
    height: 640
    Rectangle{
        id: rect
        anchors.centerIn: parent
        height: 100
        width: 100
        color: "blue"
        MouseArea{
            anchors.fill: parent
            onClicked: na.running = true
        }
        NumberAnimation {
            id: na //动画类型的ID
            target: rect //动画运行的目标项
            property: "height" //动画修改目标项的属性是什么
            duration: 200 //动画执行时间长度
            from: rect.height //动画属性的初始值
            to: 200 //属性在动画执行后的最终值
        }
    }
}
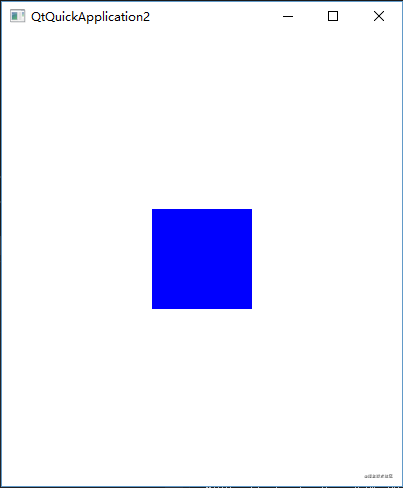
运行效果
我们点击蓝色方块后
在C++中创建自定义元素
QML有大量的可视化元素,如果只使用QML脚本语言,也是可以QML的可视化元素构建复杂的应用。我们可以基于这些标准件来构建界面 ,另外,我们还可以使用Canvas这种元素来创建自定义元素。除了不能构造触摸元素,QML其它界面元素都是可以构建的。
不过,QML脚本也不是万能的,虽然QML因为是什么OpenGL技术来实现界面高速绘制界面,因此我们可以使用QML实现两种自定义绘制元素:
- The traditional for Qt way using QPainter (QQuickPaintedItem). (传统的方式是使用QPainter/QQuickPaintedItem来绘制界面)
- The common QML way using QQuickItem and OpenGL functionality. (QML一般使用QQuickItem和OpenGL函数来绘制界面)
第一种方式似乎比较容易实现,并且QtQuick绘制的效率是比较慢的,因此,如果我们使用第二种方式绘制界面元素时,它们的运行效率会更快。
演示代码
QQuickCustomItem头文件
#pragma once
#include
/**
* 功能:创建一个自定义的类,实现QQuickItem类。用来演示自定义控件元素的实现
* 作者:技术大黍
*/
class QQuickCustomItem :
    public QQuickItem
{
	Q_OBJECT
	Q_PROPERTY(QColor color READ color WRITE setColor NOTIFY colorChanged)
public:
	QQuickCustomItem(QQuickItem* parent = Q_NULLPTR);

	void paint(QPainter* painter);
protected:
	QSGNode* updatePaintNode(QSGNode* oldNode, UpdatePaintNodeData* updatePaintNodeData);
	QColor color() const;
	void setColor(const QColor& color);
private:
	QColor m_color;
	bool m_needUpdate;

signals:
	void colorChanged();
};
QQuickCustomItem源文件
#include "QQuickCustomItem.h"
#include
#include
#include
#include

QQuickCustomItem::QQuickCustomItem(QQuickItem* parent /*= Q_NULLPTR*/)
	:QQuickItem(parent),
	m_color(Qt::red),
	m_needUpdate(true)
{
	setFlag(QQuickItem::ItemHasContents);
}


void QQuickCustomItem::paint(QPainter* painter)
{
	QPainterPath path;
	path.moveTo(width() / 2, 0);
	path.lineTo(width(), height());
	path.lineTo(0, height());
	path.lineTo(width() / 2, 0);
	painter->fillPath(path, m_color);
}

QSGNode* QQuickCustomItem::updatePaintNode(QSGNode* oldNode, UpdatePaintNodeData* updatePaintNodeData)
{
	Q_UNUSED(updatePaintNodeData)
		QSGGeometryNode* root = static_cast(oldNode);
	if (!root) {
		root = new QSGGeometryNode;
		QSGGeometry* geometry = new QSGGeometry(QSGGeometry::defaultAttributes_Point2D(), 3);
		geometry->setDrawingMode(6);
		geometry->vertexDataAsPoint2D()[0].set(width() / 2, 0);
		geometry->vertexDataAsPoint2D()[1].set(width(), height());
		geometry->vertexDataAsPoint2D()[2].set(0, height());
		root->setGeometry(geometry);
		root->setFlag(QSGNode::OwnsGeometry);
		root->setFlag(QSGNode::OwnsMaterial);
	}
	if (m_needUpdate) {
		QSGFlatColorMaterial* material = new QSGFlatColorMaterial;
		material->setColor(m_color);
		root->setMaterial(material);
		m_needUpdate = false;
	}
	return root;
}

QColor QQuickCustomItem::color() const
{
	return m_color;
}

void QQuickCustomItem::setColor(const QColor& color)
{
	if (m_color != color)
	{
		m_color = color;
		m_needUpdate = true;
		update();
		colorChanged();
	}
}
main.qml文件
import QtQuick 2.3
import QtQuick.Window 2.2
import main.qml 1.0

Window {
    width: 800
    height: 800
    visible: true
    Rectangle {
        width: 200
        height: 200
        anchors.centerIn: parent
        color: "lightgrey"
        Triangle {
            id: rect
            width: 200
            height: 200
            transformOrigin: Item.Top
            color: "green"
            onColorChanged: console.log("color was changed");
            PropertyAnimation on rotation {
                from: 0
                to: 360
                duration: 5000
                loops: Animation.Infinite
            }
        }
    }
    Timer {
        interval: 1000
        repeat: true
        running: true
        onTriggered: rect.color = Qt.rgba(Math.random(),Math.random(),Math.random(),1);
    }
}
main.cpp文件
#include
#include
#include "QQuickCustomItem.h"

int main(int argc, char *argv[])
{
#if defined(Q_OS_WIN)
    QCoreApplication::setAttribute(Qt::AA_EnableHighDpiScaling);
#endif

    QGuiApplication app(argc, argv);

    // 老九学堂-技术大黍:使用自定义组件显示三角形动画
	qmlRegisterType("main.qml", 1, 0, "Triangle");

    QQmlApplicationEngine engine;
    engine.load(QUrl(QStringLiteral("qrc:/main.qml")));
    if (engine.rootObjects().isEmpty())
        return -1;

    return app.exec();
}
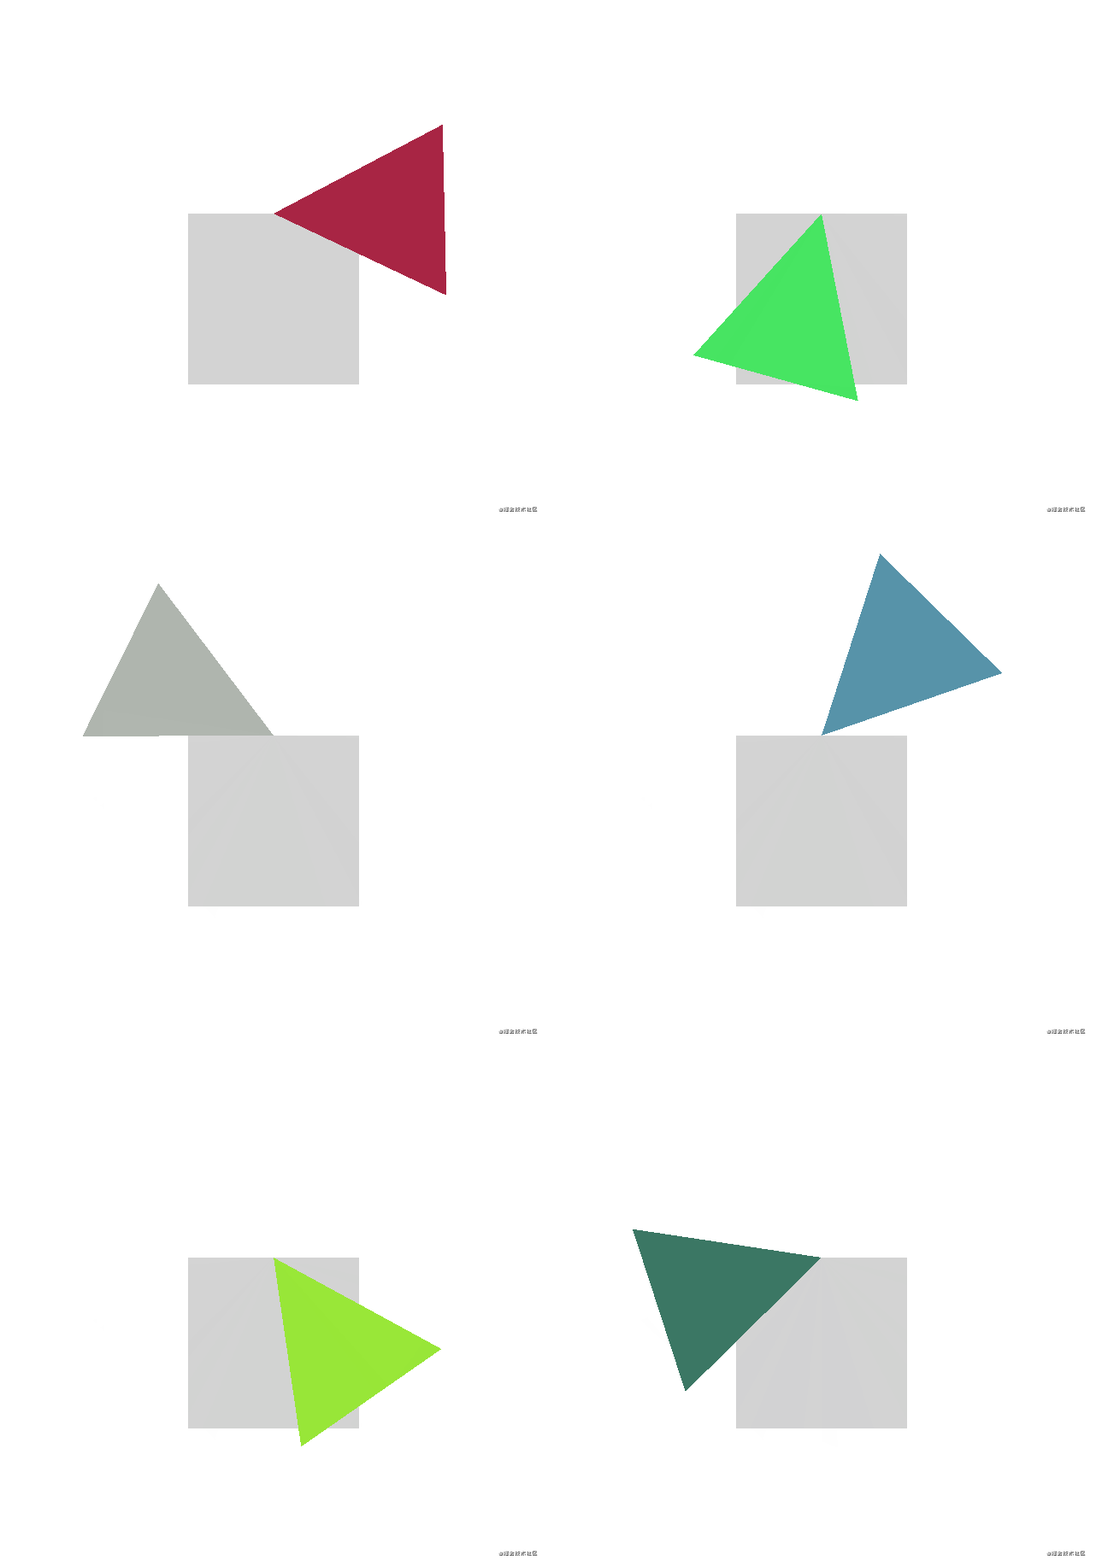
运行效果
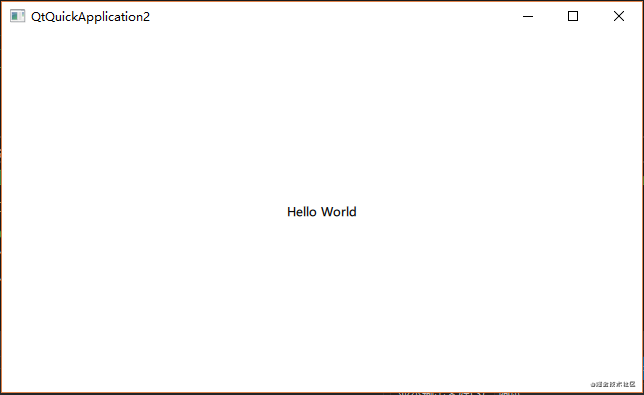
与C++整合
我们可以直接从C++创建QtQuick视图,并且还可以把C++定义的函数暴露给QML使用。
main.cpp文件
#include
#include
#include "QQuickCustomItem.h"
#include
#include

int main(int argc, char *argv[])
{
#if defined(Q_OS_WIN)
    QCoreApplication::setAttribute(Qt::AA_EnableHighDpiScaling);
#endif

    QGuiApplication app(argc, argv);

	QQuickView view;
	view.setSource(QStringLiteral("main.qml"));
	// Retrieving the QML context. This context allows us to expose data to the QML components
	QQmlContext* rootContext = view.rootContext();
	// Creating 2 new properties: the width and height of the view
	rootContext->setContextProperty("WINDOW_WIDTH", 640);
	rootContext->setContextProperty("WINDOW_HEIGHT", 360);
	// Let's display the view
	view.show();

    return app.exec();
}
main.qml文件
import QtQuick 2.3

Rectangle {
    // We can now access the properties we defined from C++ from the whole QML file
    width: WINDOW_WIDTH
    height: WINDOW_HEIGHT
    Text {
        text: qsTr("Hello World")
        anchors.centerIn: parent
    }
}
运行效果
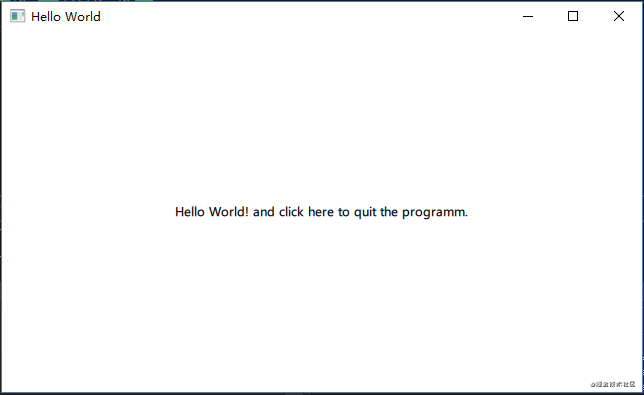
Qt5版本更新
如果是Qt5.x版本,那么我们可以QQmlApplicationEngine类来替换QQuickView类来加载和呈现QML脚本。修改代码如下:
修改main.cpp
#include
#include
#include "QQuickCustomItem.h"
#include
#include

int main(int argc, char *argv[])
{
#if defined(Q_OS_WIN)
    QCoreApplication::setAttribute(Qt::AA_EnableHighDpiScaling);
#endif

    QGuiApplication app(argc, argv);

	QQmlApplicationEngine engine;
	QQmlContext* rootContext = engine.rootContext();
	rootContext->setContextProperty("WINDOW_WIDTH", 640);
	rootContext->setContextProperty("WINDOW_HEIGHT", 360);
	engine.load(QUrl(QStringLiteral("qrc:/main.qml")));

    return app.exec();
}
修改main.qml
import QtQuick 2.3
import QtQuick.Window 2.2

Window { // Must be this type to be loaded by QQmlApplicationEngine.
    visible: true
    width: WINDOW_WIDTH //Accessing global context declared in C++
    height: WINDOW_HEIGHT //Accessing global context declared in C++
    title: qsTr("Hello World")
    Component.onCompleted: {
        // We can access global context from within JavaScript too.
        console.debug( "Width: " + WINDOW_WIDTH )
        console.debug( "Height: " + WINDOW_HEIGHT )
    }
    MouseArea {
        anchors.fill: parent
        onClicked: {
            Qt.quit();
        }
    }
    Text {
        text: qsTr("Hello World! and click here to quit the programm.")
        anchors.centerIn: parent
    }
}
运行效果
最后
记得给大黍❤️关注+点赞+收藏+评论+转发❤️
作者:老九学堂—技术大黍
著作权归作者所有。商业转载请联系作者获得授权,非商业转载请注明出处。

