在idea中搭建微服务项目(22版),详细教程
1.创建新的项目
2.创建的项目类型为SpringBoot
选择创建后再选择新建项目
3. 将新建的项目中不需要的东西都给删了,只留下pom文件即可
修改pom文件的版本
2.1.6.RELEASE 导入所需要的jar包,将原来
中的依赖覆盖掉 org.springframework.boot spring-boot-starter org.springframework.boot spring-boot-starter-test test org.springframework.boot spring-boot-starter-web org.springframework.boot spring-boot-starter-logging org.projectlombok lombok 1.18.4 provided org.springframework.boot spring-boot-starter-actuator org.springframework.boot spring-boot-devtools true 如果你的java版本比8高,还需要导入以下依赖
            com.sun.xml.bind
            jaxb-core
            2.2.11


            javax.xml.bind
            jaxb-api


            com.sun.xml.bind
            jaxb-impl
            2.2.11


            org.glassfish.jaxb
            jaxb-runtime
            2.2.10-b140310.1920


            javax.activation
            activation
            1.1.1
导入微服务依赖的组件依赖
org.springframework.cloud spring-cloud-dependencies Greenwich.RELEASE pom import com.alibaba.cloud spring-cloud-alibaba-dependencies 2.1.0.RELEASE pom import 在这个微服务下的pom文件中导入所需要的依赖
            com.baomidou
            mybatis-plus-boot-starter
            3.3.2


            javax.persistence
            javax.persistence-api
            2.2


            mysql
            mysql-connector-java
            runtime
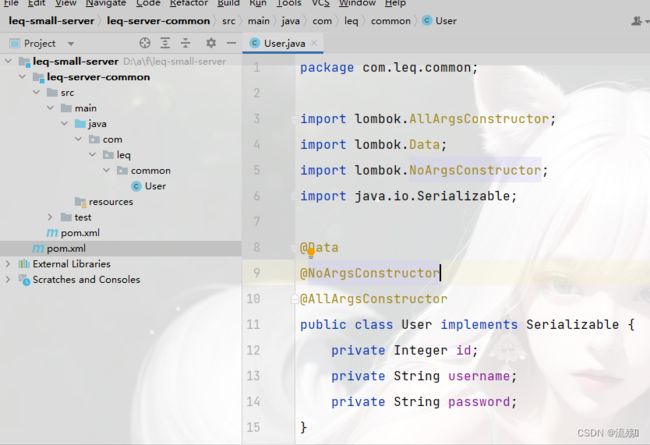
创建实体类
import lombok.AllArgsConstructor;
import lombok.Data;
import lombok.NoArgsConstructor;
import java.io.Serializable;

@Data
@NoArgsConstructor
@AllArgsConstructor
public class User implements Serializable {
    private Integer id;
    private String username;
    private String password;
}
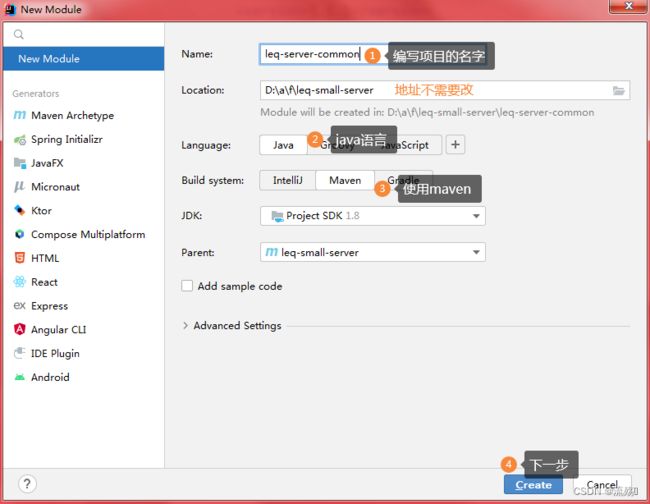
5.创建用于编写逻辑的微服务,步骤和上面的一样,将名字编写为: leq-server-product
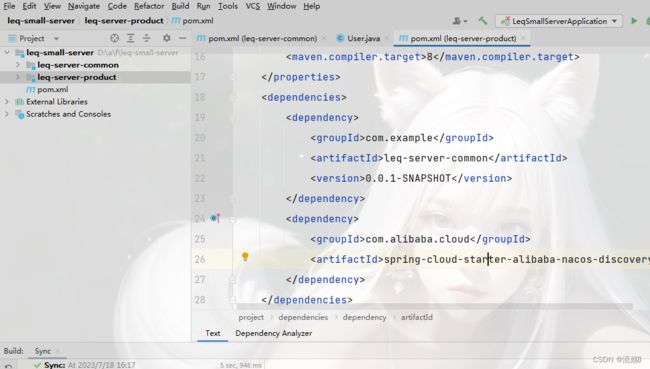
引入实体类微服务的地址
            com.example
            leq-server-common
            0.0.1-SNAPSHOT
导入第二代微服务组件nacos所需要的依赖
            com.alibaba.cloud
            spring-cloud-starter-alibaba-nacos-discovery
创建启动类
import org.springframework.boot.SpringApplication;
import org.springframework.boot.autoconfigure.SpringBootApplication;
import org.springframework.cloud.client.discovery.EnableDiscoveryClient;

@EnableDiscoveryClient
@SpringBootApplication
public class ProductApplication {
    public static void main(String[] args) {
        SpringApplication.run(ProductApplication.class,args);
    }
}
编写配置文件,在resources创建application.properties文件
server.port=3000
spring.application.name=leq-server-product
spring.datasource.url=jdbc:mysql://localhost:3306/leq_pro?useSSL=false&useUnicode=true&characterEncoding=utf-8&serverTimezone=UTC
spring.datasource.username=root
spring.datasource.password=0216


spring.cloud.nacos.discovery.server-addr=127.0.0.1:8848
6.创建业务访问的微服务,名字为: leq-server-page
也是先导入实体类的项目的地址
            com.example
            leq-server-common
            0.0.1-SNAPSHOT
再导入以下依赖
            com.alibaba.cloud
            spring-cloud-starter-alibaba-nacos-discovery


            com.alibaba.cloud
            spring-cloud-starter-alibaba-nacos-config


            org.springframework.cloud
            spring-cloud-starter-openfeign


            com.alibaba.cloud
            spring-cloud-starter-alibaba-sentinel
创建page的启动类
import org.springframework.boot.SpringApplication;
import org.springframework.boot.autoconfigure.SpringBootApplication;
import org.springframework.cloud.client.discovery.EnableDiscoveryClient;
import org.springframework.cloud.openfeign.EnableFeignClients;

@EnableFeignClients
@EnableDiscoveryClient
@SpringBootApplication
public class PageApplication {
    public static void main(String[] args) {
        SpringApplication.run(PageApplication.class,args);
    }
}
编写配置文件,
在resources创建application.properties文件
server.port=3100
spring.application.name=leq-server-page
spring.datasource.url=jdbc:mysql://localhost:3306/leq_pro?useSSL=false&useUnicode=true&characterEncoding=utf-8&serverTimezone=UTC
spring.datasource.username=root
spring.datasource.password=0216


spring.cloud.nacos.discovery.server-addr=127.0.0.1:8848
到这里我们的微服务项目就算是搭建完成了,接下来进行测试
没有安装nacos的小伙伴可以看这个链接安装nacos : 快速安装nacos
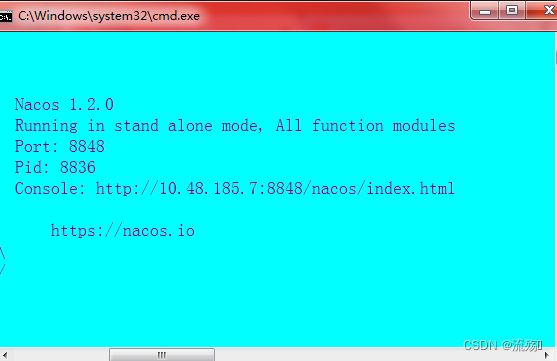
1.先启动naco服务注册中心
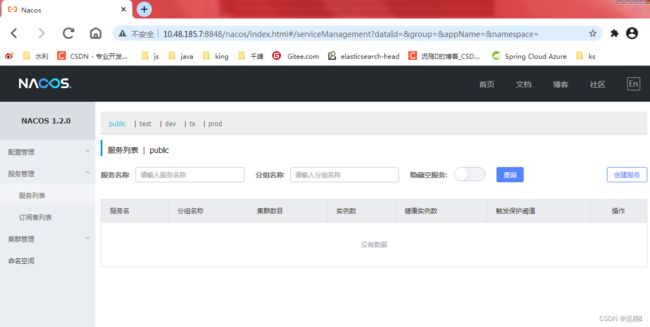
http://10.48.185.7:8848/nacos/index.html启动page和product两个微服务项目,然后刷新该地址,就可以看到我们的项目注册到服务中心了


