nginx+lua(openresty) lua-mongodb 安装及使用(四)
前言
前章已经讲述 ua-protobuf 安装及使用
这章主要讲述 openresty 环境下 lua-mongodb 安装及使用
1:环境
ubuntu16(18)
mongodb 3.6
2:安装mongodb 3.6
sudo apt-key adv --keyserver hkp://keyserver.ubuntu.com:80 --recv 2930ADAE8CAF5059EE73BB4B58712A2291FA4AD5
#创建版本列表文件
echo "deb [ arch=amd64,arm64 ] https://repo.mongodb.org/apt/ubuntu xenial/mongodb-org/3.6 multiverse" | sudo tee /etc/apt/sources.list.d/mongodb-org-3.6.list

#更新 ubuntu 软件源
sudo apt-get update
#安装最新版mongodb
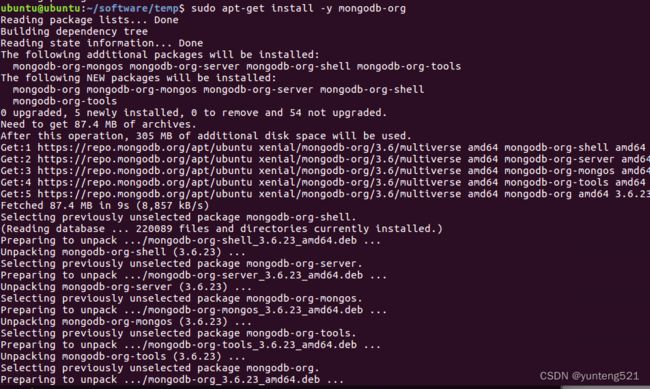
sudo apt-get install -y mongodb-org
#导入 apt 的 key
sudo apt-key adv --keyserver hkp://keyserver.ubuntu.com:80 --recv 9DA31620334BD75D9DCB49F368818C72E52529D4
#创建版本列表文件
echo "deb [ arch=amd64,arm64 ] https://repo.mongodb.org/apt/ubuntu xenial/mongodb-org/4.0 multiverse" | sudo tee /etc/apt/sources.list.d/mongodb-org-4.0.list
修改 sudo vim /etc/mongod.conf
主要修改了3个地方,storage log net
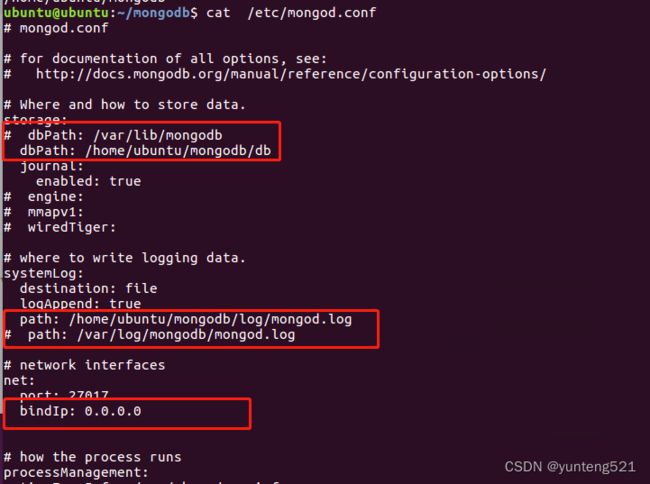
mongodb 3.0之后配置文件采用YAML格式,这种格式使用key:value表示
开头使用"空格"作为缩进。
冒号":“之后有value的话,需要紧跟一个空格
如果key只是表示层级,则无需在”:"后增加空格
下面错误是 0.0.0.0 前面少了空格

下面错误 是 把dbpath log path 放到 $HOME 目录下

/lib/systemd/system/mongod.service
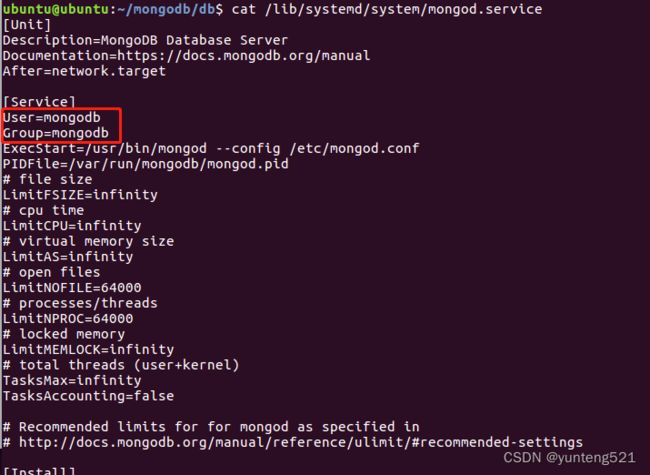
sudo chown -R mongodb:mongodb $HOME/mongodb/db
sudo chown -R mongodb:mongodb $HOME/mongodb/log
不建议放到$HOME 目录下
相关命令如下
启动、重启、停止
sudo service mongod start
sudo service mongod restart
sudo service mongod stop

手动启动
sudo mongod --config /etc/mongod.conf
sudo mongod --config /etc/mongod.conf --fork
下载三个依赖 (网不上就手动下载压缩包eg: https://github.com/isage/lua-resty-moongoo)
git clone https://github.com/isage/lua-resty-moongoo.git
git clone git://github.com/mongodb/libbson.git
git clone https://github.com/isage/lua-cbson.git
软件目录
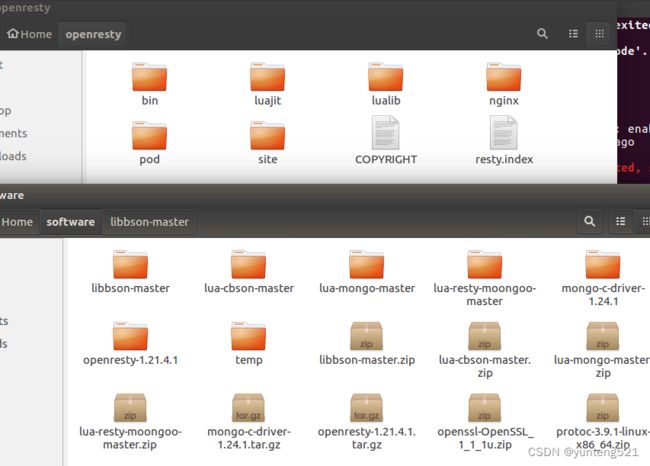
openresty 安装目录为 $HOME/openresty
软件下载 都放在 $HOME/software
1>下载 lua-resty-moongoo 解压
cd lua-resty-moongoo
cp -r ./lib/resty/* $HOME/openresty/lualib/resty
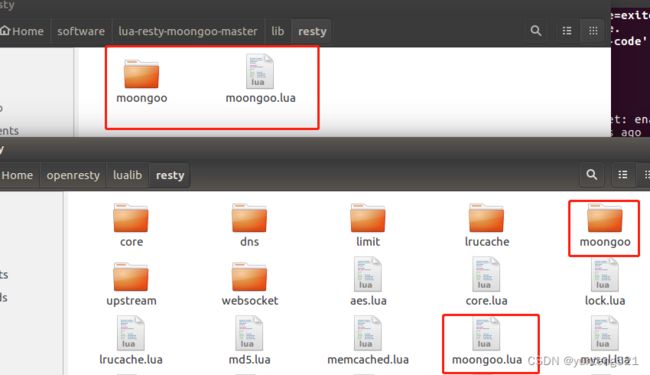
2> libbson 下载并解压缩
可以先安装下
sudo apt-get install autoconf automake libtool
不然可能会报,看系统是否安装了
ubuntu@ubuntu:~/software/libbson-master$ ./autogen.sh
Error: libtoolize was not found on your system. Cannot continue.
Error: autoreconf not found, please install it.
cd libbson
./autogen.sh
make
make install
#make clean && make LUA_INCLUDE_DIR=/usr/local/openresty/luajit/include/luajit-2.1 LUA_CMODULE_DIR=/usr/local/openresty/lualib LUA_MODULE_DIR=/usr/local/openresty/lualib CBSON_CFLAGS="-g -fpic -I/usr/local/include/libbson-1.0/ " CC=cc
make clean && make LUA_INCLUDE_DIR=$HOME/openresty/luajit/include/luajit-2.1 LUA_CMODULE_DIR=$HOME/openresty/lualib LUA_MODULE_DIR=$HOME/openresty/lualib CBSON_CFLAGS="-g -fpic -I/usr/local/include/libbson-1.0/ " CC=cc
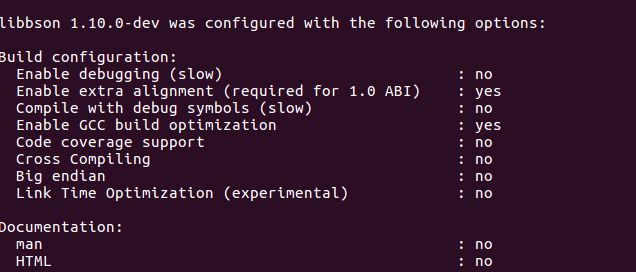
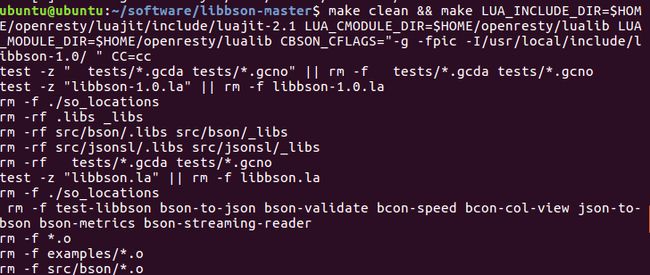
默认安装目录
/usr/local/lib
/usr/local/include/libbson-1.0
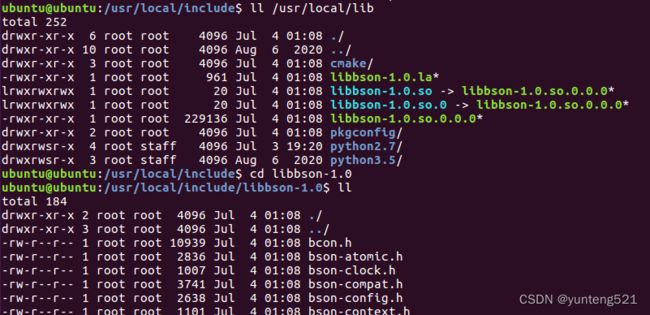
3> lua-cbson下载并解压缩
cd lua-cbson
mkdir build
cd build
cmake ..
make
make install    ####这里这步没执行,感觉没必要
遇到问题
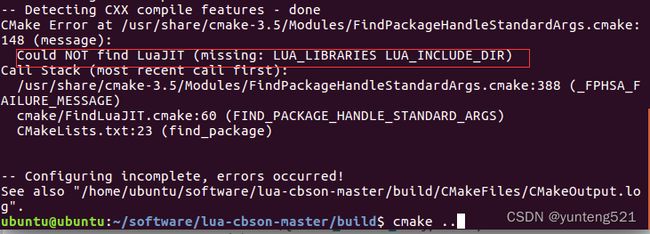
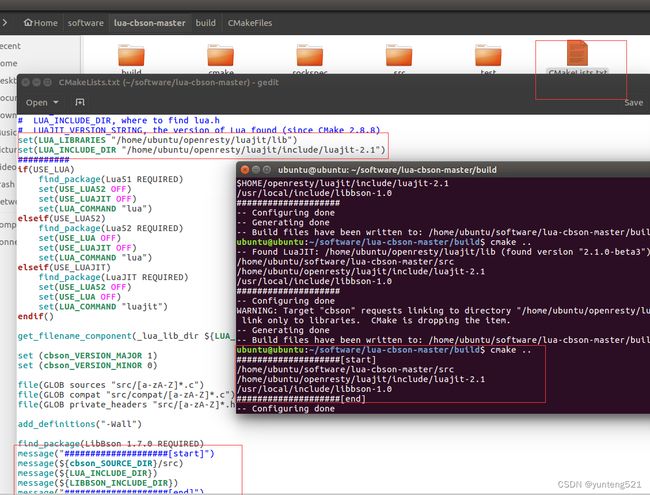
修改CMakeList.txt 在
$HOME/software/lua-cbson-master 目录下


把生成的 cbson.so 拷贝到 $HOME/openresty/lualib 目录下

可以参考上章
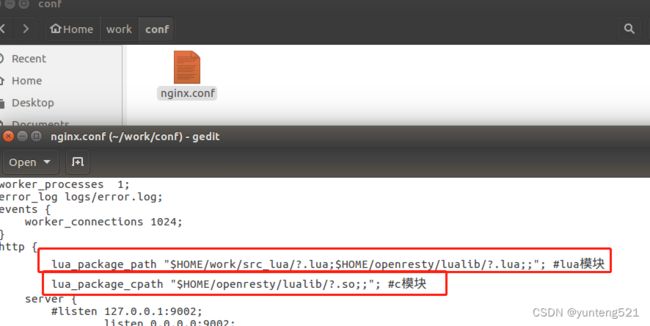

4:测试脚本
testmongodb.lua
local moongoo = require("resty.moongoo") -- 引入依赖
local cbson = require("cbson")
local cjson = require("cjson")
----mongodb://[username:password@]host1[:port1][,host2[:port2],...[,hostN[:portN]]][/[database][?options]]
--local mg, err = moongoo.new("mongodb://root:[email protected]:27017") -- 创建连接
--[[
local mg, err = moongoo.new("mongodb://127.0.0.1:27017") -- 创建连接
if not mg then
  error(err) -- 如果有错误
 end
local col = mg:db("usermap"):collection("incUserid") -- 选择db和表
--
-- 插入数据

--local ids, err = col:insert({ videoName = "bar",vipVideoPlayUrl= "test"})
mg:close() --关闭连接
--]]
ngx.say(123)

local mg, err = moongoo.new("mongodb://127.0.0.1:27017") -- 创建连接
if not mg then
  error(err) -- 如果有错误
 end
ngx.say(125)

local col = mg:db("usermap"):collection("incUserid") -- 选择db和表
ngx.say(126)
--local  cursor = col:find({})
--local count1 = col:count()

--local res=col:find({ 100843 },{'uid'})   --shell ok
--local res=col:find({ 'uid' },{100843})
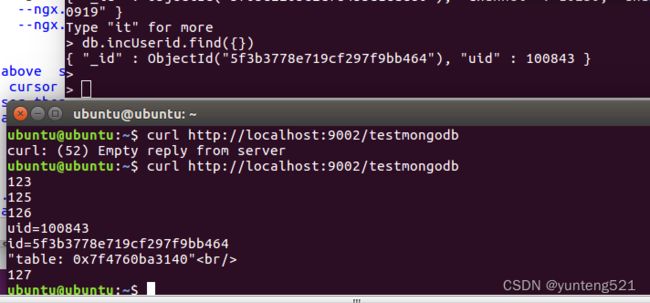
local res, err = col:find_one({ uid = 100843})  --shell ok
if res then

 	if res.uid then
 	  local uid = tonumber(tostring(res.uid))
          ngx.say('uid='..uid)
	end
	if res._id  then
		local id = tostring(res._id)
		ngx.say('id='..id)
	end

	local str = cjson.encode(tostring(res))  --"table: 0x7f4760ba3140"

	ngx.say(str, "
")
        --ngx.say(res['uid'])
	--ngx.say(res)
end

--[[  above  shell ok
local  cursor = col:find({})
if cursor then
   local num,err1 = cursor:count() --num=userdata

   if  err1 == nil then
	ngx.say('num not nil='..type(num))
   end
   ngx.say('num='..type(num))
   local n = tonumber(tostring(num))
	ngx.say('n='..n)
end
--]]
ngx.say(127)
--[[
for index,item in cursor:pairs() do
        ngx.say('数据: '..index)

        if not item['url'] then
                ngx.say('数据:'..item["title"])
        else
                ngx.say('数据:'..item["title"]..item['url'])
                ngx.say(json_decode(item['url']))
        end


end
--]]
--local doc, err = col:find({ "uid" = 100843})
--local doc, err = col:find_one({ foo = "bar"})
--print(doc.uid)
mg:close()

--[[
https://blog.csdn.net/qq_26437925/article/details/50933382
require("a.b.c")

查找a的C library(见过程2.3)
检查它是否有luaopen_a_b_c函数

require("test")
--test.lua
--]]
6:DEMO工程 后续如有需要再上传
如果觉得有用,麻烦点个赞,加个收藏
