CentOS7.6 部署Zabbix5.0LTS
一、系统环境
[root@localhost ~]# cat /etc/redhat-release
CentOS Linux release 7.6.1810 (Core)
为了方便测试,停止并且开机不启动防火墙,生产环境根据需要进行调整
[root@localhost ~]# systemctl stop firewalld & systemctl disable firewalld关闭selinux
[root@localhost ~]# sed -i 's/SELINUX=enforcing/SELINUX=disabled/' /etc/selinux/config
[root@localhost ~]# setenforce 0
[root@localhost ~]# getenforce
Permissive
二、数据库的安装和配置
1、yum安装mariadb
[root@localhost ~]# yum install -y mariadb-server mariadb2、启动数据库并设置为开机启动
[root@localhost ~]# systemctl start mariadb
[root@localhost ~]# systemctl enable mariadb
三、Zabbix 5.0 LTS安装和配置
1、安装Zabbix存储库
[root@localhost ~]# rpm -Uvh https://repo.zabbix.com/zabbix/5.0/rhel/7/x86_64/zabbix-release-5.0-1.el7.noarch.rpm
[root@localhost ~]# yum clean all
2、安装Zabbix服务器和代理
[root@localhost ~]# yum install zabbix-server-mysql zabbix-agent -y3、安装Zabbix前端
[root@localhost ~]# yum install centos-release-scl -y编辑配置文件/etc/yum.repos.d/zabbix.repo
[root@localhost ~]# vi /etc/yum.repos.d/zabbix.repo
[zabbix-frontend]
...
enabled=1
...
安装Zabbix前端软件包
[root@localhost ~]# yum install zabbix-web-mysql-scl zabbix-apache-conf-scl -y4、创建初始数据库
[root@localhost ~]# mysql -uroot -p
Enter password:
Welcome to the MariaDB monitor.  Commands end with ; or \g.
Your MariaDB connection id is 2
Server version: 5.5.68-MariaDB MariaDB Server

Copyright (c) 2000, 2018, Oracle, MariaDB Corporation Ab and others.

Type 'help;' or '\h' for help. Type '\c' to clear the current input statement.

MariaDB [(none)]> create database zabbix character set utf8 collate utf8_bin;
Query OK, 1 row affected (0.00 sec)

MariaDB [(none)]> grant all privileges on zabbix.* to zabbix@localhost identified by 'zabbix';
Query OK, 0 rows affected (0.00 sec)

MariaDB [(none)]> quit;
Bye
[root@localhost ~]#
导入初始架构和数据
[root@localhost ~]# zcat /usr/share/doc/zabbix-server-mysql-5.0.22/create.sql.gz | mysql -uzabbix -pzabbix zabbix5、为Zabbix server配置数据库,编辑配置文件/etc/zabbix/zabbix_server.conf
[root@localhost ~]# vi /etc/zabbix/zabbix_server.conf
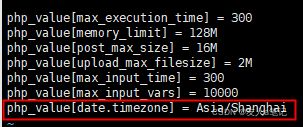
DBPassword=zabbix6、为Zabbix前端配置PHP,编辑配置文件/etc/opt/rh/rh-php72/php-fpm.d/zabbix.conf
[root@localhost ~]# vi /etc/opt/rh/rh-php72/php-fpm.d/zabbix.conf
php_value[date.timezone] = Asia/Shanghai
修改前:
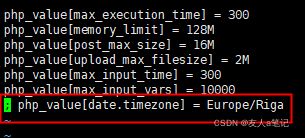
修改后:
7、启动Zabbix server和agent进程
[root@localhost ~]# systemctl restart zabbix-server zabbix-agent httpd rh-php72-php-fpm
[root@localhost ~]# systemctl enable zabbix-server zabbix-agent httpd rh-php72-php-fpm
四、配置Zabbix前端
1、浏览器登录zabbi服务器IP:http://192.168.75.138/zabbix
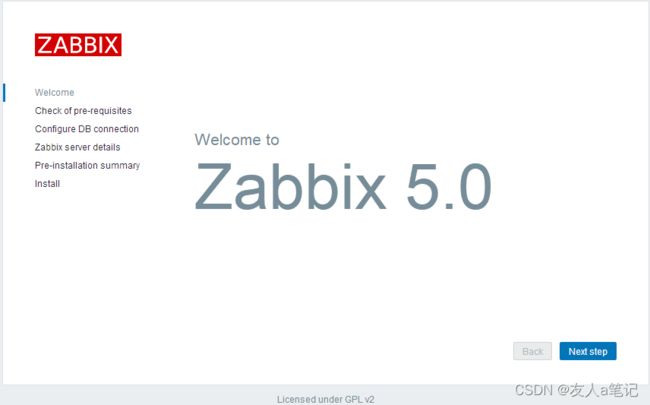 2、点击Next step

3、填写密码

4、设置显示名称

5、确认输入信息,点击Next step
 6、点击Finish,生成配置文件在etc/zabbix/web/zabbix.conf.php

7、默认用户名:Admin 密码密码:zabbix

8、登录界面
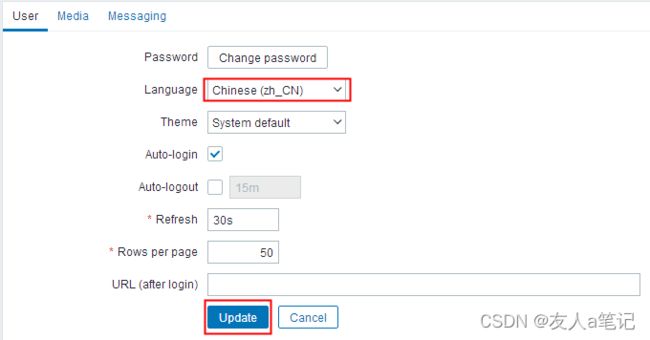
 9、更换为中文


五、解决显示乱码
1、查看安装完的图形
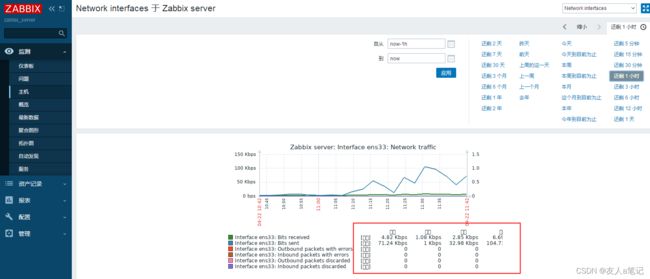
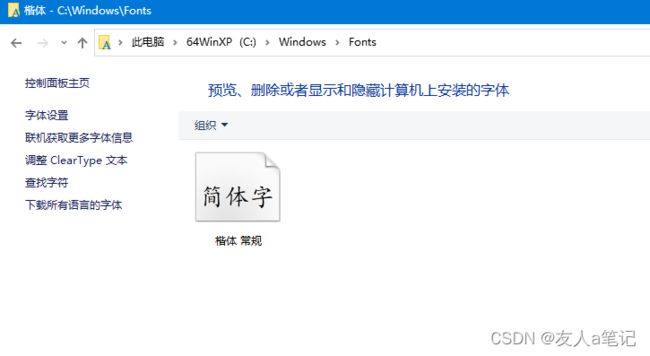
2、拷贝本地电脑C:\Windows\Fonts楷体字体到zabbix服务器的fonts目录下
3、zabbix服务器fonts目录查找如下
[root@localhost ~]# find / -name fonts
/boot/grub2/fonts
/etc/fonts
/usr/share/fonts
/usr/share/zabbix/assets/fonts
/usr/share/httpd/noindex/css/fonts
4、拷贝字体到服务器目录(可以使用Xshell的xftp功能)
[root@localhost ~]# cd /usr/share/zabbix/assets/fonts/
5、切换至/etc/alternatives 查看到默认软链接指向的字符集

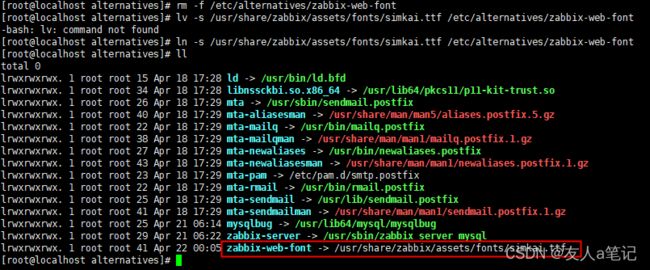
6、删除默认软链接的字符集,指向新拷贝的字体
[root@localhost alternatives]# rm -f /etc/alternatives/zabbix-web-font
[root@localhost alternatives]# ln -s /usr/share/zabbix/assets/fonts/simkai.ttf /etc/alternatives/zabbix-web-font
查看
7、重启zabbix-server服务
[root@localhost ~]# systemctl restart zabbix-server8、再次查看图形
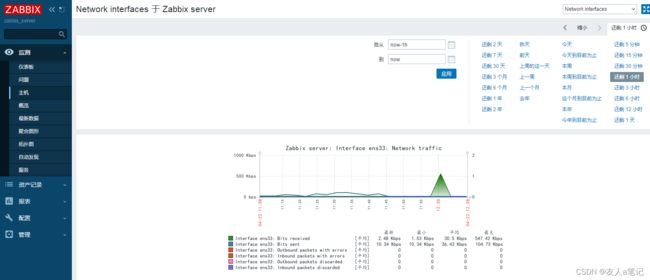
至此Zabbix 5.0安装完成