SpringCloud整合Apollo配置中心完整方案
相关资料
GitHub快速入门Apollo
Apollo Quick Start Docker部署
Apollo分布式部署指南
Java客户端使用指南
Apollo Meta Server
Apollo配置中心设计
Apollo配置中心架构剖析
预备环境
首先得检查你的服务器上环境的要求是否一致,若不一致会带来不必要麻烦,一样就可以很轻松的搭建好apollo配置中心。
- Linux Centos7
- MySQL8.0
- SpringBoot2.0+ (推荐)
- JDK1.8+
Oracle默认账号/密码[email protected]/Oracle123
搭建apollo配置中心
如果想要使用apollo那么,肯定要有一个服务器提供这种服务,就像SpringCloud Config一样,采取CS架构,服务端专门用来读取远程Git等的配置文件,客户端连接上服务端,然后从服务端获取配置信息。
下面就是搭建、使用apollo配置中心详细步骤(也可进入官网apollo官网,网速可能会很慢):
安装apollo步骤
1、下载Quick Start安装包
首先apollo服务是一个SpringBoot项目,直接下载下来运行就可以(先别急着运行,还要导入sql文件才可以运行),通过网盘链接下载,提取码: 9wwe ,下载到本地后,在本地解压apollo-quick-start.zip。
解压后的文件如下所示,我们现在只需要关注这两个文件:demo.sh(运行项目的脚本)、sql(存放着两个需要导入mysql的sql文件)

2、创建数据库
2.1、apollo服务端共需要两个数据库:ApolloPortalDB和ApolloConfigDB,我们把数据库、表的创建和样例数据都分别准备了sql文件,只需要导入数据库即可,先不要去改任何数据库中的数据,得保证程序先运行起来再说
source /your_local_path/sql/apolloportaldb.sql
source /your_local_path/sql/apolloconfigdb.sql
查看是否导入成功
show databases;
2.2、使用vi命令打开demo.sh配置,然后配置数据库连接信息,注意不要修改demo.sh其他部分
#apollo config db info
apollo_config_db_url=jdbc:mysql://localhost:3306/ApolloConfigDB?characterEncoding=utf8
apollo_config_db_username=用户名
apollo_config_db_password=密码(如果没有密码,留空即可)

# apollo portal db info
apollo_portal_db_url=jdbc:mysql://localhost:3306/ApolloPortalDB?characterEncoding=utf8
apollo_portal_db_username=用户名
apollo_portal_db_password=密码(如果没有密码,留空即可)
3、启动apollo配置中心
Quick Start脚本会在本地启动3个服务,分别使用8070, 8080, 8090端口,请确保这3个端口当前没有被使用。
例如,在Linux/Mac下,可以通过如下命令检查:
lsof -i:8080
然后执行demo.sh脚本启动apollo配置中心
./demo.sh start
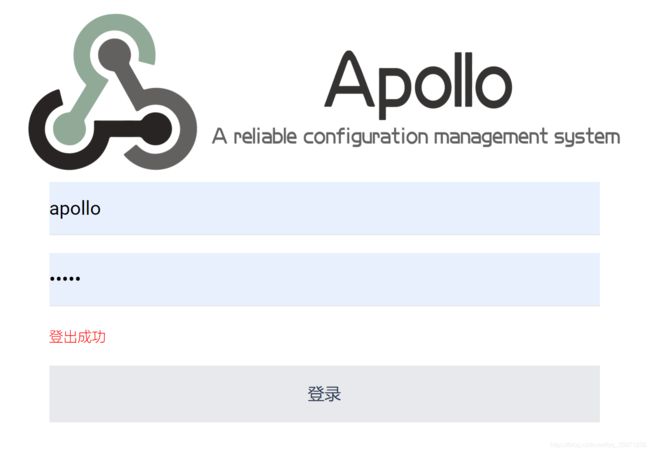
当看到如下输出后,可能需要1~2分钟,就说明启动成功,此时你可以看到提示You can visit http://localhost:8070 now!,这就是你访问这个apollo后台的配置界面,打开之后默认账号/密码:apollo/admin
==== starting service ====
Service logging file is ./service/apollo-service.log
Started [10768]
Waiting for config service startup.......
Config service started. You may visit http://localhost:8080 for service status now!
Waiting for admin service startup....
Admin service started
==== starting portal ====
Portal logging file is ./portal/apollo-portal.log
Started [10846]
Waiting for portal startup......
Portal started. You can visit http://localhost:8070 now!
4、异常排查
如果启动遇到了异常,可以分别查看service、portal目录下的apollo-service.log、apollo-portal.log文件排查问题。如果按照上述提供的环境,100%不会出现问题的。
在启动apollo-configservice的过程中会在日志中输出eureka注册失败的信息,如com.sun.jersey.api.client.ClientHandlerException: java.net.ConnectException: Connection refused,这个错误不用管,因为此时启动还没有把自带的Eureka启动好,所以会报错!
使用apollo配置中心
2、输入用户名apollo,密码admin后登录,就可以看到apollo的配置中心的页面,至此apollo搭建成功,下面就是准备创建本地SpringBoot项目连接到这个apollo配置中心。

SpringCloud连接Apollo配置中心
java接入指南,网速慢就参考下面步骤即可。
创建SpringCloud项目
1、引入jar包,boot版本是2.1.12.RELEASE
        <dependency>
            <groupId>com.ctrip.framework.apollogroupId>
            <artifactId>apollo-clientartifactId>
            <version>1.7.0version>
        dependency>

        <dependency>
            <groupId>org.springframework.cloudgroupId>
            <artifactId>spring-cloud-starter-netflix-eureka-clientartifactId>
            <version>2.1.2.RELEASEversion>
        dependency>

        <dependency>
            <groupId>org.springframework.bootgroupId>
            <artifactId>spring-boot-starter-webartifactId>
        dependency>
2、编写application.properties配置信息
server.port=8889

# 用来标识应用身份的唯一id
app.id=springcloud-study-apollo-8888

# 用来标识应用身份的唯一name
app.name=springcloud-study-apollo-8888
# apollo配置变化同步更新
apollo.autoUpdateInjectedSpringProperties=true

# Apollo支持应用在不同的环境有不同的配置,所以需要在运行提供给Apollo客户端当前环境的Apollo Meta Server信息。
# 默认情况下,meta server和config service是部署在同一个JVM进程,所以meta server的地址就是config service的地址。
# 为了实现meta server的高可用,推荐通过SLB(Software Load Balancer)做动态负载均衡。Meta server地址也可以填入IP,
# 如http://1.1.1.1:8080,http://2.2.2.2:8080,不过生产环境还是建议使用域名(走slb),因为机器扩容、缩容等都可能导致IP列表的变化。
apollo.meta=http://localhost:8080

# 启动apollo服务
apollo.bootstrap.enabled=true

# apollo加载优先于日志系统
apollo.bootstrap.eagerLoad.enabled=true

# 加载多个apollo配置文件
apollo.bootstrap.namespaces=application

# spring实例名称
spring.application.name=springcloud-study-apollo-8888

eureka.client.service-url.defaultZone=http://localhost:8010/eureka/
eureka.client.register-with-eureka=true
eureka.client.fetch-registry=true
3、通过@EnableApolloConfig注解启动apollo功能
@SpringBootApplication
@EnableApolloConfig
@EnableEurekaClient
public class SpringcloudStudyApollo8888Application {

    public static void main(String[] args) {
        SpringApplication.run(SpringcloudStudyApollo8888Application.class, args);
    }
}
4、编写Controller测试类,测试看输出即可
@RestController
public class ApolloController {

    @Value("apolloKey")
    private String apolloKey;

    @RequestMapping("/apollo")
    public String apollo() {
        System.out.println("apolloConfig.apolloKey======="+apolloKey);
        return apolloKey;
    }
}
如果在运行时发现有以下错误时,可以在这个VM上添加启动参数

添加VM启动参数,添加完之后重启即可,至于为什么会出现这个错的原因也很简单,因为apollo默认服务端和客户端都是放在同一个地方,所以默认就会找到localhost地址,而我这里是将apollo安装在远程服务器上,然后客户端没有和服务端在一起,所以本地若不指定远程服务器IP,就会默认走localhost,自然而然会读取不到变化
-Dapollo.configService=http://118.22.112:8080 -Denv=dev
或者
-Dapollo.meta=http://118.22.112:8080 -Denv=dev # 这个如果不在局域网内,会出现上述错误


