Svelte入门-简短教程
Since I started using Hugo as a static site generator to create websites, I’ve grown to love this approach to publishing on the web, compared to using a CMS that generated pages dynamically, as I was used to - in the past.
自从我开始将Hugo用作创建网站的静态网站生成器以来,与过去使用CMS动态生成页面的CMS相比,我已经越来越喜欢这种在Web上发布的方法。
Svelte is a JavaScript framework that gives me the same feeling. Compared to React, Vue, Angular and other frameworks, an app built using Svelte is compiled beforehand, your site visitors don’t have to be served the framework and libraries code, and as a result all the fruition of the experience is smoother, consumes less bandwidth, and everything feels faster and lightweight.
Svelte是一个给我同样感觉JavaScript框架。 与React,Vue,Angular和其他框架相比,使用Svelte构建的应用程序是预先编译的 ,您的网站访问者无需获得框架和库代码的服务,因此,所有体验的成果都更加流畅,消耗更少的带宽,一切都变得更快,更轻巧。
As with Hugo, which disappears at deployment and generates plain HTML, Svelte disappears and all you get is plain JavaScript.
与Hugo一样,Hugo会在部署时消失并生成纯HTML,Svelte也会消失,而您所获得的只是纯JavaScript。
But let’s jump to the meat of the article. How to get started with Svelte.
但是,让我们跳到本文的重点。 如何开始使用Svelte。
You need to have Node.js installed. Check out my how to install Node.js post if you don’t have it already!
您需要安装Node.js。 如果还没有,请查看我如何安装Node.js帖子!
And make sure it’s the latest version (how to update Node.js).
并确保它是最新版本( 如何更新Node.js )。
Node installs the npx command, which is a handy way to run Node commands. In particular we’re going to run this:
Node安装npx命令,这是运行Node命令的便捷方法。 特别是,我们将运行以下命令:
npx degit sveltejs/template firstappThis will download and run the degit command, which in turn downloads the latest code of the Svelte project template living at https://github.com/sveltejs/template, into the firstapp folder.
这将下载并运行degit命令 ,该命令又将位于https://github.com/sveltejs/template的Svelte项目模板的最新代码下载到firstapp文件夹中。
Now go into that firstapp folder and run npm install to download the additional dependencies of the template. At the time of writing, those are the dependencies of that project template:
现在进入该firstapp文件夹并运行npm install以下载模板的其他依赖项。 在撰写本文时,这些是该项目模板的依赖项:
"npm-run-all"
"rollup"
"rollup-plugin-commonjs"
"rollup-plugin-livereload"
"rollup-plugin-node-resolve"
"rollup-plugin-svelte"
"rollup-plugin-terser"
"svelte"
As you can see, it’s the Svelte core, plus Rollup (a Webpack alternative) and some of its plugins. Plus npm-run-all, a CLI tool that is used to run multiple npm scripts in parallel, or sequential.
如您所见,它是Svelte核心,再加上Rollup (一种Webpack替代品)及其一些插件。 加上npm-run-all ,这是一个CLI工具,用于并行或顺序运行多个npm脚本。
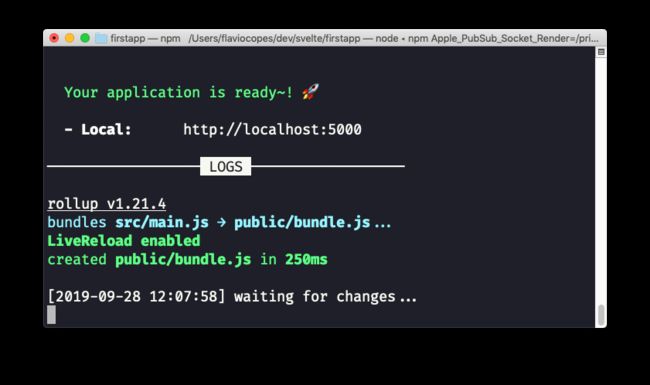
We’re now ready to run our Svelte site in development mode, by running
现在,我们可以通过运行以下命令以开发模式运行Svelte网站
npm run devThis will start the app on localhost, on port 5000, by default:
默认情况下,这将在本地主机上的端口5000上启动应用程序:
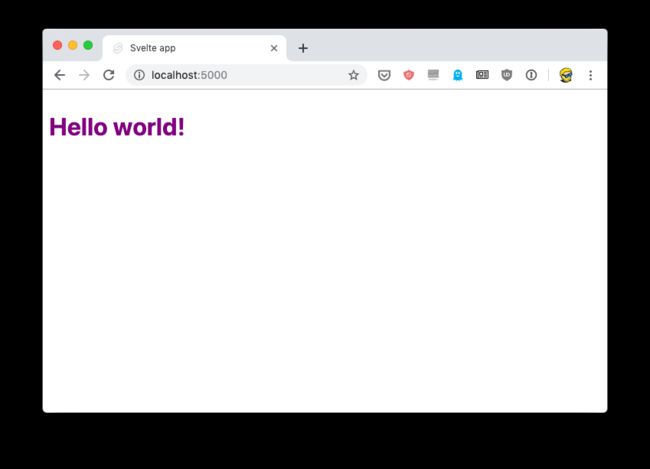
If you point your browser there, you’ll see the “Hello world!” example:
如果将浏览器指向那里,您将看到“ Hello world!” 例:
You’re now ready to open the code in your favorite editor. The src folder contains all you need to tweak the app: the main.js file:
现在您可以在自己喜欢的编辑器中打开代码了。 src文件夹包含调整应用程序所需的全部: main.js文件:
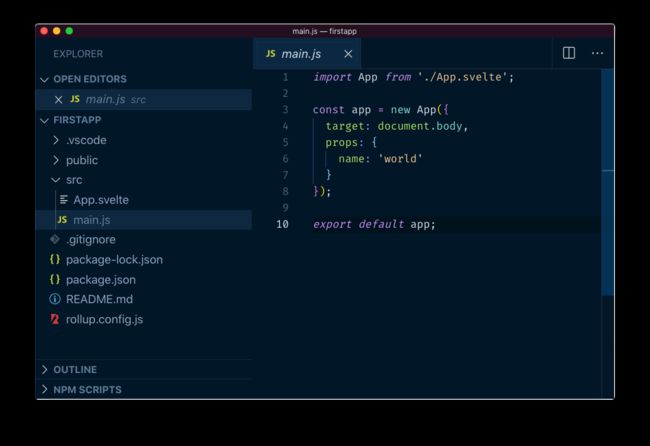
This file is the entry point and in this case initializes the App component, which is defined in App.svelte, a single file component:
该文件是入口点,在这种情况下,将初始化App组件,该组件在App.svelte定义,单个文件组件为:
Hello {name}!
If you are familiar with Vue.js, it’s a similar concept. You define the markup, the style and the JavaScript for each component in a single .svelte file.
如果您熟悉Vue.js ,这是一个类似的概念。 您可以在一个.svelte文件中为每个组件定义标记,样式和JavaScript。
翻译自: https://flaviocopes.com/svelte-getting-started/