Swagger的使用
一、概述
- RestFul Api文档在线自动生成工具 =>Api文档与API定义同步更新
- 直接运行,可以在线测试API接口
- 支持多种语言:(Java,Php)
官网:https://swagger.io/
二、使用
在项目中使用Swagger需要springfox;
- Swagger2
- ui
SpringBoot集成Swagger
- 新建一个SpringBoot项目
- 导入相关依赖
    io.springfox
    springfox-swagger2
    2.9.2


    io.springfox
    springfox-swagger-ui
    2.9.2
- 编写hello测试
- 配置swagger-config
@Configuration
@EnableSwagger2      //开启Swagger2
public class SwaggerConfig {

}
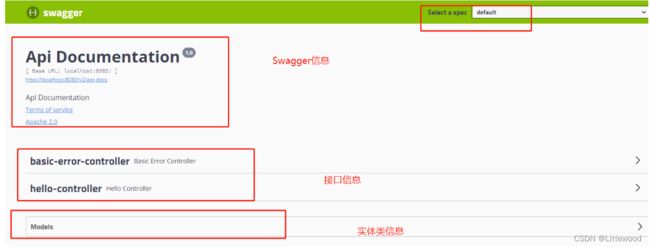
- 访问swagger
http://localhost:8080/swagger-ui.html
Springboot版本与springfox版本可能存在版本冲突问题
解决办法:https://blog.csdn.net/hadues/article/details/123753888
三、Swagger的配置
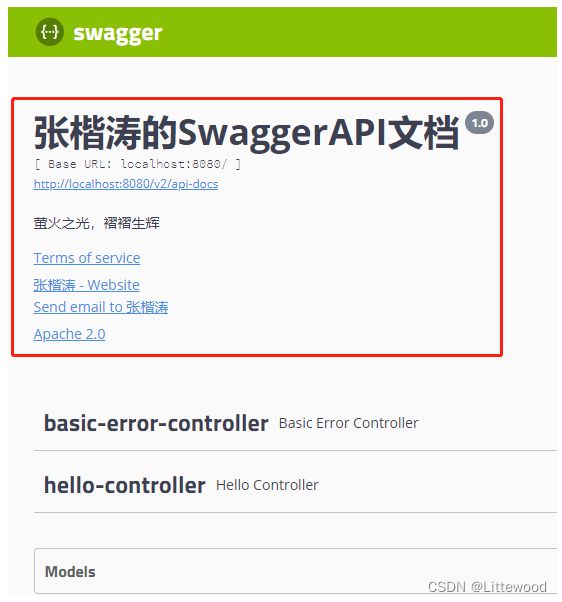
- Swagger配置信息
@Configuration
@EnableSwagger2      //开启Swagger2
public class SwaggerConfig {

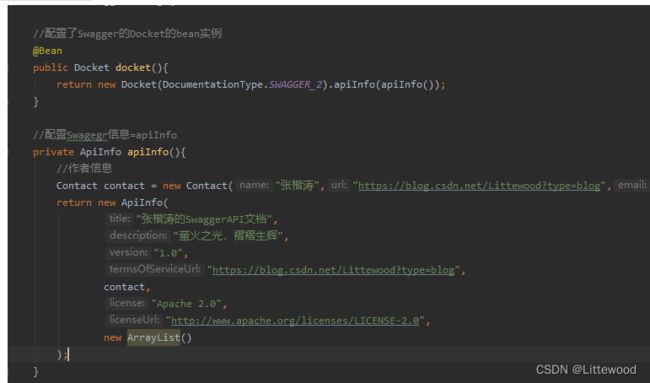
    //配置了Swagger的Docket的bean实例
    @Bean
    public Docket docket(){
        return new Docket(DocumentationType.SWAGGER_2).apiInfo(apiInfo());
    }

    //配置Swagegr信息=apiInfo
    private ApiInfo apiInfo(){
        //作者信息
        Contact contact = new Contact("张楷涛","https://blog.csdn.net/Littewood?type=blog","[email protected]");
        return new ApiInfo(
                "张楷涛的SwaggerAPI文档",
                "萤火之光,褶褶生辉",
                "1.0",
                "https://blog.csdn.net/Littewood?type=blog",
                contact,
                "Apache 2.0",
                "http://www.apache.org/licenses/LICENSE-2.0",
                new ArrayList()
        );
    }
四、Swagger配置扫描接口
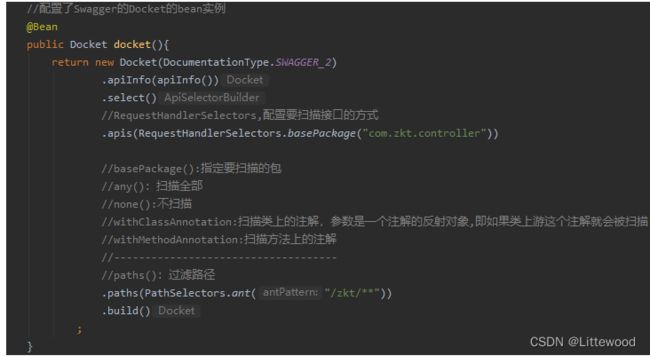
Docker.select()
    //配置了Swagger的Docket的bean实例
    @Bean
    public Docket docket(){
        return new Docket(DocumentationType.SWAGGER_2)
                .apiInfo(apiInfo())
                //.enable(false)   //是否启用swagger,如果为false,则swagger不能再浏览器中访问
                .select()
                //RequestHandlerSelectors,配置要扫描接口的方式
                .apis(RequestHandlerSelectors.basePackage("com.zkt.controller"))

                //basePackage():指定要扫描的包
                //any():扫描全部
                //none():不扫描
                //withClassAnnotation:扫描类上的注解,参数是一个注解的反射对象,即如果类上游这个注解就会被扫描
                //withMethodAnnotation:扫描方法上的注解
                //------------------------------------
                //paths():过滤路径
//                .paths(PathSelectors.ant("/zkt/**"))
                .build()
            ;
    }
如果要在开发环境下显示swagger而在生产环境下关闭swagger要怎么实现
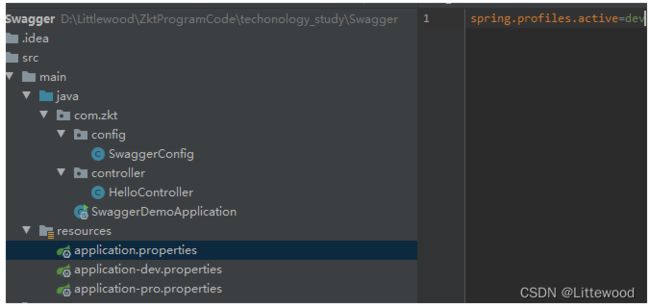
- 配置文件中设置开发环境
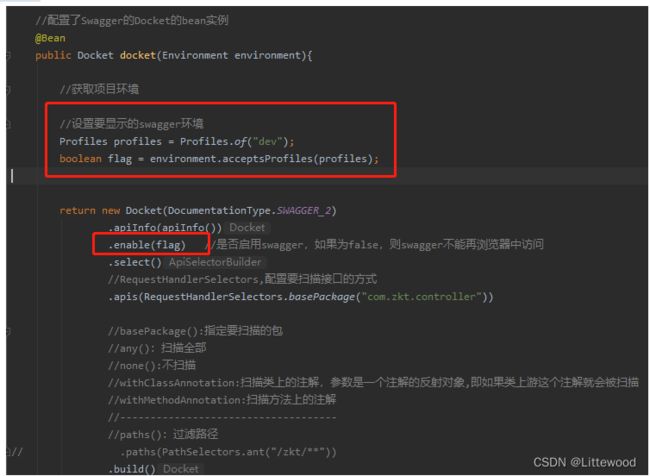
- swagger配置文件中进行设置
@Configuration
@EnableSwagger2      //开启Swagger2
public class SwaggerConfig {

    //配置了Swagger的Docket的bean实例
    @Bean
    public Docket docket(Environment environment){

        //获取项目环境

        //设置要显示的swagger环境
        Profiles profiles = Profiles.of("dev");
        boolean flag = environment.acceptsProfiles(profiles);


        return new Docket(DocumentationType.SWAGGER_2)
                .apiInfo(apiInfo())
                .enable(flag)   //是否启用swagger,如果为false,则swagger不能再浏览器中访问
                .select()
                //RequestHandlerSelectors,配置要扫描接口的方式
                .apis(RequestHandlerSelectors.basePackage("com.zkt.controller"))

                //basePackage():指定要扫描的包
                //any():扫描全部
                //none():不扫描
                //withClassAnnotation:扫描类上的注解,参数是一个注解的反射对象,即如果类上游这个注解就会被扫描
                //withMethodAnnotation:扫描方法上的注解
                //------------------------------------
                //paths():过滤路径
//                .paths(PathSelectors.ant("/zkt/**"))
                .build()
            ;
    }

    //配置Swagegr信息=apiInfo
    private ApiInfo apiInfo(){
        //作者信息
        Contact contact = new Contact("张楷涛","https://blog.csdn.net/Littewood?type=blog","892640297@");
        return new ApiInfo(
                "张楷涛的SwaggerAPI文档",
                "萤火之光,褶褶生辉",
                "1.0",
                "https://blog.csdn.net/Littewood?type=blog",
                contact,
                "Apache 2.0",
                "http://www.apache.org/licenses/LICENSE-2.0",
                new ArrayList()
        );
    }
}
五、分组和接口注释
配置API文档的分组
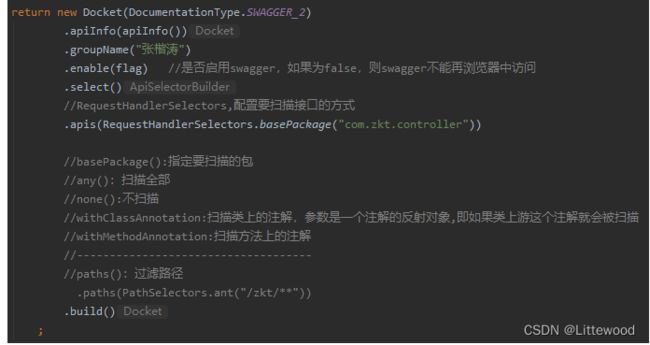
.groupName()
如果需要配置多个分组,则新建Bean
    @Bean
    public Docket docket1() {
        return new Docket(DocumentationType.SWAGGER_2).groupName("张三");
    }
    @Bean
    public Docket docket2() {
        return new Docket(DocumentationType.SWAGGER_2).groupName("李四");
    }
注解
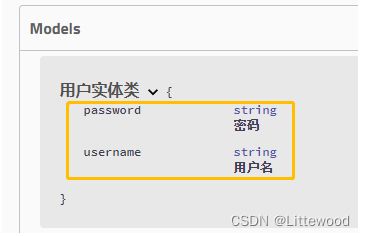
@ApiModel()
#为实体类添加注释,在Swagger中显示
#为实体类添加注释,在Swagger中显示
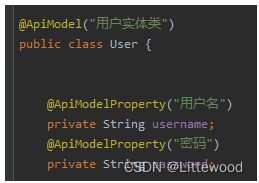
@ApiModel("用户实体类")
@ApiModelProperty()
@ApiModelProperty(“用户名”):为实体类中的属性添加注释,在Swagger中显示
用在属性上,描述响应类的属性
value–字段说明;name–重写属性名字;dataType–重写属性类型;required–是否必填;example–举例说明;hidden–隐藏
@ApiModelProperty(value = “请求返回code说明,0-成功,1-失败”,required = true,example = “0”)
@ApiModel("用户实体类")
public class User {


    @ApiModelProperty("用户名")
    private String username;
    @ApiModelProperty("密码")
    private String password;
如果实体类属性被private修饰,需要有get和set方法
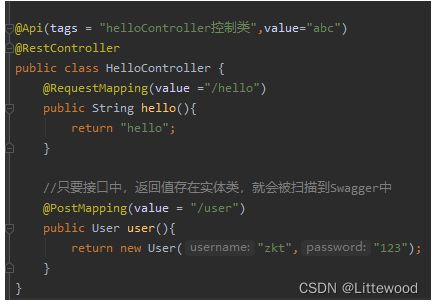
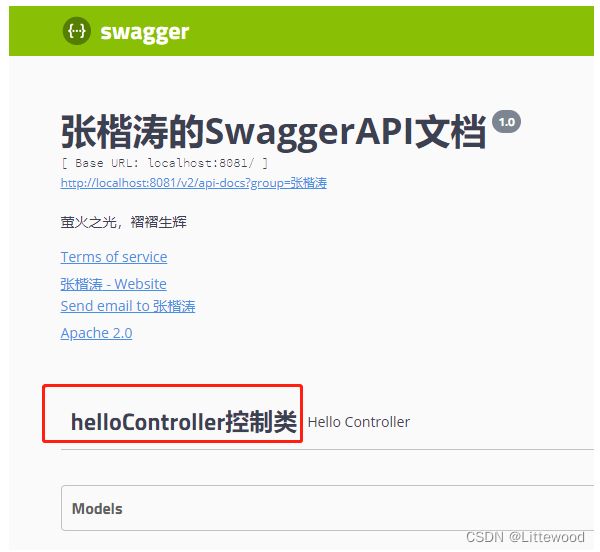
@Api()
@Api用在请求的类上,表示对类的说明(Controller层)
tags=“说明该类的作用,可以在UI界面上看到的注解”
value=“该参数没什么意义,在UI界面上也看到,所以不需要配置”
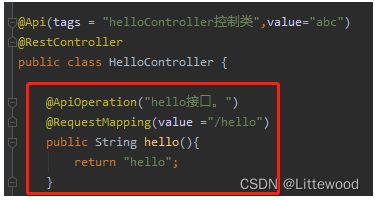
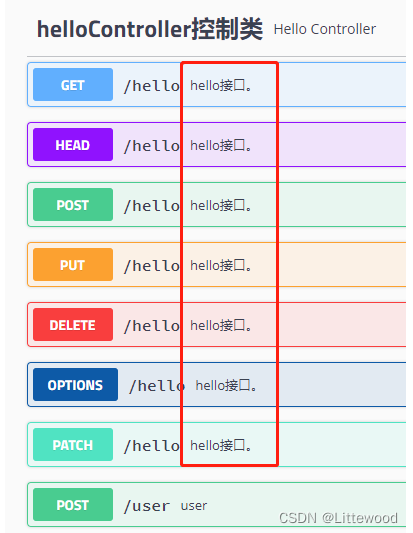
@ApiOperation()
@ApiOperation 用在请求的方法上,说明方法的用途、作用
@ApiOperation(value = “接口说明”, httpMethod = “接口请求方式”, response =“接口返回参数类型”, notes = “接口发布说明”;
@ApiParam()
@ApiParam用于接口处表明需要的参数声明
六、总结
- 我们可以通过Swagger给一些比较难理解的属性或者接口,增加注释信息
- 接口文档实时更新
- 可以在线测试
【注意】在正式发布的时候,关闭Swagger!处于安全考虑,而且节省运行的内存。


