项目实战 — 博客系统② {项目构建}
目录
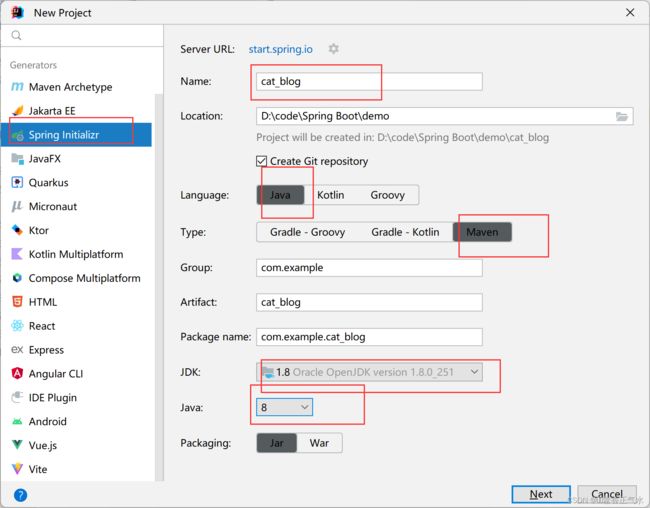
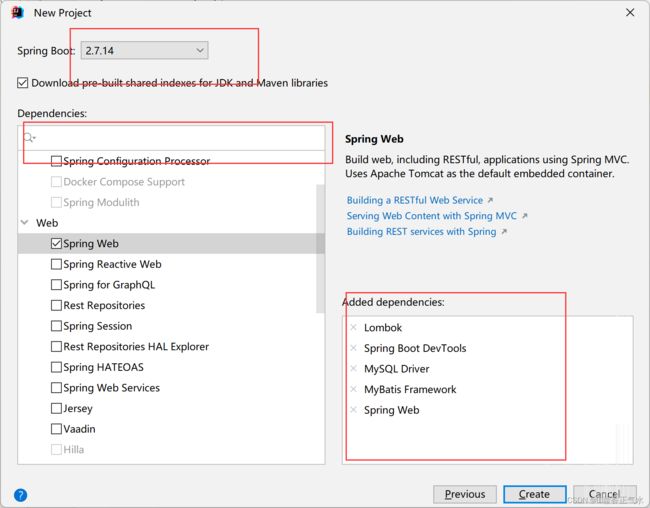
一、创建项目
二、添加数据库
三、设置配置文件相关信息
四、 添加前端页面
五、构建项目分层
六、编写基本类
一、创建项目
二、添加数据库
-- 创建数据库
drop database if exists cat_blog;
create database cat_blog DEFAULT CHARACTER SET utf8mb4;

-- 使用数据数据
use cat_blog;

-- 创建表[用户表]
drop table if exists  userinfo;
create table userinfo(
    id int primary key auto_increment,
    username varchar(100) not null,
    password varchar(32) not null,
    photo varchar(500) default '',
    createtime timestamp default current_timestamp,
    updatetime timestamp default current_timestamp,
    `state` int default 1
) default charset 'utf8mb4';

-- 创建文章表
drop table if exists  articleinfo;
create table articleinfo(
    id int primary key auto_increment,
    title varchar(100) not null,
    content text not null,
    createtime timestamp default current_timestamp,
    updatetime timestamp default current_timestamp,
    uid int not null,
    rcount int not null default 1,
    `state` int default 1
)default charset 'utf8mb4';

-- 创建视频表
drop table if exists videoinfo;
create table videoinfo(
  	vid int primary key,
  	`title` varchar(250),
  	`url` varchar(1000),
		createtime timestamp default current_timestamp,
		updatetime timestamp default current_timestamp,
  	uid int
)default charset 'utf8mb4'; 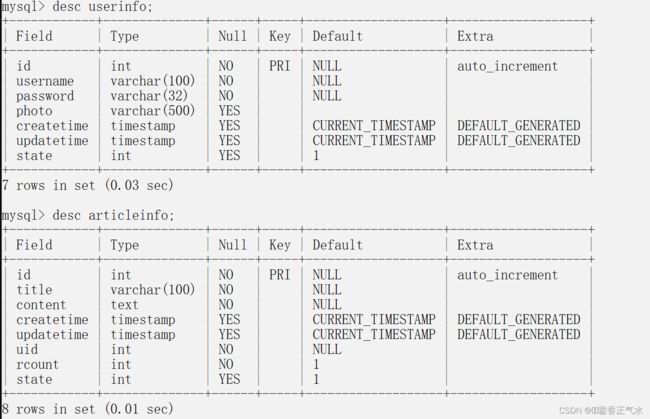
三、设置配置文件相关信息
打开项目的properties文件,添加相关配置。
# 设置数据库的相关连接信息
spring.datasource.url=jdbc:mysql://127.0.0.1:3306/cat_blog?characterEncoding=utf8
spring.datasource.username=root
spring.datasource.password=111111
spring.datasource.driver-class-name=com.mysql.cj.jdbc.Driver
# 设置MyBatis XML存放路径和命名格式,
mybatis.mapper-locations=classpath:mybatis/*Mapper.xml
#将数据库中的下划线转换为驼峰 比如user_name -> userName
mybatis-plus.configuration.map-underscore-to-camel-case=true
# 配置MyBatis执行时打印SQL
mybatis。configuration.log-impl=org.apache.ibatis.logging.stdout.StdOutImpl
# 设置日志级别
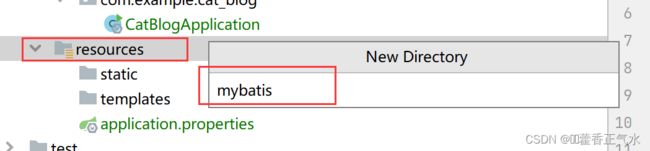
logging.level.com.example.demo=debug创建mybatis包:
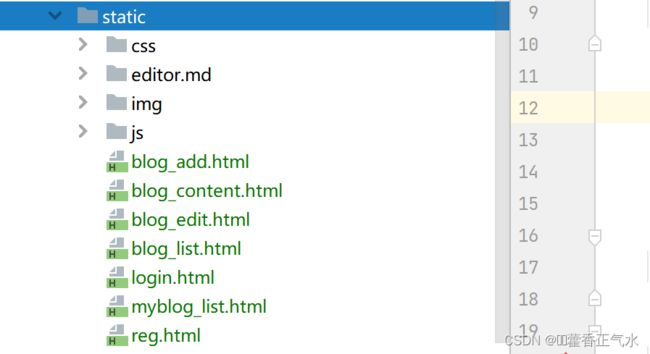
四、 添加前端页面
将前端页面添加到static包中
五、构建项目分层
控制器 / 服务层 / 数据持久层 / 实体层 / 配置层 / 工具层

六、编写基本类
-- 创建实体类
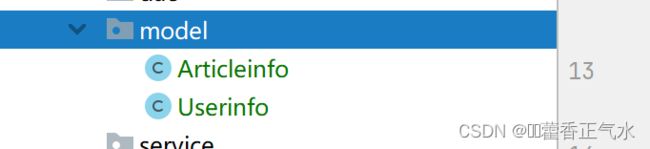
@Data
public class Articleinfo implements Serializable {
    private int id;
    private String title;
    private String content;
    private LocalDateTime createtime;
    private LocalDateTime updatetime;
    private int uid;
    private int rcount;  //阅读量
    private int state;
}
@Data
public class Userinfo implements Serializable { //继承Serializable才能序列化
    private int id;
    private String username;
    private String password;
    private String photo;
    private LocalDateTime createtime;
    private LocalDateTime updatetime;
    private int state;
}
-- 创建每张表对应每一层的类
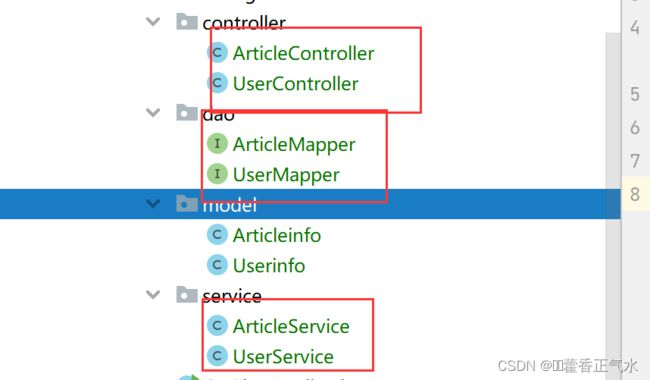
@RestController
@RequestMapping("art")
public class ArticleController {
}
@RestController
@RequestMapping("/user")
public class UserController {
}@Mapper
public interface ArticleMapper {
}@Mapper
public interface UserMapper {
}@Service
public class ArticleService {
}@Service
public class UserService {
}