React框架基础知识
使用react需要14以上的node环境,如果没有的话去nodejs.org安装或者更新版本,直接下载就行,它会自动配置环境变量和升级版本
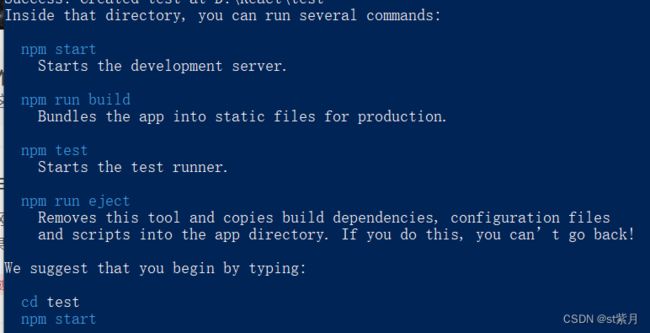
全局安装:npm install -g create-react-app
创建一个react项目:
create-react-app test
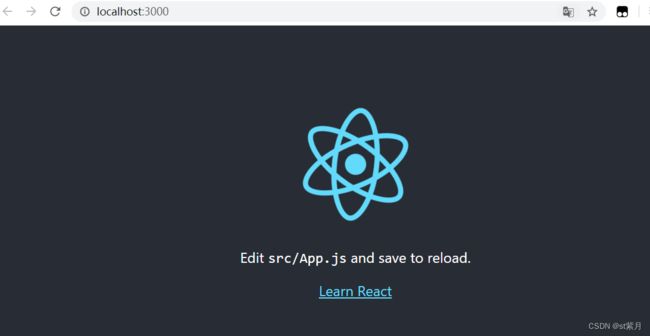
在test文件夹目录下打开命令行窗口,输入命令npm start打开项目,就会自动打开一个监听3000端口的网页
删除src文件夹下的全部文件,新建index.js文件,index.js是react项目的入口文件,插入以下代码块
import React from 'react';
import ReactDOM from 'react-dom/client';
const root = ReactDOM.createRoot(document.getElementById('root'));
root.render(
  <h1>这是我编写的第一个react</h1>
);
类组件的使用:
在src文件夹下新建component文件夹

在component文件夹下新建zujian.js文件,定义一个App类继承React.Component,再把这个APP类导出
import React from 'react';
class App extends React.Component{
	render(){
		return <div>hello react component</div>
	}
}
export default App;
在index.js文件夹当中引入组件文件
import React from 'react';
import ReactDOM from 'react-dom/client';
import App from "./component/zujian"

const root = ReactDOM.createRoot(document.getElementById('root'));
root.render(
  <App></App>
);
函数组件:
function App(){
	return (
	<div>
		hello functional component
	</div>
	)
}

export default App
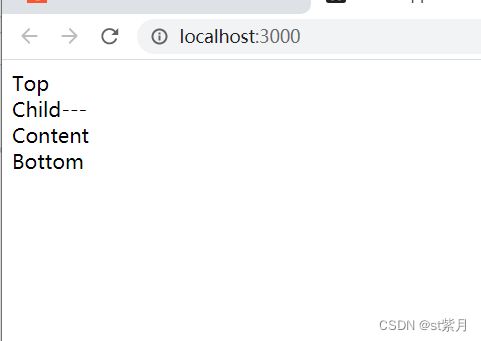
组件的嵌套:建议子组件用同一种类型
import React from 'react';
function Child() {
	return (<div>Child---</div>)
}
function Top() {
	return (<div>Top<Child></Child></div>)
}
function Content() {
	return (<div>Content</div>)
}
function Bottom (){
	return (<div>Bottom</div>)
}
class App extends React.Component{
	render(){
		return <div>
		<Top></Top>
		<Content></Content>
		<Bottom></Bottom>
		</div>
	}
}
export default App
组件的样式:把css写在css文件当中,通过import引入,然后使用className给需要样式的元素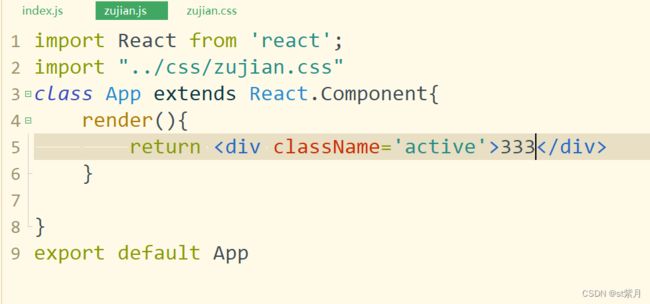
import React from 'react';
import "../css/zujian.css"
class App extends React.Component{
	render(){
		return <div className='active'>333</div>
	}

}
export default App
事件绑定:
import React from 'react';
import "../css/zujian.css"
class App extends React.Component{
	render(){
		return <div>
			<button onClick={ ()=>{
				this.dianji()
			}
			}>点击</button>
		</div>
	}
	dianji(){
		console.log('click');
	}
}
export default App
ref的应用:
使用this时需要注意this的指向问题,箭头函数的this指向上一个对象
1.给标签/组件设置ref=“username”,通过这个获取this.refs.username,ref可以获取到应用的真实dom
2.严格写法:
import React from 'react';
class App extends React.Component{
	//这里定义变量不需要var,并且通过this.的方式可以获取到
	myref = React.createRef()
	render(){
	//这里定义的变量需要var,通过{}的方式可以获取到
		return <div>
			<input ref={this.myref}></input>
			<button onClick={ ()=>{
				console.log(this.myref.current.value)
			}}>点击</button>
		</div>
	}

}
export default App
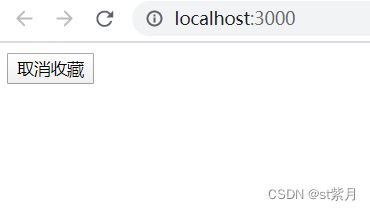
通过state实现数据的修改:
把变量定义在state当中,通过setState动态修改变量,这里的使用方法和微信小程序是一样的,vue是直接修改即可
import React from 'react';
class App extends React.Component{
	state = {
		show:true
	}
	render(){
		return <div>
			<button onClick = {
				()=>{
					this.setState({
						//第一个变量不需要加this.state
						show:!this.state.show
					})
				}
			}>{this.state.show?'收藏':'取消收藏'}</button>
		</div>
	}
}
export default App
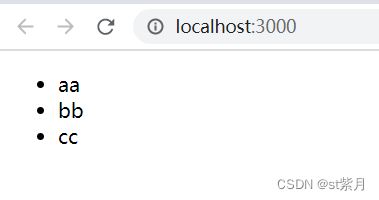
数组循环渲染:使用原生js的map渲染
import React from 'react';
class App extends React.Component{
	state = {
		list:[
			{
				id:1,
				text:'aa'
			},{
				id:2,
				text:'bb'
			},{
				id:3,
				text:'cc'
			},
			]
	}
	render(){
		return <div>
			<ul>
				{
					this.state.list.map(item=><li key={item.id}>{item.text}</li>)
				}

			</ul>
		</div>
	}
}
export default App
往数组当中加入/删除新元素:
let newList = [...this.state.list];
newList.push(this.myref.current.value)
newList.splice(index,1)
this.setState({
			//第一个变量不需要加this.state
			list:newList
		})
条件渲染:
{this.state.list.length===0? <div>暂无代办事项</div>:null}
{this.state.list.length===0 && <div>暂无代办事项</div>}
表单的双向数据绑定:
class App extends React.Component {
  state = {
	   txt:''
  }
  handleChange = e => {
	  const target = e.target
	  const value = target.type === 'checkbox' ? target.checked : target.value
	  const name = target.name
	  this.setState({
		  [name]:value
	  })
	  console.log(target.value)
  }

 render() {
     return (
       <div className="container">
         <input type='text' name='txt' value={this.state.txt} onChange={this.handleChange} />
       </div>
     );
   }
}
