Springboot 实践(6)spring security配置与运用
前文讲解了springboot项目添加静态资源目录,到目前为止,项目已经建立了后台服务控制、静态资源目录等服务;项目开发是为特定用户服务的,不具备访问权限用户,不允许访问系统,那么如何对系统资源进行保护呢?这就涉及到了我们此文所要引入的spring security。
Spring Security是一个能够为基于Spring的企业应用系统提供声明式的安全访问控制解决方案的安全框架。
1、项目pom.xml文件引入spring security jar包
添加完上述代码后,操作如下:
(1)右键选择项目名称,弹出菜单中选择“maven“ à “update project”,更新项目jar包;
(2)启动项目,在浏览器地址数据http://localhost:2885,显示如下:
图1、spring security 默认授权页面
备注:该页面为spring security默认授权页面,此时,我们需要用户授权信息,即账户和密码。
2、application.yml配置权限参数
在application.yml文件中配置如下参数,配置用户信息授权信息,即账户和密码。
security:
user:
name: admin
password: 123
roles: admin
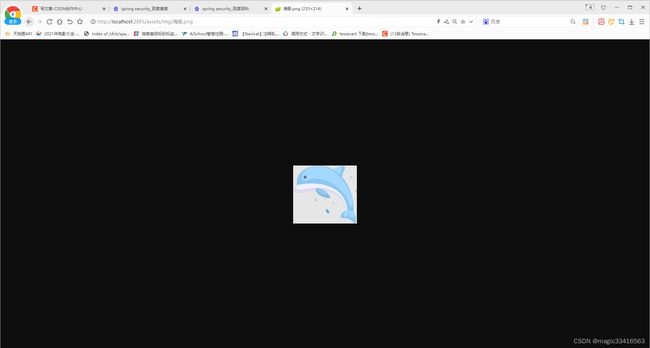
在浏览器地址栏输入“http://localhost:2885/assets/img/海豚.png”,弹出授权页面,如图1所示,输入admin(账户)/123(密码),点击“login”按钮,图片正常访问。
图2、访问系统资源页面
3、替换spring security默认授权页面
在实际的系统开发中,授权页面一般具有特定信息,页面布局、页面总统基色、以及显示系统都有特定的要求,这就需要替换spring security默认授权页面。
自定义授权页面的制作,此处不做讲解,用户自行开发,现使用已开发的登录页面“loginUI.html”作为演示样例,页面如图3所示,
图3、spring security 自动授权页面
替换spring security页面的操作如下:
(1)将loginUI.html拷贝到“assets”目录下
图4、项目目录
(2)通过WebSecurityConfigurerAdapter接口,配置spring security
@Configuration
@EnabWebSecurity
public class WebSecurityConfig extends WebSecurityConfigurerAdapter {
@Override
protected void configure(AuthenticationManagerBuilder auth) throws Exception {
auth
.inMemoryAuthentication()
.passwordEncoder(new MyPasswordEncoder())//在此处应用自定义PasswordEncoder
.withUser("admin")
.password("123")
.roles("ADMIN")
.and()
.withUser("user")
.password("123")
.roles("USER");
}
/** 放行静态资源 */
@Override
public void configure(WebSecurity web) throws Exception {
web.ignoring().antMatchers("/swagger-ui.html");
web.ignoring().antMatchers("/swagger-resources/**");
web.ignoring().antMatchers("/v2/api-docs");
/************************************************************
* servlet 3.0 以上的版本支持直接访问 jar 包里面的资源文件。
* 访问方式:将 jar 包里的 META-INF/resources 目录看成根目录,
* 则这个目录下的文件都可以直接访问
* swagger-bootstrap-ui-1.9.6.jar资源放行*/
web.ignoring().antMatchers("/webjars/**");
web.ignoring().antMatchers("/doc.html");
web.ignoring().antMatchers("/lock");
//web.ignoring().antMatchers("/assets/**");
web.ignoring().antMatchers("/assets/img/bg.jpg");
//websocket
web.ignoring().antMatchers("/imserver/**");
//放行consul安全监测接口
web.ignoring().antMatchers("/v1");
web.ignoring().antMatchers("/actuator/health");
//web.ignoring().antMatchers("/loginError.html");
web.ignoring().antMatchers("/favicon.ico");
//放行单点登录
}
@Override
protected void configure(HttpSecurity http) throws Exception {
http.authorizeRequests()
.antMatchers("/**").hasRole("USER")
.antMatchers("/**").hasRole("ADMIN")
.antMatchers("/loginUI").permitAll()
.antMatchers("/loginUI.html").permitAll()
.anyRequest().authenticated()
.and()
.httpBasic();
http.csrf().disable();//关闭csrf功能,解决登录失败
//启用登录功能,可以使用默认的登录页,这里使用自定义的login.html页面
http.formLogin().loginPage("/assets/loginUI.html")
.loginProcessingUrl("/login")
.defaultSuccessUrl("/mainfunction").permitAll();// 登录成功后默认页面;
http.formLogin().failureForwardUrl("/error"); // 登录失败后默认页面;
}
}
(3)另外需要添加控制,注册login服务
public class LoginController {
/**
* 自定义登录页面
* @return
*/
@GetMapping("/login")
public String login() {
return "login";
}
}
到此,spring security添加讲解已经完成,再次访问http://localhost:2885/assets/img/海豚.png,系统自动弹出替换的授权页面,如图5所示:
图5、替换后的授权页面
下文讲解服务注册软件spring cloud的配置与使用,敬请关注!


