Django 简易PACS读片系统
1、Django中写一个后端接口,给HTML提供dicom文件接口的方式
1、首先创建django项目
1、下载安装跨域的包
pip3 install django-cors-headers
2、使用pycharm创建一个Django项目
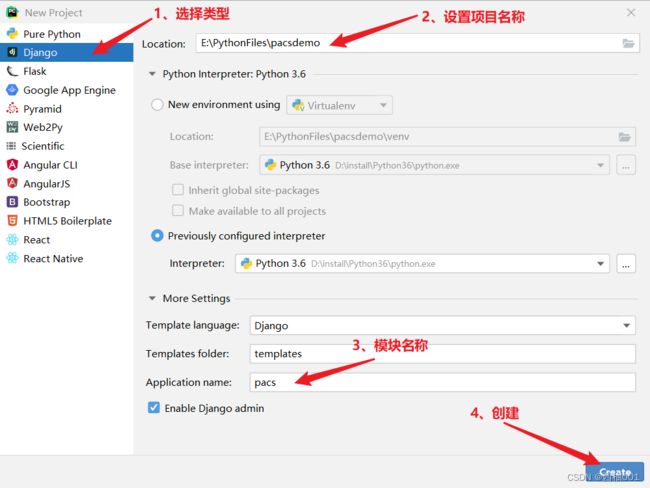
3、点击创建在另一个窗口,这个都无所谓,怎么都行,就是打开这个项目
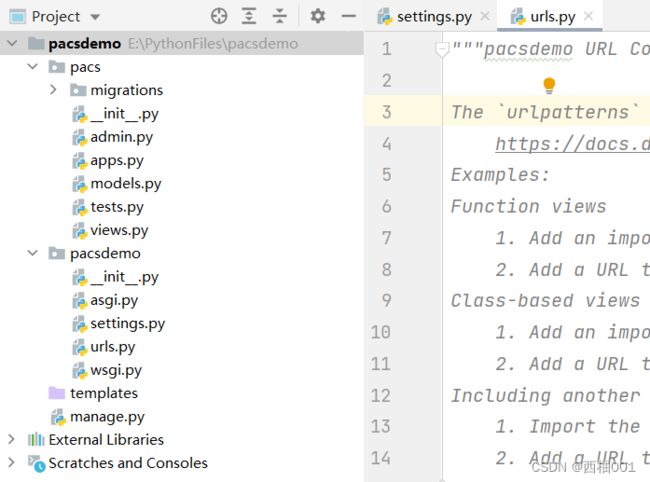
4、创建成功的项目就是下面这个样子
5、先修改几个选项,后面好操作
下面是我的settings设置,我把修改的地方标注出来
"""
Django settings for pacsdemo project.

Generated by 'django-admin startproject' using Django 3.2.18.

For more information on this file, see
https://docs.djangoproject.com/en/3.2/topics/settings/

For the full list of settings and their values, see
https://docs.djangoproject.com/en/3.2/ref/settings/
"""
# 添加这个import os
import os
from pathlib import Path

# Build paths inside the project like this: BASE_DIR / 'subdir'.
BASE_DIR = Path(__file__).resolve().parent.parent

# Quick-start development settings - unsuitable for production
# See https://docs.djangoproject.com/en/3.2/howto/deployment/checklist/

# SECURITY WARNING: keep the secret key used in production secret!
SECRET_KEY = 'django-insecure-uv!_mka##8#citwx_q$o71)@!8tfaa-6wyrb!h8&4fm+m-=-d='

# SECURITY WARNING: don't run with debug turned on in production!
DEBUG = True
# 设置所有IP都可以访问,局域网
ALLOWED_HOSTS = ['*']

# Application definition

# 添加跨域设置
INSTALLED_APPS = [
    'django.contrib.admin',
    'django.contrib.auth',
    'django.contrib.contenttypes',
    'django.contrib.sessions',
    'django.contrib.messages',
    'django.contrib.staticfiles',
    'pacs.apps.PacsConfig',
    'corsheaders'  # 跨域设置
]

MIDDLEWARE = [
    'django.middleware.security.SecurityMiddleware',
    'django.contrib.sessions.middleware.SessionMiddleware',
    'django.middleware.common.CommonMiddleware',
    'django.middleware.csrf.CsrfViewMiddleware',
    'django.contrib.auth.middleware.AuthenticationMiddleware',
    'django.contrib.messages.middleware.MessageMiddleware',
    'django.middleware.clickjacking.XFrameOptionsMiddleware',
]

# 新添加的设置
CORS_ALLOW_CREDENTIALS = True
CORS_ALLOW_ALL_ORIGINS = False
CORS_ORIGIN_WHITELIST = [
    "http://192.168.0.30:8000",
    "http://localhost:63409",
]
CORS_ORIGIN_ALLOW_ALL = True

CORS_ALLOW_METHODS = (
    'DELETE',
    'GET',
    'OPTIONS',
    'PATCH',
    'POST',
    'PUT',
    'VIEW'
)

CORS_ALLOW_HEADERS = (
    'accept',
    'accept-encoding',
    'authorization',
    'content-type',
    'dnt',
    'origin',
    'user-agent',
    'x-csrftoken',
    'x-requested-with',
)


ROOT_URLCONF = 'pacsdemo.urls'

TEMPLATES = [
    {
        'BACKEND': 'django.template.backends.django.DjangoTemplates',
        'DIRS': [BASE_DIR / 'templates']
        ,
        'APP_DIRS': True,
        'OPTIONS': {
            'context_processors': [
                'django.template.context_processors.debug',
                'django.template.context_processors.request',
                'django.contrib.auth.context_processors.auth',
                'django.contrib.messages.context_processors.messages',
            ],
        },
    },
]

WSGI_APPLICATION = 'pacsdemo.wsgi.application'

# Database
# https://docs.djangoproject.com/en/3.2/ref/settings/#databases

# 连接本地的mysql数据库
DATABASES = {
    'default': {
        'ENGINE': 'django.db.backends.mysql',
        'NAME': 'pacsdemo',   #  你的数据库名称
        'USER': '******',  # 你的账户
        'PASSWORD': '******',  #你的密码
        'HOST': '127.0.0.1',
        'PORT': '3306',
    }
}

# Password validation
# https://docs.djangoproject.com/en/3.2/ref/settings/#auth-password-validators

AUTH_PASSWORD_VALIDATORS = [
    {
        'NAME': 'django.contrib.auth.password_validation.UserAttributeSimilarityValidator',
    },
    {
        'NAME': 'django.contrib.auth.password_validation.MinimumLengthValidator',
    },
    {
        'NAME': 'django.contrib.auth.password_validation.CommonPasswordValidator',
    },
    {
        'NAME': 'django.contrib.auth.password_validation.NumericPasswordValidator',
    },
]

# Internationalization
# https://docs.djangoproject.com/en/3.2/topics/i18n/

# 设置时间,上海的时间
LANGUAGE_CODE = 'zh-Hans'

TIME_ZONE = 'Asia/Shanghai'

USE_I18N = True

USE_L10N = True

USE_TZ = False

# Static files (CSS, JavaScript, Images)
# https://docs.djangoproject.com/en/3.2/howto/static-files/

# 加载静态文件的设置
STATIC_URL = '/static/'
STATICFILES_DIRS = [
    os.path.join(BASE_DIR, 'static'),
]

# Default primary key field type
# https://docs.djangoproject.com/en/3.2/ref/settings/#default-auto-field

DEFAULT_AUTO_FIELD = 'django.db.models.BigAutoField'
6、把表结构映射到数据库中
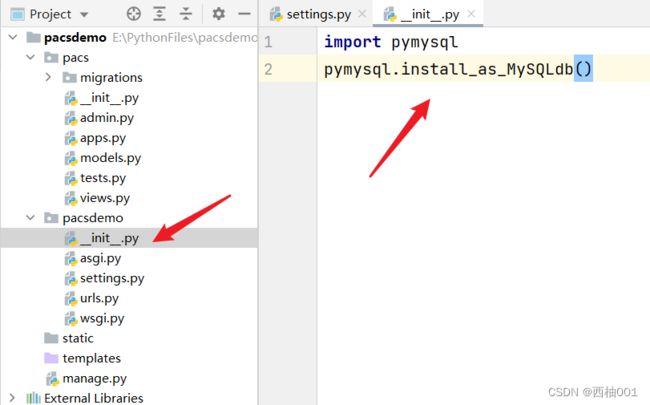
连接数据库的设置,没有这个设置,数据库会连接失败
import pymysql
pymysql.install_as_MySQLdb()
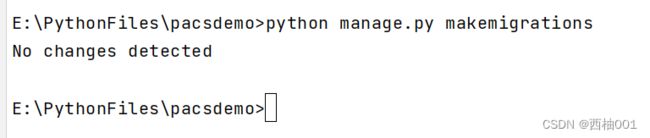
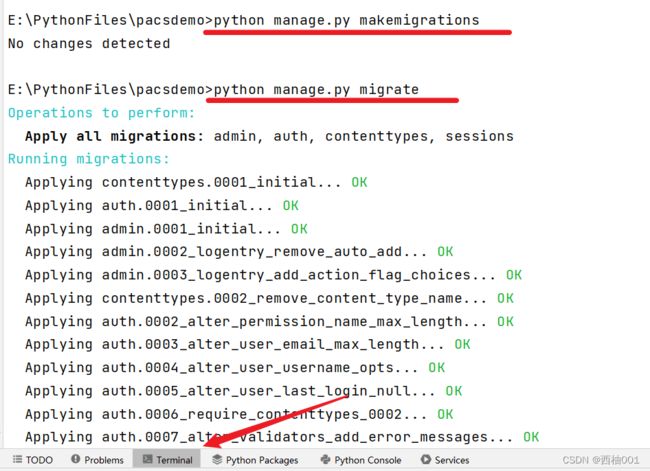
7、在终端运行两行命令
python manage.py makemigrations
8、运行第二行命令
python manage.py migrate
9、第一步完成,数据库连接成功,基础设置完成
2、写前端页面,并且和后端接口,传递单个dicom文件,并且显示出来
1、先添加一个路由
from django.conf.urls import include
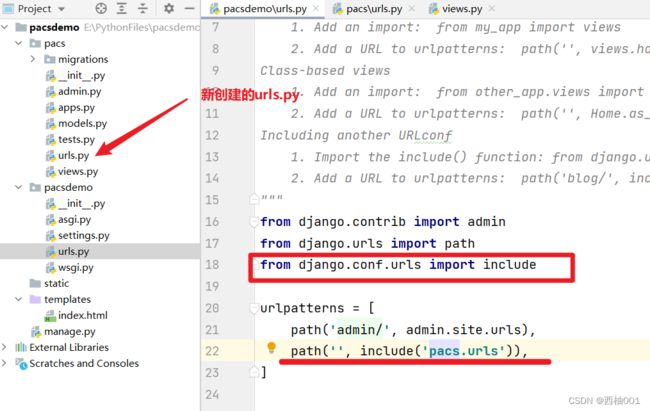
2、然后在pacs中写urls.py里面的内容
from django.urls import path

from . import views

urlpatterns = [
    path("index/", views.index),  # 设置首页内容
    path("read/", views.read),  # 读dicom文件
    path("read1/", views.read1),  # 读dicom文件
]

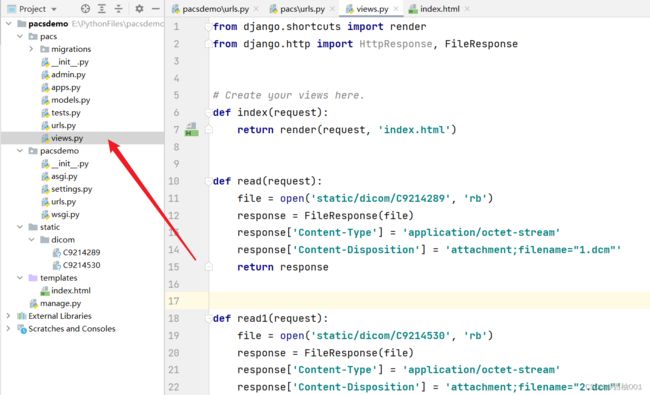
3、写这个index的方法,在views.py中
from django.shortcuts import render
from django.http import HttpResponse, FileResponse


# Create your views here.
def index(request):
    return render(request, 'index.html')


def read(request):
    file = open('static/dicom/C9214289', 'rb')
    response = FileResponse(file)
    response['Content-Type'] = 'application/octet-stream'
    response['Content-Disposition'] = 'attachment;filename="1.dcm"'
    return response


def read1(request):
    file = open('static/dicom/C9214530', 'rb')
    response = FileResponse(file)
    response['Content-Type'] = 'application/octet-stream'
    response['Content-Disposition'] = 'attachment;filename="2.dcm"'
    return response
4、写index.html的内容
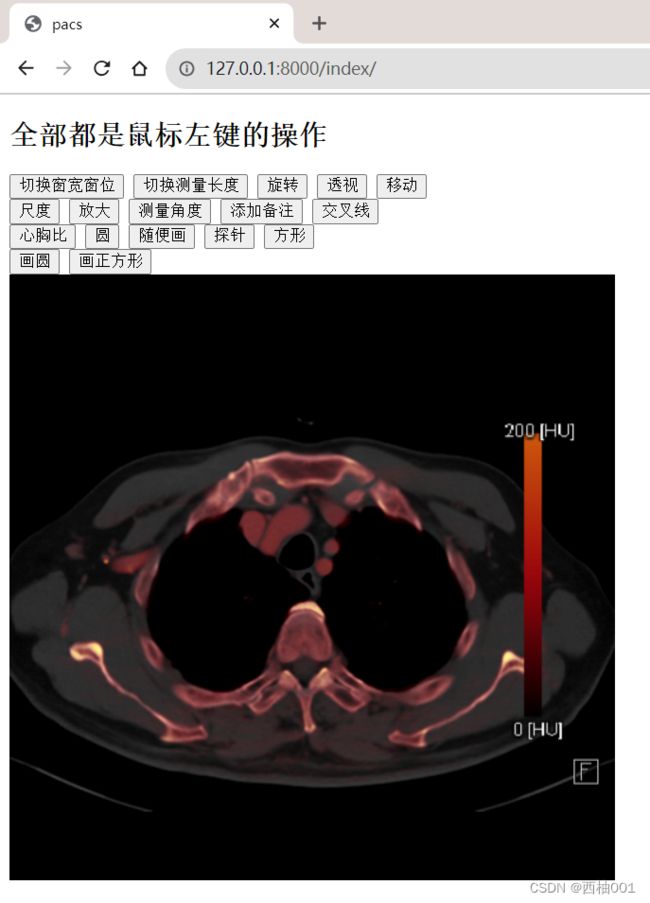
我写的这个html,直接放进去就可以看,其中的内容你可以通过cornerstone.js查看
pacs
全部都是鼠标左键的操作
5、启动项目
1、第一种,通过pycharm打开

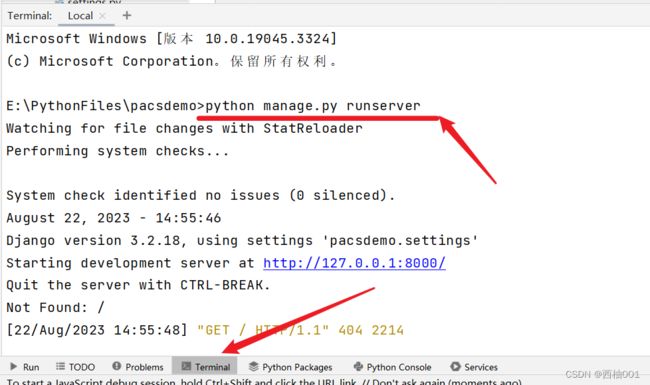
2、第二种,命令行的方式
python manage.py runserver
5、查看网页
其中的功能都可以进行操作,后续我进行优化,默认滚动条是切换dicom
http://127.0.0.1:8000/index/