keepalived+lvs(DR)
目录
一、作用
二、安装
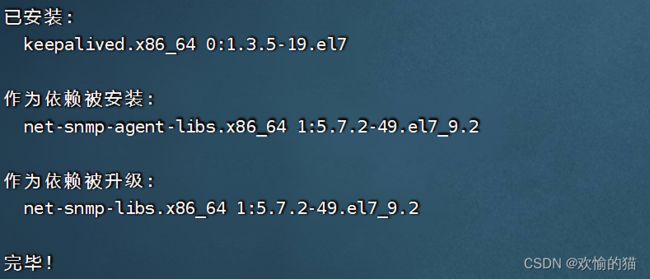
1、在192.168.115.3 和192.168.115.4 上安装ipvs和keepalived:
2、配置keepalived
3、查看lvs节点状态
4、web节点配置
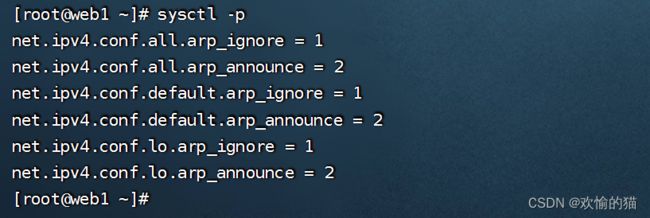
5、在web节点上调整ARP参数
6、配置虚拟IP地址与添加回环路由
7、配置nginx网页文档
8、启动服务
9、测试
一、作用
Keepalived 和 LVS(Linux Virtual Server)结合使用可以实现高可用性的负载均衡。在 LVS 中,DR(Direct Routing)模式是其中一种常见的负载均衡模式。
在 Keepalived + LVS(DR)的架构中,Keepalived负责监控主服务器的状态以及进行故障检测。当主服务器发生故障时,Keepalived会自动将虚拟 IP 地址(VIP)移动到备份服务器上,以确保服务的连续性。
而 LVS(DR)负责实际的负载均衡功能。在 DR 模式下,LVS 将负载均衡器配置为直接路由数据包。当客户端发送请求时,数据包会直接发送到目标服务器,而负载均衡器只处理响应数据包的返回路由。这种方式避免了数据包的二次转发,减少了负载均衡器的开销,提高了性能。
这种架构的优点是:
- 可以实现高可用性,通过 Keepalived 监控主服务器的状态并自动进行故障切换。
- 可以实现负载均衡,通过 LVS 将客户端请求均匀地分发到多个服务器上,提高服务性能和可扩展性。
- DR 模式减少了数据包的二次转发,降低了负载均衡器的负载,提高了性能。
总之,Keepalived + LVS(DR)的组合可以提供高可用性的负载均衡解决方案,确保服务的连续性和性能的提升。
二、安装
在四台虚拟机上,我们以如下方式搭建集群:
192.168.115.3 lvs+keepalived
192.168.115.4 lvs+keepalived
192.168.115.5 nginx
192.168.115.6 nginx
1、在192.168.115.3 和192.168.115.4 上安装ipvs和keepalived:
yum install -y keepalived
yum install -y ipvsadm
modprobe ip_vs
lsmod |grep ip_vs
2、配置keepalived
主(192.168.115.3)
vim /etc/keepalived/keepalived.conf
修改后
global_defs {
   router_id LVS_DEVEL1
}

vrrp_instance VI_1 {
    state MASTER
    interface ens33
    virtual_router_id 51
    priority 100
    advert_int 1
    authentication {
        auth_type PASS
        auth_pass 1111
    }
    virtual_ipaddress {
	192.168.115.200
    }
}

virtual_server 192.168.115.200 80 {
    delay_loop 6
    lb_algo rr
    lb_kind DR
    #persistence_timeout 50
    protocol TCP

    real_server 192.168.115.5 80 {
        weight 1
        HTTP_GET {
            url {
              path /
            }
            connect_timeout 3
            nb_get_retry 3
            delay_before_retry 3
        }
    }
    real_server 192.168.115.6 80 {
        weight 1
        HTTP_GET {
            url {
              path /
            }
            connect_timeout 3
            nb_get_retry 3
            delay_before_retry 3
        }
    }
}
备(192.168.115.4)
vim /etc/keepalived/keepalived.conf
修改后
global_defs {
   router_id LVS_DEVEL2
}

vrrp_instance VI_1 {
    state BACKUP
    interface ens33
    virtual_router_id 51
    priority 90
    advert_int 1
    authentication {
        auth_type PASS
        auth_pass 1111
    }
    virtual_ipaddress {
	192.168.115.200
    }
}

virtual_server 192.168.115.200 80 {
    delay_loop 6
    lb_algo rr
    lb_kind DR
   # persistence_timeout 50
    protocol TCP

    real_server 192.168.115.5 80 {
        weight 1
        HTTP_GET {
            url {
              path /
            }
            connect_timeout 3
            nb_get_retry 3
            delay_before_retry 3
        }
    }
    real_server 192.168.115.6 80 {
        weight 1
        HTTP_GET {
            url {
              path /
            }
            connect_timeout 3
            nb_get_retry 3
            delay_before_retry 3
        }
    }
}
3、查看lvs节点状态
systemctl start keepalived
ipvsadm -ln
主
ip a
备
4、web节点配置
在192.168.115.5 和192.168.115.6 上安装nginx
5、在web节点上调整ARP参数
vim /etc/sysctl.conf
net.ipv4.conf.all.arp_ignore=1
net.ipv4.conf.all.arp_announce=2
net.ipv4.conf.default.arp_ignore=1
net.ipv4.conf.default.arp_announce = 2
net.ipv4.conf.lo.arp_ignore = 1
net.ipv4.conf.lo.arp_announce=2
sysctl -p
6、配置虚拟IP地址与添加回环路由
cd /etc/sysconfig/network-scripts/
cp ifcfg-lo ifcfg-lo:0
vim ifcfg-lo:0
ip a
添加回环路由 route add -host 192.168.115.200/32 dev lo:0
7、配置nginx网页文档
8、启动服务
9、测试
客户端访问
断掉主,测试备
主
备
客户端访问


