Linux学习之Ubuntu 20.04在github下载源码安装Openresty 1.19.3.1
参考的博文:《在 Ubuntu 上使用源码安装 OpenResty》
《OpenResty 安装安装详解-Ubuntu》
《Linux学习之CentOS 7源码安装openresty》
https://openresty.org/en/download.html是官网下载网址,页面往下拉有下载的链接。

https://github.com/openresty/openresty是github上的链接。
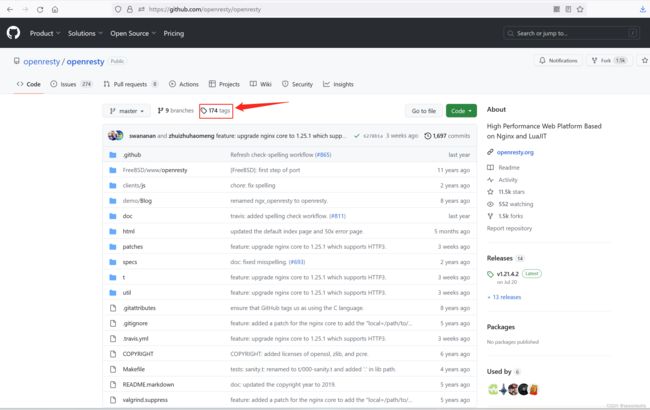
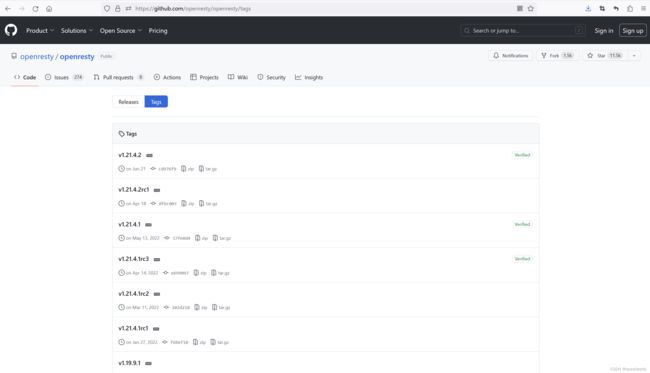
可以点击上图中tags进入有不同版本的页面。
sudo cat /etc/issue可以看到操作系统的版本是Ubuntu 20.04.4 LTS,sudo lsb_release -r可以看到版本是20.04,sudo uname -r可以看到内核版本是5.5.19,sudo make -v可以看到版本是GNU Make 4.2.1。

sudo apt-get install -y libpcre3-dev libssl-dev perl build-essential curl zlib1g-dev libreadline-dev libncurses5-dev libpcre3-dev安装依赖包。
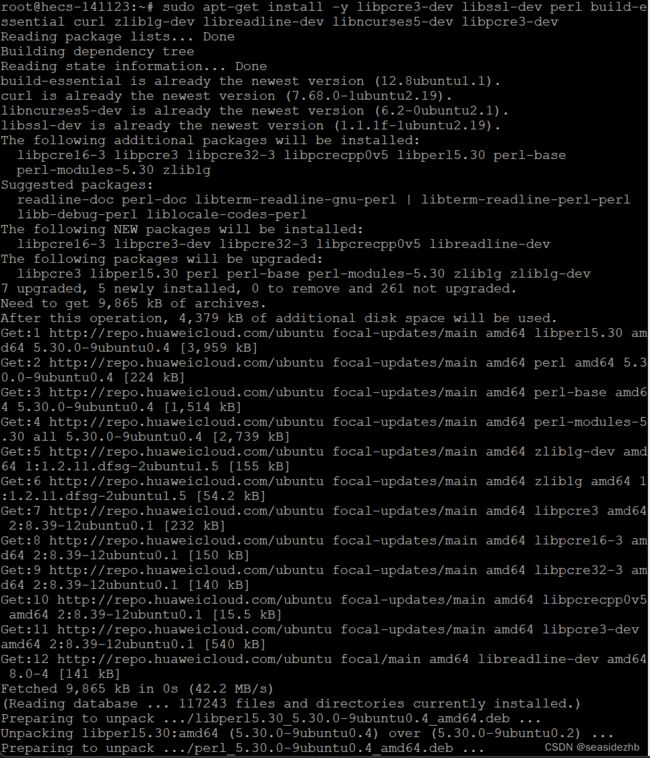
安装完成之后如下:

sudo wget https://github.com/openresty/openresty/archive/refs/tags/v1.19.3.1.tar.gz下载源码压缩包。

sudo mkdir /openrestycode新建一个/openrestycode放置解压出来的源码。
![]()
sudo tar zxf v1.19.3.1.tar.gz -C /openrestycode/把源码解压到/openrestycode里边,然后使用ls -l /openrestycode看一下/openrestycode里边的文件。

cd /openrestycode/openresty-1.19.3.1/进入到/openrestycode/openresty-1.19.3.1/里边,ls -l看一下当前目录的文件信息。

sudo make执行。

发现报错如下:
rm: cannot remove '*.tar.bz2': No such file or directory
./util/mirror-tarballs: line 891: unix2dos: command not found
make: *** [Makefile:4: all] Error 1

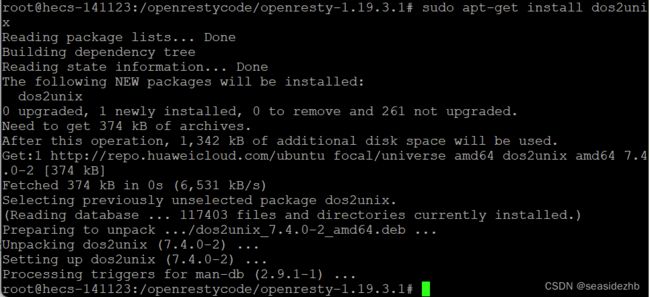
sudo apt-get install dos2unix安装。
sudo make再次执行,发现又报错:
rm: cannot remove '*.tar.bz2': No such file or directory
unix2dos: converting file README-windows.txt to DOS format...
./util/mirror-tarballs: line 913: hg: command not found
make: *** [Makefile:4: all] Error 1

sudo apt-get install -y apt-file安装apt-file。

sudo apt-file update更新。

sudo apt-file search hg输出了Finding relevant cache files to search ...E: The cache is empty. You need to run "apt-file update" first.。
![]()
上边使用sudo apt-file search hg解决不了我的问题,我只能使用sed -n '913p' ./util/mirror-tarballs' ./util/mirror-tarballs看一下./util/mirror-tarballs第913行是什么内容,然后把hg clone粘贴到百度上查找一下,结果看到了博文《【ubuntu】hg clone使用》。
![]()
想要使用sudo apt-get install mercurial安装mercurial却又提示E: You don't have enough free space in /var/cache/apt/archives/.
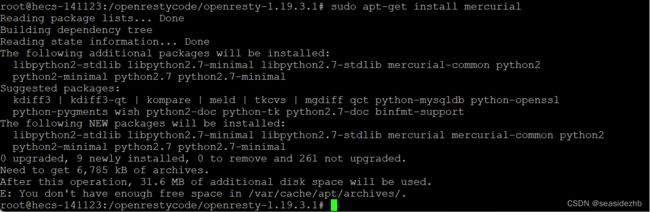
有看一篇博文《ubuntu “you don‘t have enough free space in /var/cache/apt/archives‘错误解决》,找到一个大型文件删除了。
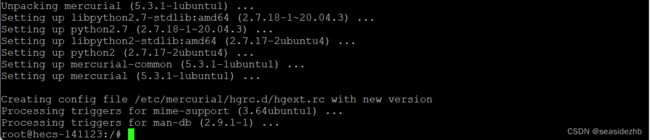
sudo apt-get install -y mercurial免确认安装mercurial。
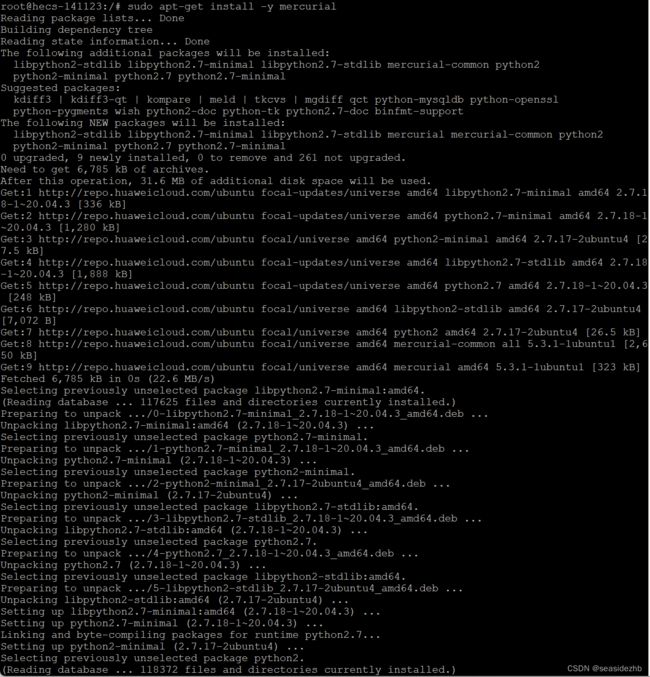
安装完成如下:
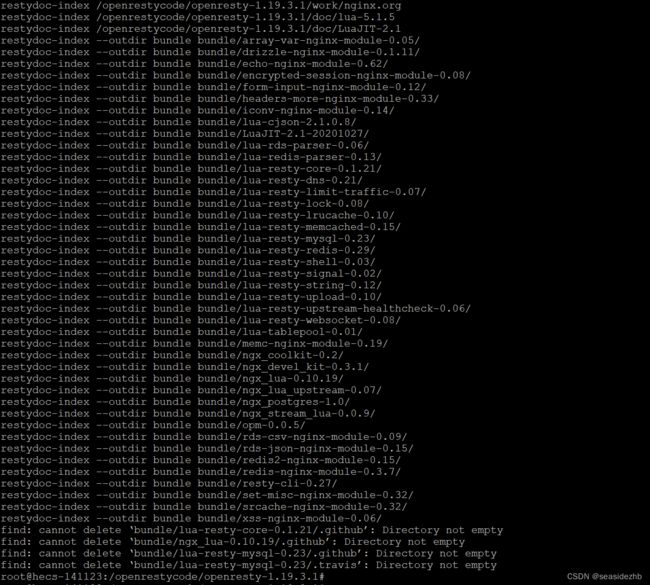
cd /openrestycode/openresty-1.19.3.1/进入到源码目录里边,sudo make再次执行编译。

完成之后如下:
cd openresty-1.19.3.1/进入到目录。
![]()
sudo ./configure --with-http_gzip_static_module --with-http_v2_module --with-http_stub_status_module --with-luajit --with-http_iconv_module进行配置。

完成如下如所示:
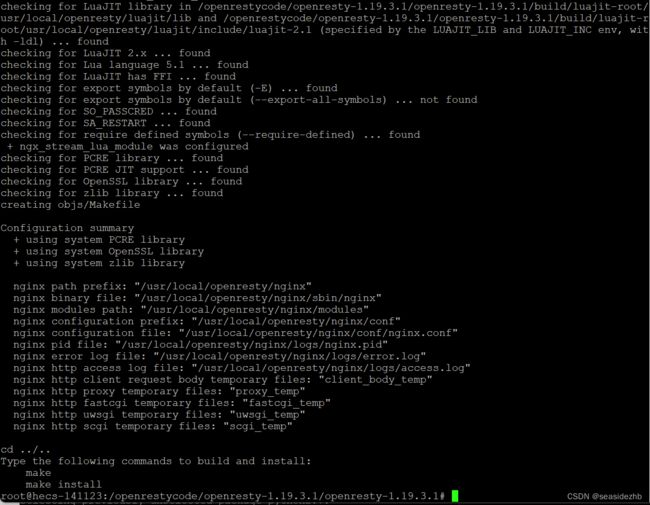
sudo make进行编译。

完成如下图所示:

sudo make install进行安装。

安装完成之后如下图:

此文章为8月Day 25学习笔记,内容来源于极客时间《Linux 实战技能 100 讲》。