自动化运维工具——ansible安装及模块介绍
目录
一、ansible——自动化运维工具
1.1 Ansible 自动运维工具特点
1.2 Ansible 运维工具原理
二、安装ansible
三、ansible命令模块
3.1 command模块
3.2 shell模块
3.3 cron模块
3.4 user模块
3.5 group 模块
3.6 copy模块
3.7 file模块
3.8 ping模块
3.9 service模块
3.10 script模块
3.11 yum模块
3.12 setup模块
一、ansible——自动化运维工具
1.1 Ansible 自动运维工具特点
- Ansible 与 Saltstack 均是基于 Python 语言开发,Ansible 只需要在一台普通的服务器上运行即可,不需要在客户端服务器上安装客户端。因为 Ansible 是基于 SSH 远程管理,而Linux服务器大都离不开SSH,所以Ansible不需要为配置工作添加额外的支持。
- Ansible 安装使用非常简单,而且基于上千个插件和模块实现各种软件、平台、版本的管理,支持虚拟容器多层级的部署。很多读者在使用 Ansible 工具时,认为 Ansible比 Saltstatck 执行效率慢,其实不是软件本身慢,是由于 SSH 服务慢,可以优化 SSH 连接速度及使用 Ansible 加速模块,满足企业上万台服务器的维护和管理。
1.2 Ansible 运维工具原理
- Ansible分为控制端和被控端,主要是基于SSH协议去管理客户端,被控端是无需安装Agent插件的,Ansible会读取控制端hosts文件,根据文件中定义IP列表信息,调取本地的各个模块对被控端机器实现批量、并发的配置管理和维护,如果任务比较复杂可以写成PlayBook剧本进行分发管理;
Ansible 自动运维管理工具优点:
- 轻量级,更新时,只需要在操作机上进行一次更新即可;
- 采用 SSH 协议;
- 不需要去客户端安装 agent;
- 批量任务执行可以写成脚本,而且不用分发到远程就可以执行;
- 使用 python 编写的,维护更简单;
- 支持 sudo 普通用户命令;
- 去中心化管理。
二、安装ansible
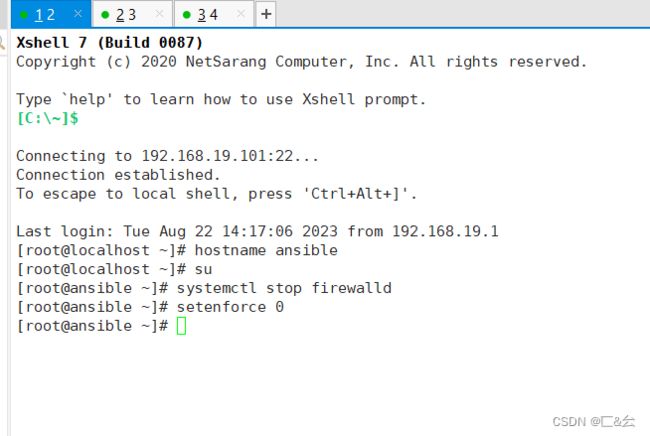
#192.168.19.2
hostname ansible
su

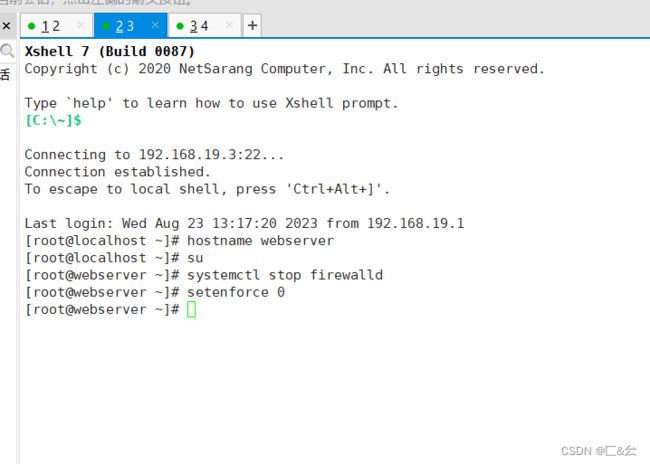
#192.168.19.3
hostname webserver
su

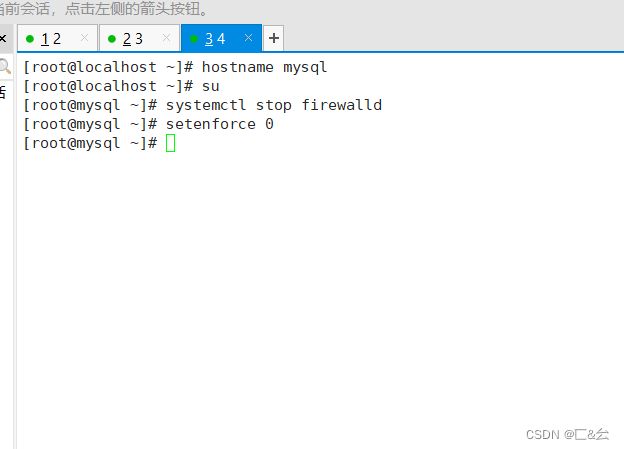
#192.168.19.4
hostname mysql
su

systemctl stop firewalld
setenforce 0
#安装epel扩展源
yum -y install epel-release
yum -y install ansible
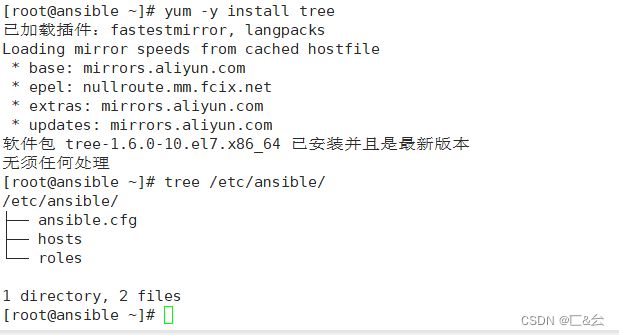
#树型查询工具
yum -y install tree
tree /etc/ansiblevim /etc/ansible/hosts
#配置主机清单
[webservers]
192.168.19.3
[dbservers]
192.168.19.4
#生成密钥对
ssh-keygen -t rsa
123123
123123

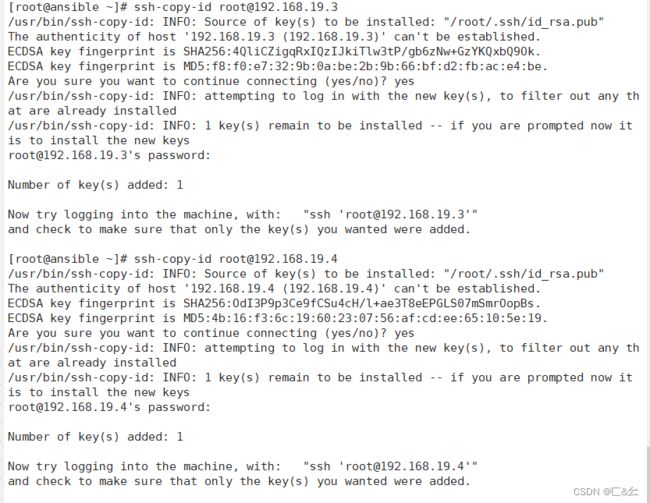
ssh-copy-id [email protected]
ssh-copy-id [email protected]
每次查询都需要输入密钥
#可以使用ssh-agent代理
ssh-agent bash
ssh-add
123123
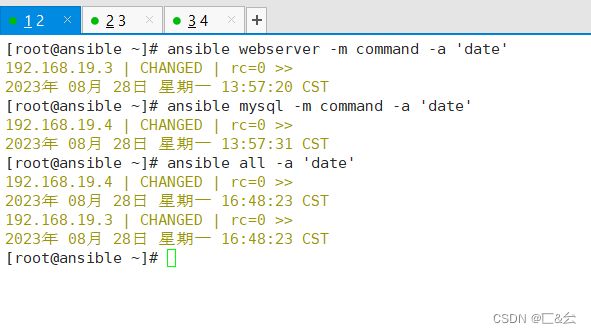
ansible webserver -m command -a 'date'三、ansible命令模块
3.1 command模块
命令格式:ansible [主机] [-m 模块] [-a args]

#列出所有已安装的模块,按q退出
ansible-doc -l

#所有主机执行data命令,其中all可以换成IP或者分类名称,例:192.168.19.2 / webserver
ansible all -m command -a 'date'

#不加-m模块,则默认使用command模块
ansible all -a 'date'
ansible all -a 'ls /'

//常用的参数:
chdir:在远程主机上运行命令前提前进入目录
creates:判断指定文件是否存在,如果存在,不执行后面的操作
removes:判断指定文件是否存在,如果存在,执行后面的操作

ansible all -m command -a "chdir=/home  ls ./"
3.2 shell模块
//在远程主机执行命令,相当于调用远程主机的shell进程,然后在该shell下打开一个子shell运行命令(支持管道符号等功能)
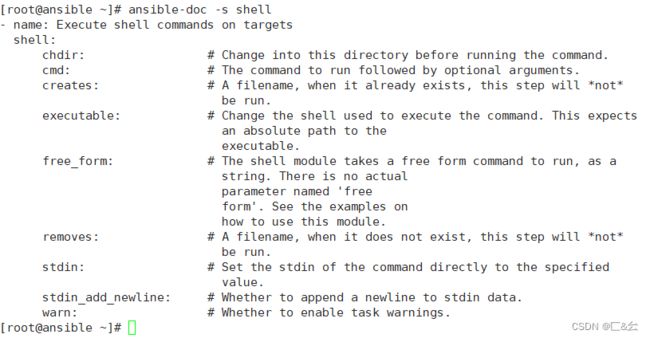
ansible-doc -s shell

ansible dbservers -m shell -a 'echo 123456 | passwd --stdin test'
ansible dbservers -m shell -a 'echo $(ifconfig ens33 | awk "NR==2 {print $2}") | cut -d " " -f2'
ansible dbservers -m shell -a 'echo $(ifconfig ens33 | awk "NR==2 {print \$2}")'
3.3 cron模块
//在远程主机定义任务计划。其中有两种状态(state):present表示添加(可以省略),absent表示移除。
ansible-doc -s cron				#按 q 退出

//常用的参数:
minute/hour/day/month/weekday:分/时/日/月/周
job:任务计划要执行的命令
name:任务计划的名称

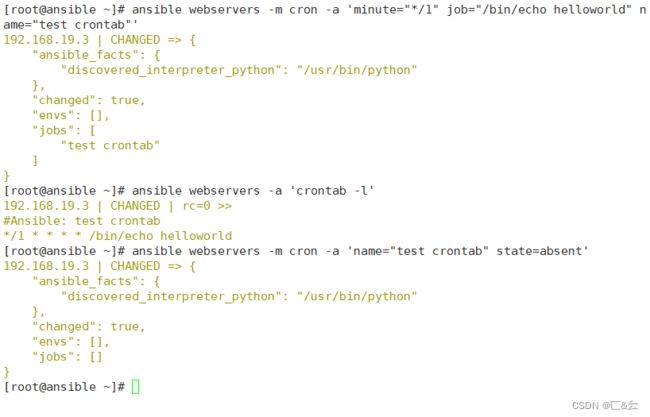
ansible webservers -m cron -a 'minute="*/1" job="/bin/echo helloworld" name="test crontab"'
ansible webservers -a 'crontab -l'
ansible webservers -m cron -a 'name="test crontab" state=absent'			#移除计划任务,假如该计划任务没有取名字,name=None即可
3.4 user模块
user模块是请求三条指令,useradd,userdel,usermod

#模块信息
ansible-doc -s user

#创建用户
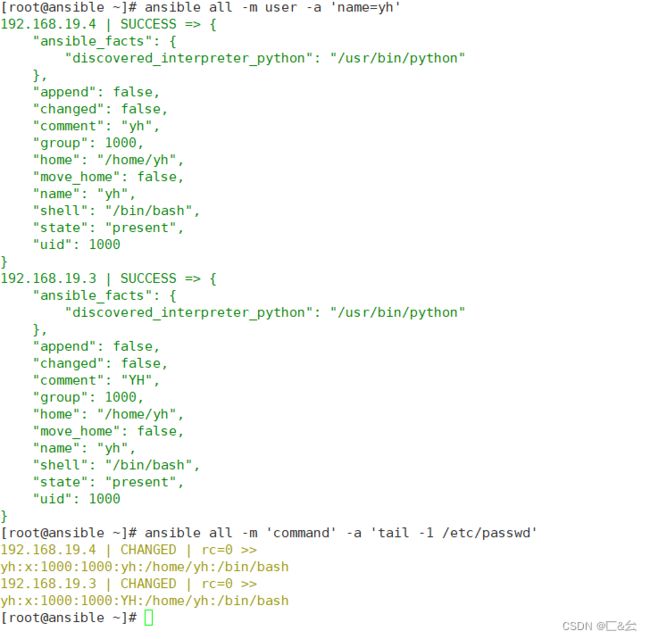
ansible all -m user -a 'name=yh'

#查看用户账户信息
ansible all -m 'command' -a 'tail -1 /etc/passwd'

#移除指令
ansible all -m user -a 'name="yh" state=absent'
3.5 group 模块
//用户组管理的模块
ansible-doc -s group

ansible dbservers -m group -a 'name=mysql gid=306 system=yes'    #创建mysql组
ansible dbservers -a 'tail /etc/group'
ansible dbservers -m user -a 'name=test01 uid=306 system=yes group=mysql'    #将test01用户添加到mysql组中
ansible dbservers -a 'tail /etc/passwd'
ansible dbservers -a 'id test01'
3.6 copy模块
对文件进行有效的复制

ansible-doc -s copy

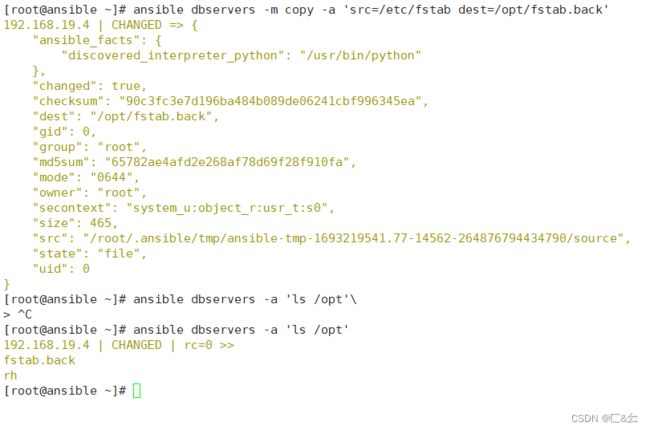
ansible dbservers -m copy -a 'src=/etc/fstab dest=/opt/fstab.back'

ansible dbservers -a 'ls /opt'
ansible dbservers -a 'cat /opt/fstab.back'

ansible dbservers -m copy -a 'content="hello lic" dest=/opt/test.txt'
ansible dbservers -a 'cat /opt/test.txt'
3.7 file模块
ansible-doc -s file

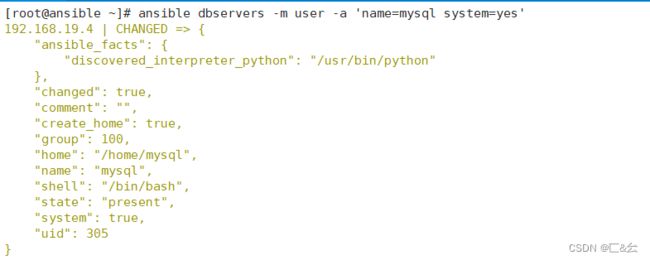
ansible dbservers -m user -a 'name=mysql system=yes'

ansible dbservers -m file -a 'owner=mysql group=mysql mode=600 path=/opt/test.txt'
ansible dbservers -a 'ls -l /opt/test.txt'

#创建
#ansible dbservers -m file -a 'path=/opt/abc.txt state=touch'

ansibledbservers -m file -a 'src=/opt/test.txt path=/opt/test.txt.link state=link'
ansible dbservers -a 'ls -l /opt'

#移除文件/opt/test.txt
ansible dbservers -m file -a 'path=/opt/test.txt state=absent'
3.8 ping模块
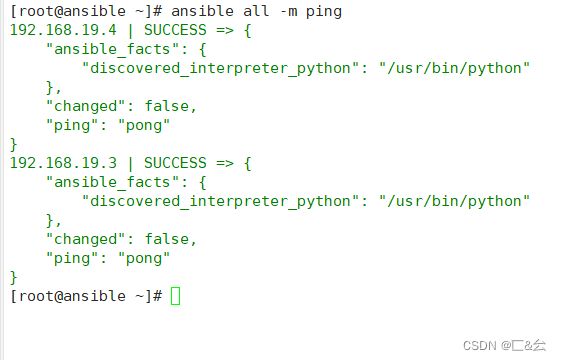
ansible all -m ping 3.9 service模块
ansible-doc -s service


#192.168.19.3执行

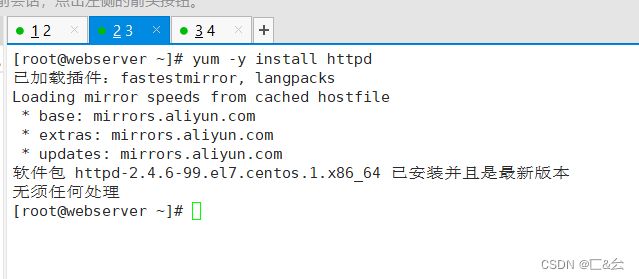
yum -y install httpd
ansible webserver -a 'systemctl status httpd'

ansible webserver -m service -a 'enabled=true name=httpd state=started'

systemctl status httpd
systemctl is-enabled httpd
3.10 script模块
ansible-doc -s script

vim test.sh
#!/bin/bash
echo 'hello ansible from script' > /opt/script.txt

chmod +x test.sh
ansible all -m script -a 'test.sh'
3.11 yum模块
ansible-doc -s yum

ansible dbservers -m yum -a 'name=httpd'
ansible dbservers -a 'rpm -q httpd'

ansible dbservers -m yum -a 'name=httpd state=absent'
ansible dbservers -a 'rpm -q httpd'
3.12 setup模块
ansible-doc -s setup


#获取MySQL组主机的facts信息

ansible dbservers -m setup