graph-node部署
前言
最近在学习github上的开源项目graph-node,本地部署的过程中遇到了很多问题,几经波折最后总算跑起来了…由于源码还没怎么看懂,就整理了一下完整的过程和碰到的部分问题。
graph-node源码
部分环境配置
1.安装rust
安装curl
sudo apt install curl
安装rust
curl https://sh.rustup.rs -sSf | sh
环境变量生效一下
source $HOME/.cargo/env
输入以下命令能查看到版本,安装成功
rustc -V
2.安装PostgreSQL
安装
sudo apt install postgresql postgresql-contrib
查看运行状态
sudo service postgresql status
进入sql命令行
sudo su postgres
psql
创建数据库
postgres=# create database test;
CREATE DATABASE
修改访问IP,允许远程访问
// 修改 postgresql.conf
// 默认是127.0.0.1,只能在本地访问
sudo gedit /etc/postgresql/12/main/postgresql.conf
设置一下参数
## 允许本机的任务一个ip地址访问postgresql
listen_addresses = '*'
修改pg_hba.conf
sudo gedit /etc/postgresql/12/main/pg_hba.conf
在文件中加入这一行,允许远程访问:
host all all 0.0.0.0/0 md5
备注:如果pgadmin连接server的时候出现password authentication failed for user,可能的解决方法有①修改postgresql的用户密码;②将pg_hba.conf里的md5都修改成trust。
重启服务
sudo service postgresql restart
3.安装ipfs
先安装go
wget https://golang.google.cn/dl/go1.16.3.linux-amd64.tar.gz
tar -xvf  go1.16.3.linux-amd64.tar.gz
sudo gedit /etc/profile
// 添加
export PATH=$PATH:/usr/local/go/bin
// 生效
source /etc/profile
// 查看版本
go version
然后去ipfs官网下载一个go-ipfs_v0.9.0_linux-amd64.tar.gz,解压
tar -xvf go-ipfs_v0.9.0_linux-amd64.tar.gz
安装
./install.sh
初始化
ipfs init
ipfs cat /ipfs/QmQPeNsJPyVWPFDVHb77w8G42Fvo15z4bG2X8D2GhfbSXc/readme
4.项目
在终端中,克隆https://github.com/graphprotocol/example-subgraph,并安装依赖项并为合约 ABI 生成类型:
yarn
yarn codegen
备注1:如果事先没有安装yarn,需要安装一下:
curl -sS https://dl.yarnpkg.com/debian/pubkey.gpg | sudo apt-key add -
echo "deb https://dl.yarnpkg.com/debian/ stable main" | sudo tee /etc/apt/sources.list.d/yarn.list
sudo apt update
sudo apt install yarn
yarn --version
备注2:运行yarn的过程中,可能会提示无法连接到github,如果外部连接了vp嗯的话,可以通过配置代理解决:
git config --gloabl http.proxy 本地ip地址:端口
// 取消代理
git config --gloabl unset http.proxy
备注3:nodejs版本太低可能会导致yarn codegen报错(unexpected token的错误困扰了我很久),一种解决方案是下载最新版本的nodejs
## 第一步,下载安装包
curl -fsSL https://deb.nodesource.com/setup_14.x | sudo -E bash -

## 第二步, 执行安装命令
sudo apt-get install -y nodejs
在终端中,克隆https://github.com/graphprotocol/graph-node,然后运行
cargo build
中间可能会因为内存不足、缺少部分包等原因报错,解决之后重新运行cargo build即可。
5.安装ganache
// 安装pip3
sudo apt install python3-pip -y
// 使用pip3安装web3 python包
pip3 install web3
// 安装ipython3
sudo apt install ipython3 -y
// 下载并安装ganache之后,运行
./ganache-2.5.4-linux-x86_64.AppImage &
// 点击 QUICKSTART 快速启动一个以太坊测试链
运行本地图节点
运行ganache并点击 QUICKSTART 快速启动一个以太坊测试链
./ganache-2.5.4-linux-x86_64.AppImage &
运行ipfs
ipfs daemon
在graph-node文件夹下输入以下命令(以ganache为例),运行graph-node:
cargo run -p graph-node --release -- \
  --postgres-url postgresql://username:password@localhost:5432/graphnode \
  --ethereum-rpc mainnet:http://127.0.0.1:7545 \
  --ipfs 127.0.0.1:5001 --debug
使用这个 Gravatar 示例,要让子图在本地运行,在subgraph文件夹下运行:
yarn create-local
然后可以部署子图
yarn deploy-local
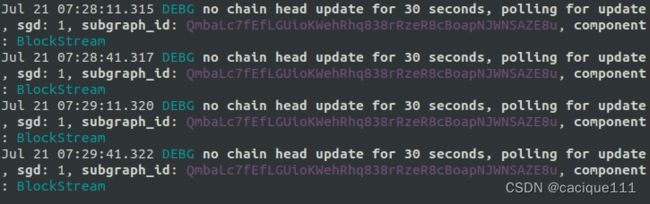
这将构建子图并将其部署到图节点。它应该立即开始索引子图。子图部署完成之后,graph-node会间隔打印信息:
END