vue h5项目 打包&&加载优化
打包美化:
1)npx browserslist@latest --update-db 更新去除警告
2)打包进度条
npm add progress-bar-webpack-plugin -D
npm add webpackbar -D
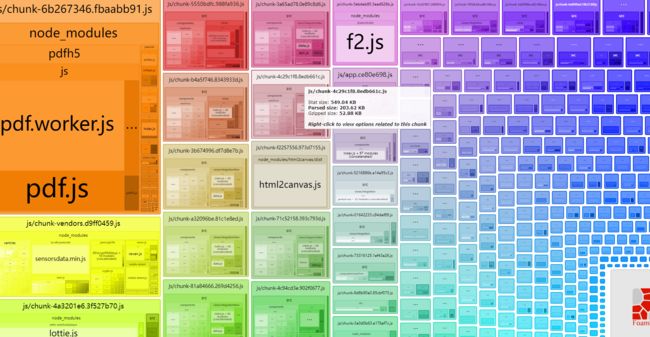
npm install --save-dev webpack-bundle-analyzer
优化:
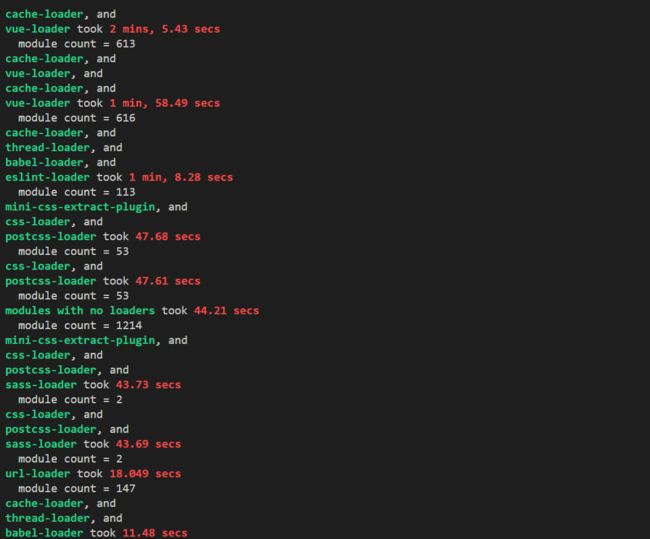
1.各个插件和loader所花费的时间
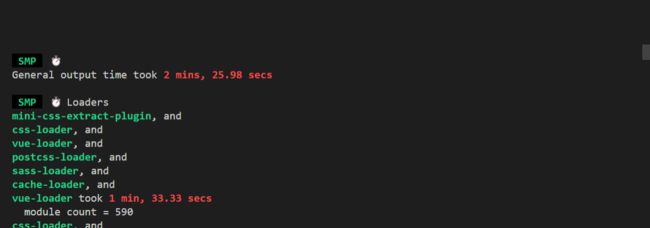
npm i speed-measure-webpack-plugin -D 安装打包优化分析插件
得到所有打包文件耗时:
2.添加 cache-loader
基本主要是在cache-loader上比较耗时,提升方法添加cache-laoder
$ npm install cache-loader -D初次打包时间: 5分钟
优化打包:
开启多线程打包:
npm install --save-dev thread-loader
 config.module
        .rule('js')
        .use('thread-loader')
        .loader('thread-loader')
        .tap(options => {
            // 设置 thread-loader 的选项
            options = {
                workers: 3
            }
            return options
        })
vue.config.js配置Gzip压缩
npm install --save-dev compression-webpack-plugin
config.plugins.push(
        //统一配置打包插件
        new CompressionWebpackPlugin({
          filename: '[path].gz[query]',
          algorithm: 'gzip',
          test: new RegExp('\\.(' + productionGzipExtensions.join('|') + ')$'), //匹配文件名
          threshold: 10240, //对10K以上的数据进行压缩
          minRatio: 0.8,
          deleteOriginalAssets: false //是否删除源文件
        })
      )
删除无用css
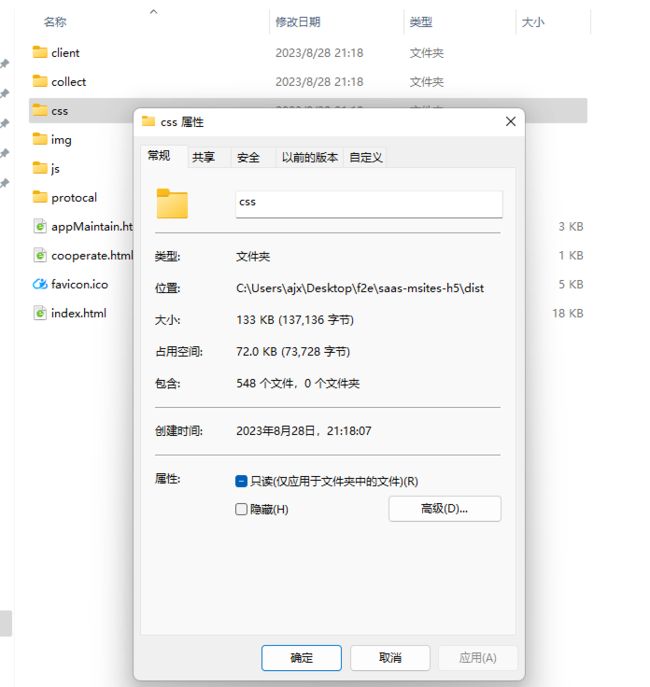
npm i purgecss-webpack-plugin -D 使用^3.0.0版本npm i mini-css-extract-plugin -D 使用^0.9.0版本npm i glob-all -D打包瘦身:11M=>72kb
图片压缩
vue-cli3压缩图片配置
npm install --save-dev image-webpack-loaderHardSourceWebpackPlugin是webpack的插件
为模块提供中间缓存步骤。为了查看结果,您需要使用此插件运行webpack两次:第一次构建将花费正常的时间。第二次构建将显着加快(大概提升90%的构建速度)。本地缓存比较严重待验证
第一次构建
第二次打包38s
CDN引入
将引用的外部js、css文件剥离开来,不编译到vendor.js中,而是用资源的形式引用,这样浏览器可以使用多个线程异步将vendor.js、外部的js等加载下来,达到加速首页展示效果。
(1) 在vue.config.js 加入配置
const externals = {
 // 属性名称 vue, 表示遇到 import xxx from 'vue' 这类引入 'vue'的,不去 node_modules 中找,而是去找全局变量 Vue(其他的为VueRouter、Vuex、axios、ELEMENT,注意全局变量是一个确定的值,不能修改为其他值,修改为其他大小写或者其他值会报错)
    vue: 'Vue',
    'vue-router': 'VueRouter',
    vuex: 'Vuex',
    axios: 'axios'
}

const cdn = {
  css: [],
  js: [
  		//这里CDN地址推荐使用公司私有地址,外部CDN具有很大的不确定性
  		'https://cdn.bootcdn.net/ajax/libs/vue/2.6.10/vue.min.js',
   		'https://cdn.bootcdn.net/ajax/libs/vue-router/3.0.2/vue-router.min.js',
      'https://cdn.bootcdn.net/ajax/libs/vuex/3.1.0/vuex.min.js',
      'https://cdn.bootcdn.net/ajax/libs/axios/0.18.1/axios.min.js'
  ]
}
module.exports = {
	// ...
    chainWebpack: config => {
        if (isProduction) { // 生产环境才注入cdn
            config.plugin('html').tap(args => {
              args[0].cdn = cdn
              return args
            })
            //视为一个外部库,而不将它打包进来
            config.externals(externals)
        }
    }
    // ...
}
(2) 在public/index.html文件配置
使用webpack中自带的插件 html插件进行配置,在index.html中增加判断,是否使用 CDN,htmlWebpackPlugin.options使用的是vue.config中的config.plugin(‘html’)的插件属性。

<% for (var i in
    htmlWebpackPlugin.options.cdn&&htmlWebpackPlugin.options.cdn.css) { %>


  <% } %>

  <% for (var i in
    htmlWebpackPlugin.options.cdn&&htmlWebpackPlugin.options.cdn.js) { %>

  <% } %>
3.去除console.log debuger 警告
如果你使用的是 webpack v5 或以上版本,你不需要安装这个插件。webpack v5 自带最新的 terser-webpack-plugin。如果使用 webpack v4,则必须安装 terser-webpack-plugin v4 的版本。如果报错javascript为undefined 因为webpack版本比较低,所以更改terser版本(“terser-webpack-plugin”: “^4.2.3”)
$ npm install terser-webpack-plugin --save-dev然后将插件添加到你的 webpack 配置文件中。例如:
const TerserPlugin = require("terser-webpack-plugin");

module.exports = {
  optimization: {
    minimize: true,
    minimizer: [new TerserPlugin()],
  },
};
安装前打包前:
安装后打包:
添加优化项:
// vue.config.js
chainWebpack (config) {
  config.optimization.minimizer('terser').tap((args) => {
    args[0].parallel = 4
    args[0].terserOptions.compress.warnings = true
    args[0].terserOptions.compress.drop_debugger = true
    args[0].terserOptions.compress.drop_console = true
    return args
  })
}
加载优化:
从以下几个方面入手:
- 1加载策略优化
- 2增加 骨架屏
- 3资源请求优化(静态资源、图片以及 webp、图片懒加载、组件按需加载)
- 4CDN & 缓存

