原文:https://my.oschina.net/xiedeshou/blog/1926191
设置网站图标
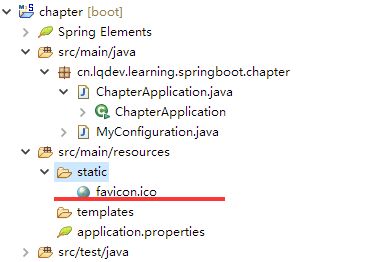
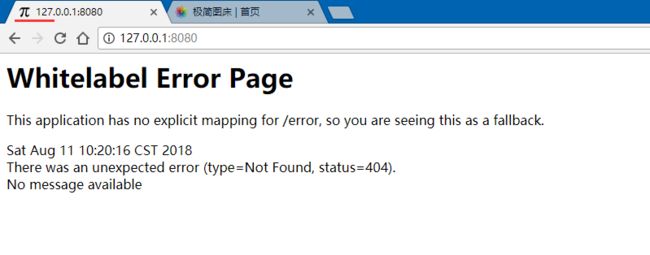
原来我们在使用tomcat开发时,设置网站图片时,即icon图标时,一般都是直接替换root包下的favicon.ico替换成自己的,或者在网页的头部设置link的ref为icon然后设置其href值。而在SpringBoot中,替换图片也是很简单的,只需要将自定义图片放置在静态资源目录下即可,即默认有static、public、resources、/META-INF/resources或者自定义的静态目录下即可。
目录结构:
允许跨域访问
CORS是一个W3C标准,全称是"跨域资源共享"(Cross-origin resource sharing)。它允许浏览器向跨源(协议 + 域名 + 端口)服务器,发出XMLHttpRequest请求,从而克服了AJAX只能同源使用的限制。
简单来说,跨域问题是可以通过nginx来解决的,或者通过jsonp(只支持get请求)来解决。而SpringBoot中也提供了配置方法。 0.利用@CrossOrigin注解,可放至在类上或者方法上。类上代表整个控制层所有的映射方法都支持跨域请求。
@CrossOrigin(origins = "http://blog.lqdev.cn", maxAge = 3600)
@RestController
public class demoController{ @GetMapper("/") public String index(){ return "hello,CORS"; } } 1.配置全局CORS配置。官网也有给出实例,具体如下:
@Configuration
public class MyConfiguration { @Bean public WebMvcConfigurer corsConfigurer() { return new WebMvcConfigurerAdapter() { @Override public void addCorsMappings(CorsRegistry registry) { registry.addMapping("/api/**").allowedOrigins("https://blog.lqdev.cn"); } }; } }
独立Tomcat运行
讲解了这么久,一般上我们都是通过jar包的方式进行启动的应用的。所以部署在独立的
tomcat时,需要如何解决呢?其实也简单,只需要将项目打包方式修改为war包,然后修改下启动类配置即可。
0.修改pom打包方式为war,同时排除了内置的tomcat。
<packaging>warpackaging>

<dependency> <groupId>org.springframework.bootgroupId> <artifactId>spring-boot-starter-tomcatartifactId> <scope>compilescope> dependency> <dependency> <groupId>javax.servletgroupId> <artifactId>javax.servlet-apiartifactId> <scope>providedscope> dependency> 1.改造下启动类,使其继承SpringBootServletInitializer,同时覆盖configure方法。
@SpringBootApplication
@Slf4j
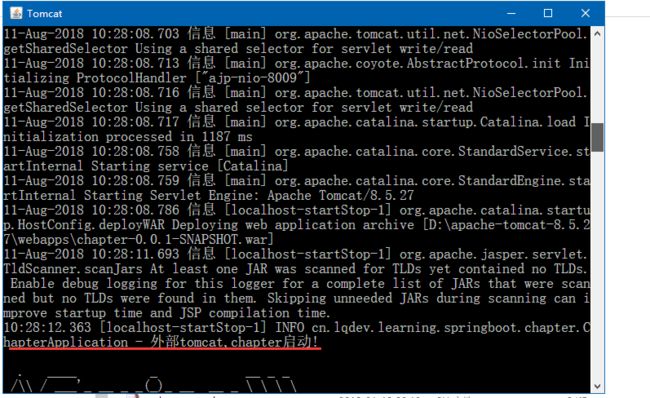
public class ChapterApplication extends SpringBootServletInitializer{ public static void main(String[] args) { SpringApplication.run(ChapterApplication.class, args); // new SpringApplicationBuilder().sources(ChapterApplication.class).web(false).run(args); //之后这里设置业务逻辑 比如挂起一个线程 或者设置一个定时任务。保证不退出 //不然它就是一个启动类,启动后就停止了。 log.info("jar,chapter启动!"); } @Override protected SpringApplicationBuilder configure(SpringApplicationBuilder application) { log.info("外部tomcat,chapter启动!"); return application.sources(ChapterApplication.class); } } 2.maven打包成war(mvn clean install),然后放入tomcat中,启动运行即可。
其实这样设置的话,在开发时直接运行启动类也还是可以直接运行的,方便.
启动不设置端口
对一些定时任务服务项目,其本身只是提供一个定时调度功能,不需要其他服务调用,只是去调度其他服务。像这样的服务,正常也就不需要设置端口了。这时候SpringBoot也是支持的。只需要改下启动方式:
new SpringApplicationBuilder().sources(ChapterApplication.class).web(false).run(args);
//之后这里设置业务逻辑 比如挂起一个线程 或者设置一个定时任务。保证不退出
//不然它就是一个启动类,启动后就停止了。
或者修改配置文件的属性:
spring.main.web-environment=false
最后效果,是不是没有看见端口了:
启动完成前进行业务逻辑
利用CommandLineRunner或者ApplicationRunner可实现在SpringApplication的run()完成前执行一些业务逻辑
0.修改启动类,实现CommandLineRunner接口,ApplicationRunner类似,只是run的入参不同而已。
@Override
    public void run(String... args) throws Exception { log.info("CommandLineRunner运行"); }
1.运行应用,注意查看控制台输出:
当然,直接申明一个bean也是可以的。
@Configuration
@Slf4j
public class CommandLineRunnerConfig { @Bean public CommandLineRunner runner(){ return new CommandLineRunner() { public void run(String... args){ log.info("CommandLineRunner运行2"); } }; } } 若多个时,可设置@Order来确定执行的顺序。
动态修改日志级别
通过org.springframework.boot.logging.LoggingSystem提供的api即可。
loggingSystem.setLogLevel(null, LogLevel.DEBUG);
如,默认时是info模式,未修改时,debug模式是不会输出的。
动态设置后
热部署
前面讲了这么多章节,因为功能都很单一,所以一般上都是直接重启服务来进行更新操作。但当服务功能一多,启动速度缓慢时,还是配置个热部署比较方便。在SpringBoot中,只需要加入一个spring-boot-devtools即可
<dependencies>
    <dependency>
        <groupId>org.springframework.bootgroupId> <artifactId>spring-boot-devtoolsartifactId> <optional>trueoptional> dependency> dependencies>
题外话:这里的
若不生效,可试着在打包工具spring-boot-maven-plugin下的configuration加入
            <plugin>
                <groupId>org.springframework.bootgroupId> <artifactId>spring-boot-maven-pluginartifactId> <configuration> <fork>truefork> configuration> plugin>
自定义启动Banner
看烦了自带的Banner,动手修改一个属于自己的Banner,提现逼格的时候到了~哈哈,以下是官网给的配置指南:
文字形式
其实,替换很简单,只需要在classpath路径下创建一个banner.txt即可。具体的一些变量官网也有给出,具体如下:
现在我们就定制一个自己的Banner。
  _              _   _                       _  __                          _
 | |            | | | |                     | |/ /                         | |
 | |__     ___  | | | |   ___         ___   | ' /    ___    _ __     __ _  | |
 | '_ \   / _ \ | | | |  / _ \       / _ \  |  <    / _ \  | '_ \   / _` | | |
 | | | | |  __/ | | | | | (_) |  _  | (_) | | . \  | (_) | | | | | | (_| | |_|
 |_| |_|  \___| |_| |_|  \___/  ( )  \___/  |_|\_\  \___/  |_| |_|  \__, | (_)
                                |/                                   __/ |
                                                                    |___/

${AnsiColor.BRIGHT_RED}
Spring Boot Version: ${spring-boot.version}${spring-boot.formatted-version}
题外话:手输字符画是不太现实的,大家可通过一些网站进行快速生成。可自行搜索下,网上一搜一大把。
图片形式
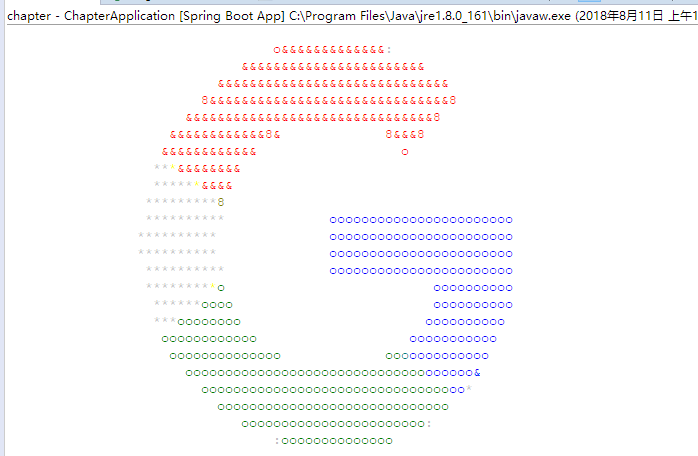
若觉得使用文字不够酷炫,当然也可以将图片设置为启动的banner。目前支持的图片格式有gif、png、jpg。使用也很简单,只需要命名为banner即可。
如将头像放入目录中,最后的效果如下:
当然,若图片是有色彩的,也是可以的,对于太复杂的图片显示效果就不佳了,如下。
原图:
banner效果图:
是不是很酷炫~


