Flutter(一)--初入Flutter&基础组件
之前有个Dart的语言基础后,现在开始进入真正的跨平台Flutter开发,如果你学习过Jetpack Compose,那么Flutter的学习会变得十分简单,两者之间的概念几乎一样,都有含有状态、组件。同时状态是声明式UI中最重要的一环,在后续过程会逐渐使用
文章目录
-
-
- 一、第一个Flutter应用
-
- 1.状态
- 二、基础组件
-
- 1.Text
-
- 1.1 基本使用
- 1.2 TextStyle
- 1.3 TextSpan
- 1.4 DefaultTextStyle
- 2.Buttons
-
- 2.1 TextButton
- 2.2 ButtonStyle
- 2.3 ElevatedButton
- 2.4 OutlinedButton
- 2.5 IconButton
- 2.6 FloatingActionButton
- 2.7 PopupMenuButton
- 2.8 DropdownButton
- 3.Images
-
- 3.1 AssetBundle 资源配置
- 3.2 Image
-
- 3.2.1 AssetImage
- 3.2.2 NetworkImage
- 3.2.3 BoxFit
- 3.2.4 其他构造
- 3.3 Icon
- 4.Selections
-
- 4.1 Radio
- 4.2 Checkbox
- 4.3 Switch
- 4.4 Slider
- 4.5 showDatePicker
- 5.Inputs
-
- 5.1 TextField
-
- 5.1.1 onChanged 获取内容值
- 5.1.2 controller 获取内容值
- 5.2 Form
- 6.Chip
-
一、第一个Flutter应用
根据Dart文章中Dart(一)–初入Dart 环境配置 构建完项目后, 在main函数中调用runApp()方法,传入一个组件即可编译成一个App,由于暂时用不到状态,我们的组件先继承StatelessWidget:
import 'package:flutter/material.dart';
// 主函数
void main() {
// 调用runApp 构建app
runApp(const MyApp());
}
// 自定义组件继承至StatelessWidget,表示无状态的组件
class MyApp extends StatelessWidget {
const MyApp({super.key});
Widget build(BuildContext context) {
// 布局中包含一个
return const Center(
child: Text(
"hi flutter",
textDirection: TextDirection.ltr,
),
);
}
}
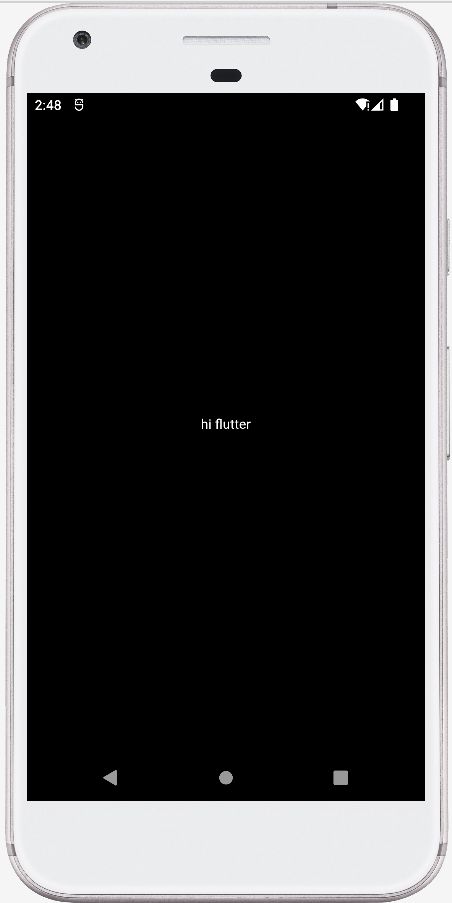
我们在模拟器上运行的效果:
1.状态
由于状态需要和组件进行穿插介绍,在第一节中先介绍如何使用状态,TextButton是一个按钮组件,我们希望通过按下按钮,改变按钮的颜色,代码如下:
import 'package:flutter/material.dart';
main() {
runApp(const MaterialApp(
home: Scaffold(
body: Center(
child: MyApp(),
),
),
));
}
class MyApp extends StatelessWidget {
const MyApp({super.key});
Widget build(BuildContext context) {
// 定义是否按下状态
bool isPressed = false;
return ElevatedButton(
onPressed: () {
// 设为按下
isPressed = true;
},
style: ElevatedButton.styleFrom(
backgroundColor: isPressed ? Colors.red : Colors.blue, // 如果是按下显示红色,否则蓝色
),
child: const Text("按我"),
);
}
}
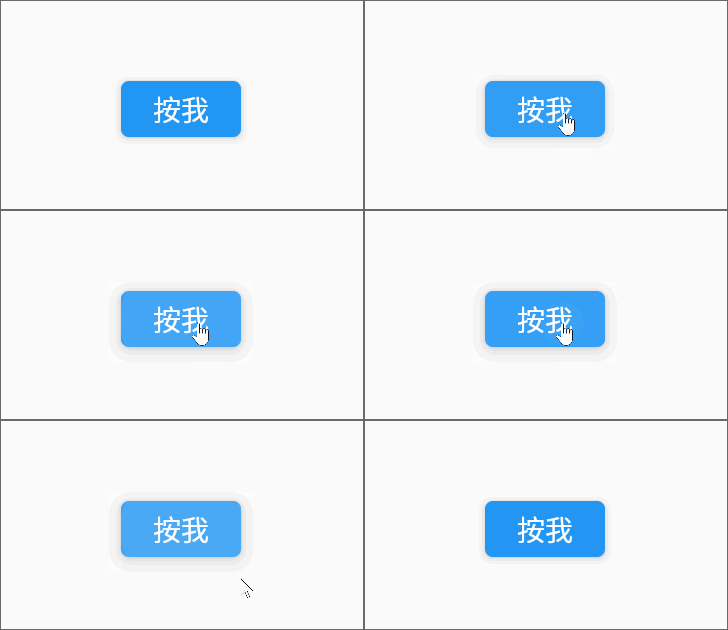
我们按下的效果,并没有发生变化:
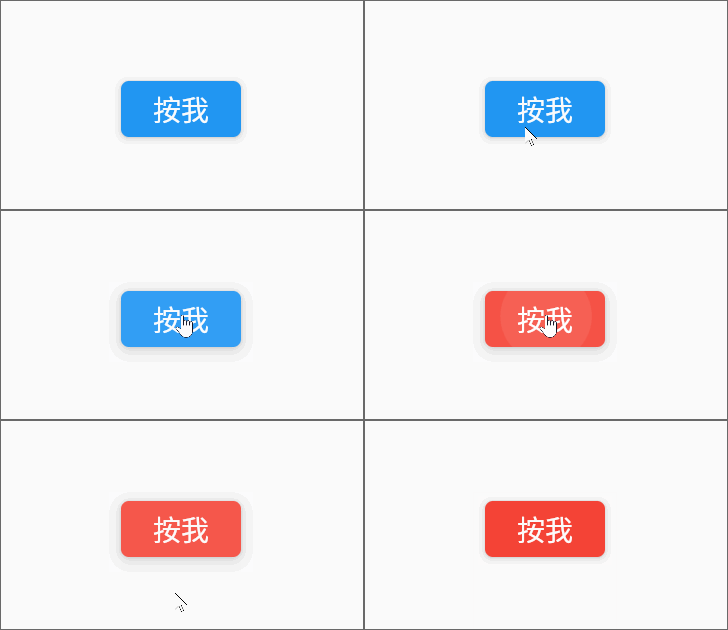
和Compose相同,Flutter组件刷新需要使用状态,无状态的组件渲染完毕后就不会刷新了,在Compose中 ,称为重组,Flutter中如果需要使用状态,组件需要继承至StatefulWidget,并实现createState()方法,该方法需要返回一个State对象,T为当前组件类
我们需要再定义一个类,继承至State,并把原先的build()方法搬至此类即可,刷新状态使用setState()方法,修改完毕后的完整代码如下:
import 'package:flutter/material.dart';
main() {
runApp(const MaterialApp(
home: Scaffold(
body: Center(
child: MyApp(),
),
),
));
}
// StatefulWidget 表示有状态的组件
class MyApp extends StatefulWidget {
const MyApp({super.key});
State<StatefulWidget> createState() => _MyApp(); // 返回State对象
}
// 继承至State再次按下效果:
二、基础组件
有了上面如何构建一个应用的基础后,我们开始使用基础控件,控件是安卓中的说法,表示UI上的一个最小单位,如:一个文字,一个按钮,一个图片。Flutter内置了很多基础控件,我们在后续开发中,会组合它们构建一个复杂的页面,这边会尽可能多的对常用组件进行介绍,以讲解material组件为主
所有组件的官网文档:https://flutter.cn/docs/development/ui/widgets
material组件的官网文档:https://flutter.cn/docs/development/ui/widgets/material
1.Text
Text是用于显示一段纯文本,构造如下:
  const Text(
    String this.data, {// 普通文本
    super.key,
    this.style,// 文本样式 字体,字体大小,粗细,前景,背景,阴影,修饰(下划线..)
    this.strutStyle,// 支柱样式,定义每行的空间样式 仅仅是针对字体,大小等设置,可做首字母下沉效果
    this.textAlign,// 对齐方式
    this.textDirection,// 文字方向
    this.locale,// 语言
    this.softWrap,// 是否自动换行
    this.overflow,// 文本超出部分处理方式
    this.textScaleFactor,// 缩放系数 相较于正常字体大小缩放
    this.maxLines,// 最大行数
    this.semanticsLabel,// 描述
    this.textWidthBasis,// 组件宽度测量方式 相当于match_parent 和 wrap_content
    this.textHeightBehavior,// 如何在文本上方和下方应用[TextStyle.height]
    this.selectionColor,// 选中时的颜色
  })
1.1 基本使用
Text传入一个字符串来构建组件:
Text("hi");
1.2 TextStyle
TextStyle可以对文本的样式进行丰富的自定义,TextStyle的构造为:
  const TextStyle({
    this.inherit = true,// 是否可以和别的TextStyle(DefaultTextStyle)合并,此[TextStyle]中的空值替换为另一[TextStyle]中的值。
    this.color,// 字体颜色
    this.backgroundColor,// 背景颜色
    this.fontSize,// 字体大小
    this.fontWeight,// 字体粗细
    this.fontStyle,// 字体
    this.letterSpacing,// 字间距
    this.wordSpacing,// 词间距
    this.textBaseline,// 基线
    this.height,// 文本高度
    this.leadingDistribution,// 设置了文本高度后,空白空间在每个文字上下的分配方式
    this.locale,// 语言
    this.foreground,// 前景
    this.background,// 背景
    this.shadows,// 阴影
    this.fontFeatures,// 特征,可以给字体加上某些特殊的效果,变成一种新字体
    this.fontVariations,// 某些字体支持属性值的设置
    this.decoration,// 文本修饰,如:下划线
    this.decorationColor,// 修饰颜色
    this.decorationStyle,// 修饰样式 如:双份,虚线
    this.decorationThickness,// 修饰的粗细
    this.debugLabel,// 描述
    String? fontFamily,// 字体
    List<String>? fontFamilyFallback,// 字体加载失败处理
    String? package,// 字体包路径
    this.overflow,// 文本超出部分处理方式
  })
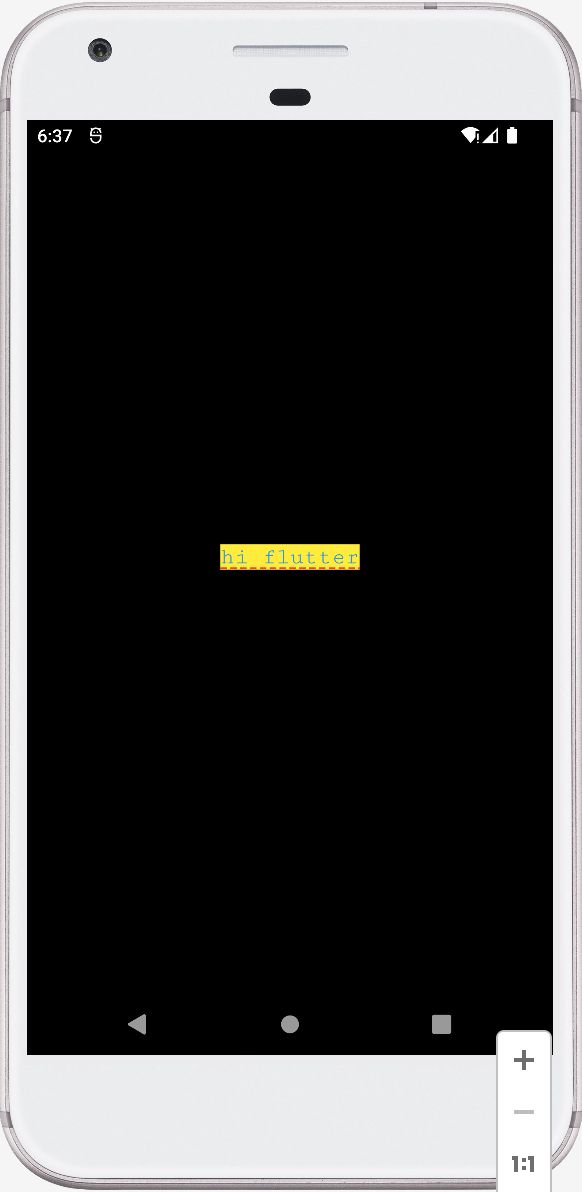
例子:
Text(
  "hi flutter",
  style: TextStyle(
    fontSize: 18,
    color: Colors.blue,
    backgroundColor: Colors.yellow,
    fontFamily: "Courier",
    decoration: TextDecoration.underline,
    decorationColor: Colors.red,
    decorationStyle: TextDecorationStyle.dashed,
  ),
  textDirection: TextDirection.ltr,
)
效果:
1.3 TextSpan
通过命名式构造**Text.rich**,可以传入一个TextSpan,TextSpan包含更丰富的文本,如:中间文字带颜色的文本,TextSpan的构造如下,可以看到一个TextSpan可以包含多个TextSpan:
  const TextSpan({
    this.text,// 普通文本
    this.children,// TextSpan List,text与children都设置情况下优先text
    super.style,// 文本样式
    this.recognizer,// 手势接收器
    MouseCursor? mouseCursor,// 鼠标悬停时的鼠标光标
    this.onEnter,// 进入
    this.onExit,// 离开
    this.semanticsLabel,// TextSpan的描述
    this.locale,// 语言
    this.spellOut,// 残疾人支持是否应该逐个字符地拼写出该文本
  })
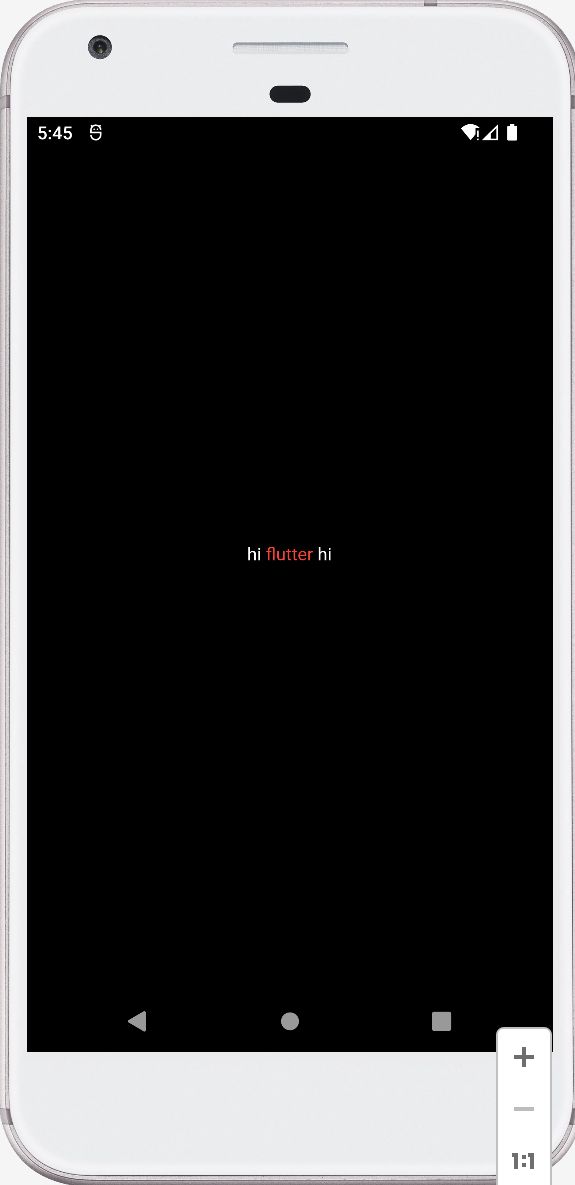
下面使用TextSpan,将文字"flutter"高亮成红色:
Text.rich(
  TextSpan(children: [
    TextSpan(text: "hi "),
    TextSpan(text: "flutter", style: TextStyle(color: Colors.red)),
    TextSpan(text: " hi"),
  ]),
  textDirection: TextDirection.ltr,
);
效果:
1.4 DefaultTextStyle
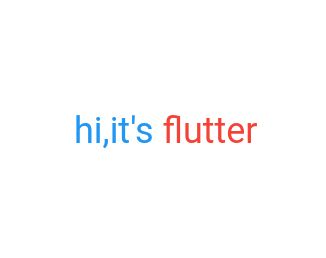
DefaultTextStyle中所有的组件,都可以继承其TextStyle,你也可以单独设置 inherit = false 关闭继承,下面使用DefaultTextStyle,其Text组件的TextSpan都继承了DefaultTextStyle:
DefaultTextStyle(
  style: TextStyle(
    fontSize: 18,
    color: Colors.blue,
  ),
  child: Text.rich(
    TextSpan(
      text: "hi,",
      children: [
        TextSpan(text: "it's "),
        TextSpan(text: "flutter", style: TextStyle(color: Colors.red)),
      ],
    ),
    textDirection: TextDirection.ltr,
  ),
);
由于模拟器太卡了,下面开始使用网页浏览效果:
2.Buttons
Flutter提供了各式各样的按钮,都继承至ButtonStyleButton,所有类型的Button实例有需要一个onPressed的按下函数
2.1 TextButton
一个可以点击的文本按钮,具体内容需要通过child定义,构造如下:
  const TextButton({
    super.key,
    required super.onPressed,// 按下事件
    super.onLongPress,// 长按
    super.onHover,// 鼠标移到该组件上
    super.onFocusChange,// 焦点变化事件
    super.style,// 按钮样式
    super.focusNode,// 可以获得键盘焦点并处理键盘事件
    super.autofocus = false,// 自动聚焦
    super.clipBehavior = Clip.none,// 裁剪方式
    super.statesController,// 管理一组[MaterialState],并将更改通知侦听器
    required Widget super.child,// 子组件
  });
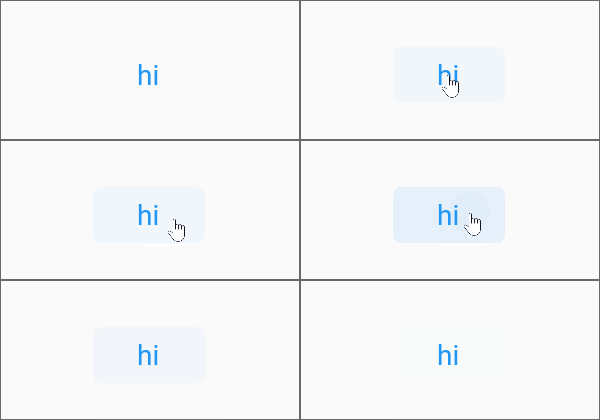
简单使用:
TextButton(
  onPressed: () {},
  child: Text("hi"),
),
2.2 ButtonStyle
我们可以通过ButtonStyle来对按钮的样式进行修改,其构造如下:
  const ButtonStyle({
    this.textStyle,// 文本样式,用于被子文本继承
    this.backgroundColor,// 背景颜色
    this.foregroundColor,// 前景颜色
    this.overlayColor,// 覆盖颜色 按下,移至,聚焦的颜色
    this.shadowColor,// 阴影颜色
    this.surfaceTintColor,//
    this.elevation,// 高度 立体效果
    this.padding,// 内边距
    this.minimumSize,// 最小大小
    this.fixedSize,// 固定大小
    this.maximumSize,// 最小大小
    this.iconColor,// 图标颜色
    this.iconSize,// 图标大小
    this.side,// 边框
    this.shape,// 形状
    this.mouseCursor,// 鼠标指针进入或悬停时的光标
    this.visualDensity,// 视觉密度
    this.tapTargetSize,// 按下按钮的区域的最小大小
    this.animationDuration,// 动画时长
    this.enableFeedback,// 反馈效果,提供声学和/或触觉反馈。
    this.alignment,// 子组件的对齐方式
    this.splashFactory,// 点击时的效果,水波纹
  });
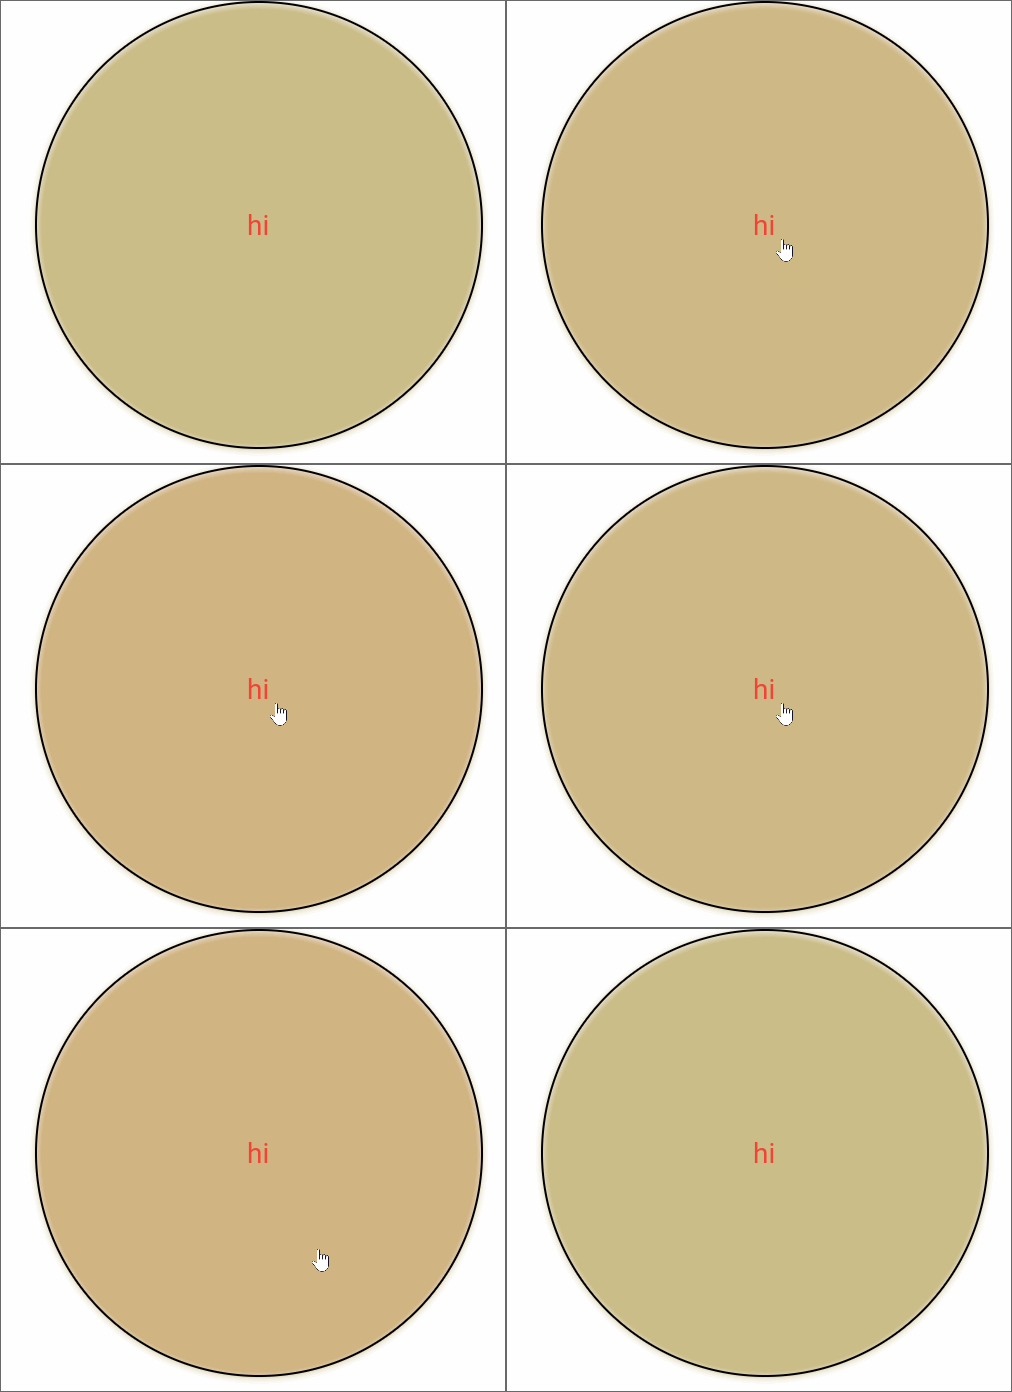
但我们一般不直接使用它的构造,某些样式并不适用每个按钮组件,个性化的按钮组件都提供了相应的构造去构建适合自己的样式,样式构造一般都命名为**XXX.styleFrom**,如:TextButton.styleFrom,下面是使用自定义样式的例子:
TextButton(
  onPressed: () {},
  child: Text("hi"),
  style: TextButton.styleFrom(
    foregroundColor: Colors.red,
    shadowColor: Colors.amberAccent,
    elevation: 2,
    padding: const EdgeInsets.all(100.0),
    side: BorderSide(),
    shape: CircleBorder(),
  ),
)
效果:
2.3 ElevatedButton
ElevatedButton是自带背景色和阴影效果的按钮,有了上面TextButton的详细介绍,接下来的构造就不列出了,直接来看简单使用:
ElevatedButton(
  onPressed: () {},
  child: Text("hi"),
  style: ElevatedButton.styleFrom(
    backgroundColor: Colors.amberAccent
  ),
)
效果:
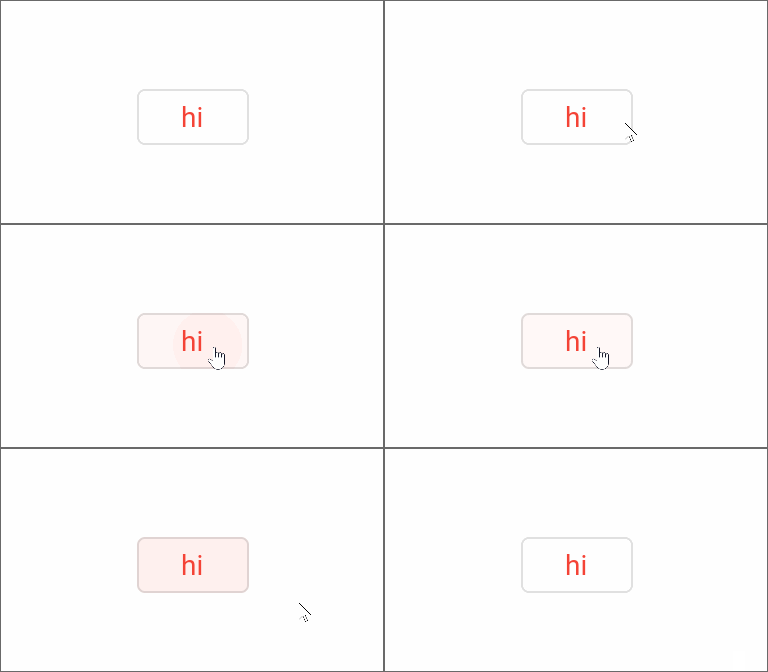
2.4 OutlinedButton
OutlinedButton是自带外边框的按钮
OutlinedButton(
    onPressed: () {},
    child: Text("hi"),
    style: OutlinedButton.styleFrom(foregroundColor: Colors.red)
)
效果:
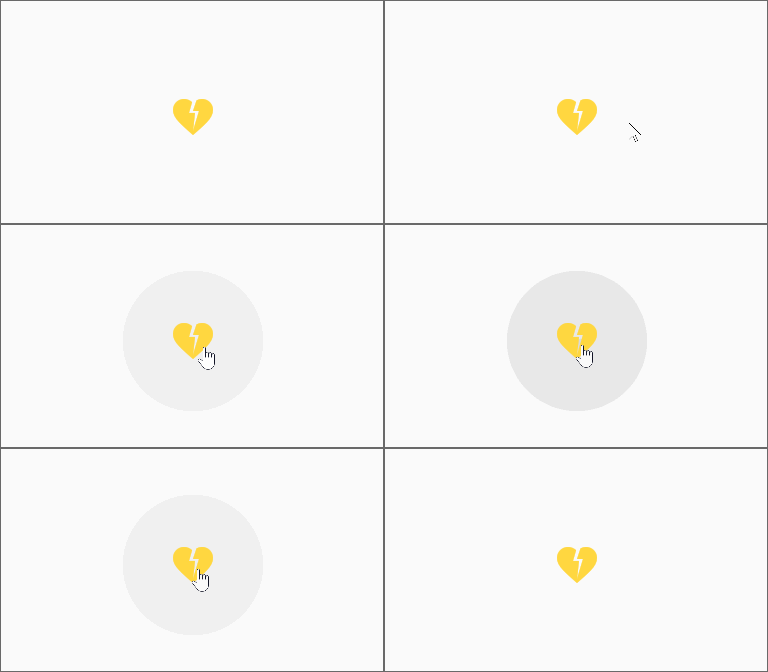
2.5 IconButton
IconButton是图标按钮,一般用于Appbar的action,需要在Material骨架中使用
IconButton(
  onPressed: () {},
  icon: const Icon(Icons.heart_broken, color: Colors.amberAccent),
)
效果:
除了IconButton外,ElevatedButton、TextButton、OutlineButton也带有icon的命名式构造
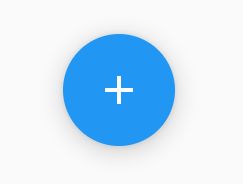
2.6 FloatingActionButton
简称FAB,常用于在MD骨架中
FloatingActionButton(
  onPressed: (){},
  child: Icon(Icons.add, semanticLabel: "add"),
)
效果:
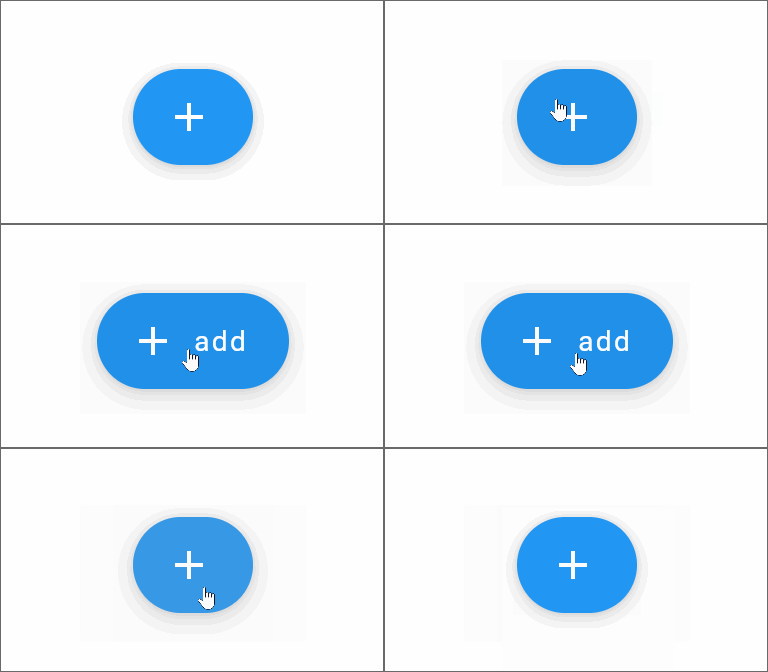
还有一个命名式构造,用于可以展开的FAB,需要使用状态,完整代码如下:
import 'package:flutter/material.dart';
// 主函数
void main() {
// 调用runApp 构建app
runApp(
const MaterialApp(
title: 'Flutter Tutorial',
home: MyApp(),
),
);
}
class MyApp extends StatefulWidget {
const MyApp({super.key});
State<StatefulWidget> createState() => _MyApp();
}
class _MyApp extends State<MyApp> {
var _isExtended = false;
void _handleTap() {
setState(() {
_isExtended = !_isExtended;
});
}
Widget build(BuildContext context) {
return Center(
child: Column(mainAxisSize: MainAxisSize.min, children: [
FloatingActionButton.extended(
onPressed: _handleTap,
icon: Icon(Icons.add, semanticLabel: "add"),
label: Text("add"),
isExtended: _isExtended,
),
]),
);
}
}
效果:
2.7 PopupMenuButton
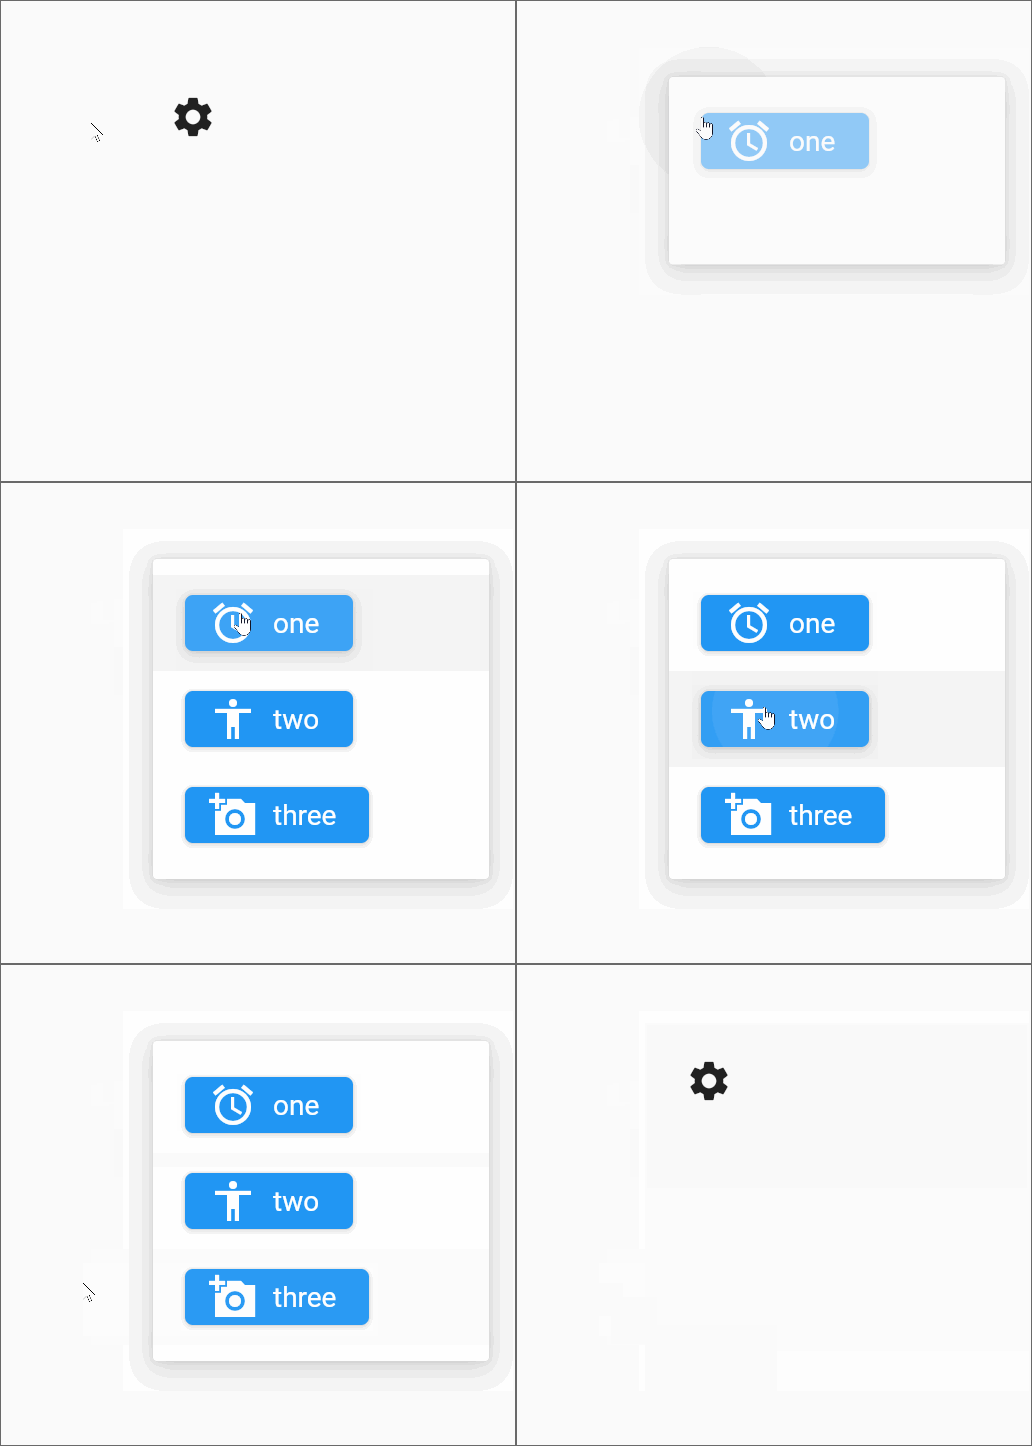
弹出式的选项框,一般用于Appbar弹出设置选项使用,需要在MD骨架中使用
PopupMenuButton(
  icon: Icon(Icons.settings),
  onSelected: (value) {},// 选中之后回调的值
  itemBuilder: (context) => [
    PopupMenuItem(
      child: ElevatedButton.icon(
        icon: Icon(Icons.access_alarm),
        label: Text("one"),
        onPressed: () {},
      ),
      value: 1,// 给一个选中值
    ),
    PopupMenuItem(
      child: ElevatedButton.icon(
        icon: Icon(Icons.accessibility_outlined),
        label: Text("two"),
        onPressed: () {},
      ),
      value: 2,
    ),
    PopupMenuItem(
      child: ElevatedButton.icon(
        icon: Icon(Icons.add_a_photo_sharp),
        label: Text("three"),
        onPressed: () {},
      ),
      value: 3,
    ),
  ],
)
效果:
2.8 DropdownButton
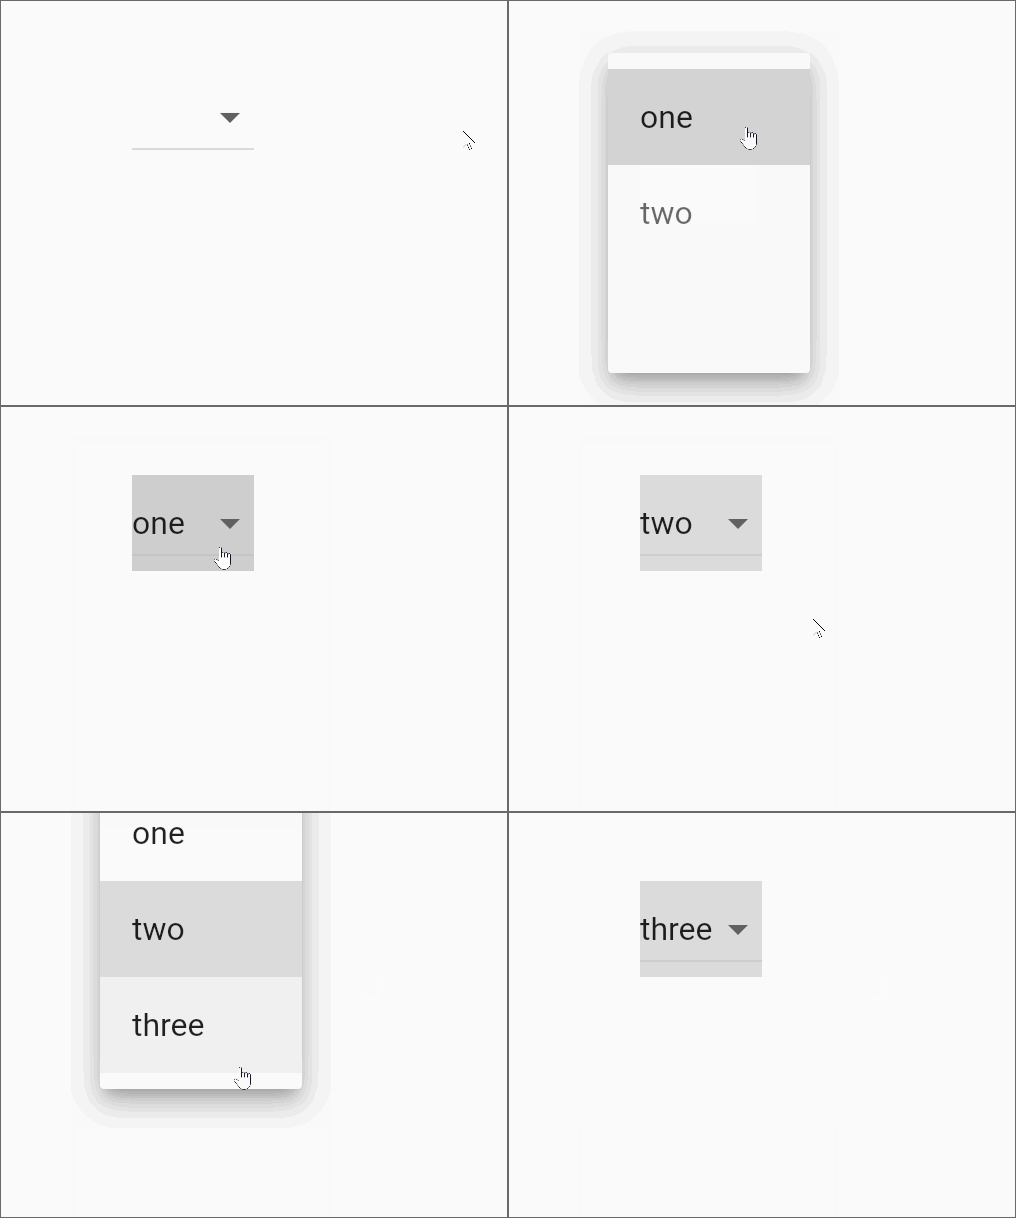
下拉选择框
DropdownButton(
  value: selectValue,// 状态 选中哪个item
  icon: const Icon(Icons.arrow_drop_down),
  items: const <DropdownMenuItem<int>>[
    DropdownMenuItem(
      value: 1,
      child: Text("one"),
    ),
    DropdownMenuItem(
      value: 2,
      child: Text("two"),
    ),
    DropdownMenuItem(
      value: 3,
      child: Text("three"),
    ),
  ],
  onChanged: (value) {
    setState(() {
      selectValue = value;// 状态改变
    });
  },
),
效果:
3.Images
Flutter中常用图片资源有两种,本地资源和网络资源,本地资源使用AssetImage获取,为打包到App的资源,网络资源使用NetworkImage获取,它们的父类都为ImageProvider
3.1 AssetBundle 资源配置
Flutter中我们需要手动配置本地资源的路径,我们创建项目时,在根目录有一个pubspec.yaml文件,里面也有注释的示例教你如何去链接一个本地图片资源,如果你做过Java后台开发,yaml文件的格式相信已经很熟悉了,其中分隔符为一个Tab,需要严格遵守
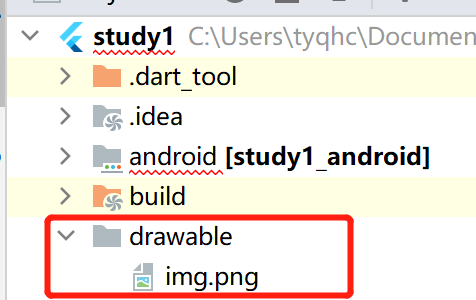
下面我们在根目录创建一个drawable文件夹,并放入一张图片
在pubspec.yaml的flutter下添加assets内容:
flutter:
  uses-material-design: true
  assets:
    - drawable/img.png
3.2 Image
Image是一个组件,用于显示图片,构造如下:
  const Image({
    super.key,
    required this.image,// AssetImage取本地图片 NetworkImage取网络图片
    this.frameBuilder,// 一个构建器函数,负责创建表示此图像组件的父组件
    this.loadingBuilder,// 加载过程中的构建器
    this.errorBuilder,// 加载失败的构建器
    this.semanticLabel,// 描述
    this.excludeFromSemantics = false,// 是否从语义中排除此图像。
    this.width,// 宽度
    this.height,// 高度
    this.color,// 颜色 内部会使用[colorBlendMode]将该颜色与每个图像像素混合
    this.opacity,// 透明度动画
    this.colorBlendMode,// 颜色混合模式,默认srcIn
    this.fit,// 缩放方式 安卓中为ScaleType
    this.alignment = Alignment.center,// 对齐方式
    this.repeat = ImageRepeat.noRepeat,// 空白处的重复方式
    this.centerSlice,// 定义拉伸区域,将图片转化为 .9图
    this.matchTextDirection = false,// 绘制方向 是否沿[TextDirection]的方向绘制
    this.gaplessPlayback = false,// 图像更改时,是继续显示旧图像(true),还是不显示任何内容(false)
    this.isAntiAlias = false,// 抗锯齿
    this.filterQuality = FilterQuality.low,// 图像的渲染质量
  })
3.2.1 AssetImage
本地资源使用:
Image(image: AssetImage("drawable/img.png"),width: 100.0)
效果:
3.2.2 NetworkImage
网络资源使用:
Image(image: NetworkImage("https://img1.baidu.com/it/u=413643897,2296924942&fm=253&app=138&size=w931&n=0&f=JPEG&fmt=auto?sec=1680282000&t=03ff703945339794b1ffc9f3319c9a7e"),width: 100.0)
效果:
3.2.3 BoxFit
各个拉伸方式如下:
| 方式 | 效果 | 描述 |
|---|---|---|
none |
 |
没有效果,按原图进行展示 |
fill |
 |
拉伸填充满显示空间 |
cover |
 |
居中显示,超出部分不显示 |
contain(默认) |
 |
等比例缩放到放的下的宽高 |
fitWidth |
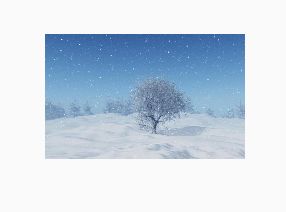 |
宽度会缩放到最大宽度, 高度会按比例缩放,然后居中显示, 超出部分不显示 |
fitHeight |
 |
高度会缩放到最大高度, 宽度会按比例缩放,然后居中显示, 超出部分不显示 |
3.2.4 其他构造
Image还提供了命名式构造,下面是官方给出的:
- Image.new, for obtaining an image from an ImageProvider.
- Image.asset, for obtaining an image from an AssetBundle using a key.
- Image.network, for obtaining an image from a URL.
- Image.file, for obtaining an image from a File.
- Image.memory, for obtaining an image from a Uint8List.
3.3 Icon
之前我们已经使用过Icon了,它自带了一套图标库,并且这些图标都是矢量图,SVG的体积比图片小得多
构造如下:
  const Icon(
    this.icon, {// 图标
    super.key,
    this.size,// 大小
    this.fill,// 绘制图标的填充 需要图标支持FILL
    this.weight,// 画svg的线宽
    this.grade,// 颗粒笔划权重
    this.opticalSize,// 绘制图标的光学尺寸
    this.color,// 画笔颜色
    this.shadows,// 在图标下方的[阴影]列表
    this.semanticLabel,// 描述
    this.textDirection,// 方向
  })
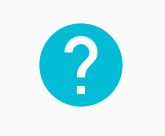
简单使用:
Icon(
  Icons.help,
  size: 50,
  color: Colors.cyan,
)
效果:
4.Selections
可选择组件有很多,单选、多选、开关、进度条、时间选择
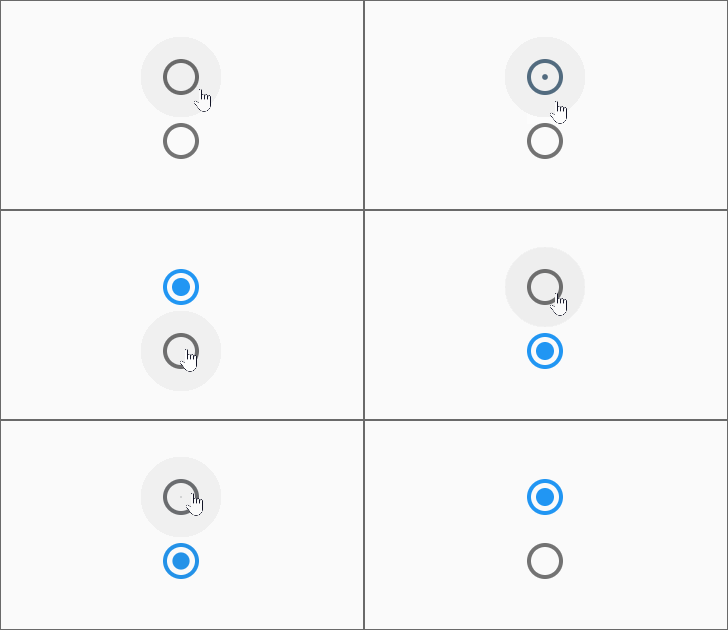
4.1 Radio
Radio是单选,通过状态来刷新
int? _groupValue;

[
    Radio(
        value: 1,
        groupValue: _groupValue,
        onChanged: (value) {
          setState(() {
            _groupValue = value;
          });
        }),
    Radio(
        value: 2,
        groupValue: _groupValue,
        onChanged: (value) {
          setState(() {
            _groupValue = value;
          });
        }),
]
效果:
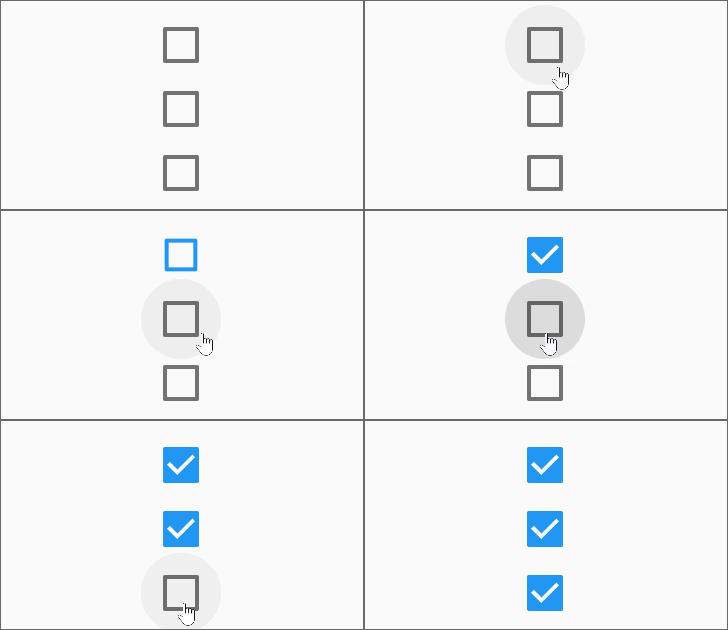
4.2 Checkbox
Checkbox就是选择框,一般用于多选
bool _isSelect1 = false;
bool _isSelect2 = false;
bool _isSelect3 = false;

[
    Checkbox(
      value: _isSelect1,
      onChanged: (value) {
        setState(() {
          _isSelect1 = value!;
        });
      },
    ),
    Checkbox(
      value: _isSelect2,
      onChanged: (value) {
        setState(() {
          _isSelect2 = value!;
        });
      },
    ),
    Checkbox(
      value: _isSelect3,
      onChanged: (value) {
        setState(() {
          _isSelect3 = value!;
        });
      },
]
效果:
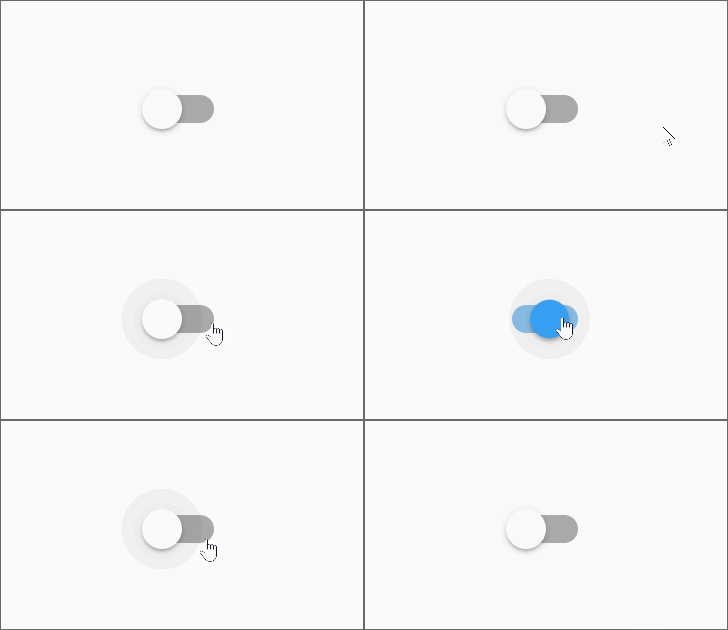
4.3 Switch
开关样式组件
bool _open = false;

Switch(
    value: _open,
    onChanged: (value) {
      setState(() {
        _open = value!;
      });
    })
效果:
4.4 Slider
可以拖动的进度条
double _progress = 0;

Slider(
    value: _progress,
    onChanged: (value) {
      setState(() {
        _progress = value;
      });
    }),
效果:
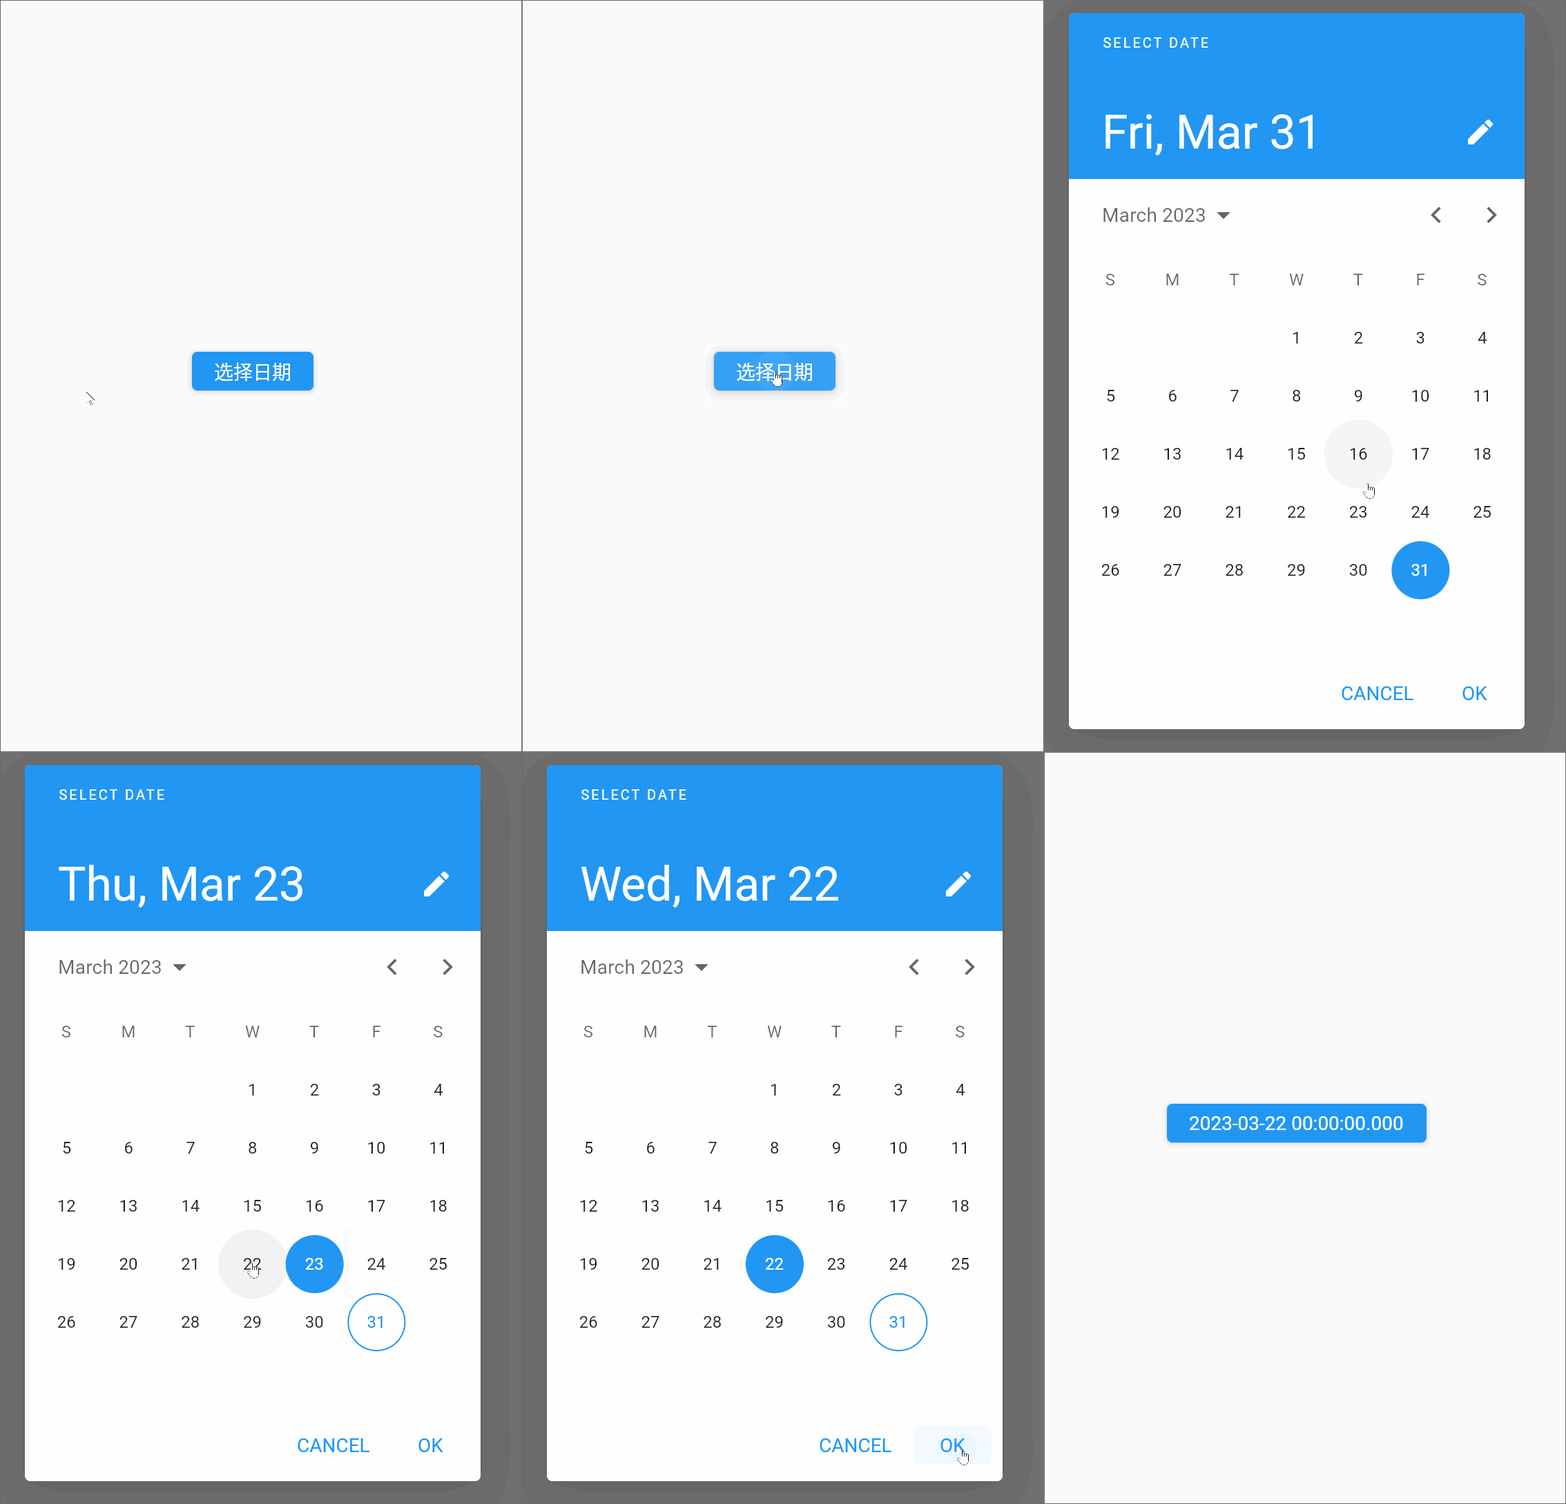
4.5 showDatePicker
弹出一个日期选择弹框,返回一个Future对象,通过Future获取选择的日期:
String _selectDate = "选择日期";

ElevatedButton(
  onPressed: () async {
    var selectDate = await showDatePicker(
        initialDate: DateTime.now(),
        firstDate: DateTime(2020, 2), // 开始日期
        lastDate: DateTime(2024, 2), // 结束日期
        context: context,
    );
    setState(() {
      _selectDate = "$selectDate";
    });
  },
  child: Text(_selectDate),
)
效果:
其他时间相关的选择器,官方给出的:
- showDateRangePicker, which shows a Material Design date range picker used to select a range of dates.
- CalendarDatePicker, which provides the calendar grid used by the date picker dialog.
- InputDatePickerFormField, which provides a text input field for entering dates.
- DisplayFeatureSubScreen, which documents the specifics of how DisplayFeatures can split the screen into sub-screens.
- showTimePicker, which shows a dialog that contains a Material Design time picker.
5.Inputs
输入组件就一个:TextField,它还有一个专用父组件Form
5.1 TextField
输入组件的构造参数很多,也表示它满足了所有对输入控件的要求
const TextField({
super.key,
this.controller,// 控制器,可以获取输入框内容,监听内容改变等
this.focusNode,// 可以获得键盘焦点并处理键盘事件
this.decoration = const InputDecoration(),// 输入框样式,包含图标、hint、标题、下划线等
TextInputType? keyboardType,// 输入框键盘类型
this.textInputAction,// 回车键类型,如确认、搜索等
this.textCapitalization = TextCapitalization.none,// 是否首字母大写等
this.style,// 文本样式
this.strutStyle,// 支柱样式
this.textAlign = TextAlign.start,// 文本对齐方式
this.textAlignVertical,// 文本垂直对齐方式
this.textDirection,// 文本方向
this.readOnly = false,// 是否只读
(
'Use `contextMenuBuilder` instead. '
'This feature was deprecated after v3.3.0-0.5.pre.',
)
this.toolbarOptions,
this.showCursor,// 是否显示光标
this.autofocus = false,// 是否自动获取焦点
this.obscuringCharacter = '•',// 密码类的模糊字符,如‘123’会替换成‘•••’
this.obscureText = false,// 是否开启模糊
this.autocorrect = true,// 自动校正
SmartDashesType? smartDashesType,// 指示如何处理文本输入中短划线的智能替换 如电话的-不显示
SmartQuotesType? smartQuotesType,// 指示如何处理文本输入中引号的智能替换
this.enableSuggestions = true,// 启用建议
this.maxLines = 1,// 最大行数
this.minLines,// 最小行数
this.expands = false,// 是否展开 maxLines和minLines必须设为null
this.maxLength,// 最大字符数
this.maxLengthEnforcement,// 如何强制执行[maxLength]限制
this.onChanged,// 内容改变的监听函数
this.onEditingComplete,// 键盘回车按下后的监听函数
this.onSubmitted,// 键盘回车按下后的监听函数 函数有个内容值的参数
this.onAppPrivateCommand,// 用于报告应用程序专用命令结果的回调的签名。用户行为分析
this.inputFormatters,// 格式化器的列表,如拦截特定字符输入的FilteringTextInputFormatter
this.enabled,// 是否可用
this.cursorWidth = 2.0,// 光标宽度
this.cursorHeight,// 光标高度
this.cursorRadius,// 光标圆角
this.cursorColor,// 光标颜色
this.selectionHeightStyle = ui.BoxHeightStyle.tight,// 选中文本得高亮区域高的样式
this.selectionWidthStyle = ui.BoxWidthStyle.tight,// 选中文本得高亮区域宽的样式
this.keyboardAppearance,// 键盘外观,dark:黑暗模式,light 正常模式
this.scrollPadding = const EdgeInsets.all(20.0),// 当被弹出键盘挡住时,将试图通过滚动周围的[Scrollable](如果有)来使自己可见。该值控制滚动后TextField的位置离[Scrollable]的边缘有多远。
this.dragStartBehavior = DragStartBehavior.start,// 滚动事件的偏移量配置
bool? enableInteractiveSelection,// 是否可以选择文本
this.selectionControls,// 选择文本的控制器
this.onTap,// 点击
this.onTapOutside,// 点击了外部
this.mouseCursor,// 鼠标指针进入或悬停时的光标
this.buildCounter,// 生成自定义[InputDecoration.counter]小部件的回调
this.scrollController,// 滚动控制器
this.scrollPhysics,// 定义滚动物理特性
this.autofillHints = const <String>[],// 自动填充提示
this.clipBehavior = Clip.hardEdge,// 裁剪方式
this.restorationId,// 用于保存和恢复文本字段的状态,UI销毁和恢复时数据处理
this.scribbleEnabled = true,// 是否启用了iOS 14 Scribble功能。 仅适用于iPad
this.enableIMEPersonalizedLearning = true,// 启用输入法学习
this.contextMenuBuilder = _defaultContextMenuBuilder,// 文本选择工具栏
this.spellCheckConfiguration,// 拼写检查配置
this.magnifierConfiguration,// 放大镜的配置
})
简单使用
TextField(
  decoration: InputDecoration(
    labelText: "hi",
    hintText: "input",
    border: OutlineInputBorder(),
  ),
)
获取输入内容有两种方式,onChanged与controller
5.1.1 onChanged 获取内容值
String _content = "";

Column(mainAxisSize: MainAxisSize.min, children: [
  Text(_content),
  Padding(
    padding: EdgeInsets.only(left: 100, right: 100),
    child: TextField(
      decoration: InputDecoration(
        labelText: "hi",
        hintText: "input",
      ),
      onChanged: (content) {
        setState(() {
          _content = content;
        });
      },
    ),
  )
])
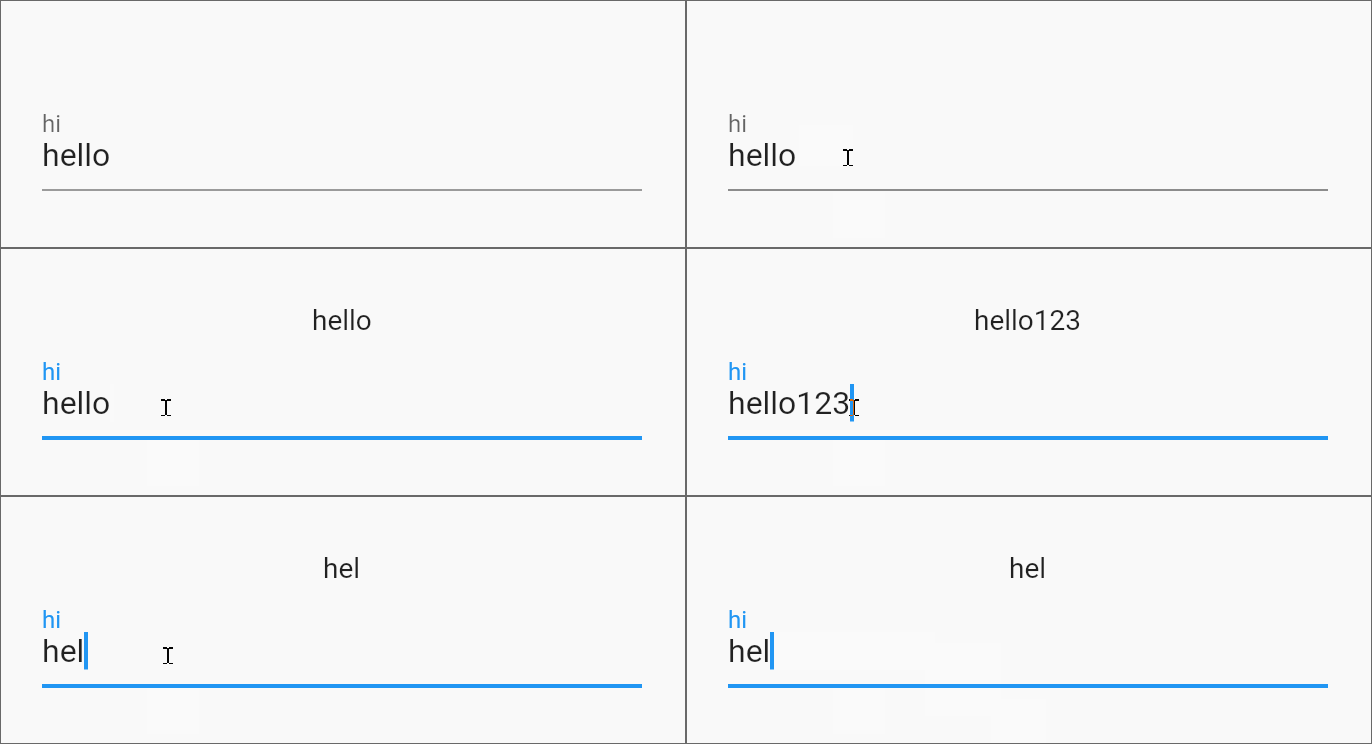
效果:
5.1.2 controller 获取内容值
controller 的API丰富点,除了输入文本外,还有选中文本等,需要对它添加监听方法,再刷新状态
String _content = "";
var _controller = TextEditingController()
..text = "hello";// 初始内容
Widget build(BuildContext context) {
// 监听变化
_controller.addListener(() {
setState(() {
_content = _controller.text;
});
});
return Center(
child: Column(mainAxisSize: MainAxisSize.min, children: [
Text(_content),
Padding(
padding: EdgeInsets.only(left: 100, right: 100),
child: TextField(
controller: _controller,
decoration: InputDecoration(
labelText: "hi",
hintText: "input",
),
),
)
]),
);
}
效果:
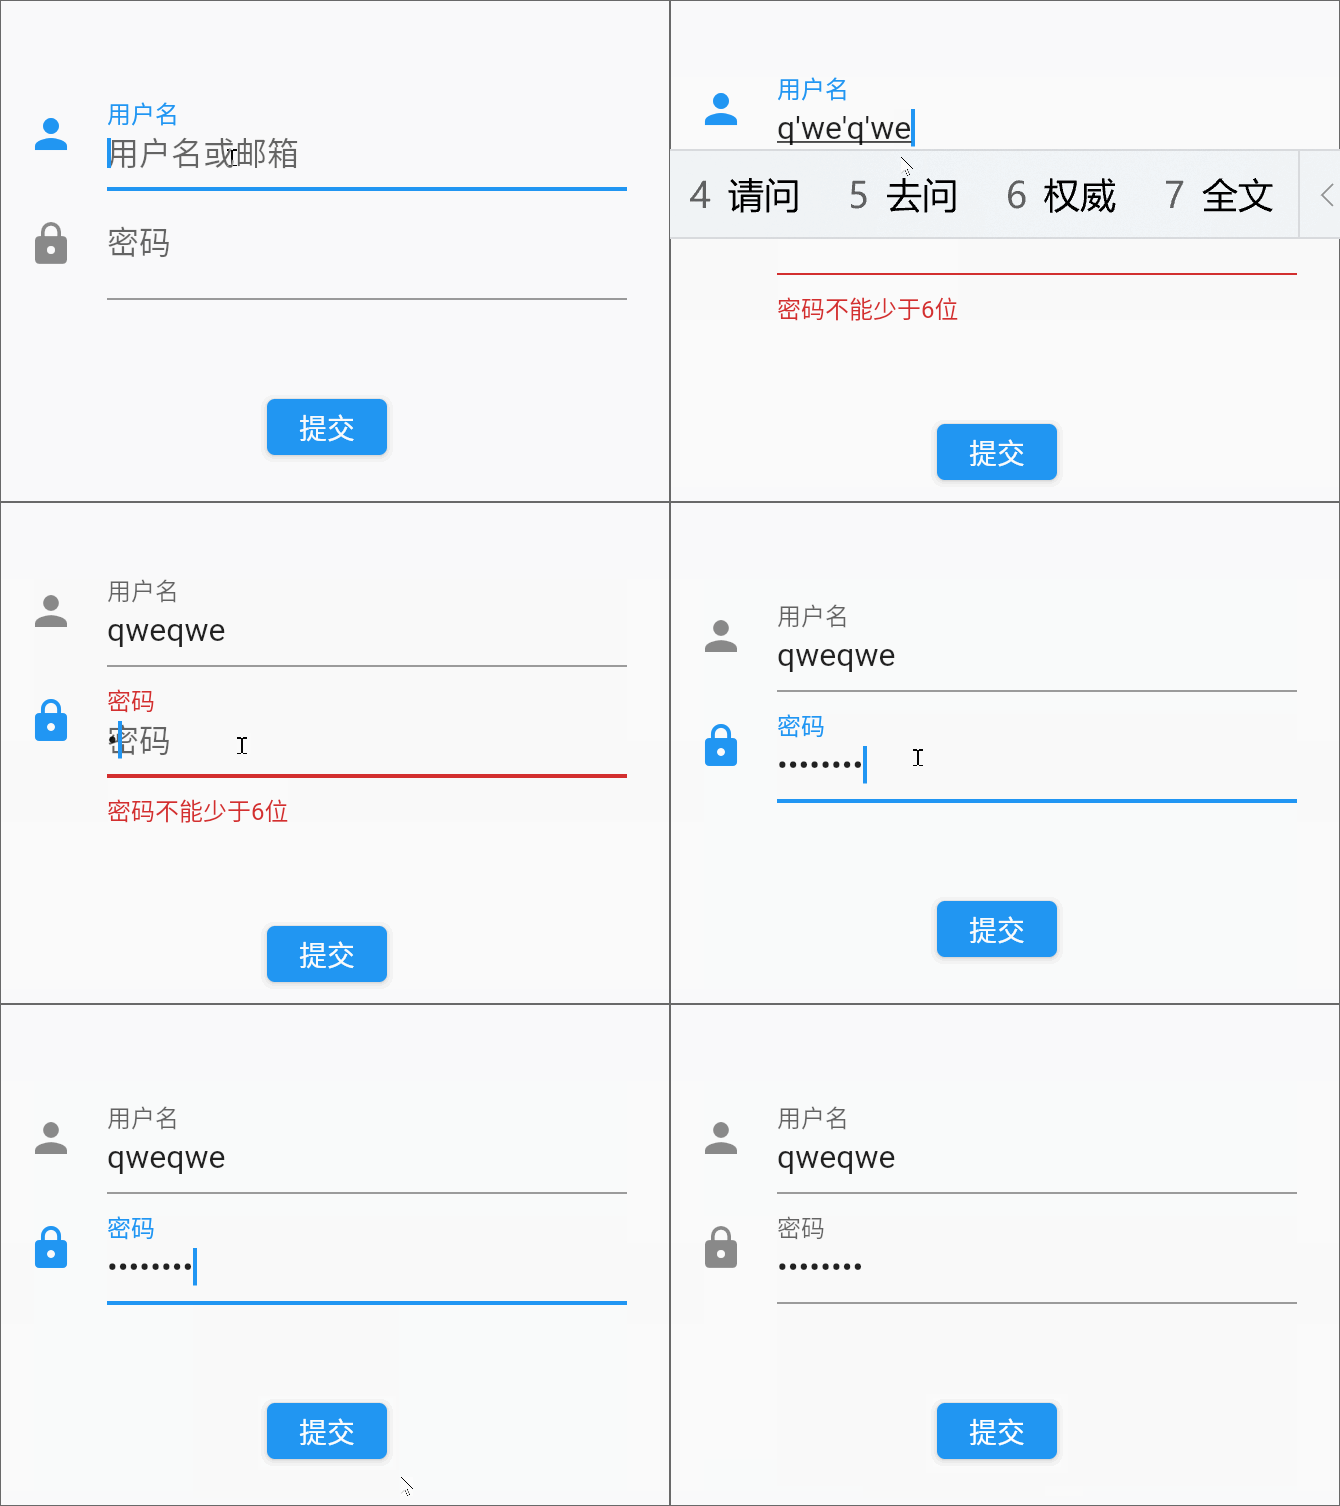
5.2 Form
Form为一组TextField提供了校验,统一重置,统一保存的功能,只不过我们需要使用的是TextFormField,构造如下:
  const Form({
    super.key,
    required this.child,// 子组件
    this.onWillPop,// 决定Form所在的路由是否可以直接返回的函数,return false不能返回 反之 true可以
    this.onChanged,// 任意一个子FormField内容发生变化时会触发此回调
    AutovalidateMode? autovalidateMode,// 自动校验输入内容模式 默认不开启
  })
示例:
GlobalKey _formKey = GlobalKey<FormState>();

Padding(
  padding: EdgeInsets.all(100),
  child: Form(
    key: _formKey, //设置globalKey,用于后面获取FormState
    child: Column(
      children: [
        TextFormField(
          autofocus: true,
          decoration: InputDecoration(
            labelText: "用户名",
            hintText: "用户名或邮箱",
            icon: Icon(Icons.person),
          ),
          // 校验用户名
          validator: (v) {
            return v!.trim().isNotEmpty ? null : "用户名不能为空";
          },
        ),
        TextFormField(
          obscureText: true,
          decoration: InputDecoration(
            labelText: "密码",
            hintText: "密码",
            icon: Icon(Icons.lock),
          ),
          // 校验用户名
          validator: (v) {
            return v!.trim().length > 5 ? null : "密码不能少于6位";
          },
        ),
        Padding(
          padding: EdgeInsets.only(top: 50),
          child: ElevatedButton(
              onPressed: () {
                if ((_formKey.currentState as FormState).validate()) {
                  //验证通过提交数据
                }
              },
              child: Text("提交")),
        ),
      ],
    ),
    autovalidateMode:
        AutovalidateMode.onUserInteraction, // 每个FormField之后自动验证
  ),
)
效果:
6.Chip
Chip类似于组合单元,提供给我们快速的构造一个组合元素
Chip(
  avatar: CircleAvatar(
    backgroundColor: Colors.grey.shade800,
    child: const Text('AB'),
  ),
  label: const Text('Aaron Burr'),
)
效果:
