Canal 实现MySQL与Elasticsearch7数据同步
1 工作原理
-
canal 模拟 MySQL slave 的交互协议,伪装自己为 MySQL slave ,向 MySQL master 发送 dump协议
-
MySQL master 收到 dump 请求,开始推送 binary log 给 slave (即 canal )
-
canal 解析 binary log 对象(原始为 byte 流)
优点: 可以完全和业务代码解耦,增量日志订阅。
缺点:实时性不高,订阅mysql日志,DB中数据事务成功后,开始同步至canal。
2 canal实现MySQL与Elasticsearch7数据同步
下面介绍下利用canal ,canal adapter实现MySQL与ES7数据同步
2.1 Mysql配置修改
在MySQL中需要创建一个用户,并授权:
-- 使用命令登录:mysql -u root -p
-- 创建用户 用户名:canal
create user 'canal'@'%' identified by 'canal';
-- 授权 .表示所有库
grant SELECT, REPLICATION SLAVE, REPLICATION CLIENT on . to 'canal'@'%' identified by 'canal';
下一步在MySQL配置文件my.cnf设置如下信息:
[mysqld]
# 开启binlog
log-bin=mysql-bin
# 选择ROW(行)模式
binlog-format=ROW
# 配置MySQL replaction需要定义,不要和canal的slaveId重复
server_id=1
改了配置文件之后,重启MySQL
2.2 下载Canal
下载最新的cana1.1.5并解压,1.1.5 才支持Elasticsearch7
下载地址:
canal.adapter-1.1.5-SNAPSHOT.tar.gz(适配器)
canal.deployer-1.1.5-SNAPSHOT.tar.gz(服务端)

canal.adapter为适配端,canal.deployer为服务端
2.3 启动Canal服务端
2.3.1 修改数据库配置
进入conf/example目录下,修改instance.properties为数据库配置


2.3.2 启动服务端
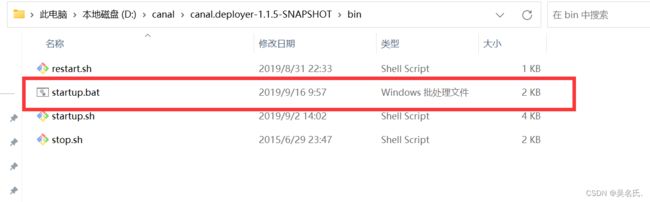
进入bin目录,双击starup.bat启动,出现下面界面,表明启动成功

服务端启动成功, 接下来进入客户端测试
2.4 启动Canal客户端
2.4.1 修改配置
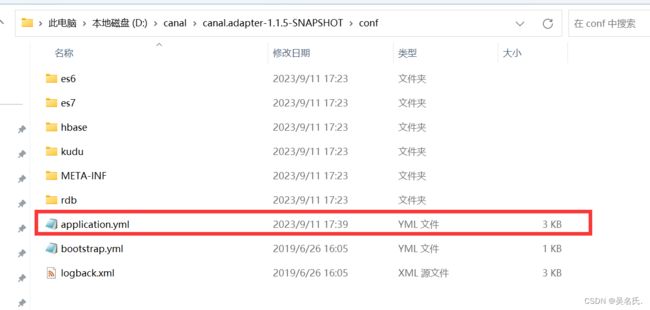
进入adapter目录,修改application.yml
yml内容:
server:
  port: 8081
spring:
  jackson:
    date-format: yyyy-MM-dd HH:mm:ss
    time-zone: GMT+8
    default-property-inclusion: non_null

canal.conf:
  mode: rocketMQ #tcp kafka rocketMQ rabbitMQ
  flatMessage: true
  zookeeperHosts:
  syncBatchSize: 1000
  retries: 0
  timeout:
  accessKey:
  secretKey:
  consumerProperties:
    # canal tcp consumer
    canal.tcp.server.host: 127.0.0.1:11111
    canal.tcp.zookeeper.hosts:
    canal.tcp.batch.size: 500
    canal.tcp.username:
    canal.tcp.password:
    # kafka consumer
    kafka.bootstrap.servers: 127.0.0.1:9092
    kafka.enable.auto.commit: false
    kafka.auto.commit.interval.ms: 1000
    kafka.auto.offset.reset: latest
    kafka.request.timeout.ms: 40000
    kafka.session.timeout.ms: 30000
    kafka.isolation.level: read_committed
    kafka.max.poll.records: 1000
    # rocketMQ consumer
    rocketmq.namespace:
    rocketmq.namesrv.addr: 127.0.0.1:9876
    rocketmq.batch.size: 1000
    rocketmq.enable.message.trace: false
    rocketmq.customized.trace.topic:
    rocketmq.access.channel:
    rocketmq.subscribe.filter:
    # rabbitMQ consumer
    rabbitmq.host:
    rabbitmq.virtual.host:
    rabbitmq.username:
    rabbitmq.password:
    rabbitmq.resource.ownerId:

#  srcDataSources:
#    defaultDS:
#      url: jdbc:mysql://127.0.0.1:3306/mytest?useUnicode=true
#      username: root
#      password: 121212
  canalAdapters:
  - instance: example # canal instance Name or mq topic name
    groups:
    - groupId: g1
      outerAdapters:
      - name: logger
#      - name: rdb
#        key: mysql1
#        properties:
#          jdbc.driverClassName: com.mysql.jdbc.Driver
#          jdbc.url: jdbc:mysql://127.0.0.1:3306/mytest2?useUnicode=true
#          jdbc.username: root
#          jdbc.password: 121212
#      - name: rdb
#        key: oracle1
#        properties:
#          jdbc.driverClassName: oracle.jdbc.OracleDriver
#          jdbc.url: jdbc:oracle:thin:@localhost:49161:XE
#          jdbc.username: mytest
#          jdbc.password: m121212
#      - name: rdb
#        key: postgres1
#        properties:
#          jdbc.driverClassName: org.postgresql.Driver
#          jdbc.url: jdbc:postgresql://localhost:5432/postgres
#          jdbc.username: postgres
#          jdbc.password: 121212
#          threads: 1
#          commitSize: 3000
#      - name: hbase
#        properties:
#          hbase.zookeeper.quorum: 127.0.0.1
#          hbase.zookeeper.property.clientPort: 2181
#          zookeeper.znode.parent: /hbase
#      - name: es
#        hosts: 127.0.0.1:9300 # 127.0.0.1:9200 for rest mode
#        properties:
#          mode: transport # or rest
#          # security.auth: test:123456 #  only used for rest mode
#          cluster.name: elasticsearch
#        - name: kudu
#          key: kudu
#          properties:
#            kudu.master.address: 127.0.0.1 # ',' split multi address
2.4.2 创建索引, 根据同步sql数据至Elasticsearch中
调用http://127.0.0.1:9200/product(PUT请求)创建索引,product为索引名字
{
  "mappings" : {
    "properties" : {
      "attrs" : {
        "type" : "nested",
        "properties" : {
          "attrId" : {
            "type" : "long"
          },
          "attrName" : {
            "type" : "keyword"
          },
          "attrValueId" : {
            "type" : "long"
          },
          "attrValueName" : {
            "type" : "keyword"
          }
        }
      },
      "tags" : {
        "type" : "nested",
        "properties" : {
          "tagId" : {
            "type" : "long"
          },
          "seq" : {
            "type" : "integer"
          }
        }
      },
      "brandId" : {
        "type" : "long"
      },
      "brandImg" : {
        "type" : "keyword"
      },
      "brandName" : {
        "type" : "keyword"
      },
      "code" : {
        "type" : "text",
        "fields" : {
          "keyword" : {
            "type" : "keyword",
            "ignore_above" : 256
          }
        }
      },
      "commentNum" : {
        "type" : "integer"
      },
      "createTime" : {
        "type" : "date"
      },
      "hasStock" : {
        "type" : "boolean"
      },
      "imgUrls" : {
        "type" : "keyword",
        "index" : false,
        "doc_values" : false
      },
      "mainImgUrl" : {
        "type" : "text",
        "fields" : {
          "keyword" : {
            "type" : "keyword",
            "ignore_above" : 256
          }
        }
      },
      "marketPriceFee" : {
        "type" : "long"
      },
      "priceFee" : {
        "type" : "long"
      },
      "saleNum" : {
        "type" : "integer"
      },
      "sellingPoint" : {
        "type" : "text",
        "analyzer" : "ik_max_word",
        "search_analyzer" : "ik_smart"
      },
      "shopId" : {
        "type" : "long"
      },
      "shopImg" : {
        "type" : "keyword",
        "index" : false,
        "doc_values" : false
      },
      "shopName" : {
        "type" : "text",
        "analyzer" : "ik_max_word",
        "search_analyzer" : "ik_smart"
      },
      "shopType" : {
        "type" : "integer"
      },
      "shopPrimaryCategoryId" : {
        "type" : "long"
      },
      "shopPrimaryCategoryName" : {
        "type" : "keyword"
      },
      "shopSecondaryCategoryId" : {
        "type" : "long"
      },
      "shopSecondaryCategoryName" : {
        "type" : "keyword"
      },
      "primaryCategoryId" : {
        "type" : "long"
      },
      "primaryCategoryName" : {
        "type" : "keyword"
      },
      "secondaryCategoryId" : {
        "type" : "long"
      },
      "secondaryCategoryName" : {
        "type" : "keyword"
      },
      "categoryId" : {
        "type" : "long"
      },
      "categoryName" : {
        "type" : "keyword"
      },
      "spuId" : {
        "type" : "long"
      },
      "spuName" : {
        "type" : "text",
        "analyzer" : "ik_max_word",
        "search_analyzer" : "ik_smart"
      },
      "spuStatus" : {
        "type" : "integer"
      },
      "success" : {
        "type" : "boolean"
      }
    }
  }
}

2.4.3 启动客户端
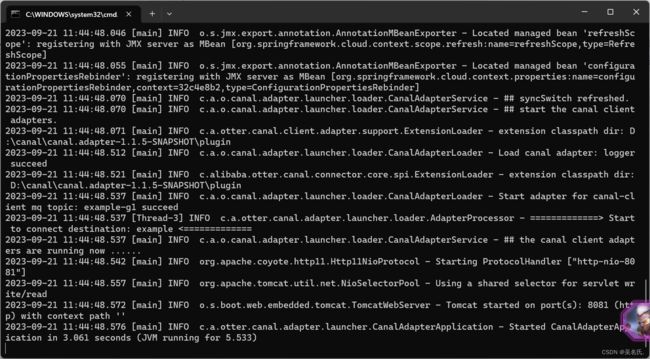
进入\canal.adapter-1.1.5-SNAPSHOT\bin 双击startup.bat 出现下面界面,表明启动成功
3 注意事项
3.1 使用队列
2.4.1中客户端配置需要配置队列,我使用的rocketmq,大家可以根据自己需要选择队列,根据选择的队列,需改配置
3.2 启动顺序
需要优先启动Mysql和Elasticsearch,然后启动Canal服务端,最后启动客户端
4 验证
当你在操作界面添加一个商品时,那么此时Elasticsearch也会同步这条数据,具体不展开来了