Android开发五:常用控件2--RadioButton、CheckBox、Menu
接着昨天的小插曲,今天继续学习安卓控件,今天要学习的有三个,RadioButton、CheckBox、Menu。
废话不说,直接开始。先讲布局文件
<?xml version="1.0" encoding="utf-8"?>
<LinearLayout xmlns:android="http://schemas.android.com/apk/res/android"
    android:layout_width="fill_parent"
    android:layout_height="fill_parent"
    android:orientation="vertical" >

    <RadioGroup
        android:id="@+id/rgsex"
        android:layout_width="fill_parent"
        android:layout_height="wrap_content"
        android:orientation="vertical">
        <RadioButton
            android:checked="true"
            android:id="@+id/rbman"
            android:layout_width="fill_parent"
            android:layout_height="wrap_content"
            android:text="@string/strman"
            />
        <RadioButton
            android:id="@+id/rbwoman"
            android:layout_width="fill_parent"
            android:layout_height="wrap_content"
            android:text="@string/strwoman"
            />
    </RadioGroup>
    <CheckBox
         android:id="@+id/cbrun"
         android:layout_width="fill_parent"
         android:layout_height="wrap_content"
         android:text="@string/strrun"/>
    <CheckBox
         android:id="@+id/cbswim"
         android:layout_width="fill_parent"
         android:layout_height="wrap_content"
         android:text="@string/strswim"/>
    <CheckBox
         android:id="@+id/cbread"
         android:layout_width="fill_parent"
         android:layout_height="wrap_content"
         android:text="@string/strread"/>
</LinearLayout>
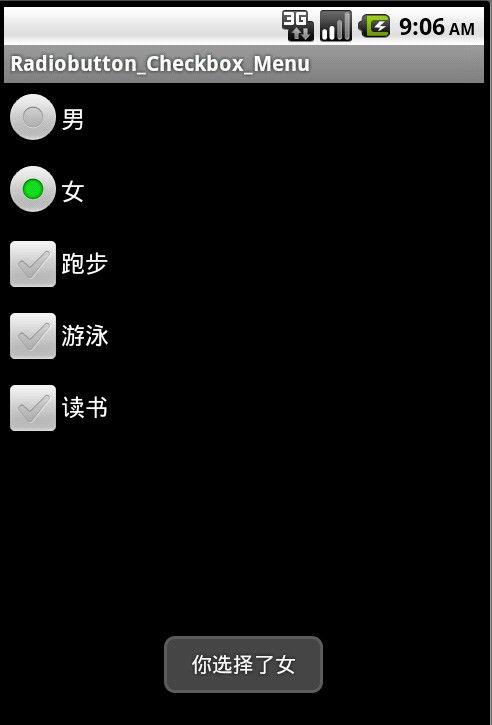
这个里面的RadioButton部分需要注意的就是,把它们放到了一个RadioGroup里面了,这样就能实现一个组里面只能选择一个,而且如果有几组的话,不会相互干扰运行。第一个RadioButton被我设置成了默认选中 android:checked="true"。其他的没有什么好说的,最后实现的布局如下

然后就是添加事件了,RadioButton的事件添加在RadioGroup上面
     rgsex=(RadioGroup)findViewById(R.id.rgsex);
        rgsex.setOnCheckedChangeListener(new OnCheckedChangeListener() {
            public void onCheckedChanged(RadioGroup group, int checkedId) {
                if (checkedId==R.id.rbman) {
                    makeToast(Radiobutton_Checkbox_MenuActivity.this,"你选择了男");
                }else if (checkedId==R.id.rbwoman) {
                    makeToast(Radiobutton_Checkbox_MenuActivity.this,"你选择了女");
                }
            }
        });
里面用到了一个makeToast方法,是我在下面定义的,就是弹出Toast提示。其他代码很简单,不做过多的说明了。注意它的OnCheckedChangeListener,因为下面也有一个。
然后添加CheckBox的事件,三个控件要依次添加方法,为了简便,实现以下这个借口。如下
//处理checkbox事件
cbrun=(CheckBox)findViewById(R.id.cbrun);
cbswim=(CheckBox)findViewById(R.id.cbswim);
cbread=(CheckBox)findViewById(R.id.cbread);
/*因为CompoundButton是checkbox的父类,这里用CompoundButton.OnCheckedChangeListener来绑定事件,
* 否则会和上面的radiogroup的事件冲突*/
CompoundButton.OnCheckedChangeListener listener=new CompoundButton.OnCheckedChangeListener() {
public void onCheckedChanged(CompoundButton buttonView, boolean isChecked) {
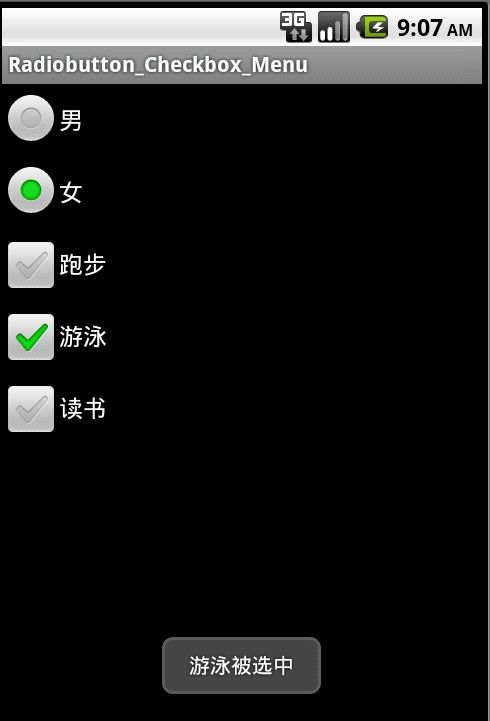
String str=buttonView.getText().toString();
if (isChecked) {
makeToast(Radiobutton_Checkbox_MenuActivity.this,str+"被选中");
}else {
makeToast(Radiobutton_Checkbox_MenuActivity.this,str+"被取消");
}
}
};
cbrun.setOnCheckedChangeListener(listener);
cbswim.setOnCheckedChangeListener(listener);
cbread.setOnCheckedChangeListener(listener);
代码也不难理解,这个里面也用到了OnCheckedChangeListener,为了和上一个区别,写成CompoundButton.OnCheckedChangeListener,这样就不会冲突。这两个OnCheckedChangeListener是不同的,前面的那一个是用在单选按钮组上的,注意是组,而不是单个的按钮。后面的这一个就是直接用在了CompoundButton上面,而CheckBox是CompoundButton的子类。
到这里已经实现了两个控件的操作事件,如图
下面我还想实现一个菜单的效果,按下手机上的菜单键,效果如下图

菜单的实现方法,需要重写Activity的两个方法:
1.public boolean onCreateOptionsMenu(Menu menu)用来生成菜单
2.public boolean onOptionsItemSelected(MenuItem item)用来绑定菜单被点击以后的事件
生成菜单有两种方法,第一种就是直接在代码里面写
@Override
    public boolean onCreateOptionsMenu(Menu menu) {
        menu.add(0, 0, 1, R.string.strabout);
        menu.add(0, 1, 2, R.string.strquit);
        return super.onCreateOptionsMenu(menu);
    }
add方法的参数分别是,组id,菜单项id,排序,显示的内容。
第二种方法是在xml文件里面配置,方法:在工程上右键,new-->android XML file,在弹出的对话框里的resource type选menu,写上文件名就可以了,然后编辑里面的内容
<?xml version="1.0" encoding="utf-8"?>
<menu xmlns:android="http://schemas.android.com/apk/res/android" >
    <item android:id="@+id/about" android:icon="@android:drawable/ic_menu_view" android:title="@string/strabout"></item>
    <item android:id="@+id/quit" android:icon="@android:drawable/ic_delete" android:title="@string/strquit"></item>
</menu>
编写完以后需要在代码里面导入
@Override
    public boolean onCreateOptionsMenu(Menu menu) {
        MenuInflater inflater=getMenuInflater();
        inflater.inflate(R.menu.menu, menu);
        return super.onCreateOptionsMenu(menu);
    }
里面的R.menu.menu,最后的menu就是xml的文件名
这个文件里的内容生成的菜单和上面代码生成的类似,但是多了一个图标。
上面的两种方法都可以生成菜单,但是点击以后是没有反应的,因为还没有绑定事件。
绑定事件的方法如下
@Override
    public boolean onOptionsItemSelected(MenuItem item) {
        int id=item.getItemId();
        if (id==0) {
            new AlertDialog.Builder(Radiobutton_Checkbox_MenuActivity.this).setTitle(R.string.strabout).setIcon(android.R.drawable.ic_menu_view)
            .setMessage(R.string.textabout).setPositiveButton("OK!", new OnClickListener() {

                public void onClick(DialogInterface dialog, int which) {
                    dialog.dismiss();
                }
            }).show();
        } else if(id==1){
            Radiobutton_Checkbox_MenuActivity.this.finish();
        }
        return super.onOptionsItemSelected(item);
    }
这个对应上面第一种方法创建的菜单,里面的id就是menu.add的第二个参数。如果是用xml创建的菜单就把if语句里面的条件改成if(id==R.id.about)
if (id==R.id.about) {
            new AlertDialog.Builder(this).setTitle(R.string.about).setIcon(android.R.drawable.ic_menu_view)
            .setMessage(R.string.aboutstr).setPositiveButton("OK!", new OnClickListener() {

                public void onClick(DialogInterface dialog, int which) {
                    dialog.dismiss();
                }
            }).show();
        }else if (id==R.id.quit) {
            finish();
        }
以上代码就实现了今天的全部功能,那个about菜单里面有一个new AlertDialog.Builder(),就是弹出一个对话框,以后再详细学习。
还有贴上我上面用到的makeToast方法的代码
 View Code

1 private void makeToast(Context context,String str) {
2         Toast.makeText(context, str, Toast.LENGTH_SHORT).show();
3     }
4     private void makeToast(Context context,int id) {
5         Toast.makeText(context, id, Toast.LENGTH_SHORT).show();
6     }
string.xml完整代码
<?xml version="1.0" encoding="utf-8"?>
<resources>
    <string name="app_name">Radiobutton_Checkbox_Menu</string>
    <string name="strman">男</string>
    <string name="strwoman">女</string>
    <string name="strrun">跑步</string>
    <string name="strswim">游泳</string>
    <string name="strread">读书</string>
    <string name="strabout">关于</string>
    <string name="strquit">退出</string>
    <string name="textabout">天意人间,YYJ!博客园地址:http://www.cnblogs.com/tianyi-yyj/</string>
</resources>
最后提供源代码与可执行文件的下载:可执行文件 Radiobutton_Checkbox_Menu.apk ,如果下载的是zip格式改成apk就可以了。源文件:Radiobutton_Checkbox_Menu.zip