大模型部署手记(1)ChatGLM2+Windows GPU
1.简介:
组织机构:智谱/清华
代码仓:https://github.com/THUDM/ChatGLM2-6B
模型:THUDM/chatglm2-6b
下载:https://huggingface.co/THUDM/chatglm2-6b
镜像下载:https://aliendao.cn/models/THUDM/chatglm2-6b
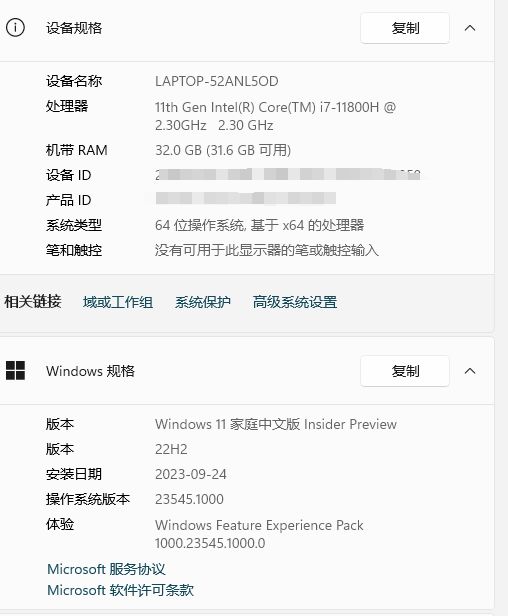
硬件环境:暗影精灵7Plus
Windows版本:Windows 11家庭中文版 Insider Preview 22H2
内存 32G
GPU显卡:Nvidia GTX 3080 Laptop (16G)
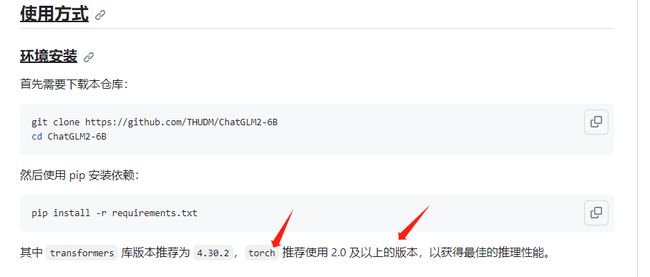
torch推荐使用 2.0 及以上的版本,以获得最佳的推理性能 :
nvidia-smi

CUDA是12.2版本。
nvcc -V

nvcc显示CUDA 11.6版本。
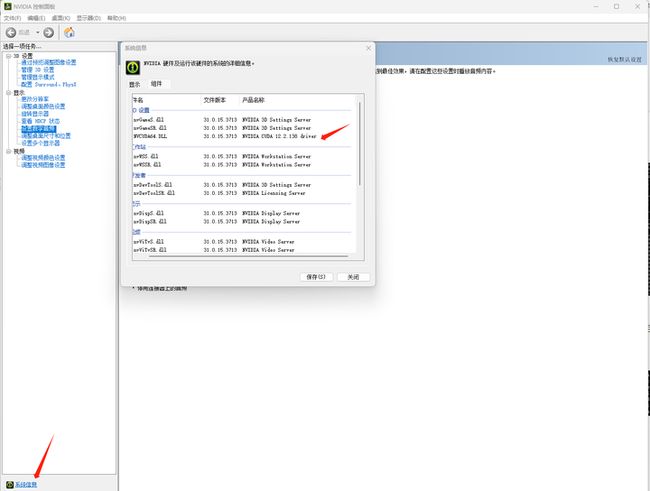
查看Nvidia控制面板:
2.代码和模型下载:
下载代码仓:
git clone https://github.com/THUDM/ChatGLM2-6B

浏览器打开 https://huggingface.co/THUDMM/chatglm2-6b/tree/main,选择 Files and versions,将所有文件都下载下来:


或者换这个地址:
https://cloud.tsinghua.edu.cn/d/674208019e314311ab5c/?p=%2Fchatglm2-6b&mode=list

或者换这个地址:
https://aliendao.cn/models/THUDM/chatglm2-6b

可以切换到Linux,执行以下命令,从镜像下载模型:
cd /home1/zhanghui/aliendao
python3 model_download.py --mirror --repo_id THUDM/chatglm2-6b


实验表明镜像站下载大的模型文件大概率还是会出现下载卡住的情形。
将下载好的文件移动到 /home1/zhanghui/ChatGLM2-6B/THUDM/chatglm2-6b 目录下(gitattributes文件可以改名为 .gitattributes)

将前面从Linux上下载好的ChatGLM2-6b的模型文件传到 D:\ChatGLM2-6B 目录下:

3.安装依赖
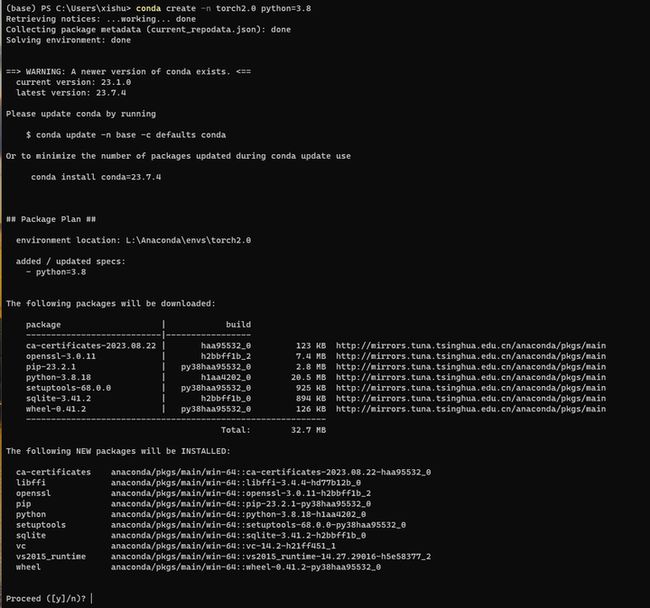
进入Anaconda提示符界面:
conda create -n torch2.0 python=3.8
conda activate torch2.0
d:
cd ChatGLM2-6B
安装pip依赖:
pip install -r requirements.txt


4.部署验证
启动:
python web_demo.py

修改 web_demo.py,将模型路径改为文件路径:

重试:
python web_demo.py

查看 https://betheme.net/qianduan/121637.html
降级一下transformers试试:
pip install transformers==4.26.1 -i https://pypi.tuna.tsinghua.edu.cn/simple

重试:
python web_demo.py

这个torch安装的是一个非GPU的版本啊。
参考:https://pytorch.org/get-started/locally/

安装GPU版本的pytorch:
pip3 install torch torchvision torchaudio --index-url https://download.pytorch.org/whl/cu118

重试:
python web_demo.py

错误还是一样的。
换种方法,使用conda方式安装pytorch 2.0.1 for CUDA 11.8版本:

conda install pytorch torchvision torchaudio pytorch-cuda=11.8 -c pytorch -c nvidia


安装的是pytorch2.0.1+torchvision 0.15.2


重试:
python web_demo.py

pip install chardet

重试:
python web_demo.py

终于启动起来了。
浏览器打开 http://127.0.0.1:7860

感觉有点奇怪,回答怎么没有呢?

换成streamlit方式启动试试吧:
streamlit run web_demo2.py

根据提示,使用浏览器打开 http://127.0.0.1:8501/

问两个问题吧:
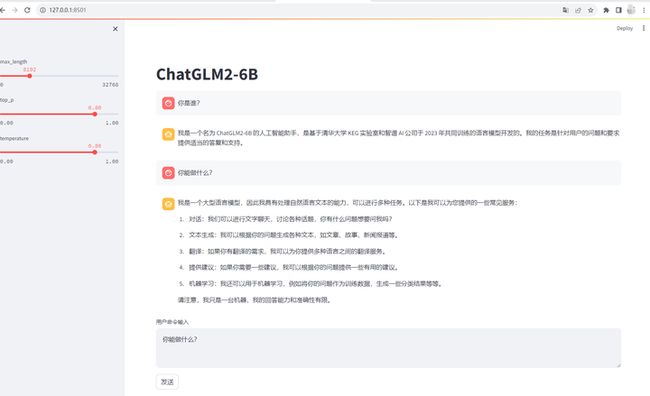
回答的时候,GPU情况如下:
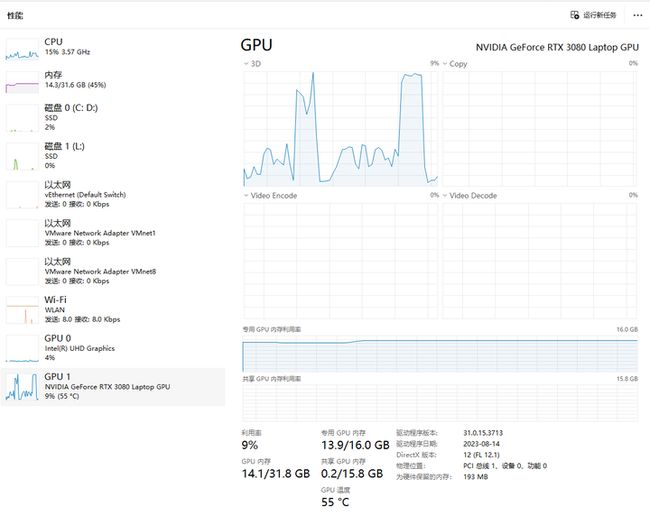
可以接着问:

好了,你知道得太多了。该睡觉了。
(全文完,谢谢阅读)