源码部署lamt架构
源码部署lamt架构
lamt由apache,mysql,tomcat三者组成
文章目录
- 源码部署lamt架构
-
- 1.准备工作
-
- 1.1.配置yum源,关闭防火墙和selinux
- 1.2.拉取相应源码包
- 2.安装apache
- 3.安装mariadb
- 4.安装tomcat
1.准备工作
1.1.配置yum源,关闭防火墙和selinux
[root@tomcat ~]# rm -rf /etc/yum.repos.d/*
[root@tomcat ~]# curl -o /etc/yum.repos.d/CentOS-Base.repo https://mirrors.aliyun.com/repo/Centos-vault-8.5.2111.repo
  % Total    % Received % Xferd  Average Speed   Time    Time     Time  Current
                                 Dload  Upload   Total   Spent    Left  Speed
100  2495  100  2495    0     0   2231      0  0:00:01  0:00:01 --:--:--  2231
[root@tomcat ~]# cat > /etc/yum.repos.d/server.repo << eof
> [Everything]
> name=everything
> baseurl=https://dl.fedoraproject.org/pub/epel/8/Everything/x86_64/
> enabled=1
> gpgcheck=0
>
> [good]
> name=good
> baseurl=http://rpms.remirepo.net/enterprise/8/remi/x86_64/
> enabled=1
> gpgcheck=0
> eof
[root@tomcat ~]# yum clean all
Updating Subscription Management repositories.
Unable to read consumer identity
This system is not registered to Red Hat Subscription Management. You can use subscription-manager to register.
12 files removed
[root@tomcat ~]# yum makecache

//关闭防火墙和selinux
[root@note1 ~]# systemctl disable --now firewalld.service
Removed /etc/systemd/system/multi-user.target.wants/firewalld.service.
Removed /etc/systemd/system/dbus-org.fedoraproject.FirewallD1.service.
[root@note1 ~]# setenforce 0
1.2.拉取相应源码包
[root@tomcat ~]# yum -y install wget vim
省略 . . .
[root@tomcat ~]# wget https://downloads.apache.org/apr/apr-1.7.4.tar.gz
[root@tomcat ~]# wget https://downloads.apache.org/apr/apr-util-1.6.3.tar.gz
[root@tomcat ~]# wget https://downloads.apache.org/httpd/httpd-2.4.57.tar.gz
[root@tomcat ~]# ls
anaconda-ks.cfg  apache-tomcat-9.0.80.tar.gz  apr-1.7.4.tar.gz  apr-util-1.6.3.tar.gz  httpd-2.4.57.tar.gz
2.安装apache
//安装依赖包
[root@tomcat ~]# yum -y install gcc gcc-c++ make pcre-devel openssl openssl-devel libtool expat-devel bzip2
省略 . . .

//安装开发工具包
[root@tomcat ~]# yum groups mark install 'Development Tools'

//创建apache服务的用户和组
[root@tomcat ~]# groupadd -r apache
[root@tomcat ~]# useradd -r -M -s /sbin/nologin -g apache apache

//解压源码包
[root@tomcat ~]# tar xf apr-1.7.4.tar.gz -C /usr/local/
[root@tomcat ~]# tar xf apr-util-1.6.3.tar.gz -C /usr/local/
[root@tomcat ~]# tar xf httpd-2.4.57.tar.gz -C /usr/local/
[root@tomcat ~]# cd /usr/local/ && ls
apr-1.7.4  apr-util-1.6.3  bin  etc  games  httpd-2.4.57  include  lib  lib64  libexec  sbin  share  src

//进入apr的源码包目录,在configure定制组件中修改相关信息
[root@tomcat local]# cd apr-1.7.4/
[root@tomcat apr-1.7.4]# ls
apr-config.in  atomic            config.layout  file_io     LICENSE       network_io     README.cmake  time
apr.dep        build             configure      helpers     locks         NOTICE         shmem         tools
apr.dsp        build.conf        configure.in   include     Makefile.in   NWGNUmakefile  strings       user
apr.dsw        buildconf         docs           libapr.dep  Makefile.win  passwd         support
apr.mak        build-outputs.mk  dso            libapr.dsp  memory        poll           tables
apr.pc.in      CHANGES           emacs-mode     libapr.mak  misc          random         test
apr.spec       CMakeLists.txt    encoding       libapr.rc   mmap          README         threadproc
[root@tomcat apr-1.7.4]# sed -i '/$RM "$cfgfile"/ # $RM "$cfgfile"/g' configure
sed: -e expression #1, char 18: comments don't accept any addresses
[root@tomcat apr-1.7.4]# sed -i 's/$RM "$cfgfile"/ # $RM "$cfgfile"/g' configure
[root@tomcat apr-1.7.4]# grep -C2 '# $RM "$cfgfile"' configure
    cfgfile=${ofile}T
    trap "$RM \"$cfgfile\"; exit 1" 1 2 15
     # $RM "$cfgfile"

    cat <<_LT_EOF >> "$cfgfile"
[root@tomcat apr-1.7.4]#

//编译安装apr-1.7.4、apr-util-1.6.3、httpd-2.4.57
[root@tomcat apr-1.7.4]# ./configure --prefix=/usr/local/apr
[root@tomcat apr-1.7.4]# make && make install

[root@tomcat apr-1.7.4]# cd ../apr-util-1.6.3/
[root@tomcat apr-util-1.6.3]# ./configure --prefix=/usr/local/apr-util --with-apr=/usr/local/apr
[root@tomcat apr-util-1.6.3]# make && make install

[root@tomcat apr-util-1.6.3]# cd ../httpd-2.4.57/
[root@tomcat httpd-2.4.57]# ./configure --prefix=/usr/local/apache \
 --enable-so \
 --enable-ssl \
 --enable-cgi \
 --enable-rewrite \
 --with-zlib \
 --with-pcre \
 --with-apr=/usr/local/apr \
 --with-apr-util=/usr/local/apr-util/ \
 --enable-modules=most \
 --enable-mpms-shared=all \
 --with-mpm=prefork
[root@tomcat httpd-2.4.57]# make && make install

//安装后配置
[root@tomcat httpd-2.4.57]# echo 'export PATH=/usr/local/apache/bin:$PATH' > /etc/profile.d/apache.sh
[root@tomcat httpd-2.4.57]# source /etc/profile.d/apache.sh
[root@tomcat httpd-2.4.57]# ln -s /usr/local/apache/include/ /usr/include/httpd
[root@tomcat httpd-2.4.57]# echo 'MANPATH /usr/local/apache/man' >> /etc/man.config

//取消ServerName前面的注释
[root@tomcat httpd-2.4.57]# sed -i '/#ServerName/s/#//g' /usr/local/apache/conf/httpd.conf

//启动httpd服务
[root@tomcat httpd-2.4.57]# apachectl start
[root@tomcat httpd-2.4.57]# ss -antl
State          Recv-Q         Send-Q                   Local Address:Port                   Peer Address:Port
LISTEN         0              128                            0.0.0.0:22                          0.0.0.0:*
LISTEN         0              128                               [::]:22                             [::]:*
LISTEN         0              128                                  *:80                                *:*
3.安装mariadb
使用yum命令安装mariadb
[root@tomcat ~]# yum -y install mariadb mariadb-server
[root@tomcat ~]# systemctl enable --now mariadb
Created symlink /etc/systemd/system/mysql.service → /usr/lib/systemd/system/mariadb.service.
Created symlink /etc/systemd/system/mysqld.service → /usr/lib/systemd/system/mariadb.service.
Created symlink /etc/systemd/system/multi-user.target.wants/mariadb.service → /usr/lib/systemd/system/mariadb.service.
[root@note1 ~]# mysql -e "set password = password('12345678');"

//查看端口
[root@tomcat ~]# ss -antl
State          Recv-Q         Send-Q                   Local Address:Port                   Peer Address:Port
LISTEN         0              128                            0.0.0.0:22                          0.0.0.0:*
LISTEN         0              128                               [::]:22                             [::]:*
LISTEN         0              80                                   *:3306                              *:*
LISTEN         0              128                                  *:80                                *:*
4.安装tomcat
//安装依赖包
[root@tomcat ~]# dnf -y install java-17-openjdk java-17-openjdk-devel

//查看安装的版本,能够查看到版本则说明安装成功
[root@tomcat ~]# java --version
openjdk 17.0.1 2021-10-19 LTS
OpenJDK Runtime Environment 21.9 (build 17.0.1+12-LTS)
OpenJDK 64-Bit Server VM 21.9 (build 17.0.1+12-LTS, mixed mode, sharing)

//解压源码包至指定目录
[root@tomcat ~]# tar xf apache-tomcat-9.0.80.tar.gz -C /usr/local/
[root@tomcat ~]# cd /usr/local/ && ls
apache                apr        apr-util        bin  games         include  lib64    sbin   src
apache-tomcat-9.0.80  apr-1.7.4  apr-util-1.6.3  etc  httpd-2.4.57  lib      libexec  share

//设置tomcat软链接,方便后续如果更换tomcat版本后也能直接使用
[root@tomcat local]# ln -s apache-tomcat-9.0.80 tomcat
[root@tomcat local]# ll
total 12
drwxr-xr-x. 14 root root   164 Oct 10 23:52 apache
drwxr-xr-x.  9 root root   220 Oct 11 00:07 apache-tomcat-9.0.80
drwxr-xr-x.  6 root root    58 Oct 10 23:45 apr
drwxr-xr-x. 29  501 games 4096 Oct 10 23:45 apr-1.7.4
drwxr-xr-x.  5 root root    43 Oct 10 23:46 apr-util
drwxr-xr-x. 21  501 games 4096 Oct 10 23:46 apr-util-1.6.3
drwxr-xr-x.  2 root root     6 Aug 12  2018 bin
drwxr-xr-x.  2 root root     6 Aug 12  2018 etc
drwxr-xr-x.  2 root root     6 Aug 12  2018 games
drwxr-xr-x. 14  501 games 4096 Oct 10 23:51 httpd-2.4.57
drwxr-xr-x.  2 root root     6 Aug 12  2018 include
drwxr-xr-x.  2 root root     6 Aug 12  2018 lib
drwxr-xr-x.  2 root root     6 Aug 12  2018 lib64
drwxr-xr-x.  2 root root     6 Aug 12  2018 libexec
drwxr-xr-x.  2 root root     6 Aug 12  2018 sbin
drwxr-xr-x.  5 root root    49 Jul 20 11:24 share
drwxr-xr-x.  2 root root     6 Aug 12  2018 src
lrwxrwxrwx.  1 root root    20 Oct 11 00:08 tomcat -> apache-tomcat-9.0.80

//将tomcat的lib位置存放在/etc/ld.so.conf/d/下面,命名一个自身名字的文件,方便查找
[root@tomcat local]# vim /etc/ld.so.conf.d/tomcat.conf
[root@tomcat local]# cat /etc/ld.so.conf.d/tomcat.conf
/usr/local/tomcat/lib

//启动服务,使用绝对路径执行/usr/local/tomcat/bin/下面的脚本,tomcat不能写进环境变量,放置后续更改tomcat版本后环境变量仍是之前的tomcat版本
[root@tomcat local]# cd tomcat/bin/
[root@tomcat bin]# ./catalina.sh start
Using CATALINA_BASE:   /usr/local/tomcat
Using CATALINA_HOME:   /usr/local/tomcat
Using CATALINA_TMPDIR: /usr/local/tomcat/temp
Using JRE_HOME:        /usr
Using CLASSPATH:       /usr/local/tomcat/bin/bootstrap.jar:/usr/local/tomcat/bin/tomcat-juli.jar
Using CATALINA_OPTS:
Tomcat started.
[root@tomcat bin]# ss -antl
State          Recv-Q         Send-Q                      Local Address:Port                 Peer Address:Port
LISTEN         0              128                               0.0.0.0:22                        0.0.0.0:*
LISTEN         0              128                                  [::]:22                           [::]:*
LISTEN         0              1                      [::ffff:127.0.0.1]:8005                            *:*
LISTEN         0              80                                      *:3306                            *:*
LISTEN         0              100                                     *:8080                            *:*
LISTEN         0              128                                     *:80                              *:*
启用httpd的代理模块
[root@tomcat ~]# sed -i '/proxy_module/s/#//g' /usr/local/apache/conf/httpd.conf
[root@tomcat ~]# sed -i '/proxy_fcgi_module/s/#//g' /usr/local/apache/conf/httpd.conf
[root@tomcat ~]# sed -i '/proxy_connect_module/s/#//g' /usr/local/apache/conf/httpd.conf
[root@tomcat ~]# sed -i '/proxy_http_module/s/#//g' /usr/local/apache/conf/httpd.conf
配置虚拟主机
[root@tomcat ~]# vim /usr/local/apache/conf/httpd.conf
[root@tomcat ~]# tail -13 /usr/local/apache/conf/httpd.conf
SSLRandomSeed connect builtin
</IfModule>

*:80>
     DocumentRoot "/usr/local/apache/htdocs"
     ProxyPass / http://192.168.195.133:8080/
     ProxyPassReverse / http://192.168.195.133:8080/
     "/usr/local/apache/htdocs">
         Options none
         AllowOverride none
         Require all granted
         </Directory>
</VirtualHost>
重启apache
[root@tomcat ~]# apachectl restart
[root@tomcat ~]# ss -antl
State          Recv-Q         Send-Q                      Local Address:Port                 Peer Address:Port
LISTEN         0              128                               0.0.0.0:22                        0.0.0.0:*
LISTEN         0              128                                  [::]:22                           [::]:*
LISTEN         0              1                      [::ffff:127.0.0.1]:8005                            *:*
LISTEN         0              80                                      *:3306                            *:*
LISTEN         0              100                                     *:8080                            *:*
LISTEN         0              128                                     *:80                              *:*
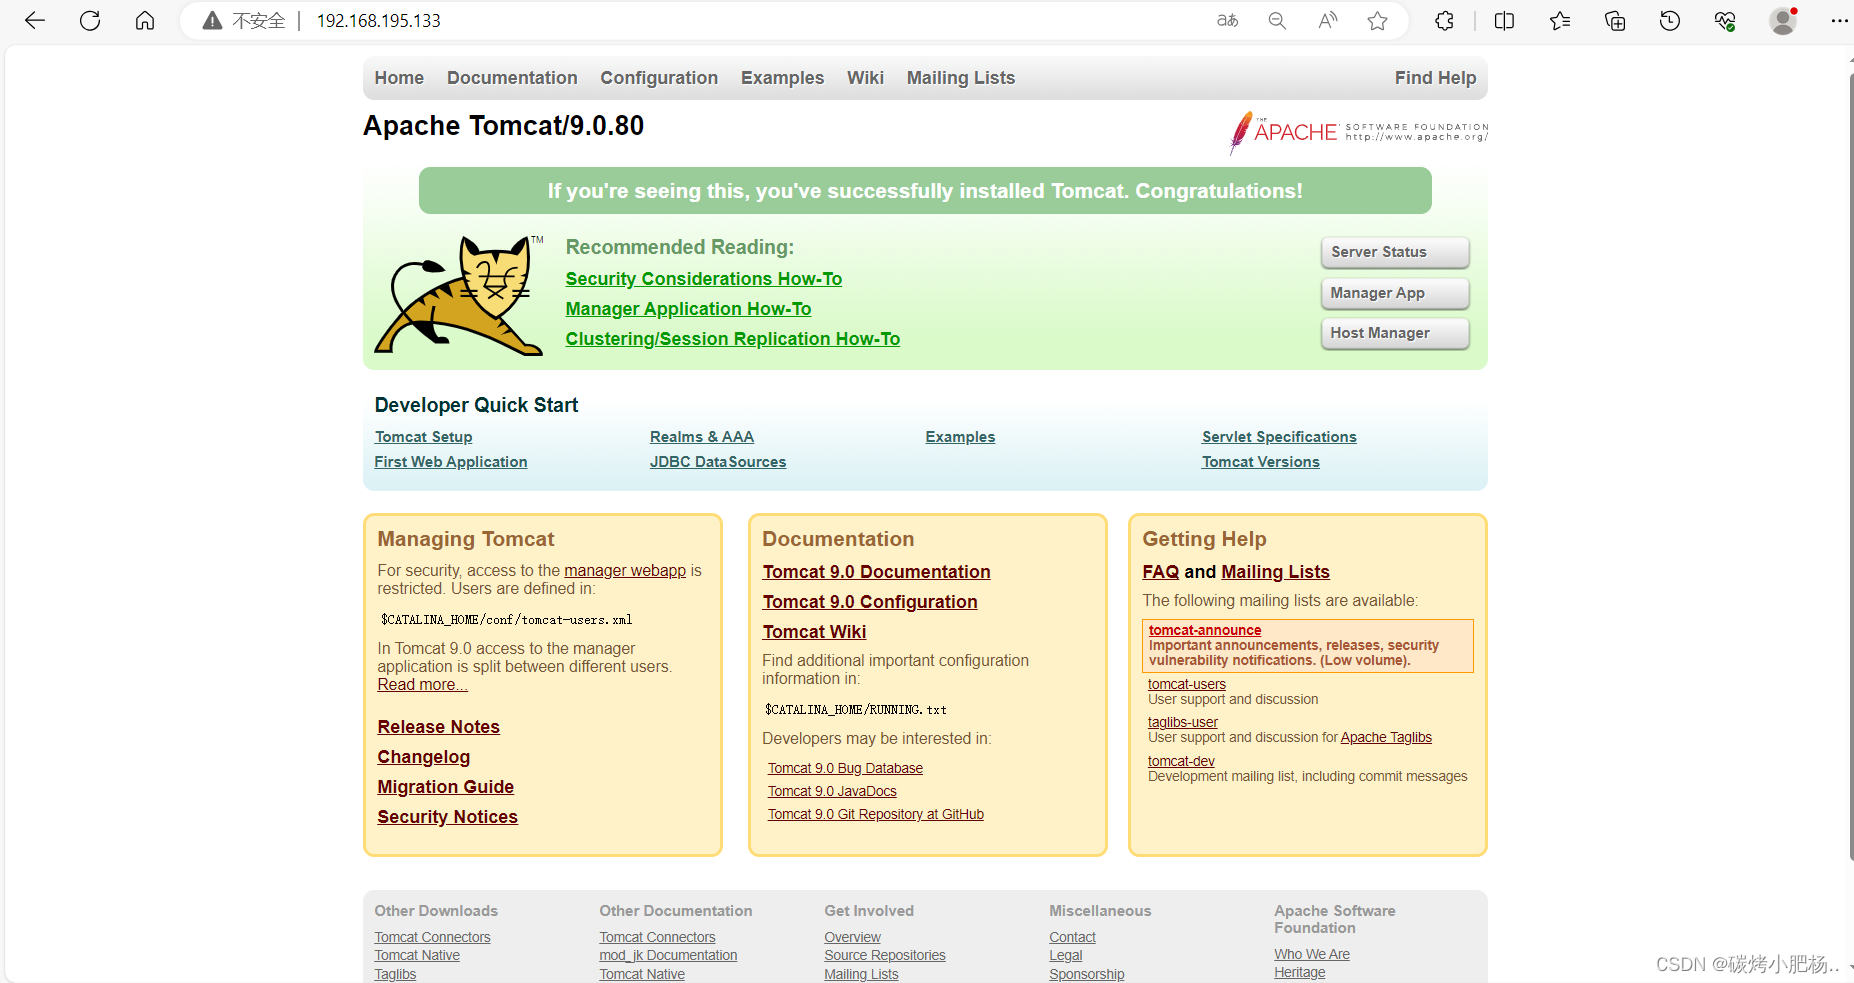
通过80端口进行访问
*:*
LISTEN 0 100 *:8080 :
LISTEN 0 128 *:80 :
**通过80端口进行访问**


