SpringCloud五大组件之分布式配置中心-SpringCloudConfig
1.为什么需要分布式配置中心?
第一 比如说我们现在有商品模块,订单模块,购物车模块,物流模块,这些模块连接Redis,MangoDB等等是同一套,也就意味着连接Redis,MangoDB的配置文件是一模一样的,假如说我们以后要更改就必须每个模块的配置文件都要改,这明显是不合理的且繁琐的工作,
第二 我们传统的项目都是修改了配置就要重启系统,这也是不可取的,因为现在基本上都要求7*24的运行
2.概况讲分布式配置中心主要解决了下面两点:
1、抽取出各模块公共的部分,做到一处修改各处生效的目标
2、做到系统的高可用,修改了配置文件后可用在个模块动态刷新,不需要重启服务器
3.使用
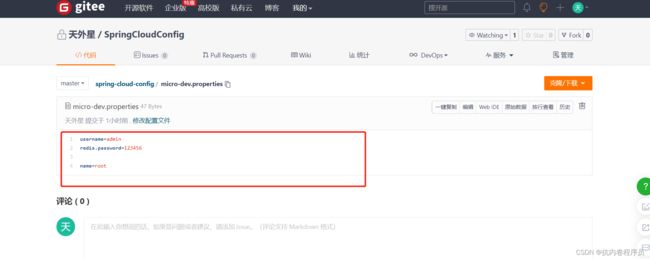
3.1创建配置中心git远程仓库,我这里使用的是码云
内容自己随意
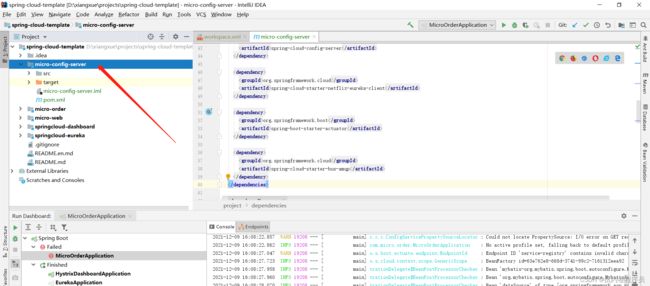
3.2 Springcloud 配置中心服务端搭建,创建config工程
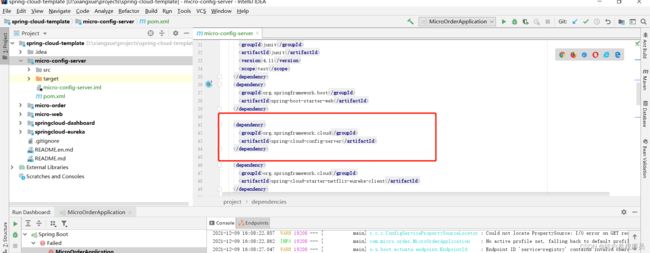
3.2.1导入jar包
      org.springframework.boot
      spring-boot-starter-web


      org.springframework.cloud
      spring-cloud-config-server


      org.springframework.cloud
      spring-cloud-starter-netflix-eureka-client


      org.springframework.boot
      spring-boot-starter-actuator


      org.springframework.cloud
      spring-cloud-starter-bus-amqp
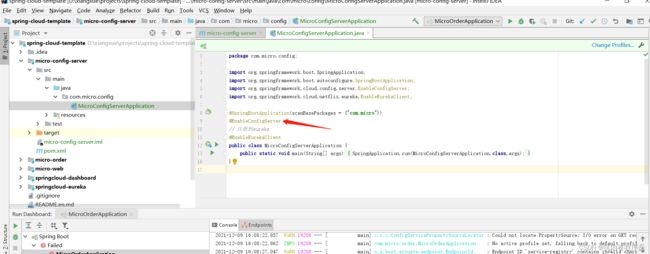
3.2.2 启动类添加注解
package com.micro.config;

import org.springframework.boot.SpringApplication;
import org.springframework.boot.autoconfigure.SpringBootApplication;
import org.springframework.cloud.config.server.EnableConfigServer;
import org.springframework.cloud.netflix.eureka.EnableEurekaClient;

@SpringBootApplication(scanBasePackages = {"com.micro"})
@EnableConfigServer
// 注册到eureka
@EnableEurekaClient
public class MicroConfigServerApplication {
    public static void main(String[] args) {
        SpringApplication.run(MicroConfigServerApplication.class,args);
    }
}
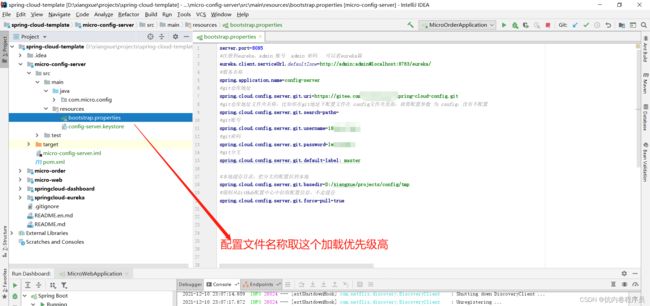
3.2.3 config配置文件
server.port=8085
#注册到eureka,admin 账号  admin 密码   可以看eureka篇
eureka.client.serviceUrl.defaultZone=http://admin:admin@localhost:8763/eureka/
#服务名称
spring.application.name=config-server
#git仓库地址 我使用的是码云
spring.cloud.config.server.git.uri=https://gitee.com/spring-cloud-config.git
#git仓库地址文件夹名称,比如你在git地址下配置文件在 config文件夹里面,就要配置参数 为 config,没有不配置
spring.cloud.config.server.git.search-paths=
#git账号
spring.cloud.config.server.git.username=
#git密码
spring.cloud.config.server.git.password=
#git分支
spring.cloud.config.server.git.default-label: master

#本地缓存目录,把分支的配置拉到本地
spring.cloud.config.server.git.basedir=D:/xiangxue/projects/config/tmp
#强制从GitHub配置中心中拉取配置信息,不走缓存
spring.cloud.config.server.git.force-pull=true
当你启动配置中心模块时,看本地缓存目录拉取下来了说明配置成功了,参考下图:
3.3 客户端使用配置中心
客户端只需要指定连接的服务端就行了,从服务端拉取配置信息
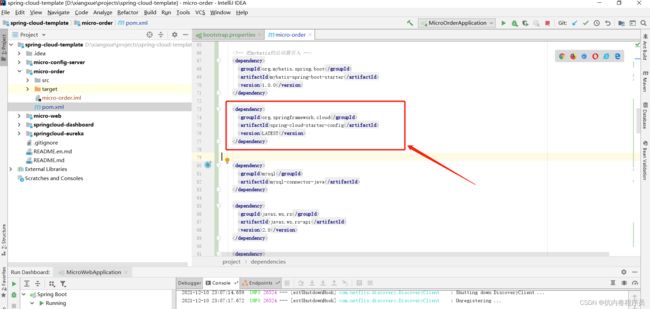
3.3.1 jar包依赖
      org.springframework.boot
      spring-boot-starter-web


      org.springframework.cloud
      spring-cloud-starter-netflix-eureka-client


      de.codecentric
      spring-boot-admin-starter-client
      2.2.2


            org.springframework.retry
            spring-retry
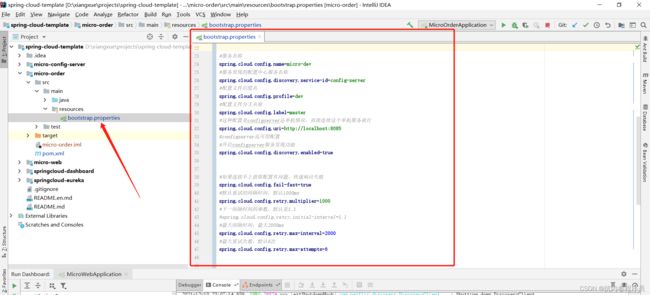
3.3.2 配置文件
#服务名称
spring.cloud.config.name=micro-dev

#配置文件后缀名
spring.cloud.config.profile=dev
#配置文件分支名称
spring.cloud.config.label=master
#这配置是configserver单机情况,直接连接这个单机服务,配置高可用把这行注释,使用下面两行的注解
spring.cloud.config.uri=http://localhost:8085
#configserver高可用配置
#开启configserver服务发现功能
spring.cloud.config.discovery.enabled=true
#服务发现的配置中心服务名称
spring.cloud.config.discovery.service-id=config-server


#如果连接不上获取配置有问题,快速响应失败
spring.cloud.config.fail-fast=true
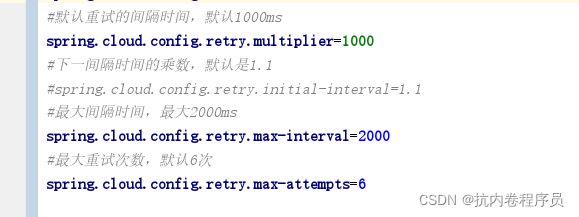
#默认重试的间隔时间,默认1000ms
spring.cloud.config.retry.multiplier=1000
#下一间隔时间的乘数,默认是1.1
#spring.cloud.config.retry.initial-interval=1.1
#最大间隔时间,最大2000ms
spring.cloud.config.retry.max-interval=2000
#最大重试次数,默认6次
spring.cloud.config.retry.max-attempts=6
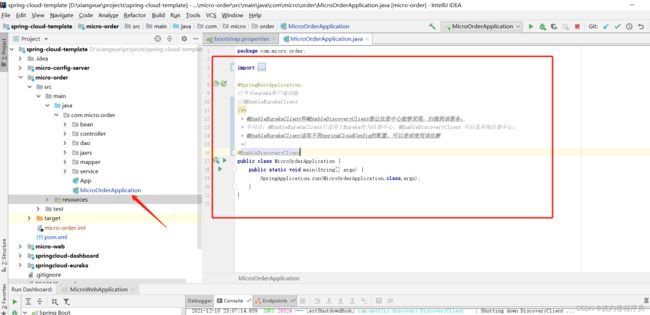
3.3.3 客户端启动类
package com.micro.order;

import org.springframework.boot.SpringApplication;
import org.springframework.boot.autoconfigure.SpringBootApplication;
import org.springframework.cloud.client.discovery.EnableDiscoveryClient;
import org.springframework.cloud.netflix.eureka.EnableEurekaClient;

@SpringBootApplication
//开启eureka客户端功能
//@EnableEurekaClient
/**
 * @EnableEurekaClient和@EnableDiscoveryClient都让注册中心能够发现,扫描到该服务。
 * 不同点:@EnableEurekaClient只适用于Eureka作为注册中心,@EnableDiscoveryClient 可以是其他注册中心。
 * @EnableEurekaClient读取不到springCloudConfig的配置,可以尝试使用该注解
 */
@EnableDiscoveryClient
public class MicroOrderApplication {
    public static void main(String[] args) {
        SpringApplication.run(MicroOrderApplication.class,args);
    }
}
3.3.4 客户端快速失败和重试 当客户端连服务端失败时,客户端就快速失败,不进行加载其他的 spring 容器 快速失败,参考3.3.2
3.3.5 客户端也有重试功能,连不上服务端是有重试机制
重试功能 jar 包导入,参考3.3.1
重试配置,参考3.3.2
当我们把config服务关闭后,再启动order服务,就会出现下图重试效果:
3.3.6 配置信息的加密
在配置中心中,有些信息是比较敏感的,比如密码信息,在配置密码信息的时候有必要对密 码信息加密以免密码信息泄露,springcloud 配置中心也支持配置信息加密的,这里一 RSA 非对称加密举例。
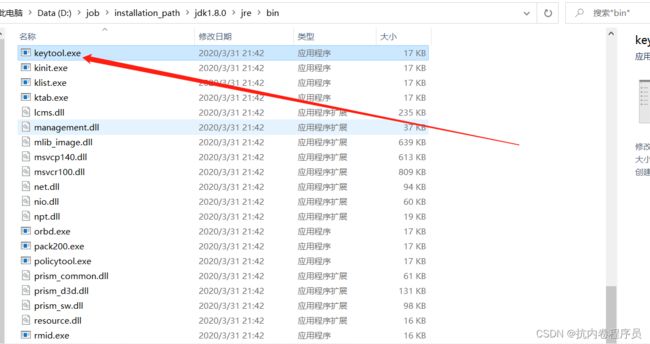
cd 到 jdk 的 目录:D:\job\installation_path\jdk1.8.0\jre\bin 里面有一个 keytool.exe 可执行文件
执行指令生成秘钥文件
keytool -genkeypair -alias config-server -keyalg RSA -keystore config-server.keystore -validity 365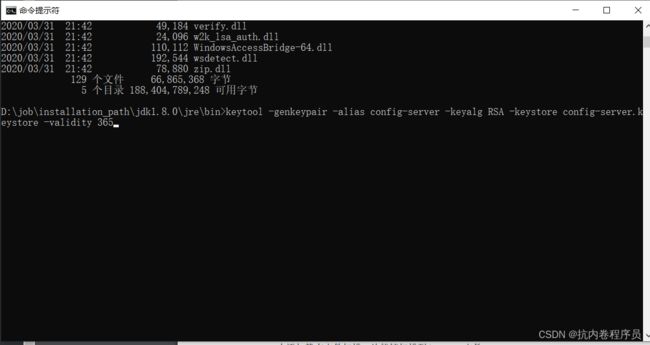
执行后会出现下列文字让你输入,其他可以自行输入,但是密钥必须要自己记住,配置需要用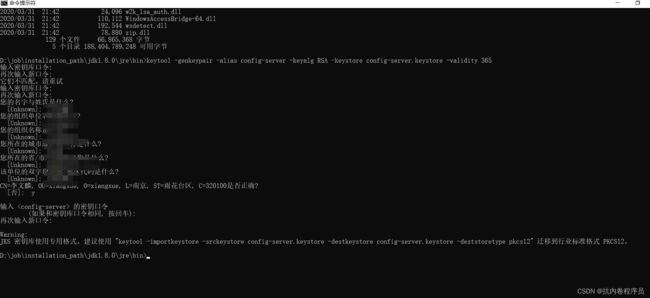
指令执行成功后会在 bin 目录生成一个 config-server.keystore 文件,把该文件 copy 到配置中 心服务工程中 resources 目录下。
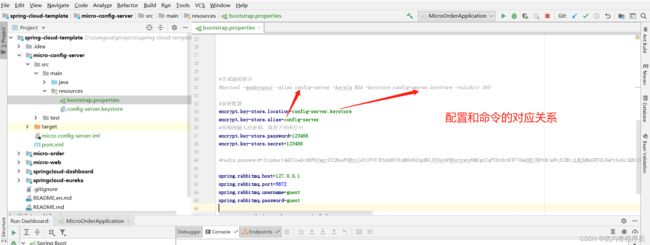
config服务端配置
#生成秘钥指令
#keytool -genkeypair -alias config-server -keyalg RSA -keystore config-server.keystore -validity 365

#加密配置
encrypt.key-store.location=config-server.keystore
encrypt.key-store.alias=config-server
#你刚刚输入的密钥,填到下列两行中
encrypt.key-store.password=123456
encrypt.key-store.secret=123456
pom 中添加静态文件扫描,让能够扫描到.keystore 文件
        src/main/java

          **/*.properties
          **/*.xml

        false


        src/main/resources

          **/*.properties
          **/*.xml
          **/*.txt
          **/*.keystore

        false
密码加密和解密接口
在服务端中有提供对信息加密和解密接口的
加密接口:http://localhost:8085/encrypt,post 请求
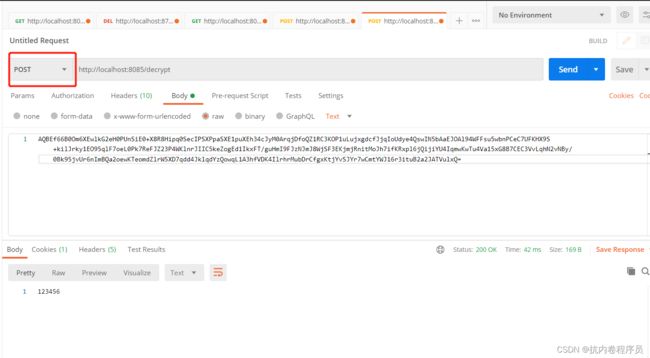
解密接口:http://localhost:8085/decrypt,post 请求
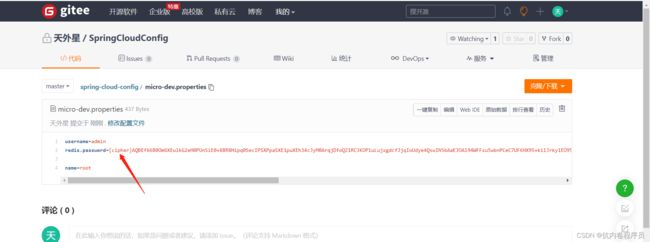
代码仓库密文配置
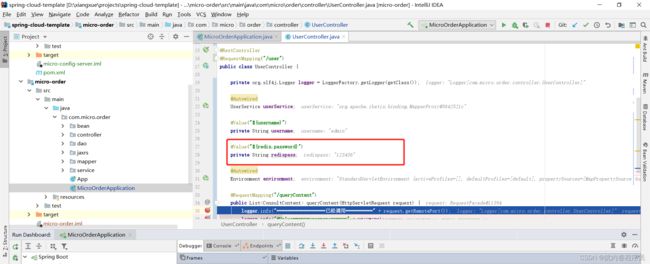
密文前面一定要加上{cipher}标识这个是密文配置,需要服务端来解密的。
测试如下图:
3.4 配置动态加载刷新
在运行期修改配置文件后,我们通过这个动态刷新功能可以不重 启服务器,这样我们系统理论上可以保证 7*24 小时的工作
3.4.1 Environment 的动态刷新
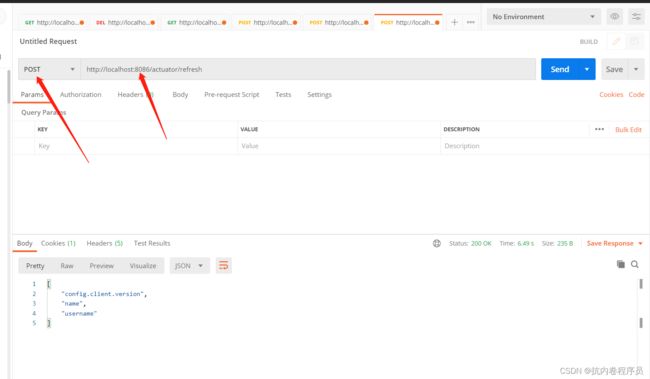
动态刷新其实要有一个契机,其实这个契机就是手动调用刷新接口,如果你想刷新哪台主机 的配置,就调用哪台注解的刷新接口
类上添加@RefreshScope注解
 调用刷新接口,想要修改哪个服务的配置就要改成哪个接口的端口,刷新接口为:http://localhost:8086/actuator/refresh
但是调用每台主机的刷新接口显然太麻烦了,如果需要刷新的集群机器有几百台,是不是就 需要手动调用几百次呢,这几乎是一个不能完成的工作量。 Springcloud 中也提供了消息总线的东西,借助 mq 来完成消息的广播,当需要刷新时我们就 只要调用一次刷新接口即可。
3.4.2 消息总线
消息总线其实很简单,就是为了解决一点刷新的功能,在一个点调用请求刷新接口,然后所 有的在消息总线中的端点都能接到刷新的消息,所有我们必须把每一个端点都拉入到消息总 线中来。
使用
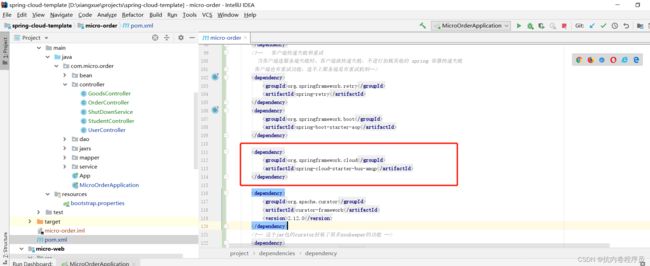
jar包导入
    org.springframework.cloud
    spring-cloud-starter-bus-amqp
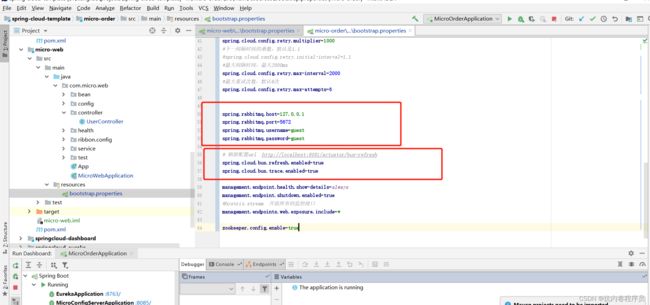
properties 配置
其实就是连接 mq 的配置,和刷新配置
通过这两步就已经完成了拉入消息总线的工作了。
如果要刷新配置,就只要调用任意一个消息总线端点调用刷新接口即可,其他的端点就会收 到刷新配置的消息。
刷新接口:http://localhost:8085/actuator/bus-refresh
spring.rabbitmq.host=127.0.0.1
spring.rabbitmq.port=5672
spring.rabbitmq.username=guest
spring.rabbitmq.password=guest

# 刷新配置url  http://localhost:8081/actuator/bus-refresh
spring.cloud.bus.refresh.enabled=true
spring.cloud.bus.trace.enabled=true
消息总线弊端就是太重了,一个集群通知刷新配置功能,还得用一个 rabbitmq 来做,如果 项目中根本用不到 rabbitmq 呢?就加大了项目负担,加大了维护成本。

