【Spring篇】数据源对象管理&&加载properties文件
专栏【Spring】
喜欢的诗句:更喜岷山千里雪 三军过后尽开颜。
音乐分享【如愿】
欢迎并且感谢大家指出小吉的问题
文章目录
- 数据源对象管理
-
- 基础版
-
- ⭐在pom.xml文件中加入下面的代码,作为依赖
- ⭐创建applicationContext.xml,添加下面的代码
- ⭐创建App类,加入下面的代码
- 进阶版 — c3p0
-
- ⭐打开applicationContext.xml,添加下面的代码
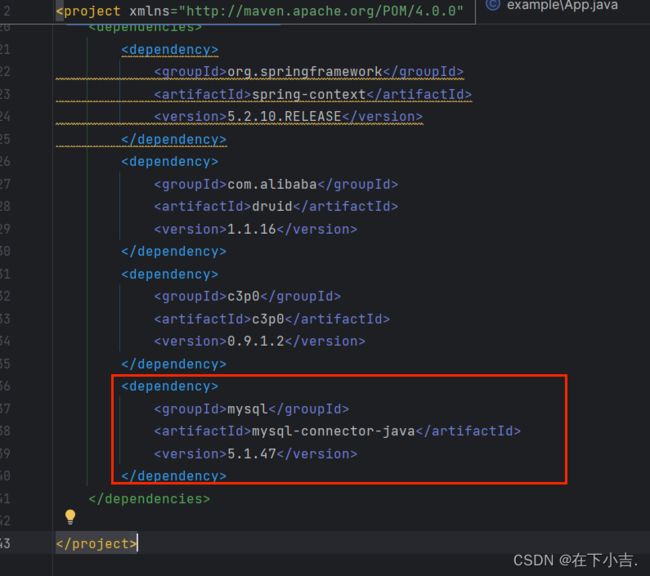
- ⭐在pom.xml文件中添加数据库驱动
- ✨运行结果
- 小结
- 加载properties文件
-
-
- ⭐写入jdbc.properties文件
- ⭐修改applicationContext.xml文件内容
- ⭐BookDao接口里面的内容
- ⭐在BookDaoimpl类里面添加下面的代码
- 再次修改applicationContext.xml文件,加入下面的代码
- 小结
-

数据库连接作为企业应用的基础资源之一,Spring可以通过声明方式帮我们轻松管理数据源。本文将详细介绍Spring容器配置和管理Druid、C3P0数据源的方法,让数据库连接配置变得极简。
我们还将学习使用属性文件进行参数配置的标准实践,让连接信息可外置。只要少量的Spring配置,就可以实现轻松的数据库连接管理、属性值注入等功能。跟随我一起学习数据源管理的最佳实践,大大简化数据库操作!
数据源对象管理
在Spring框架中,数据源对象管理是指通过Spring容器来管理和配置应用程序中使用的数据源对象。数据源对象是连接到数据库的资源,它提供了连接池、连接管理、事务管理等功能,使得应用程序能够高效地访问和操作数据库。
基础版
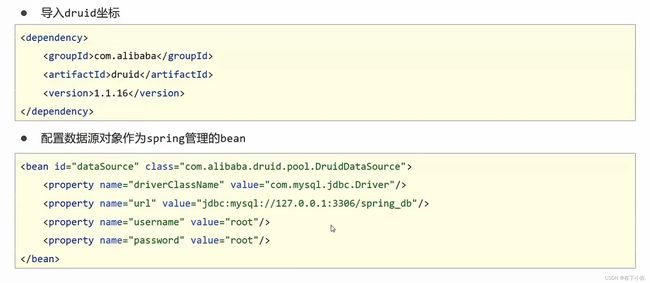
⭐在pom.xml文件中加入下面的代码,作为依赖
 <dependencies>
        <dependency>
            <groupId>org.springframeworkgroupId>
            <artifactId>spring-contextartifactId>
            <version>5.2.10.RELEASEversion>
        dependency>
        <dependency>
            <groupId>com.alibabagroupId>
            <artifactId>druidartifactId>
            <version>1.1.16version>
        dependency>
    dependencies>
⭐创建applicationContext.xml,添加下面的代码
    <bean id="dataSource" class="com.alibaba.druid.pool.DruidDataSource">
        <property name="driverClassName" value="com.mysql.jdbc.Driver"/>
        <property name="url" value="jdbc:mysql://localhost:3306/spring_db"/>
        <property name="username" value="root"/>
        <property name="password" value="1234"/>
    bean>
⭐创建App类,加入下面的代码
package com.example;

import org.springframework.context.ApplicationContext;
import org.springframework.context.support.ClassPathXmlApplicationContext;

import javax.sql.DataSource;

public class App {
    public static void main(String[] args) {
        ApplicationContext ctx=new ClassPathXmlApplicationContext("applicationContext.xml");
//        拿出这个bean
        DataSource dataSource=(DataSource) ctx.getBean("dataSource");
        System.out.println(dataSource);
    }
}
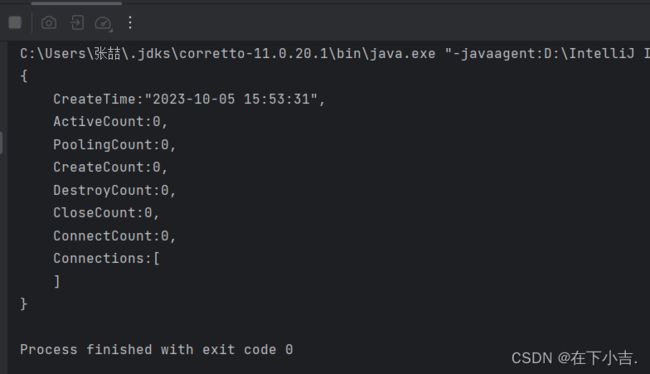
运行后发现,成功了
进阶版 — c3p0
进阶版是沿用基础版的代码的
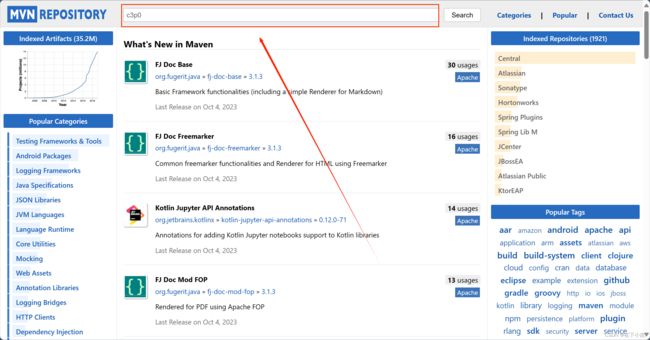
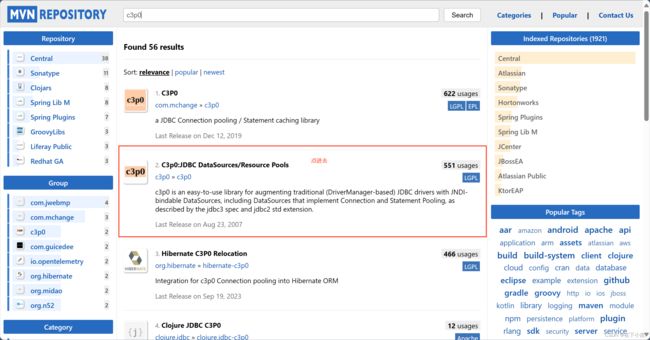
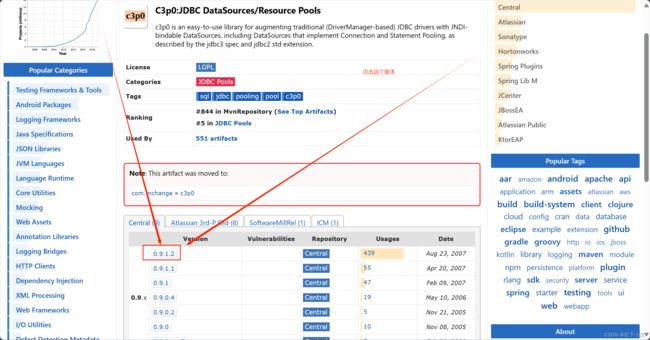
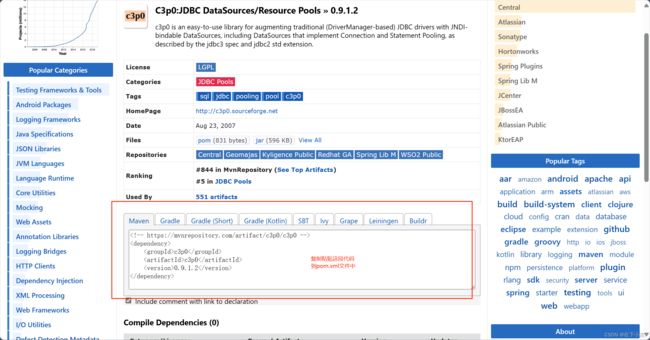
我们进入maven仓库,寻找c3p0
仓库地址
https://mvnrepository.com/
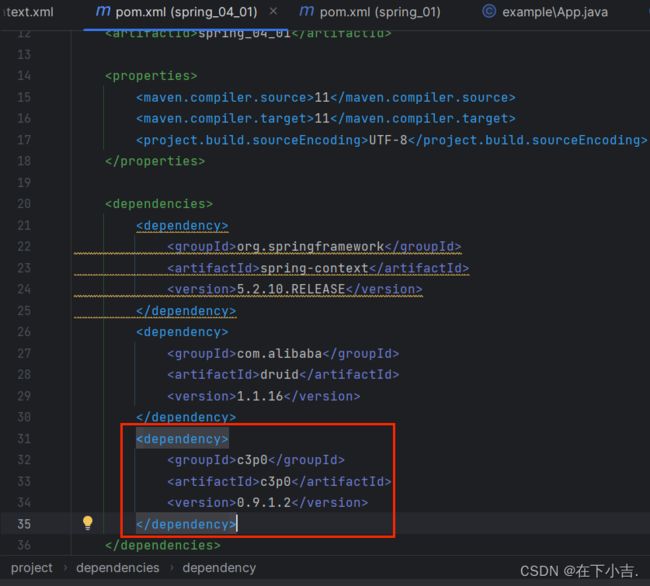
<dependency>
    <groupId>c3p0groupId>
    <artifactId>c3p0artifactId>
    <version>0.9.1.2version>
dependency>
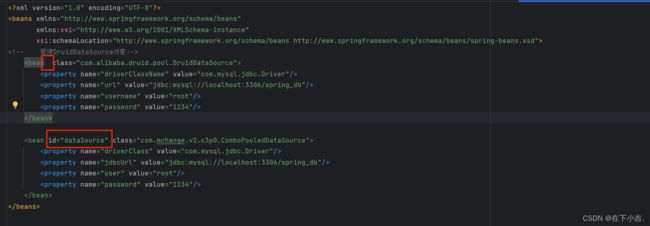
⭐打开applicationContext.xml,添加下面的代码
<bean id="dataSource" class="com.mchange.v2.c3p0.ComboPooledDataSource">
        <property name="driverClass" value="com.mysql.jdbc.Driver"/>
        <property name="jdbcUrl" value="jdbc:mysql://localhost:3306/spring_db"/>
        <property name="user" value="root"/>
        <property name="password" value="1234"/>
bean>
⭐在pom.xml文件中添加数据库驱动
		<dependency>
            <groupId>mysqlgroupId>
            <artifactId>mysql-connector-javaartifactId>
            <version>5.1.47version>
        dependency>
✨运行结果
小结
加载properties文件
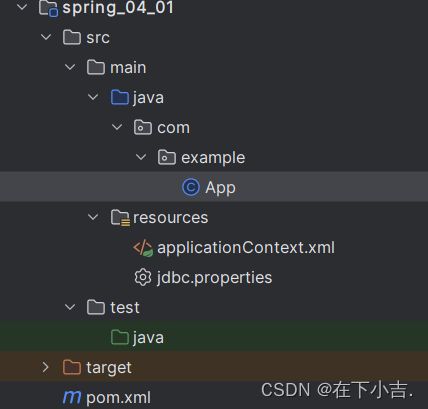
首先创建下图的结构
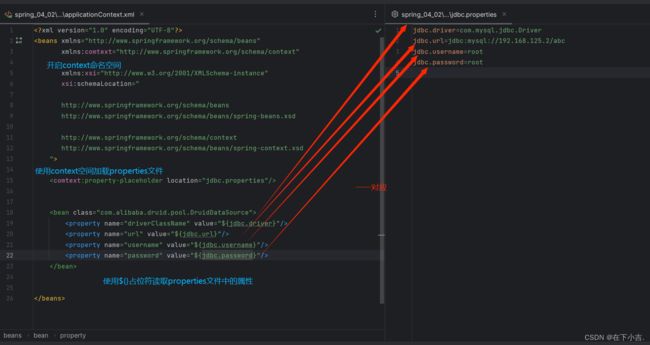
⭐写入jdbc.properties文件
记得端口号改为自己的
jdbc.driver=com.mysql.jdbc.Driver
jdbc.url=jdbc:mysql://192.168.125.2/abc
jdbc.username=root
jdbc.password=root
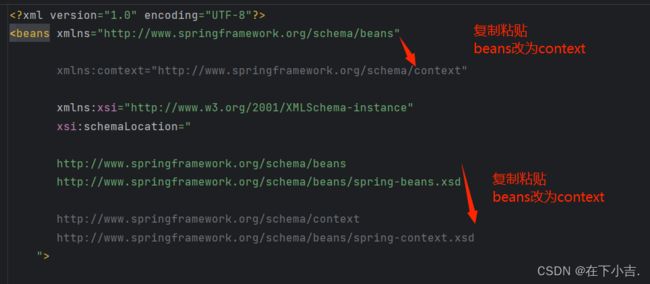
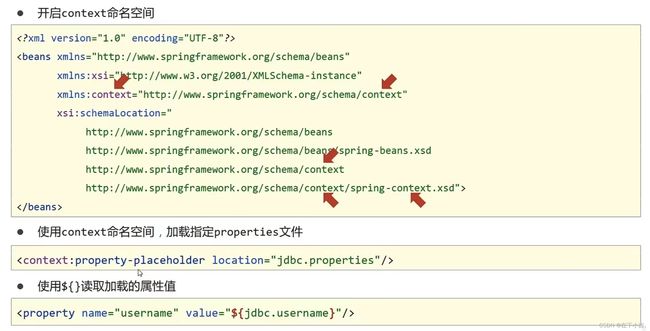
⭐修改applicationContext.xml文件内容
<beans xmlns="http://www.springframework.org/schema/beans"
       xmlns:context="http://www.springframework.org/schema/context"

       xmlns:xsi="http://www.w3.org/2001/XMLSchema-instance"
       xsi:schemaLocation="

       http://www.springframework.org/schema/beans
       http://www.springframework.org/schema/beans/spring-beans.xsd

       http://www.springframework.org/schema/context
       http://www.springframework.org/schema/beans/spring-context.xsd
    ">


    <context:property-placeholder location="jdbc.properties"/>

    <bean class="com.alibaba.druid.pool.DruidDataSource">
        <property name="driverClassName" value="${jdbc.driver}"/>
        <property name="url" value="${jdbc.url}"/>
        <property name="username" value="${jdbc.username}"/>
        <property name="password" value="${jdbc.password}"/>
    bean>

beans>
⭐BookDao接口里面的内容
package com.example.dao;

public interface BookDao {
    public void save();
}
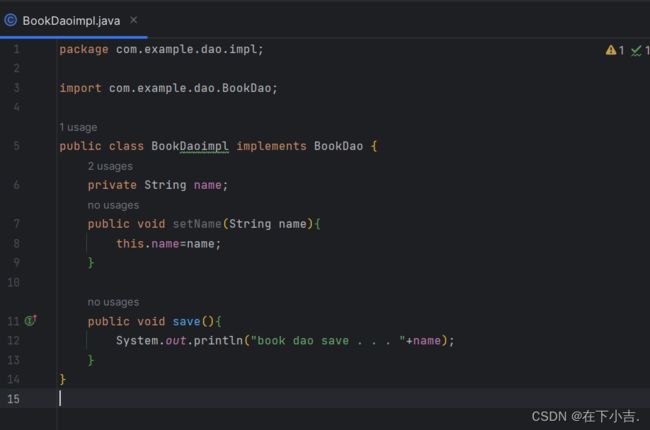
⭐在BookDaoimpl类里面添加下面的代码
package com.example.dao.impl;

import com.example.dao.BookDao;

public class BookDaoimpl implements BookDao {
    private String name;
    public void setName(String name){
        this.name=name;
    }

    public void save(){
        System.out.println("book dao save . . . "+name);
    }
}
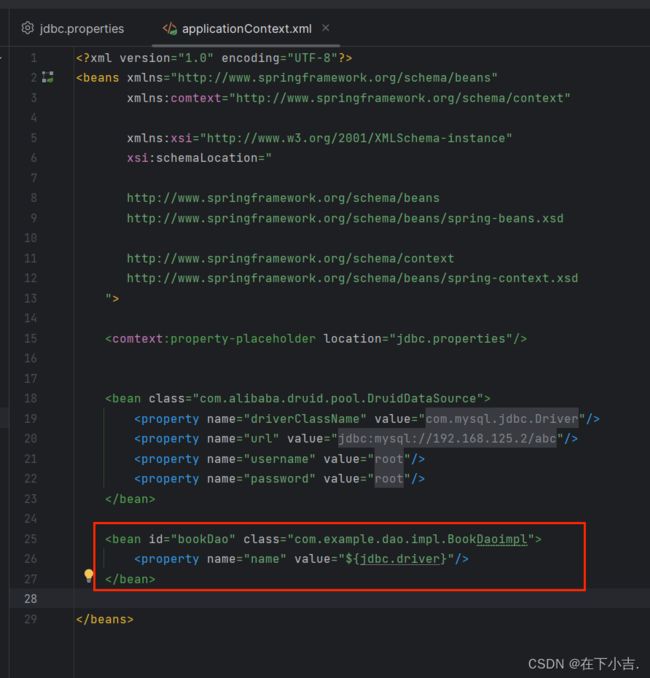
再次修改applicationContext.xml文件,加入下面的代码
<bean id="bookDao" class="com.example.dao.impl.BookDaoimpl">
        <property name="name" value="${jdbc.driver}"/>
bean>
小结
通过这些Spring数据源管理的入门示例,我们已经掌握了利用Spring容器配置和管理数据源的方法,实现了配置的解耦和方便的属性值注入,这在实际项目中非常有用。
我们还可以通过Spring JdbcTemplate、MyBatis等技术进行数据库操作,这些都可以建立在Spring数据源管理的基础之上。如果大家在数据源管理和数据库操作方面还有其他问题,欢迎留言讨论!


