iOS原生项目集成RN0.56版本
前提:
1、已经存在原生iOS项目,且项目用cocopods管理;
2、RN、Xcode等环境已配置完成
开始集成
1)先用react-native init myFirstRNProject命令,创建个空的RN项目;
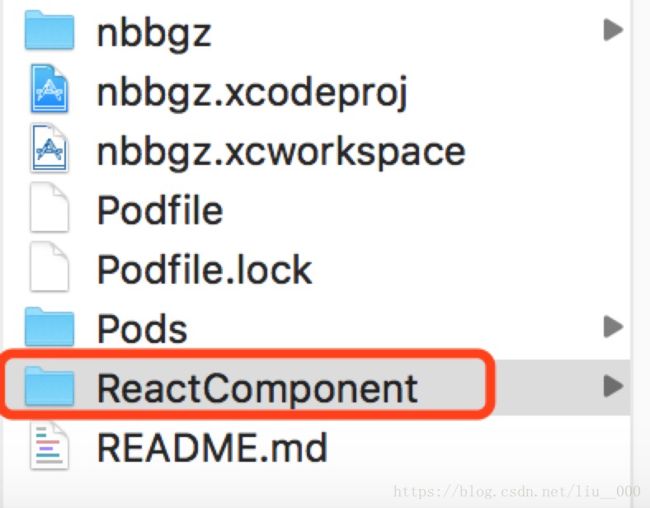
2)再iOS根目录下创建空文件夹ReactComponent,这个文件夹名字随意,后面配置路径写正确就行。
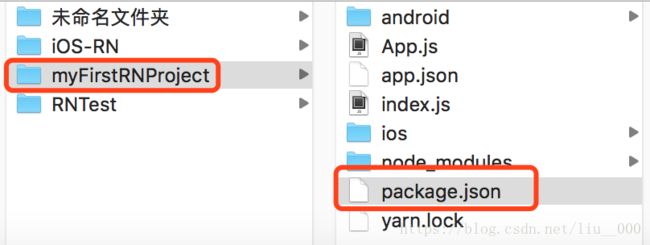
3)把刚才创建的RN项目中的package.json文件,拷贝到ReactComponent文件夹里面
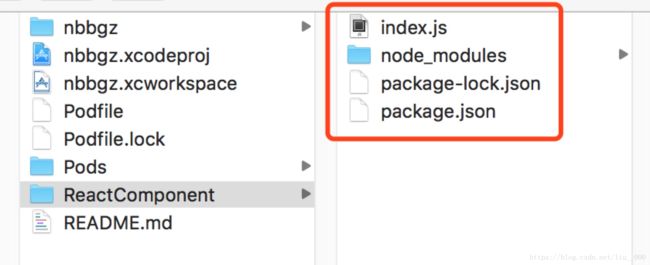
拷贝完后的目录
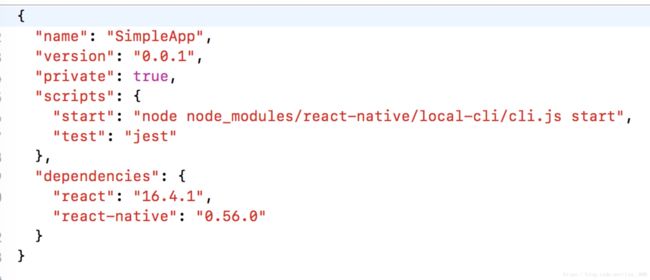
4)打开package.json文件,删除如下(这些事开发调试用的,不需要):
删除后文件如图:
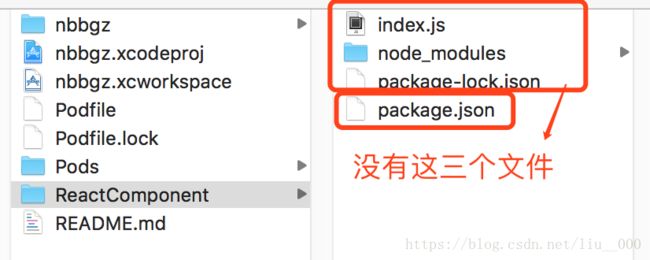
5)用终端(命令行)工具,cd到ReactComponent文件下,运行npm install,等待执行完成目录(不包含index.js)如下:
把远RN空项目中的index.js文件考进来,这个文件是RN的入口文件,里面的测试代码如下:
import React, { Component } from 'react';
import {
AppRegistry,
StyleSheet,
Text,
View
} from 'react-native';
export default class SimpleApp extends Component {
render() {
return
}
}
const styles = StyleSheet.create({
container: {
flex: 1,
backgroundColor: 'red'
}
});
AppRegistry.registerComponent('SimpleApp', () => SimpleApp);
6)再iOS原生项目的Podfile文件添加如下(根据你项目需要添加):
# Uncomment the next line to define a global platform for your project
platform :ios, '8.0'
# pod生成的库 以动态库方式放到工程中
use_frameworks!
# 压制库中所有警告
inhibit_all_warnings!
target 'nbbgz' do
# Uncomment the next line if you're using Swift or would like to use dynamic frameworks
pod 'Masonry', '~> 1.1.0'
pod 'AFNetworking', '~> 3.2.1'
pod 'SDWebImage', '~> 4.4.1'
pod 'SVProgressHUD', '~> 2.2.5'
pod 'MJRefresh', '~> 3.1.15.3'
pod 'WMPageController', '~> 2.5.2'
pod 'SDCycleScrollView', '~> 1.75'
# Pods for React Native
# 'node_modules'目录一般位于根目录中,我放到了ReactComponent文件夹下了,修改如下对应的路径
# 但是如果你的结构不同,那你就要根据实际路径修改下面的`:path`
pod 'React', :path => './ReactComponent/node_modules/react-native', :subspecs => [
'Core',
'CxxBridge', # 如果RN版本 >= 0.45则加入此行
#'BatchedBridge', #RN版本高于0.45之后必须导入
'DevSupport', # 如果RN版本 >= 0.43,则需要加入此行才能开启开发者菜单
'RCTImage',
'RCTNetwork',
'RCTText',
'RCTWebSocket', # 这个模块是用于调试功能的
# 在这里继续添加你所需要的RN模块
#'ART',
#'RCTActionSheet',
#'RCTAdSupport',
#'RCTCameraRoll',
#'RCTGeolocation',
#'RCTPushNotification',
#'RCTSettings',
#'RCTVibration',
#'RCTLinkingIOS',
#'RCTAnimation',
]
# 如果你的RN版本 >= 0.42.0,则加入下面这行。
pod 'yoga', :path => './ReactComponent/node_modules/react-native/ReactCommon/yoga'
# 这里注意: 如果是0.49以下的RN,则使用下面这条:
# pod "Yoga", :path => "./ReactComponent/node_modules/react-native/ReactCommon/yoga"
# 如果RN版本 >= 0.45则加入下面三个第三方编译依赖
pod 'DoubleConversion', :podspec => './ReactComponent/node_modules/react-native/third-party-podspecs/DoubleConversion.podspec'
pod 'glog', :podspec => './ReactComponent/node_modules/react-native/third-party-podspecs/glog.podspec'
# ios9.0以上版本才行
pod 'Folly', :podspec => './ReactComponent/node_modules/react-native/third-party-podspecs/Folly.podspec'
end
7)命令行工具,进入iOS根目录运行 pod install;大功告成~
8)AppDelegate.m测试:
导入 #import
- (BOOL)application:(UIApplication *)application didFinishLaunchingWithOptions:(NSDictionary *)launchOptions {
NSURL *url = [NSURL URLWithString:@"http://localhost:8081/index.bundle?platform=ios&dev=true"];
RCTRootView * rootView = [[RCTRootView alloc] initWithBundleURL:url moduleName:@"SimpleApp" initialProperties:nil launchOptions:nil];
UIViewController *vc = [[UIViewController alloc] init];
vc.view = rootView;
self.window.rootViewController = vc;
return YES;
}
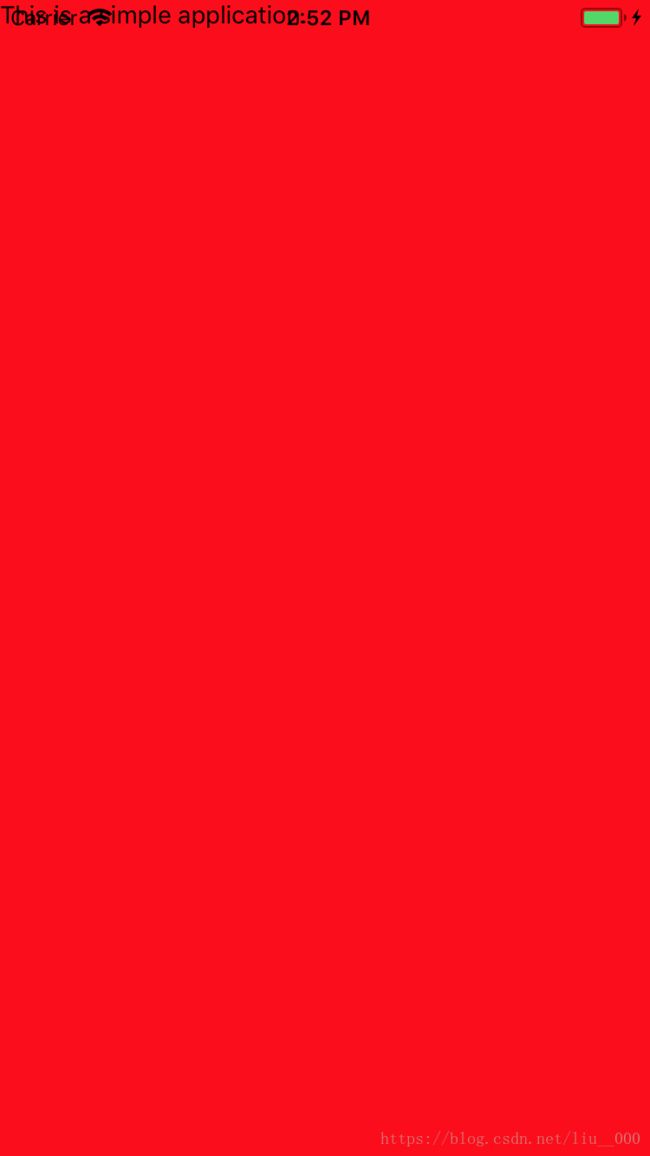
9)如何运行:进入package.json文件所在文件夹 运行npm start,再用xcode运行工程即可
