在Win10的Linux子系统Ubuntu中使用Qt
在Win10的Linux子系统Ubuntu中使用Qt
陈拓 2021/07/26-2021/07/26
1. 概述
在《Win10的Linux子系统Ubuntu安装图形界面》
https://zhuanlan.zhihu.com/p/393145947
https://blog.csdn.net/chentuo2000/article/details/119104547
一文中我们为WSL安装了图形界面。在本文中我们在WSL图形界面的基础上安装和使用Qt。
2. 安装Qt
2.1 Qt和Qt Creator的区别
Qt是C++的一个库,里面集成了一些库函数,提高开发效率。
Qt Creator是一个集成了C++语言和CMake工具的IDE开发环境。
2.2 安装Qt5
- 在WSL终端创建目录hk
mkdir hk
- 进入hk
cd hk
- 安装Qt5
sudo apt-get update
sudo apt-get install cmake qt5-default qtcreator
![]()
出错,按照提示,输入:
sudo apt-get install cmake qt5-default qtcreator --fix-missing
- 验证安装是否成功
qmake -version
OK!
查看Qt目录:
找qt5的安装目录
sudo find / -name qt5
![]()
ls -l /usr/lib/x86_64-linux-gnu/qt5
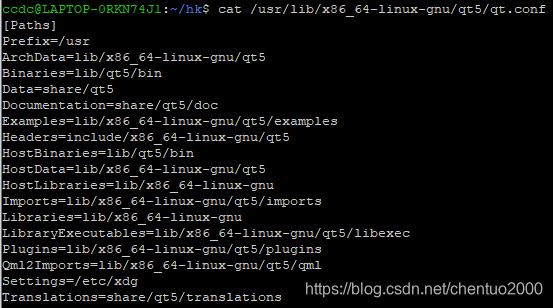
查看配置文件qt.conf
2.3 运行Qt Creator
- 启动XLaunch
看《Win10的Linux子系统Ubuntu安装图形界面》
https://zhuanlan.zhihu.com/p/393145947
https://blog.csdn.net/chentuo2000/article/details/119104547
- 在terminal执行命令qtcreator启动Qt Creator
出错,解决方法:
[https://stackoverflow.com/questions/63627955/cant-load-shared-library-libqt5core-so-5]
sudo strip --remove-section=.note.ABI-tag /usr/lib/x86_64-linux-gnu/libQt5Core.so.5
再执行qtcreator
有错误,但Qt Creator启动了:
2.4 解决错误问题
- QStandardPaths: XDG_RUNTIME_DIR not set, defaulting to '/tmp/runtime-ccdc'
告知用户XDG_RUNTIME_DIR环境变量未设置,可以不管它,系统默认使用目录/tmp/runtime-ccdc:
![]()
ccdc是我的用户名。
XDG_RUNTIME_DIR给出用户运行时目录,如果不需要就不要定义这个变量。
如果需要,在/etc/profile末尾增加一句:
export XDG_RUNTIME_DIR=/your/dir
/your/dir是你定义的目录。
注意:这个目录对于执行qtcreator命令的用户一定要有读写权限。然后刷新全局变量:
source /etc/profile
- 解决libGL错误
libGL error: No matching fbConfigs or visuals found
libGL error: failed to load driver: swrast
无匹配的帧缓存设置和视图,无对应swrast驱动。swrast主要用于图形渲染,其出现问题说明没有发现显卡的硬件驱动。
解决方法参考文档:
WSL下使用VcXsrv启动chromium browser及常见错误解析 (ubuntu18.04, 图形界面)
[https://www.cnblogs.com/freestylesoccor/p/9630758.html]
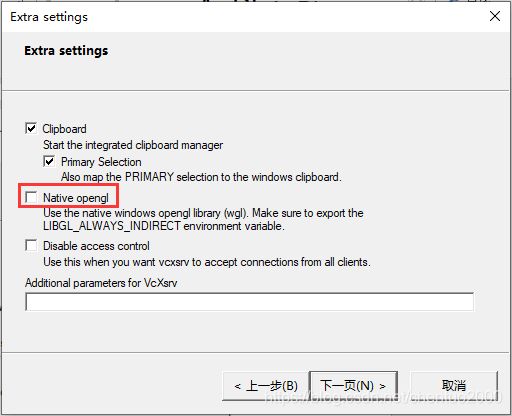
在启动XLaunch时关闭openGL 选项,该错误即消失,说明wgl(windows自带图像处理器)跟Qt存在兼容问题。
取消Native opengl勾选。
重新启动启动Qt Creator
qtcreator
没有错误信息了,Qt Creator启动正常:
3. QT项目测试
- 创建项目
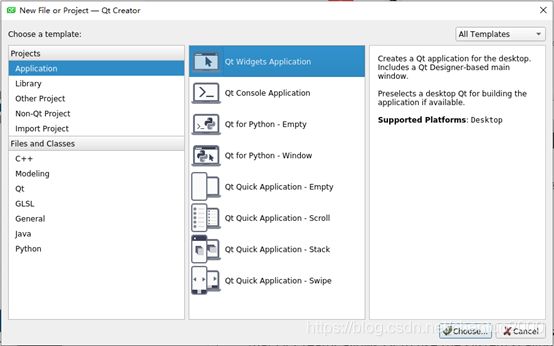
File > New File or Project
选择Qt Widgets Application,点击Choose。
项目名称Name:hello
创建目录:/home/ccdc/hk
Next >
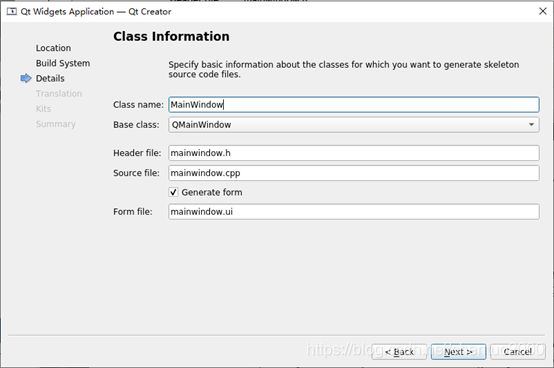
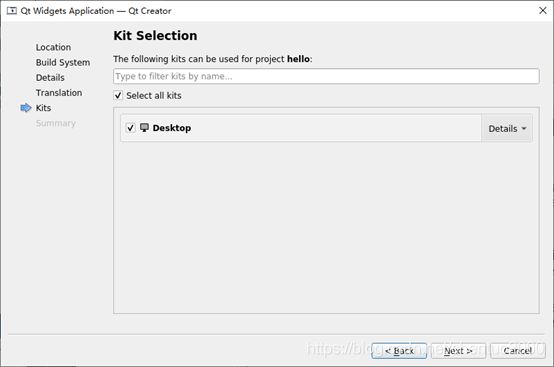
默认,Next >
默认,Next >
默认,Next >
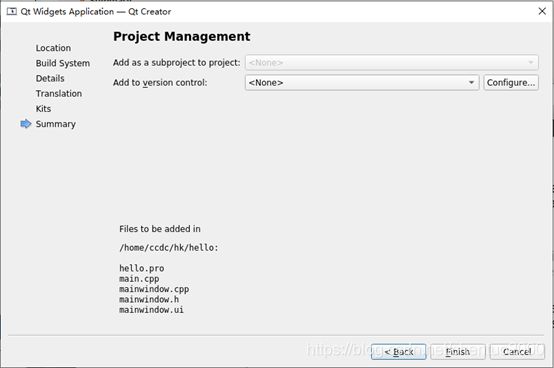
默认,Next >
Finish
完成hello项目创建,进入代码编辑页面。
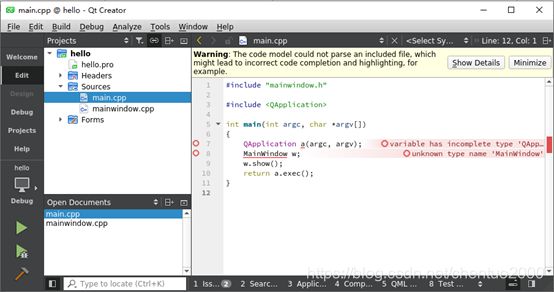
出现错误:
unkown type name ‘QApplication’
unkown type name ‘MainWindow’
解决办法:
About > About Plugins > C++ 去掉ClangCodeModel的勾选。
重新启动Qt Creator。
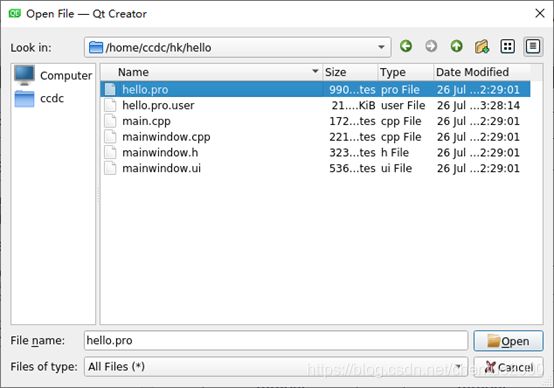
打开我们之前创建的项目hello。
错误信息没有了。
- 界面设计
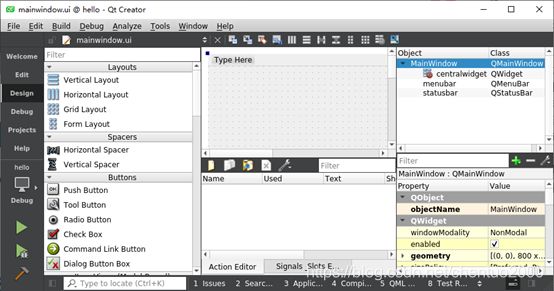
双击mainwindow.ui
打开UI设计窗口:
拖拽一个Label组件到Type Here上。
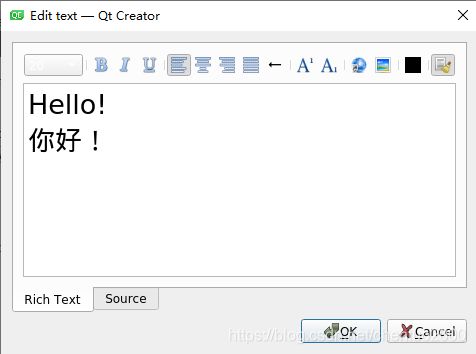
编辑text属性:
OK
Ctrl+S保存。
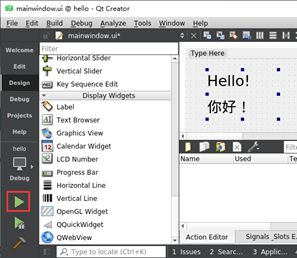
按F5或者点击左下角的Run按钮运行程序。
参考文档
- ubuntu 查找qt是否安装_ubuntu18.04 安装qt5.12.8及环境配置的详细教程https://blog.csdn.net/weixin_42352222/article/details/114472231?utm_medium=distribute.pc_relevant_download.none-task-blog-baidujs-nonecase&depth_1-utm_source=distribute.pc_relevant_download.none-task-blog-baidujs-1.nonecase
- 安装QT5 出现错误 unkown type name ‘QApplication’ unkown type name ‘MainWindow’
https://blog.csdn.net/u014783785/article/details/107062307


