uni-app常用
一、Vue-X的使用
自己创建一个store文件夹在其中加入index.js
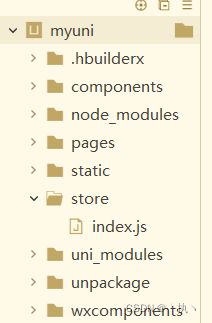
在index.js中配置初始化
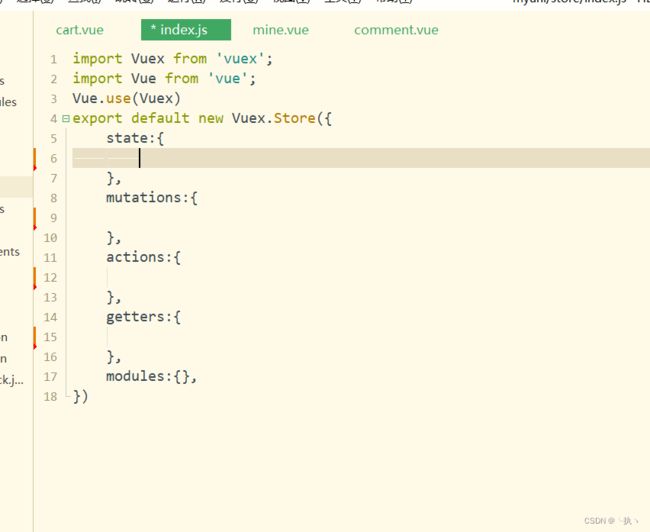
Vuex 实现数据的全局共享,响应式更新
state
存放状态
例如:state:{
		gTitle:{
			text:"你好VUEx",
			color:"#000",
			fontSize:"24px",
			background:"#f70"
		},
	},
$store.state.xxx访问
mutations
改变状态的唯一方法
例如
   state:{
		gTitle:{
			text:"你好VUEx",
			color:"#000",
			fontSize:"24px",
			background:"#f70"
		},
		joks:[],
	},
	mutations:{
		setJoks(state,data){
			state.joks=data
		},
		setSize(state,data){
			state.gTitle.fontSize=data+"px"
		},
		setBackgroundColor(state,data){
			state.gTitle.background=data
		}
	},
actions
异步操作数据的方式
例如	state:{
		gTitle:{
			text:"你好VUEx",
			color:"#000",
			fontSize:"24px",
			background:"#f70"
		},
		joks:[],
	},
	mutations:{
		setJoks(state,data){
			state.joks=data
		},
		setSize(state,data){
			state.gTitle.fontSize=data+"px"
		},
		setBackgroundColor(state,data){
			state.gTitle.background=data
		}
	},
	actions:{
		getJok(context,data){
			uni.request({
				url:"http://520mg.com/mi/list.php",
				method:"get",
				data:data,
				success:res=>{
					context.commit("setJoks",res.data.result)
				}
			})
		}
	},
getters
从现有的状态计算出新的数据如:
	state:{
		gTitle:{
			text:"你好VUEx",
			color:"#000",
			fontSize:"24px",
			background:"#f70"
		},
		joks:[],
	},
	mutations:{
		setJoks(state,data){
			state.joks=data
		},
		setSize(state,data){
			state.gTitle.fontSize=data+"px"
		},
		setBackgroundColor(state,data){
			state.gTitle.background=data
		}
	},
	actions:{
		getJok(context,data){
			uni.request({
				url:"http://520mg.com/mi/list.php",
				method:"get",
				data:data,
				success:res=>{
					context.commit("setJoks",res.data.result)
				}
			})
		}
	},

	getters:{
		"totalLen":function(state){
			var count=0
			for(var i=0;i
二、uni-app常用api
1.uni.setStorageSync存数数据
uni.setStorageSync("key","value")
2.uni.getStorageSync获取数据
var res = uni.getStorageSync("key");
console.log(res)
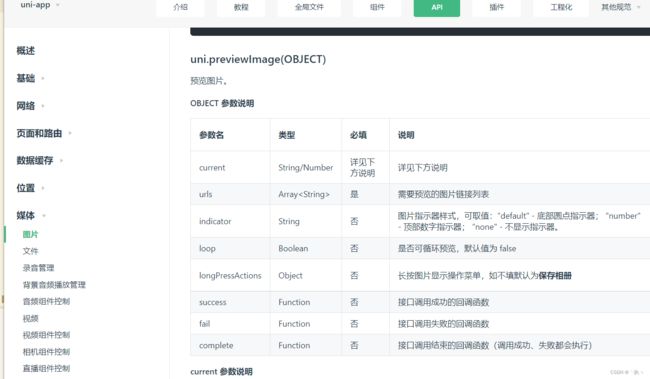
3.上传图片&预览图片&分享&保存
uni.chooseImage 选择图片
uni.previewImage 预览图片
uni.uploadFile 上传
uni.saveImageToPhotosAlbum 保存
uni.share 分享
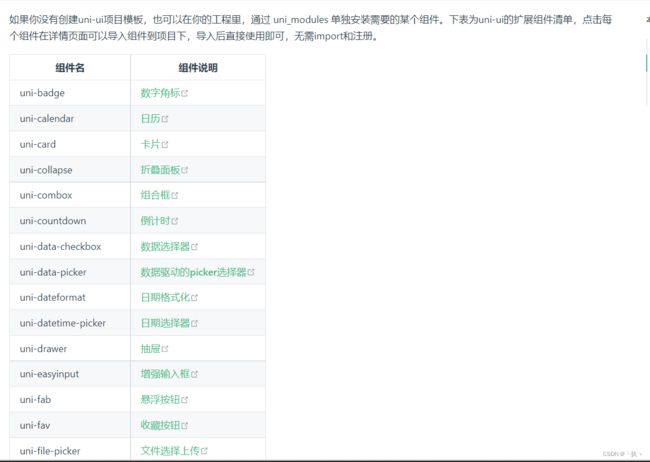
三、常用组件、自定义组件
常用组件
uni-countdown
uni-swiper-dot
uni-popup
uni-popup-dialog
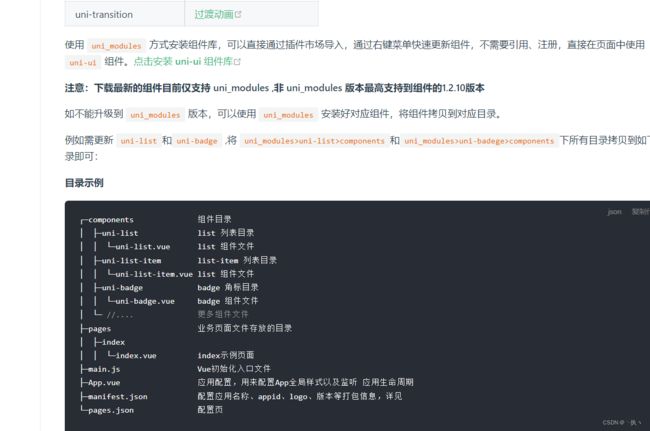
自定义组件
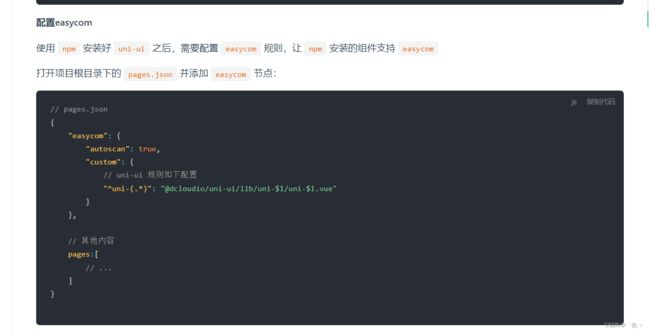
easycom
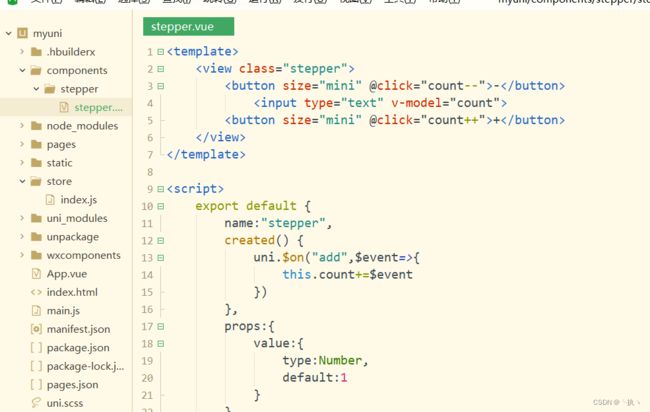
components/组件名/组件名.vue
不需要导入可以在页面中直接使用
uni_modlues/components/组件名/组件名.vue(这种模式也是可以)
定义组件 .vue文件就是一个组件
组建传参
组件传参
父传子: props
父通过属性的方式传递个字组件
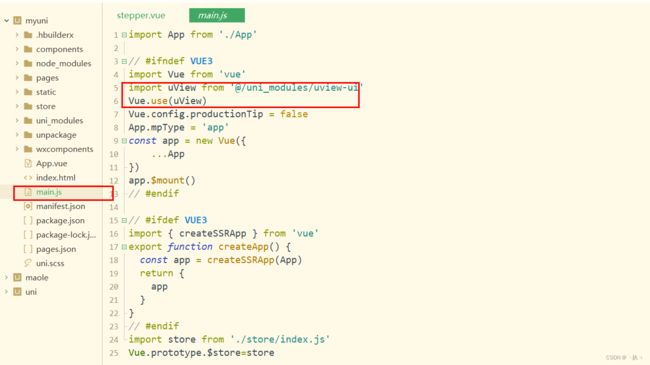
四、第三方组件
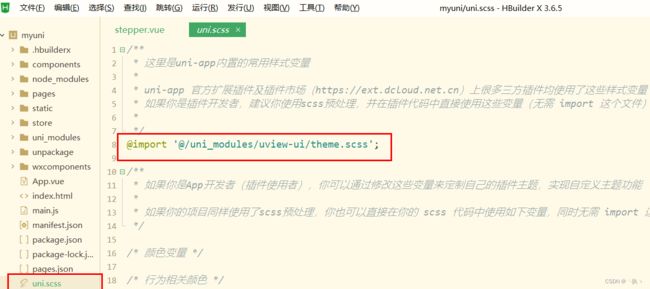
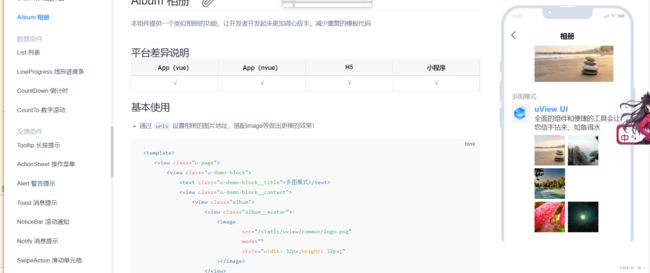
这里只是举例uview
先安装

或者 npm init -y
npm install [email protected]
