QML入门
文章目录
- 基本语法
- 基本类型
- 布局
- 函数定义与调用
- 自定义信号
- 基本可视元素
- 事件
- 动画
-
- 1.动画作为属性值的来源
- 2.行为动画
- 3.信号处理器中的动画
- 4.独立动画
- 5.状态切换
- 6.属性动画元素
- 7.组合动画
- QML与C++混合编程
-
- 1.利用QQuickView
- 2.qml使用C++函数
- 3.C++调用qml中的函数
- 4. qml中信号出发cpp中槽函数
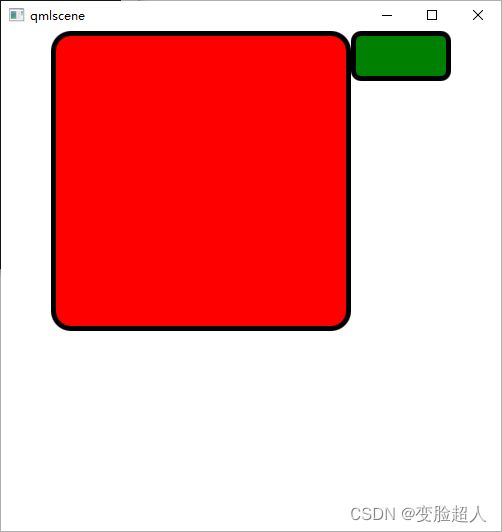
基本语法
import QtQuick 2.0 //导入内建qml的类型

//Item就像Qt中QtObject一样,属于一个基类
Item {
    width: 500
    height: 500

    Rectangle{
        id:red_rectangle //身份表示,类似于objectName
        x:50;y:0//坐标
        width: parent.width-200
        height: parent.height-200
        color: "red"
        border.width: 5
        border.color: "black"
        radius: 10*2
    }
    Rectangle{
        id:green_rectangle
        x:350;y:0//坐标
        width: red_rectangle.width-200 //使用了上一个的id
        height: 50
        color: "green"
        border.width: 5
        border.color: "black"
        radius: 10
    }
}
基本类型
| bool | double | enumeration | int |
|---|---|---|---|
list QML对象集合 |
real 浮点 |
string | url |
var s一般属性类型 |
data 日期 |
point | rect |
| size |
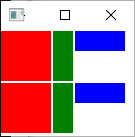
布局
import QtQuick 2.0

Column{
    spacing: 2
    Rectangle{color: "red";width:50;height: 50}
    Rectangle{color: "green";width:20;height: 50}
    Rectangle{color: "blue";width:50;height: 20}
}
//或者
Grid{
    columns: 3
    spacing: 2
    Rectangle{color: "red";width:50;height: 50}
    Rectangle{color: "green";width:20;height: 50}
    Rectangle{color: "blue";width:50;height: 20}
    Rectangle{color: "red";width:50;height: 50}
    Rectangle{color: "green";width:20;height: 50}
    Rectangle{color: "blue";width:50;height: 20}
}
函数定义与调用
import QtQuick 2.0
Rectangle{
    id:myrect
    width: 200
    height: 200
    //函数格式
    //function 函数名(参数名1,参数名2,...){...}//不需要指定参数类型
    function sayHello(strHello){
        console.log("hello "+strHello)
    }
    //设置鼠标活动范围
    MouseArea{
        anchors.fill: parent
        onClicked: myrect.sayHello("HiHi")
    }
}
自定义信号
import QtQuick 2.0

Item{
    width:500
    height:500

    MouseArea{
        anchors.fill: parent
        onClicked: myrect.btnClicked()
    }

    Rectangle{
        x:0
        id:myrect
        width: 200
        height: 200
        color:"pink"
        signal btnClicked
        onBtnClicked: {
            console.log("aaaa")
        }

    }
    Rectangle{
        x:200
        id:myrect1
        width: 200
        height: 200

    }

}
基本可视元素
import QtQuick 2.0

Item {
    width: 500
    height: 500
    Image {
        id: name
        source: "C.jpeg"
        fillMode: Image.Tile
        opacity: 0.2
        z:1//层次,越大越是顶层
    }
    Text {
        id: txt
        x:299
        width:200
        font.bold: true
        font.pointSize: 24
        text: qsTr("哈哈哈哈哈哈哈哈哈哈哈哈哈哈")
        elide: Text.ElideLeft
    }
    TextEdit{
        width: 200
        text:"Hello"
    }
}
事件
import QtQuick 2.0

Rectangle{
    width: 100
    height: 100
    focus: true //是否获取焦点
    Keys.onPressed: {
        if(event.key == Qt.Key_Q)
        {
            console.log("Q键被按下")
            event.accepted = true
        }
    }
}
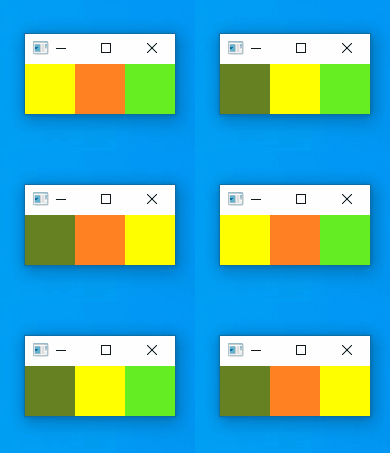
导航案例
import QtQuick 2.0

Grid{
    Rectangle{
        id:upL
        width: 50
        height: 50
        color: focus?"yellow":"#668123"
        focus:true
        KeyNavigation.right: upM
    }
    Rectangle{
        id:upM
        width: 50
        height: 50
        color: focus?"yellow":"#ff8123"
        focus:false
        KeyNavigation.left: upL
        KeyNavigation.right: upR
    }
    Rectangle{
        id:upR
        width: 50
        height: 50
        color: focus?"yellow":"#66ee23"
        focus:false
        KeyNavigation.left: upM
    }
}
按方向键盘会出现这种交替的效果
动画
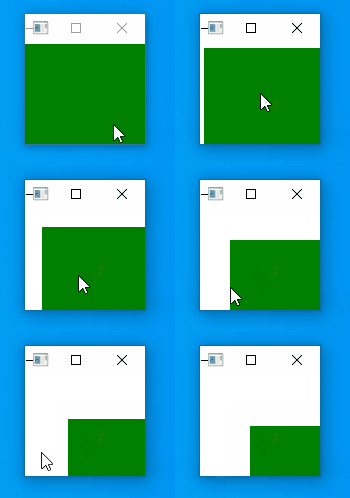
1.动画作为属性值的来源
语法:动画 on 属性
import QtQuick 2.0

Rectangle{
      width: 100
      height: 100
      color: "red"
      PropertyAnimation on x{to:50;duration: 1000;loops:Animation.Infinite}
      PropertyAnimation on y{to:50;duration: 1000;loops:Animation.Infinite}
}
//在此基础上增加缓和曲线,具有回弹的效果
Rectangle{
      width: 100
      height: 100
      color: "red"
      PropertyAnimation on x{to:50;duration: 1000;loops:Animation.Infinite;easing.type:Easing.OutBounce}
      PropertyAnimation on y{to:50;duration: 1000;loops:Animation.Infinite;easing.type:Easing.OutBounce}
}
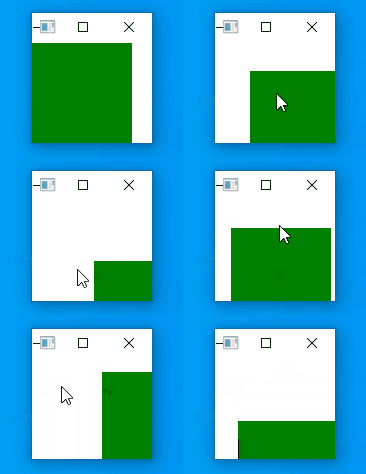
2.行为动画
Behavior为一个属性值来指定默认的动画
语法:Behavior on 属性
Item{
    width: 100
    height: 100

    Rectangle{
        id:green_rect
        width: 100
        height: 100
        color: "green"

        Behavior on x{
            PropertyAnimation{duration: 500}
        }
        Behavior on y{
            PropertyAnimation{duration: 500}
        }
    }
    MouseArea{
        anchors.fill: parent
        onClicked: {green_rect.x=mouse.x
            green_rect.y = mouse.y
        }
    }
}
3.信号处理器中的动画
Rectangle{
    id:green_rect
    width: 100
    height: 100
    color: "green"

    MouseArea{
        anchors.fill: parent
        onClicked: PropertyAnimation{
            target: green_rect
            properties: "x,y"
            to:50
            duration: 2000
        }
    }
}
4.独立动画
动画作为普通QML对象来创建
Rectangle{
    id:green_rect
    width: 100
    height: 100
    color: "green"
    PropertyAnimation{
        id:rect_animation
        target: green_rect
        properties: "x,y"
        duration: 1000
    }
    MouseArea{
        anchors.fill: parent
        onClicked: {
            rect_animation.to = 50
            rect_animation.running = true
        }
    }
}
5.状态切换
Rectangle{
    id:green_rect
    width: 100
    height: 100
    color: "green"
    MouseArea{
        anchors.fill: parent
        onClicked: {
            green_rect.state="moved_1"
        }
        onReleased: {
            green_rect.state="moved_2"
        }
    }
    //状态列表,列表语法 = states:[State{},State{}...]
    states: [
        State {
            name: "moved_1"
            PropertyChanges {
                target: green_rect
                x:50
                y:50
            }
        },
        State {
            name: "moved_2"
            PropertyChanges {
                target: green_rect
                x:20
                y:20
            }
        }
    ]
    transitions: Transition {
        PropertyAnimation{properties: "x,y";duration: 1000}
    }
}
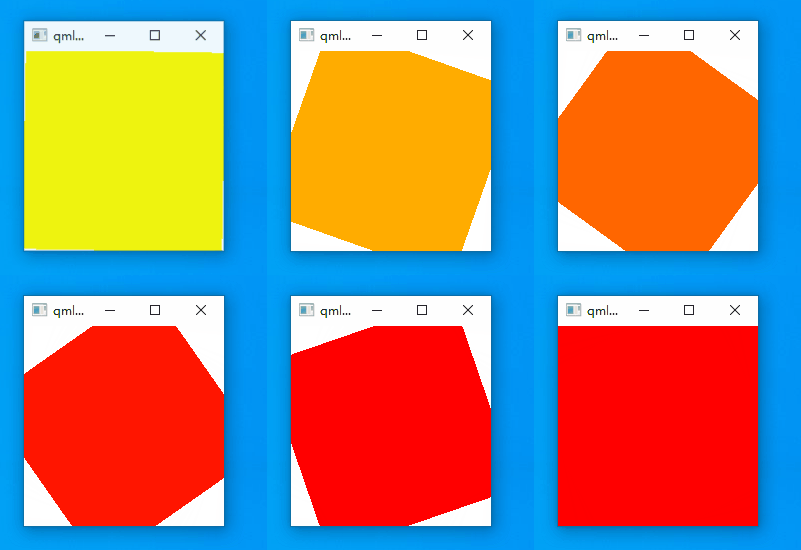
6.属性动画元素
Rectangle{
    width:200
    height:200

    ColorAnimation on color{
        from: "yellow"
        to: "red"
        duration: 2000
    }
    RotationAnimation on rotation {
        to:90
        duration: 3000
        direction: RotationAnimation.Clockwise //顺时针
    }
}
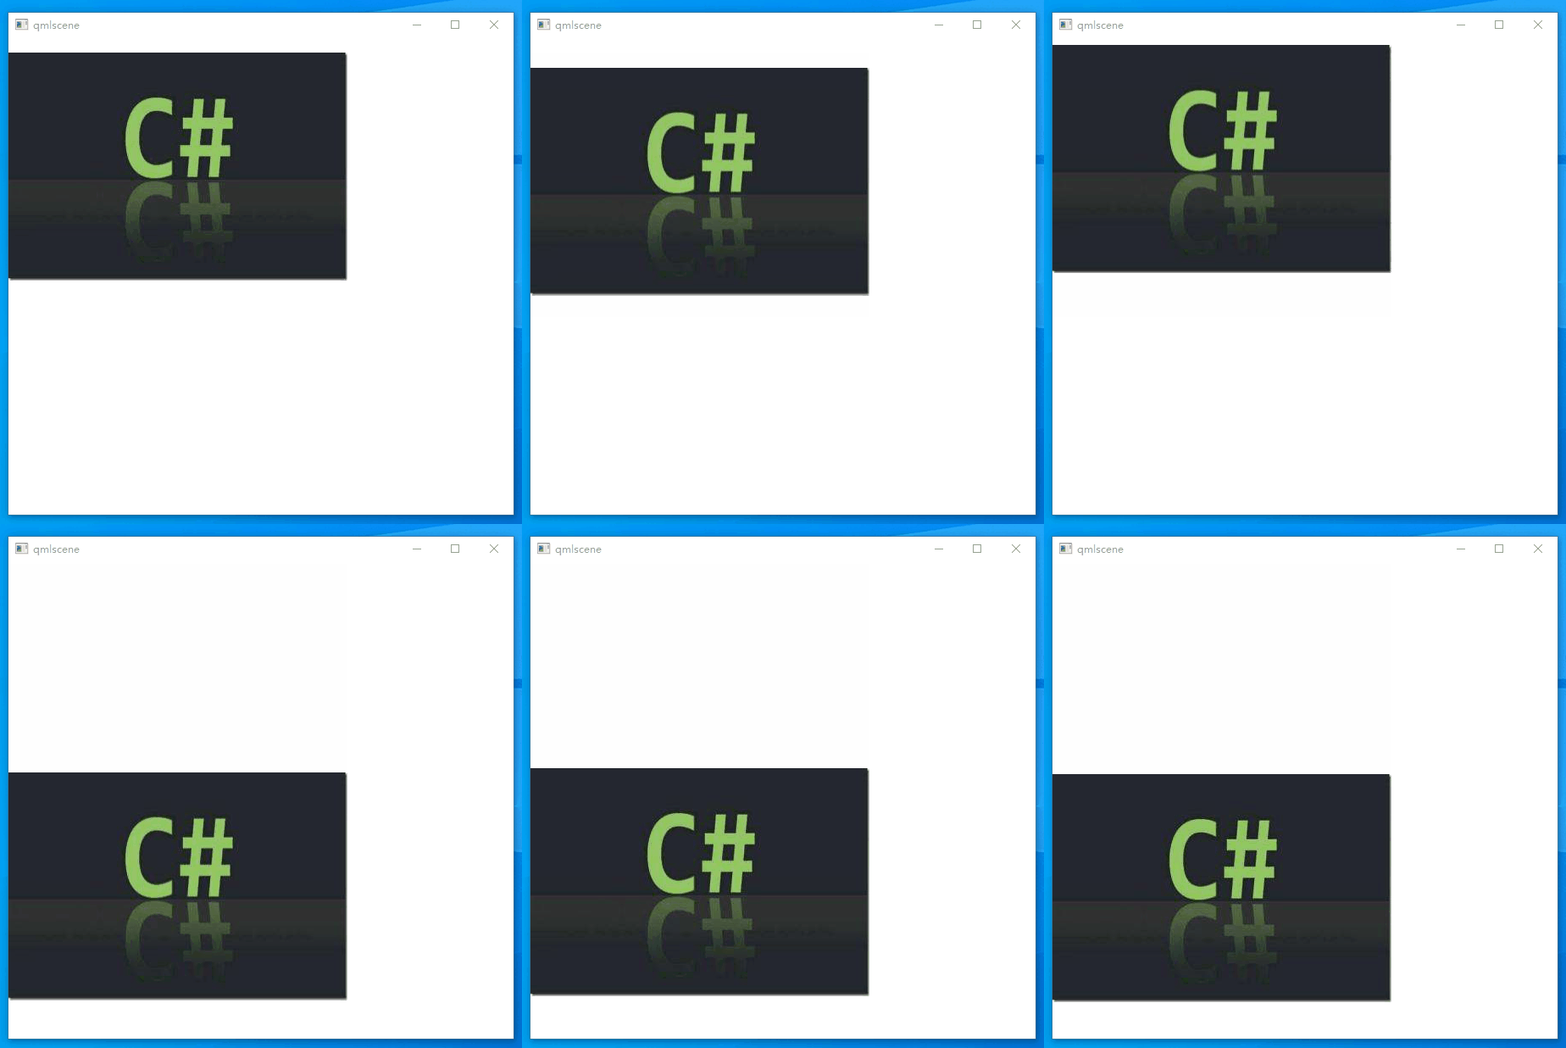
7.组合动画
Rectangle{
    width:200
    height:200

    Image {
        id: name
        source: "C.jpeg"
        anchors.horizontalCenter: parent
        y:0
        //队列动画
        SequentialAnimation on y {
            loops:Animation.Infinite//无限循环
            //数字动画
            NumberAnimation{
                to:250
                easing.type:Easing.OutBounce
                duration:1000
            }
            //暂停动画
            PauseAnimation {
                duration: 2000
            }
            NumberAnimation{
                to:0
                easing.type:Easing.OutBounce
                duration:1000
            }
        }
    }
}
QML与C++混合编程
1.利用QQuickView
-
在 pro文件中一定加入quick模块
QT += quick -
#include#include int main(int argc,char* argv[]) { QApplication app(argc,argv); //加载qml文件到视图 QQuickView view; view.setSource(QUrl("column.qml")); view.show(); return app.exec(); }
2.qml使用C++函数
- 在cpp文件中定义函数
#include - qml中调用函数
import QtQuick 2.0

Text {
    //调用c++的函数
    text:applicationData.getCurrentDataTime()
}
- main函数
#include 3.C++调用qml中的函数
- qml文件
import QtQuick 2.0

Text {
    function qmlFunction(msg){
        console.log("Message comes:",msg)
        return "abc"
    }
}
- main文件
#include 4. qml中信号出发cpp中槽函数
- qml
import QtQuick 2.0

Item {
    id:item
    width: 100
    height: 100
    signal qmlSignal(string msg)
    MouseArea{
        anchors.fill: parent
        onClicked: item.qmlSignal("Hello qml")
    }
}
- cpp文件
#include - main函数
#include 