搭建动态网站之——基于Redhat8.6搭建Discuz论坛
目录
一、动态网站与静态网站区别
1、提供用户互动接口的动态网站
2、搭建动态网站的需求:
二、搭建步骤
第一步:www服务器配置
第二步;编辑网页文件
第三步:使用xftp 将Discuz包传到/discuz解压
1、将Discuz包移动到/discuz
2、解压:
第四步、进入安装路径
第五步、安装php预处理工具
第六步、安装数据库mariadb
启动数据库
第七步、数据库初始化
第八步、登录数据库
第九步、创建数据库
第十步、重启httpd和mariadb
1、访问
2、更改权限:
一、动态网站与静态网站区别
动态网站并不是指具有动画功能的网站,而是指网站内容可根据不同情况动态变更的网站,一般情况下动态网站通过数据库进行架构。 动态网站除了要设计网页外,还要通过数据库和编程序来使网站具有更多自动的和高级的功能。
动态网页:使用网页脚本语言,比如php、JSP等,通过脚本将网站内容动态存储到数据库,用户访问网站是通过读取数据库来动态生成网页的方法。
1、提供用户互动接口的动态网站
这种类型的网站可以让服务器与用户互动,常见的例如留言板,博客。这种类型的网站需要通过“网页程序语言”来实现与用户互动的行为。常见的例如:PHP网页程序语言,配合数据库系统来进行数据的读、写。当你在向服务器请求数据时,其实是通过服务器端同一个网页程序在负责将数据读出或写入数据库,变动的是数据库的内容,网页程序并没有任何改变。
另外一种交互式的动态网页主要是在客户端实现。服务端将可执行的程序代码(JavaScript)传送给客户端,客户端的浏览器如果提供JavaScript的功能,那么该程序就可以在客户端的计算机上面工作了;另外一种可在客户端执行的就是flash动画格式,在这种动画格式内还可以进行程序设计。
2、搭建动态网站的需求:
-
可支持的操作系统:让所有需要的软件都能够进行安装。
-
可运行的www服务器:例如Apache。
-
网页程序语言:Perl(Practical Extraction and Report Language,实用报表提取语言)、PHP(Hypertext Preprocessor,超文本预处理器,是一种通用开源脚本语言)、JSP(Java Server Pages,java服务器页面)、CGI(Common Gateway Interface,公共网关接口)、ASP(Active Server Pages,动态服务器页面)。
-
数据存储的数据库系统 :MySQL、MSSQL、Oracle等。
LAMP(linux+Apache+MySQL+PHP)
-
Apache主要提供www的服务器平台
-
MySQL:传统的文件读取是很麻烦的,如果你只要读取该文件当中的一小部分,系统还是会将整个文件读出来,若又有人同时读取同一个文件时,那就会造成效率与系统上的问题,所以才会有数据库系统的推出。数据库其实是一种特殊格式的文件,这种文件要通过特殊接口(数据库软件)来进行读写。由于这个特殊接口已经针对数据的查询、写入做过优化设计,因此很适合多人同时写入与查询工作。
-
PHP:PHP可以被用来建立动态网页,PHP程序代码可以直接在HTML网页当中嵌入,就像编辑HTML网页一样简单。PHP是一种“程序语言”,这种程序语言可以直接在网页当中编写,不需要经过编译即可执行。
二、搭建步骤
第一步:www服务器配置
web服务器之——www服务器的基本配置-CSDN博客
第二步;编辑网页文件
[root@localhost node1]# vim /etc/httpd/conf.d/discuz.conf
DocumentRoot /nextcloud/upload
ServerName 192.168.17.171


AllowOverride none
Require all granted
[root@localhost node1]# mkdir /discuz第三步:使用xftp 将Discuz包传到/discuz解压
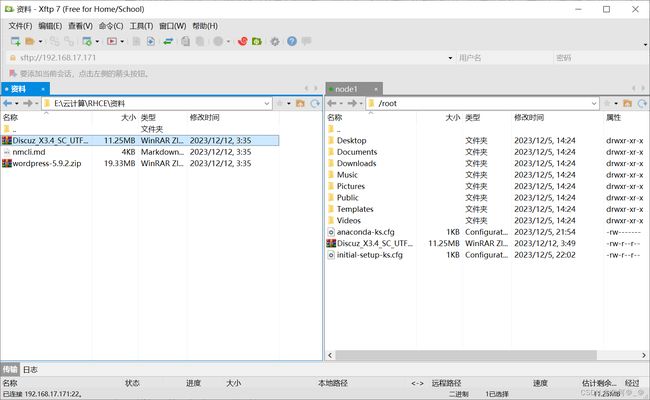
1、将Discuz包移动到/discuz
[root@localhost node1]# cd /discuz
[root@localhost discuz]# cp /root/Discuz_X3.4_SC_UTF8_20191201.zip .![]()
2、解压:
[root@localhost html]# unzip Discuz_X3.4_SC_UTF8_20191201.zip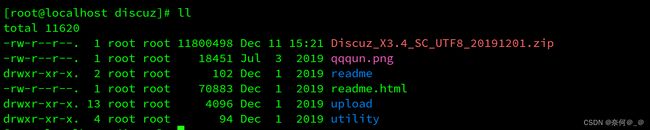
也可以使用这个命令:
[root@localhost node1]# unzip Discuz_X3.4_SC_UTF8_20191201.zip -d /var/www/html第四步、进入安装路径
[root@localhost discuz]# cd upload
[root@localhost upload]# ll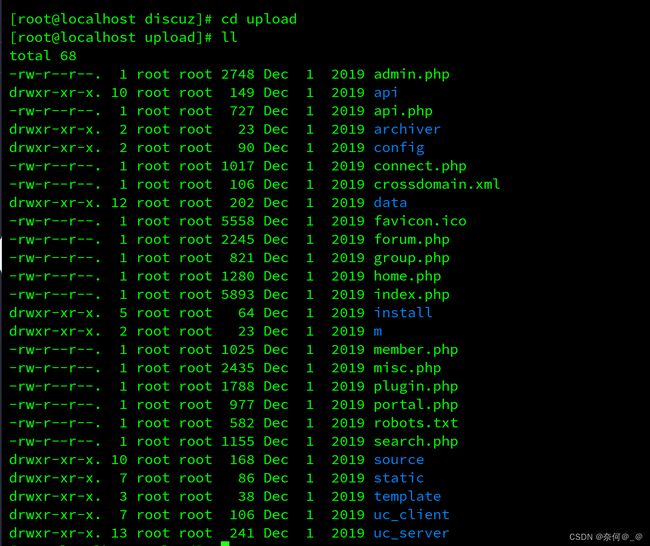
第五步、安装php预处理工具
[root@localhost upload]# yum install php* -y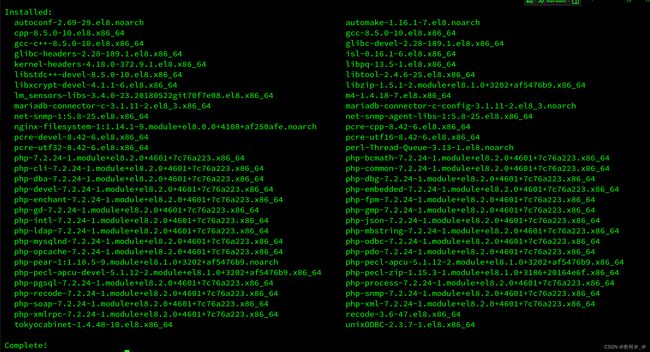
第六步、安装数据库mariadb
[root@localhost upload]# yum install mariadb-server -y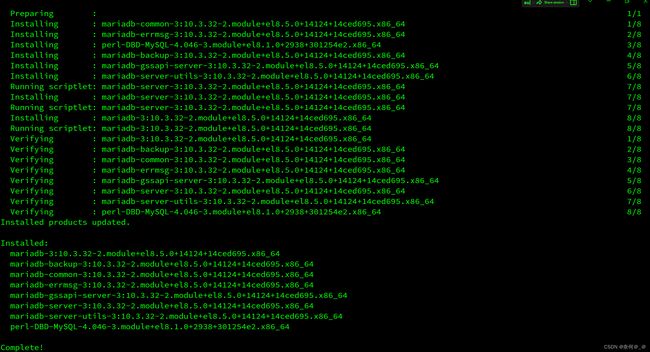
启动数据库
[root@localhost upload]# systemctl start mariadb第七步、数据库初始化
[root@localhost upload]# mysql_secure_installationNOTE: RUNNING ALL PARTS OF THIS SCRIPT IS RECOMMENDED FOR ALL MariaDB
SERVERS IN PRODUCTION USE! PLEASE READ EACH STEP CAREFULLY!
In order to log into MariaDB to secure it, we'll need the current
password for the root user. If you've just installed MariaDB, and
you haven't set the root password yet, the password will be blank,
so you should just press enter here.
Enter current password for root (enter for none):
OK, successfully used password, moving on...
Setting the root password ensures that nobody can log into the MariaDB
root user without the proper authorisation.
Set root password? [Y/n] y
New password:
Re-enter new password:
Password updated successfully!
Reloading privilege tables..
... Success!
By default, a MariaDB installation has an anonymous user, allowing anyone
to log into MariaDB without having to have a user account created for
them. This is intended only for testing, and to make the installation
go a bit smoother. You should remove them before moving into a
production environment.
Remove anonymous users? [Y/n] y
... Success!
Normally, root should only be allowed to connect from 'localhost'. This
ensures that someone cannot guess at the root password from the network.
Disallow root login remotely? [Y/n] y
... Success!
By default, MariaDB comes with a database named 'test' that anyone can
access. This is also intended only for testing, and should be removed
before moving into a production environment.
Remove test database and access to it? [Y/n] y
- Dropping test database...
... Success!
- Removing privileges on test database...
... Success!
Reloading the privilege tables will ensure that all changes made so far
will take effect immediately.
Reload privilege tables now? [Y/n] y
... Success!
Cleaning up...
All done! If you've completed all of the above steps, your MariaDB
installation should now be secure.
Thanks for using MariaDB!第八步、登录数据库
[root@localhost upload]# mysql -uroot -proot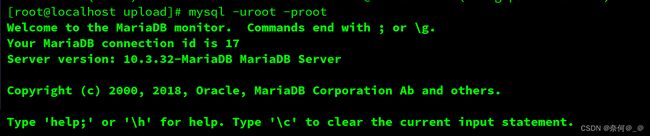
第九步、创建数据库
MariaDB [(none)]> create database discuz;
第十步、重启httpd和mariadb
[root@localhost upload]# systemctl restart mariadb
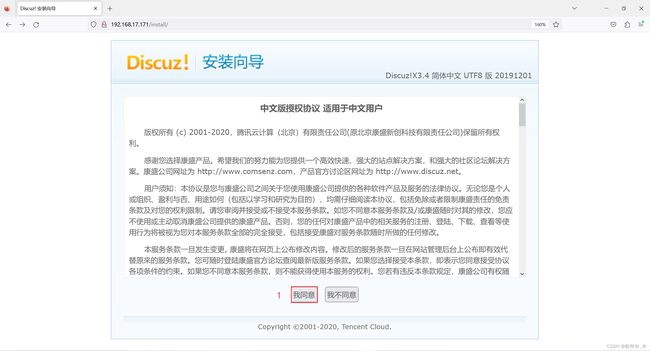
[root@localhost upload]# systemctl restart httpd1、访问
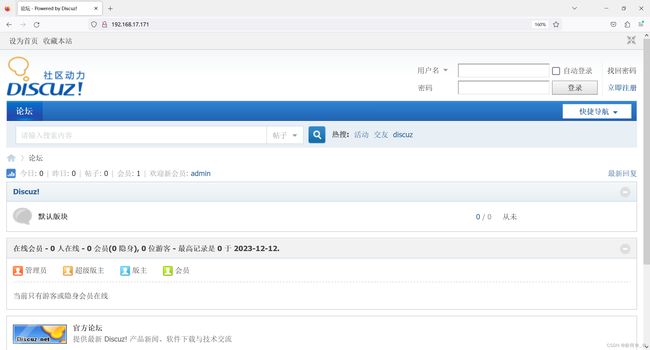
浏览器测试 http://192.168.10.100
2、更改权限:
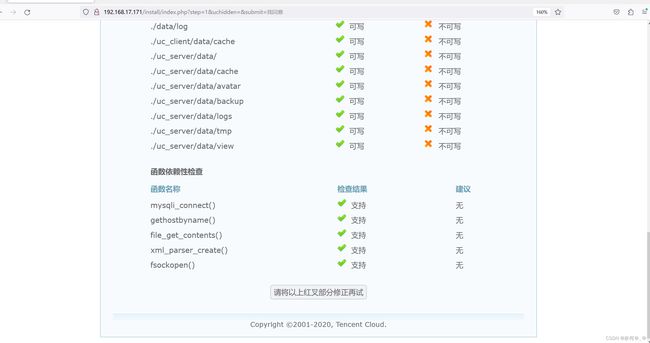
[root@localhost upload]# chmod o+w config data ./uc_* -R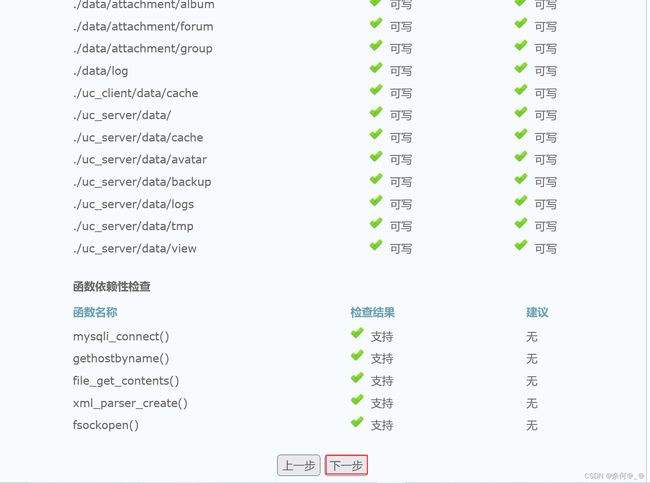


完成: