在x64上构建智能家居(home assistant)(二)连接Postgresql数据库
HomeAssistant默认的数据库是sqlite,随着使用时间的增加,数据库文件会变得越来越大,随之而来的问题就是查看日志和历史的速度也会变得越来越慢,尤其是一些接入设备较多的系统,会影响了使用体验。
常用的免费数据库有两个MySQL和PostgreSQL,(MariaDB可以认为是MySQL)。
我个人认为PostgreSQL性能和稳定性都很好,推荐使用。
根据官网https://www.home-assistant.io/docs/backend/database/介绍,可以使用Postgresql。
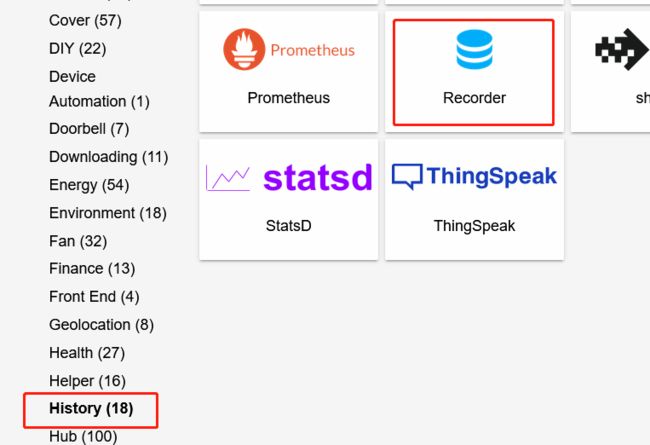
网页上链接到recorder,https://www.home-assistant.io/integrations/recorder/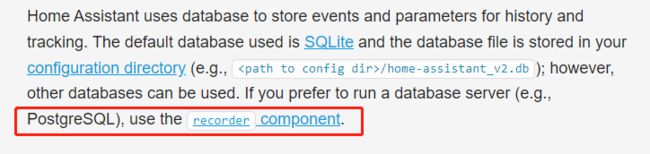

我环境上默认使用的sqlite数据库在/usr/share/hassio/homeassistant/home-assistant_v2.db位置。
1.在debian11上安装数据库。
我不想使用docker安装数据库,我认为多多少少有性能问题。直接安装Postgresql数据库。
打开PostgreSQL网站到下载页面https://www.postgresql.org/download/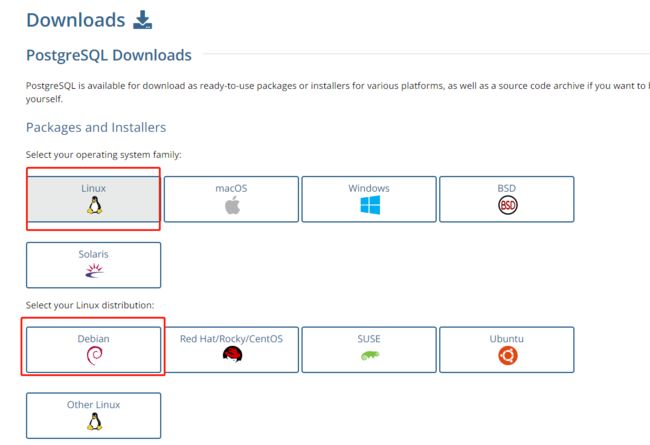
会跳转到Debian安装方法网页。
执行以下命令可以安装最新版PostgreSQL。
# Create the file repository configuration:
sudo sh -c 'echo "deb http://apt.postgresql.org/pub/repos/apt $(lsb_release -cs)-pgdg main" > /etc/apt/sources.list.d/pgdg.list'
# Import the repository signing key:
wget --quiet -O - https://www.postgresql.org/media/keys/ACCC4CF8.asc | sudo apt-key add -
# Update the package lists:
sudo apt-get update
# Install the latest version of PostgreSQL.
# If you want a specific version, use 'postgresql-12' or similar instead of 'postgresql':
sudo apt-get -y install postgresql
修改密码
sudo -u postgres psql
postgres=# ALTER USER postgres WITH PASSWORD 'postgres';
postgres=# \q
编辑PostgreSQL的配置文件
vim.tiny /etc/postgresql/14/main/postgresql.conf
修改listen_addresses = '*'
port = 5432
保存
vim.tiny /etc/postgresql/14/main/pg_hba.conf
添加host all all 127.0.0.1/32 trust
不用密码了。
重启数据库
systemctl restart [email protected]
2.创建homeassistan数据库
可以使用命令行工具psql在命令行创建数据库,也可以使用别的可视化管理工具。
创建用户
psql -h 127.0.0.1 -U postgres --command "CREATE ROLE hass LOGIN VALID UNTIL 'infinity';"
设置密码
psql -h 127.0.0.1 -U postgres --command "ALTER USER hass WITH PASSWORD 'hass';"
创建数据库
psql -h 127.0.0.1 -U postgres --command "CREATE DATABASE homeassistant WITH ENCODING='UTF8' OWNER=hass CONNECTION LIMIT=-1;"
测试
psql -h 127.0.0.1 -U hass --command "SELECT 1;" -d homeassistant
3.配置homeassistan使用数据库,修改configuration.yaml文件
找到homeassistant下的configuration.yaml文件(我的文件在/usr/share/hassio/homeassistant/configuration.yaml),添加如下命令保存,重启Homeassistant。
需要注意的是“db_url”前面有两个空格,后面有一个空格,大神们说yaml文件对空格很敏感。recorder: db_url: postgres://hass:登陆数据库的密码@IPAddr:5432/homeassistant
db_url: postgresql://hass:登陆数据库的密码@IPAddr:5432/homeassistant
---
重启后,测试发现没有好用,通知中有以下错误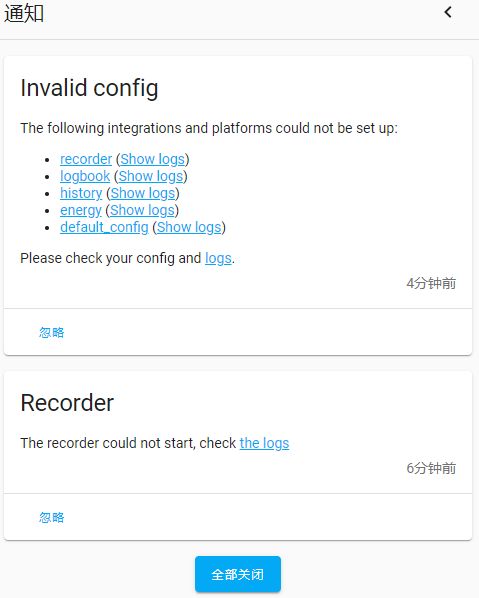
查看完整日志,发现
sqlalchemy.exc.NoSuchModuleError: Can't load plugin: sqlalchemy.dialects:postgres
调查发现
db_url: 后面不应该使用postgres://而是应该改成postgresql://
原因是
SQLAlchemy 1.4 removed the deprecated postgres dialect name, the name postgresql must be used instead now. The dialect is the part before the :// in the URL. SQLAlchemy 1.3 and earlier showed a deprecation warning but still accepted it.
To fix this, rename postgres:// in the URL to postgresql:// db_url: postgresql://hass:登陆数据库的密码@IPAddr:5432/homeassistant
修改成
-----------------再重启,发现没有异常通知了。
检查数据库,数据库中创建了9张表。
配置应该成功了。