【UbuntuPhone开发实战】工具篇--Nexus4 booter unlock,获取root权限,刷CM10和刷Ubuntu
1、谷歌4代,相关代号一览
| Device |
Codename |
Factory firmware from Google |
| Galaxy Nexus |
maguro |
|
| Nexus 4 |
mako |
|
| Nexus 7 |
grouper |
|
| Nexus 10 |
manta |
2、美版新机解锁bootloader
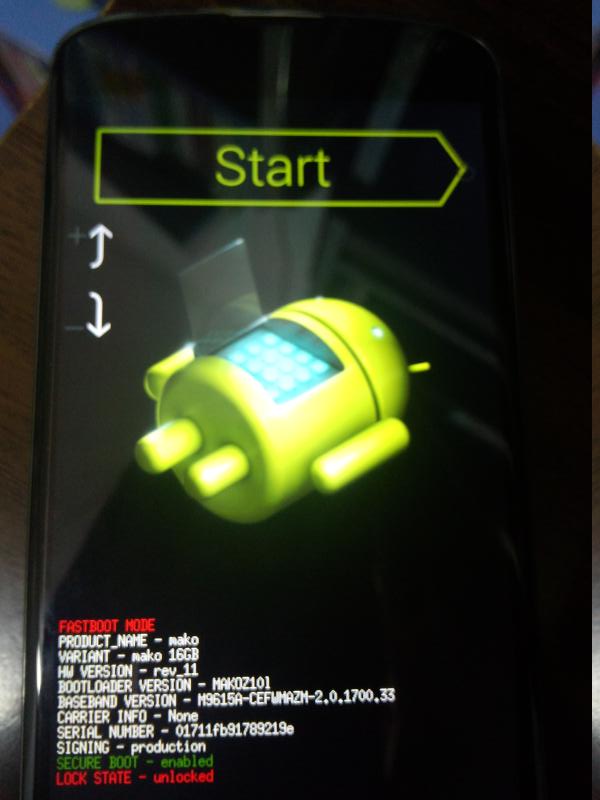
2.1 重启进入fastboot模式
Power button + volume up + volume down. 也就是同时按住 电源键+音量加+音量减;
2.2 使用fastboot工具解锁bootloader
解锁后状态:(最后一行 Lock state: unlocked)
ubuntu等linux机器下输入命令:
sudo fastboot oem unlock
在手机上通过音量加 调节到接受许可,进行解锁,一会儿就报告解锁成功了;
然后,使用音量键上下调节到start模式,按 电源键 确认并启动系统;
3、打开调试模式
参考上一篇文章,打开开发者模式中的usb调试模式: Nexus 4 打开调试模式
4、下载Nexus 4 Toolkit进行root
百度搜索,并选取自己中意的版本进行下载,然后链接电脑后通过选择功能4 ,进行root;注意在询问是否当前为fastboot模式时选择no,让其自己重启手机并进入fastboot模式,从而从不安全的模式启动并设置分区可读挂载、然后自动安装su软件包到 /system/bin/目录下,然后就能够通过su的方式获取root权限了;
比如,输入如下命令链接手机:
adb shell
su
然后在手机上弹出框中确认使adb获得root权限;
虽然已经安装了su,可以在adb shell中通过su获得权限,但是adb root的时候还是报错!
adbd cannot run as root in production builds
非常的坑跌!网络上说的解决办法多种多样,比如:需要设置default.prop文件内容为以下,然后重新编译android源码神马的。。。:
#
# ADDITIONAL_DEFAULT_PROPERTIES
#
ro.secure=0
persist.service.adb.enable=1
ro.allow.mock.location=0
ro.debuggable=0
rild.libpath=/system/lib/libril-qc-qmi-1.so
persist.sys.usb.config=mtp
各种结果表示,工厂出来的系统adb root总会失败!所以打算换rom;
5、刷机精灵装CM10.1第三方开放rom
心里想着,换个不是强制production build的第三方rom,由完全的root权限总可以把! 所以用刷机精灵下载了最新的CM 10.1然后各种自动安装了一个叫:
ClockworkMod Recovery V6.0.23的恢复工具,将CM的android4.2.2的包命名为了update.zip放到了sdcard目录下;然后很快自动安装之并重启;
打开USB调试模式后,赶紧用adb root命令链接,果然OK;
心想这下可以开始刷Ubuntu了!
6、Ubuntu下刷入Ubuntu Phone Dailiy编译版
使用Ubuntu自带刷机脚本进行刷机,命令很简单:
$phablet-flash --help
usage: phablet-flash [-h] [-d {mako,maguro,manta,grouper}] [-s SERIAL]
                     [-b | -D] [-r REVISION] [-l | -p BASE_PATH | -u URI]

phablet flash tool. Grabs build from the network and deploys to device. Does
best effort to deploy in different ways.

optional arguments:
  -h, --help            show this help message and exit
  -d {mako,maguro,manta,grouper}, --device {mako,maguro,manta,grouper}
                        Target device to deploy.
  -s SERIAL, --serial SERIAL
                        Device serial. Use when more than one device is
                        connected.
  -b, --bootstrap       Bootstrap the target device, this only works on Nexus
                        devices or devices that use fastboot and are unlocked.
  -D, --download-only   Download image only, but do not flash device. Use -d
                        to override target device autodetection if target
                        device is not connected.
  -r REVISION, --revision REVISION
                        Choose a specific build number to download.
  -l, --latest          Pulls the latest daily image.
  -p BASE_PATH, --base-path BASE_PATH
                        Installs from base path, you must have the same
                        directory structure as if you downloaded for real.
                        This option is completely offline.
  -u URI, --uri URI     Alternate download uri
可以额外参考官方教程:https://wiki.ubuntu.com/Touch/Install;并且参考上面的命令说明;此处说明2个小技巧:
tip1: 源码分析:
which定位程序路径,file查看格式,vim查看源码
qunengrong@qunengrong-Studio-1450 /usr/bin
$which phablet-flash
/usr/bin/phablet-flash
qunengrong@qunengrong-Studio-1450 /usr/bin
$file /usr/bin/phablet-flash
/usr/bin/phablet-flash: Python script, ASCII text executable
qunengrong@qunengrong-Studio-1450 /usr/bin
$vim /usr/bin/phablet-flash
tip2:加速下载:
下载软件路径:http://cdimage.ubuntu.com/ubuntu-touch-preview/daily-preinstalled/current/
本地存放路径:$HOME/Downloads/phablet-flash/36/ 文件夹下,注意36为软件版本,每天加1,3-18为第36版;
#尝试下载,获得原始文件路径,存放
$phablet-flash -D -l -d mako
#用第三方工具如firefox的downthemall多线程下载
#然后指定安装的版本,如2013-03-18的为第36版
$phablet-flash -l -r 36
拷贝软件包到/sdcard/目录后,自动安装完就OK了;
7、错误恢复和恢复Android
如果有问题,按如下步骤处理之:
电源键+音量上+音量下, 进入fastboot界面,通过音量上下切换到 Recovery 模式;按电源键确认并进入Recovery;
7.1 重装Ubuntu:
1 切换到install zip from sdcard;电源键确认;
2 choose zip from sdcard;电源键确认;
3 进入第一个目录0;电源键确认;
4 选中quantal-preinstalled-armel+mako.zip并确认安装
5 再选中quantal-preinstalled-phablet-armhf.zip并确认安装;
6 安装完毕后上下切换到Go back;再到外层的重启;进入Ubuntu了;
7.2 恢复Android:
这个方法很多了,各种刷机工具都可以;另外可以同7.1的步骤:
1 切换到install zip from sdcard;电源键确认;
2 移动到第二项apply /sdcard/update.zip; 电源键确认;
3 安装完成后重启就进入了CM10
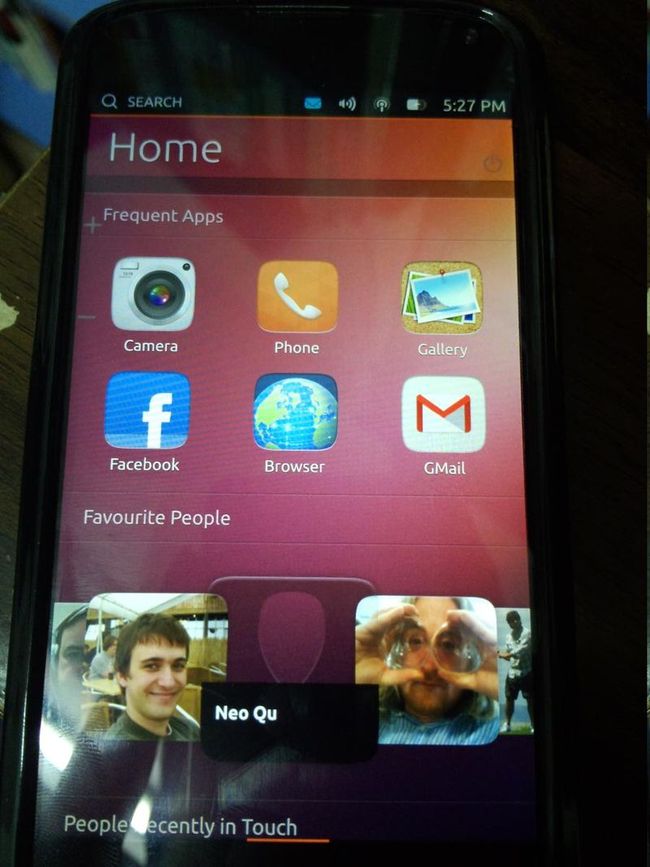
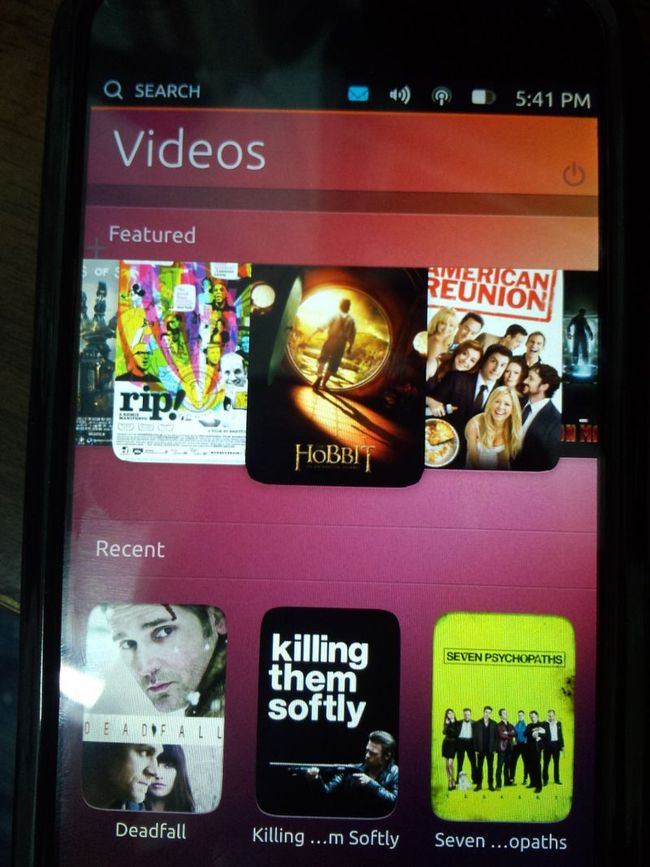
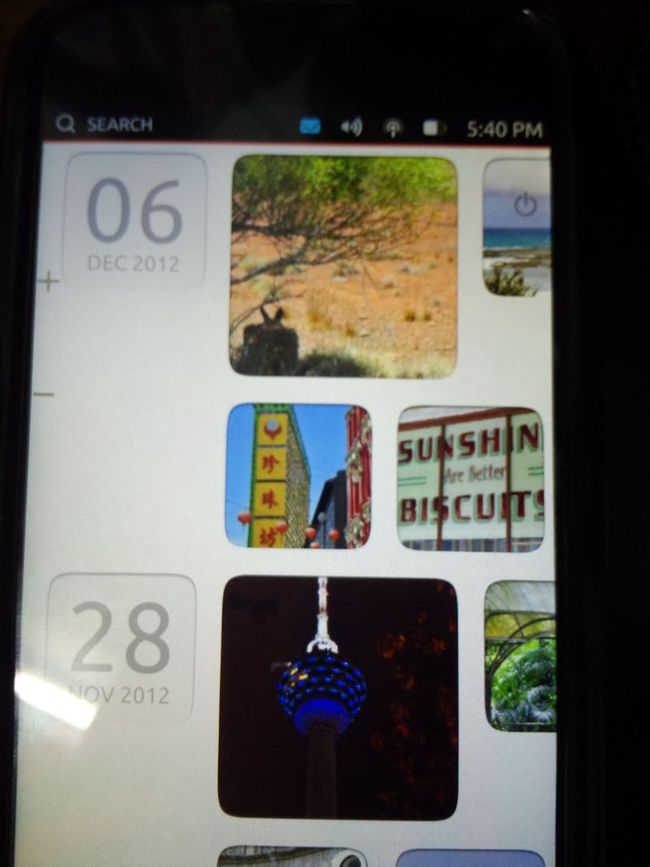
当前系统,MX拍的照,不咋第:
预告: 后面在陆续讲讲 Nexus4连上Ubuntu后ssh登录控制,和使用qtcretor进行调试的事情把 :)


